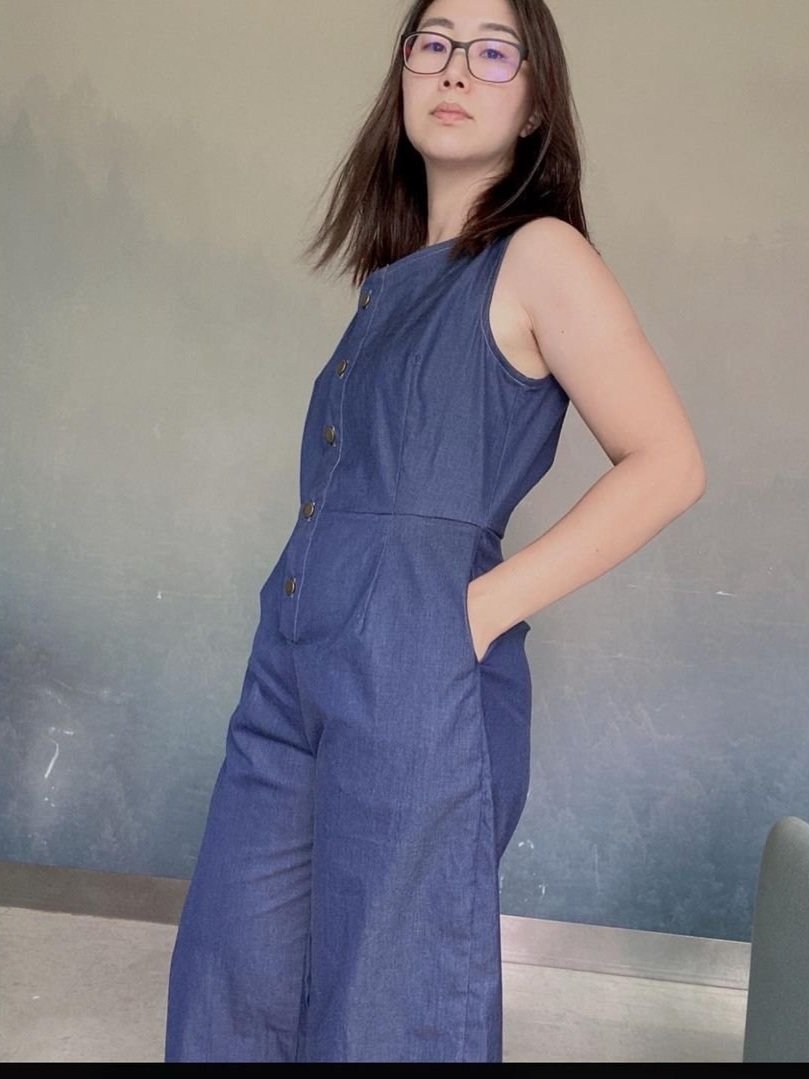
The Make It Your Own Skills Kit (part two of our Copy Your Clothes series) is jam-packed full of tutorials to help you individualise your wardrobe. But sometimes we need a little help to understand exactly HOW to use a resource like this. So, I thought it could be helpful to share some of the projects I considered making to share in our Curated by ITF private community.
While I’ve only moved forward on one of these, the rest have been added to my to do list. If you’re in need of a little inspiration, read on!
INSPIRATION FOR HOW TO PERSONALISE READY-TO-WEAR COPIES
Grade loved garments into new sizes
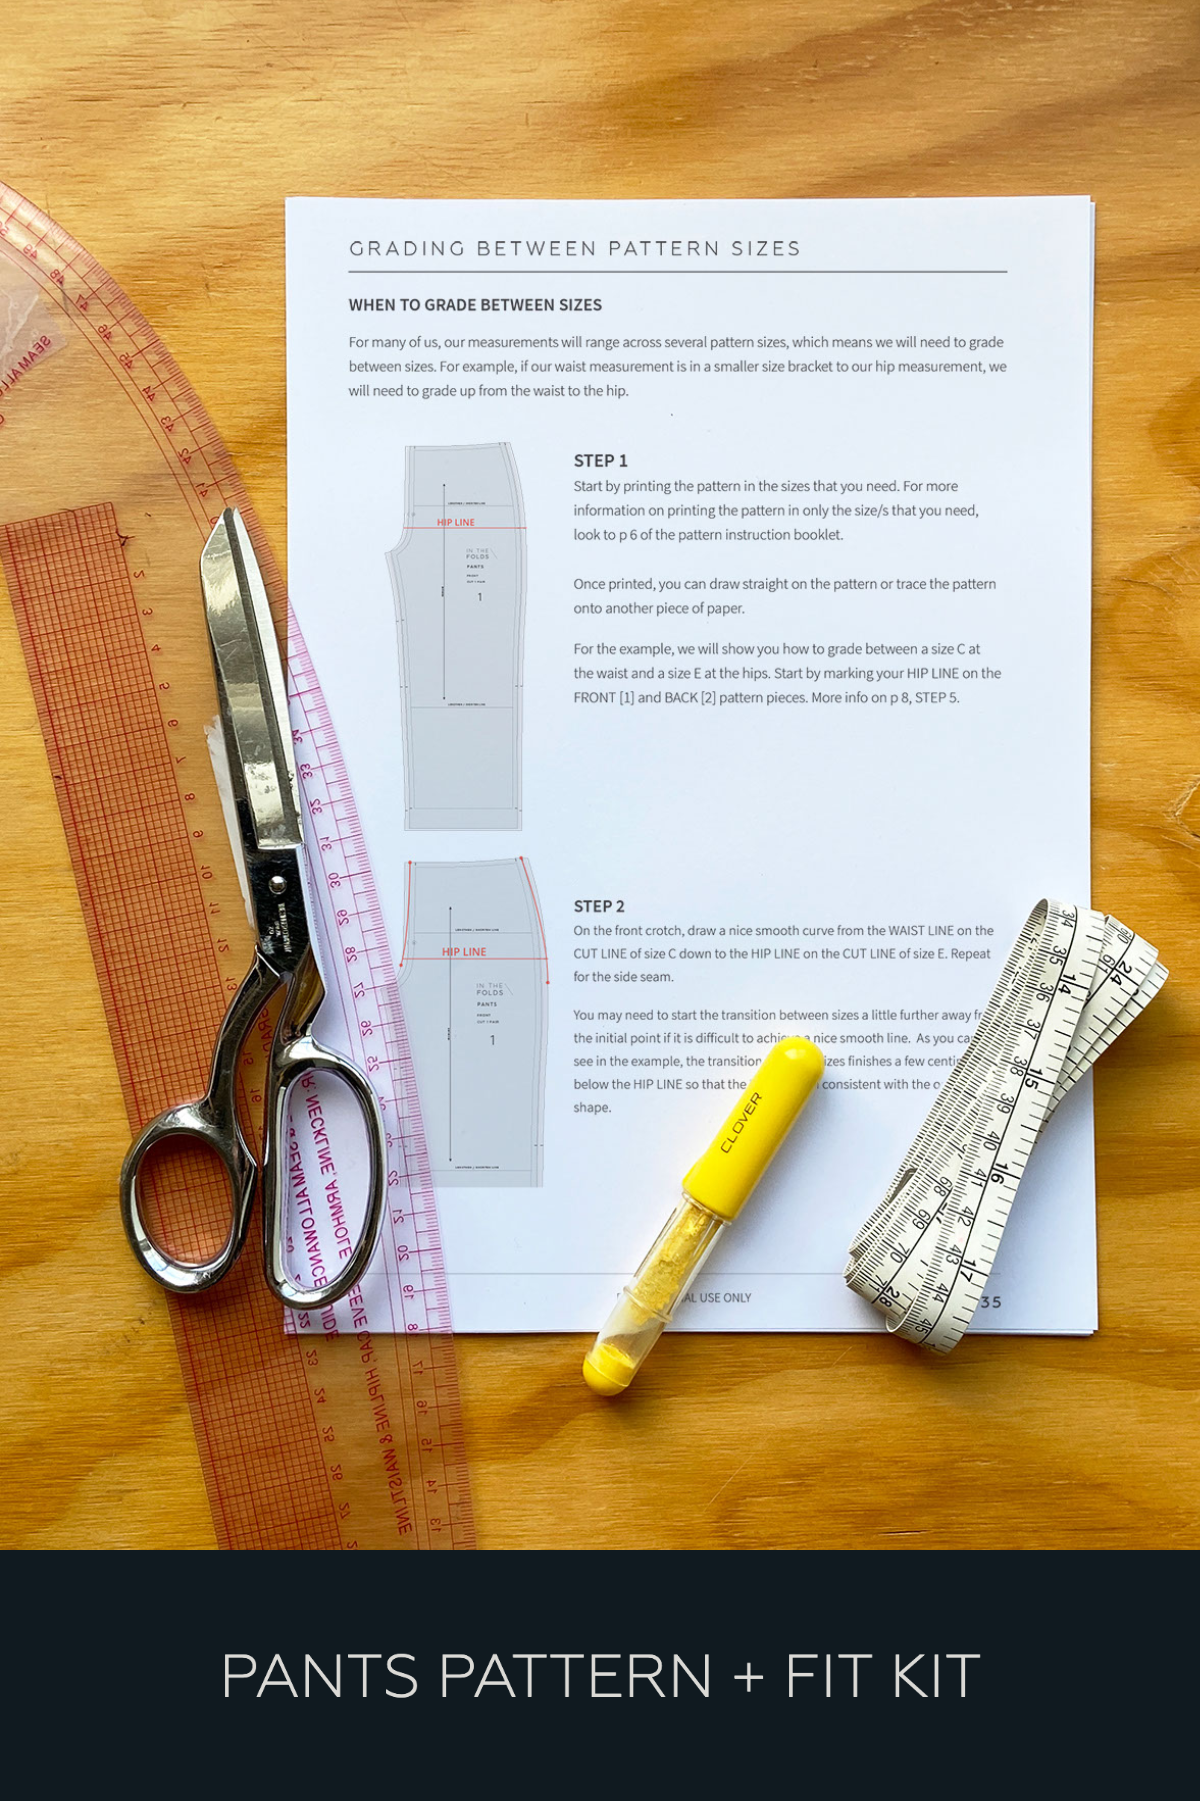
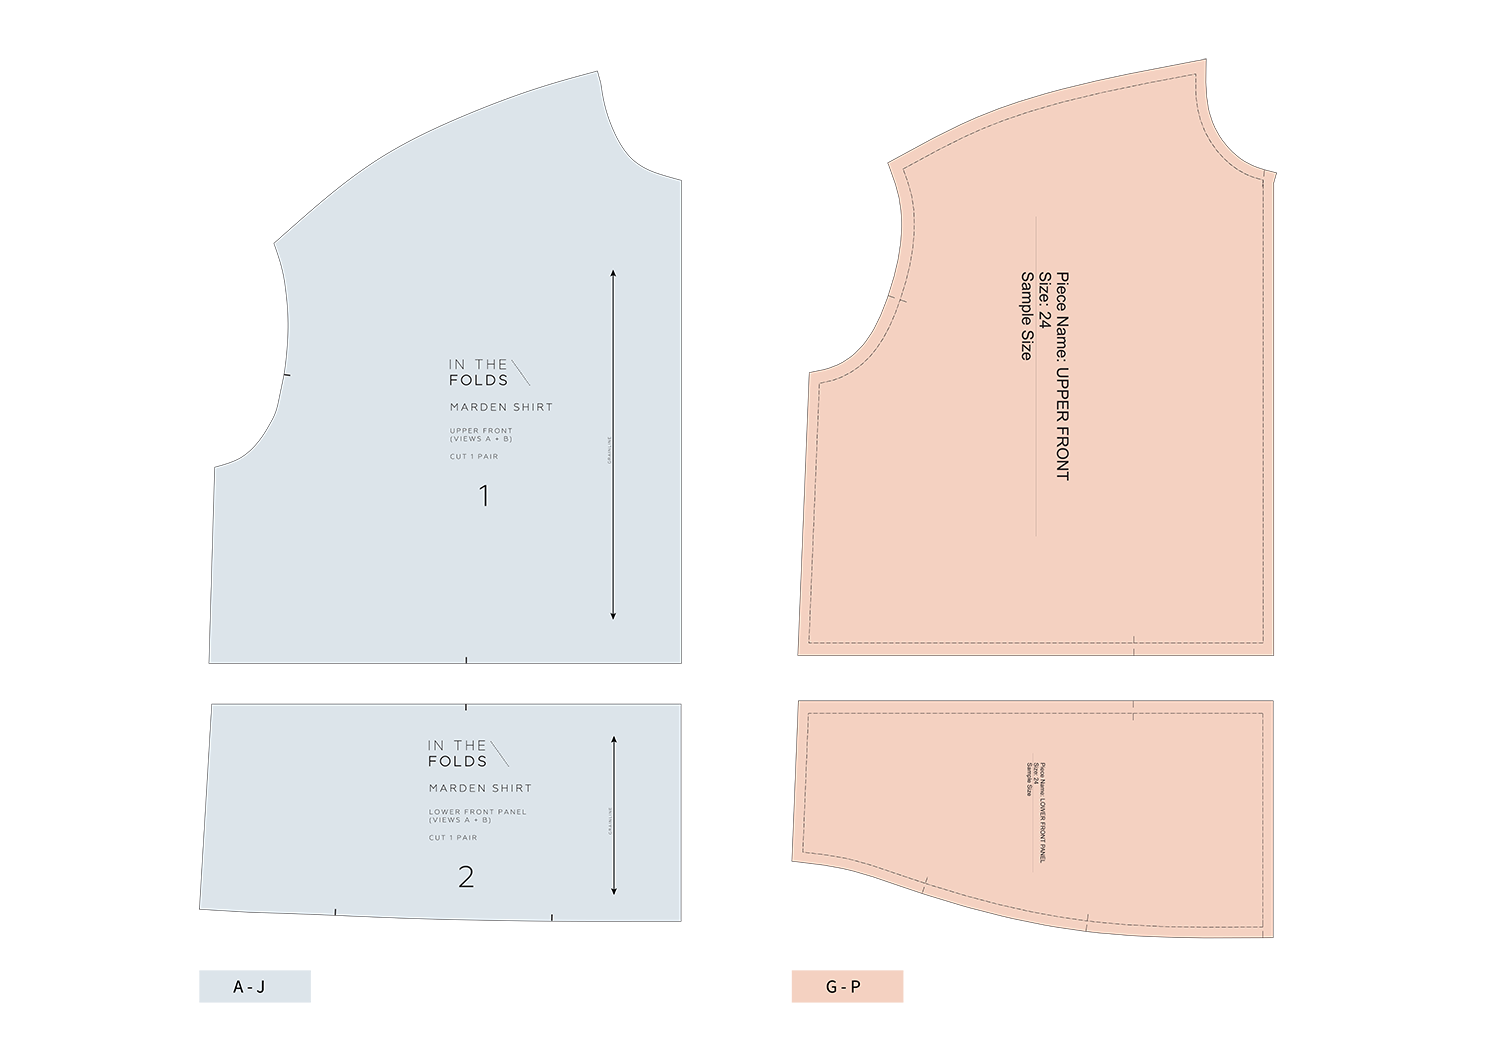
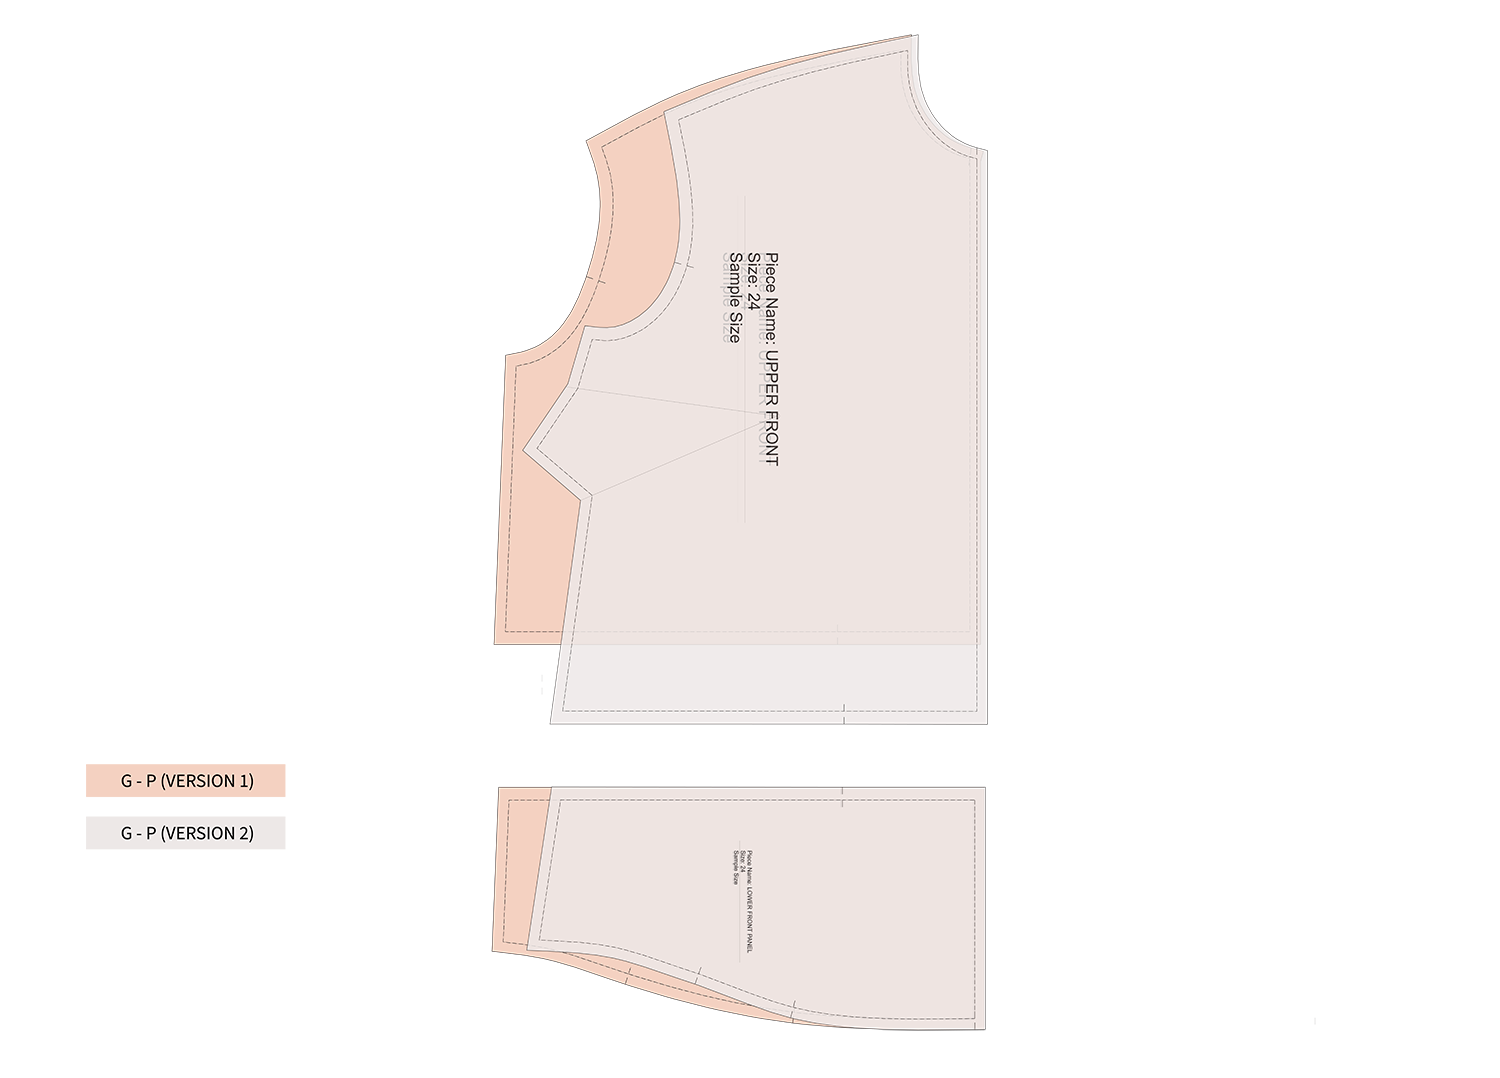
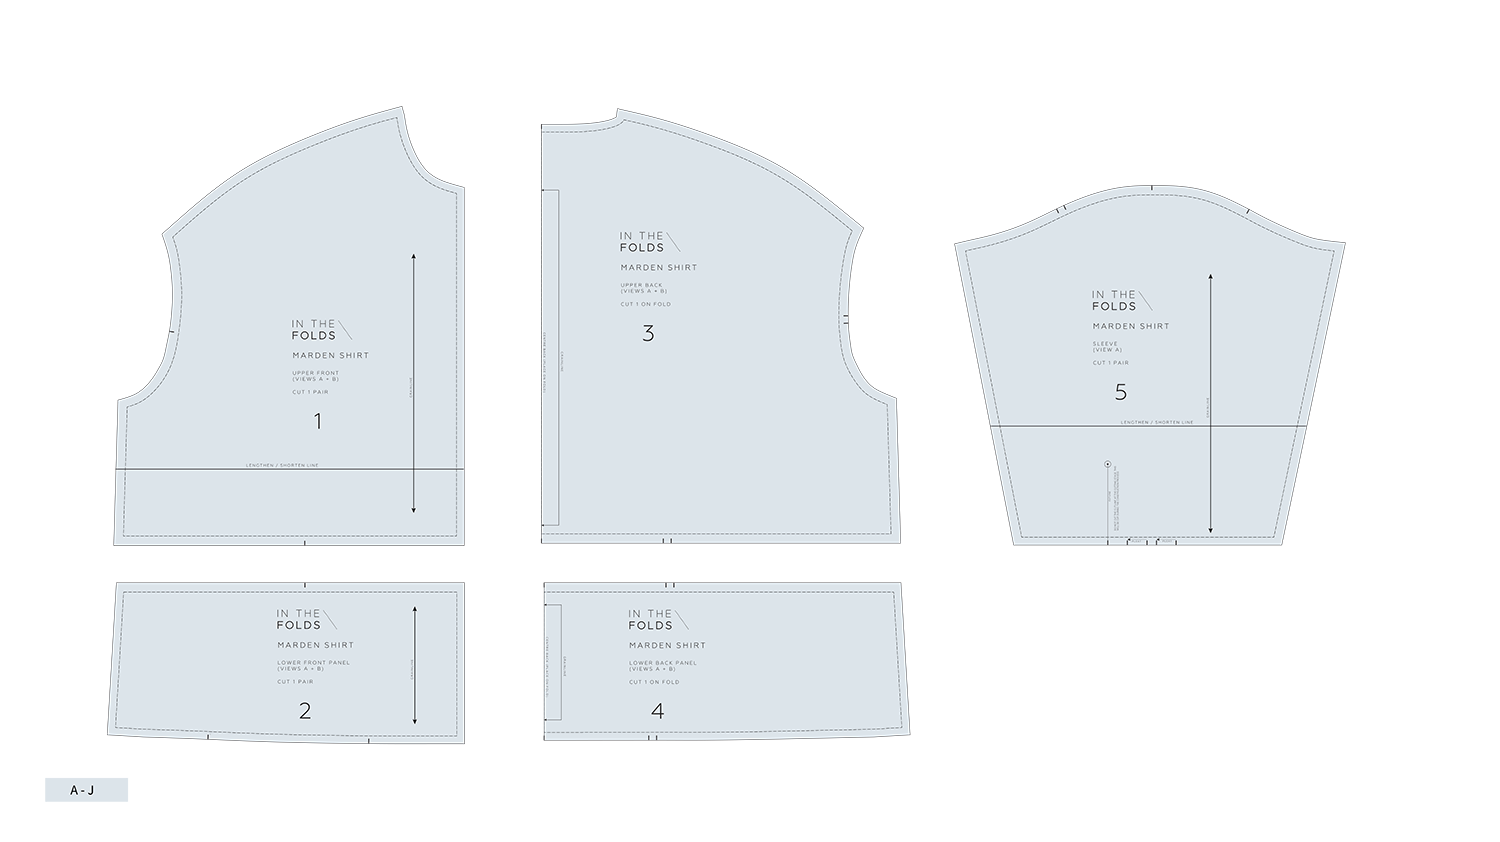
Grading is one of those skills that many sewists wish they knew how to do. (We know because we’ve been asked about it a LOT in our Curated by ITF community!)
And while it is definitely a specialist skill in industry, there’s absolutely no reason why home sewists can’t add it to their repertoire. And it’s the perfect skill to have if you’ve got growing kids who are always in need of the next size up!
I recently inherited a stack of stretch towelling/velour type fabrics in pastel shades, which I knew I wouldn’t wear, but would be perfect for comfy kids trackies.
If you already own basics like this that you love, consider copying the pattern and just grading it up to the next size.
Add length for a perfect extra tall fit
At almost 2 metres tall, my husband has a really hard time finding clothes to fit. He needs extra length, but when he sizes up in RTW clothes everything that’s long enough ends up being too wide. It’s very frustrating.
With a bomber jacket that fits fairly well, but is slightly too short, already in his wardrobe, I considered copying the design using the Copy Your Clothes Skills Kit, and then using the tutorials in the Make It Your Own Skills Kit to grade up in size and add the extra length where necessary. And a bomber jacket is a great opportunity to be a bit adventurous with fabric choices - what a fun project!
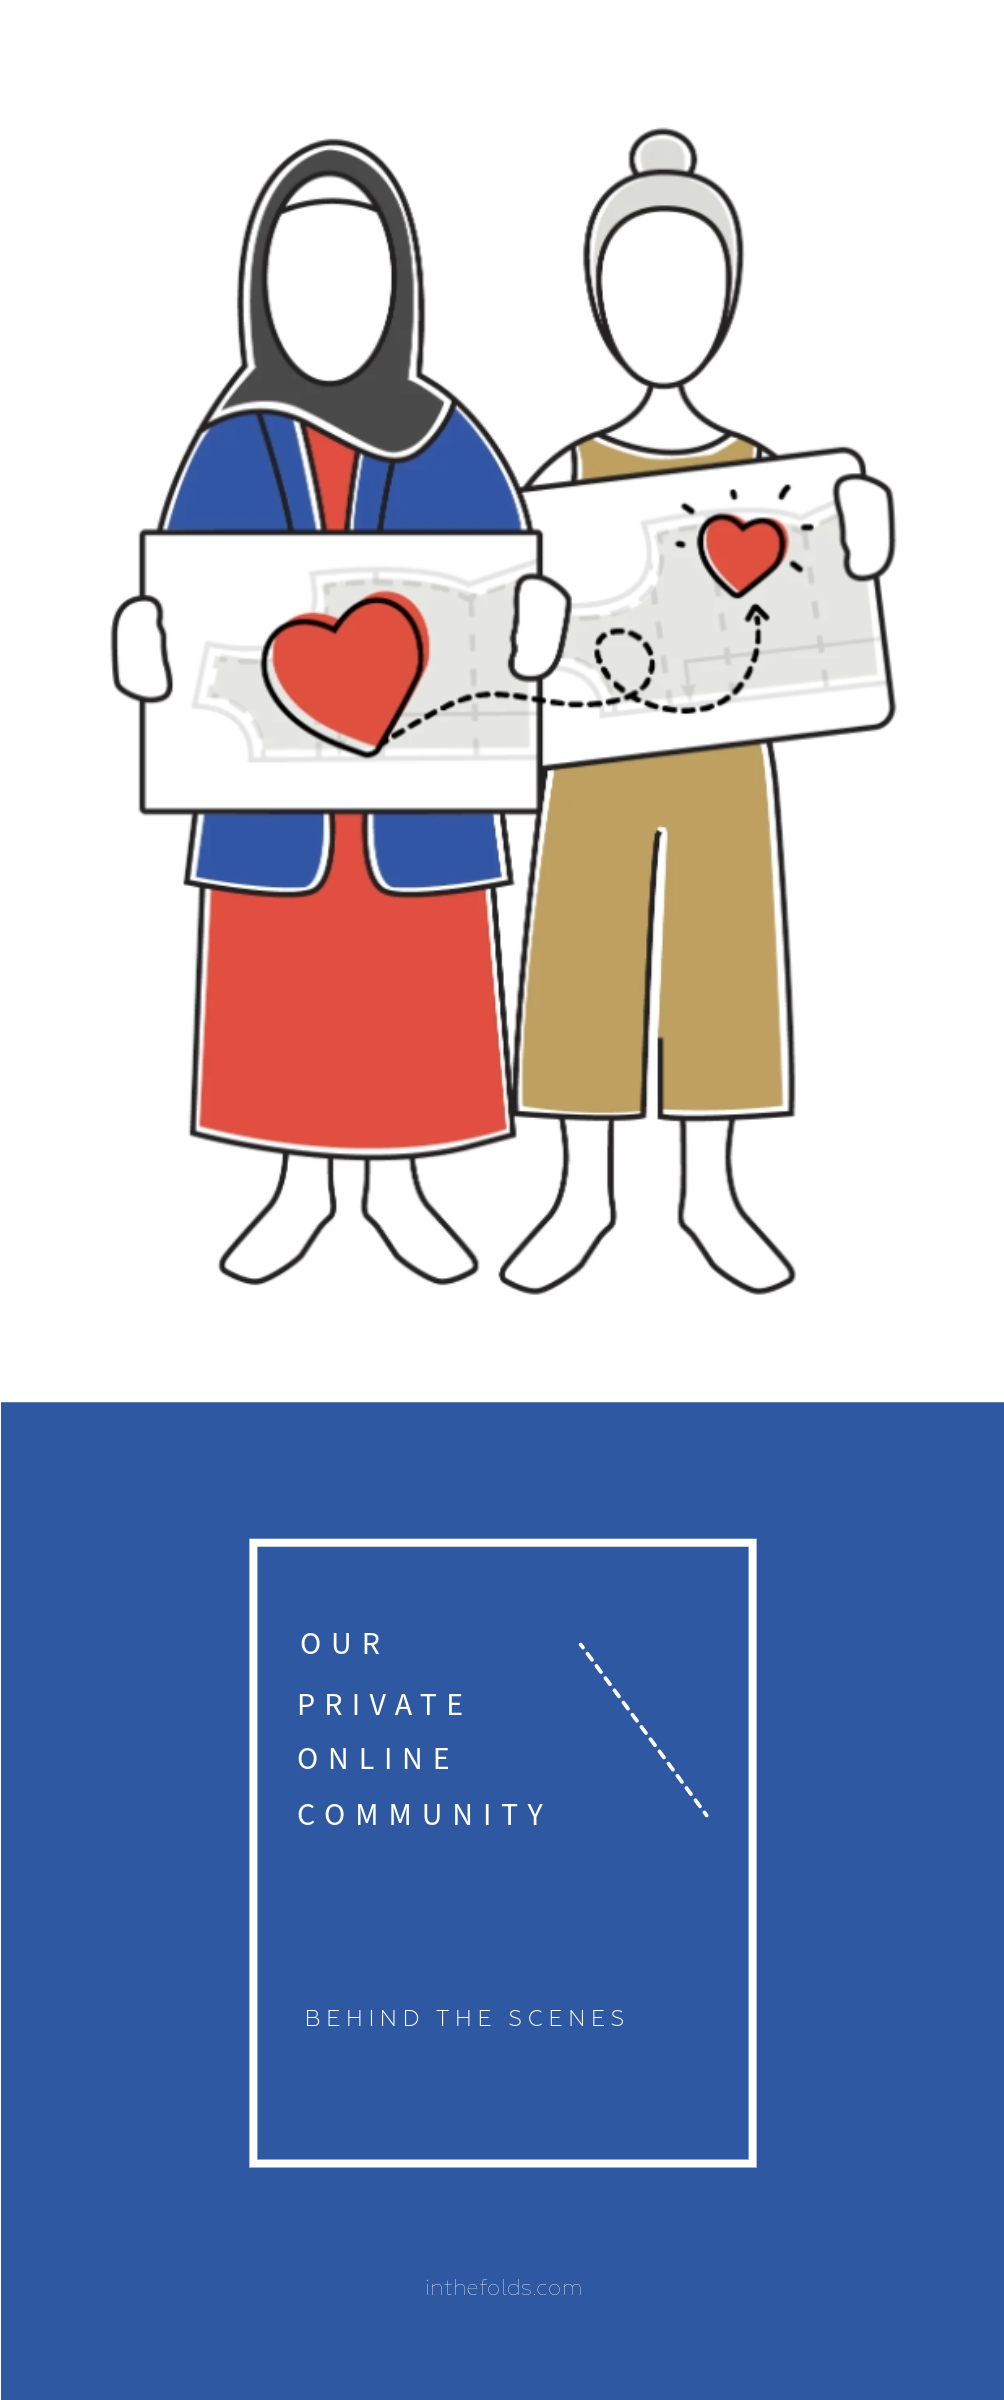
build your sewing skills with a
curated by itf membership
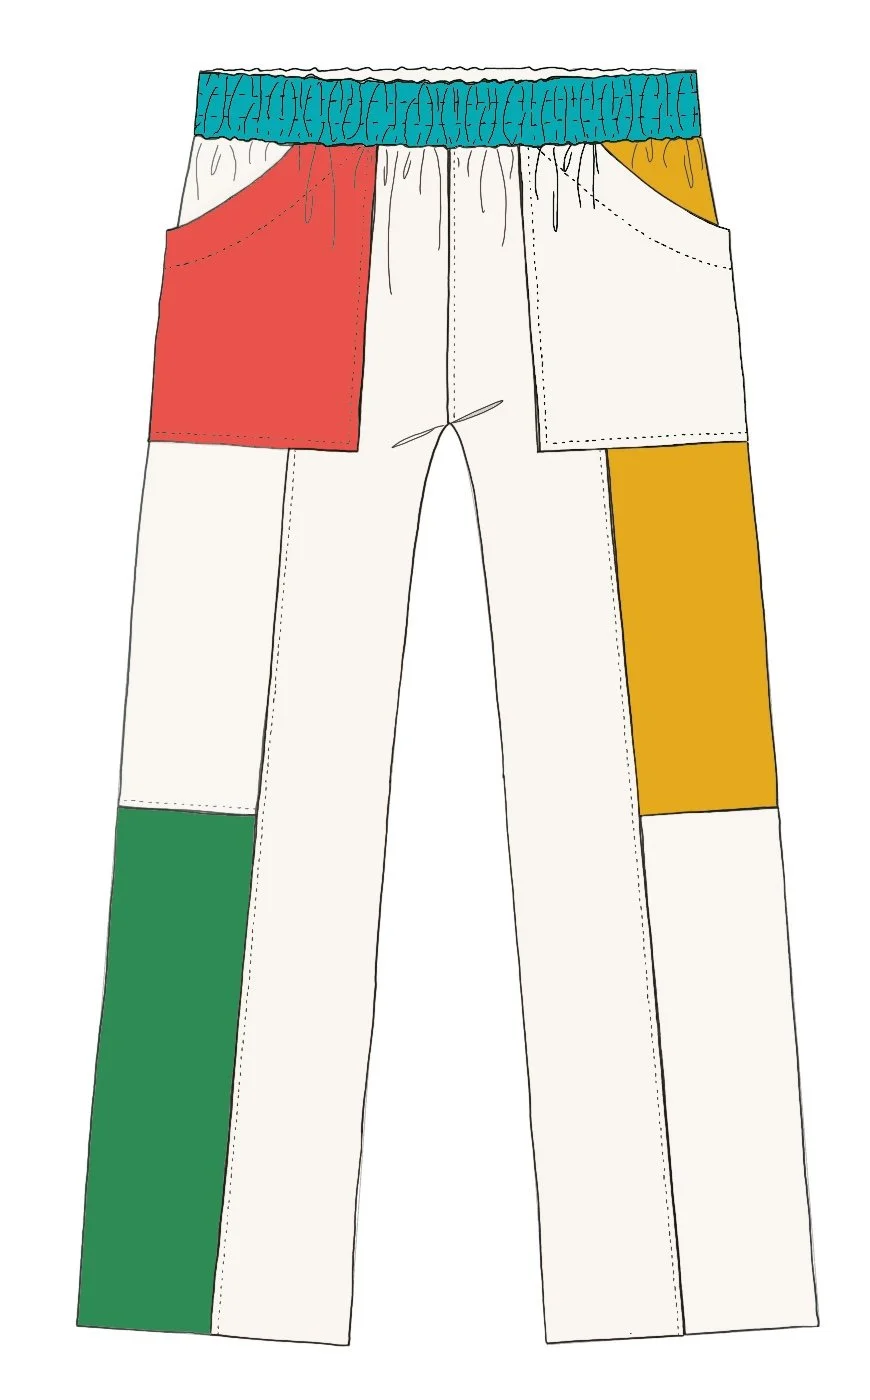
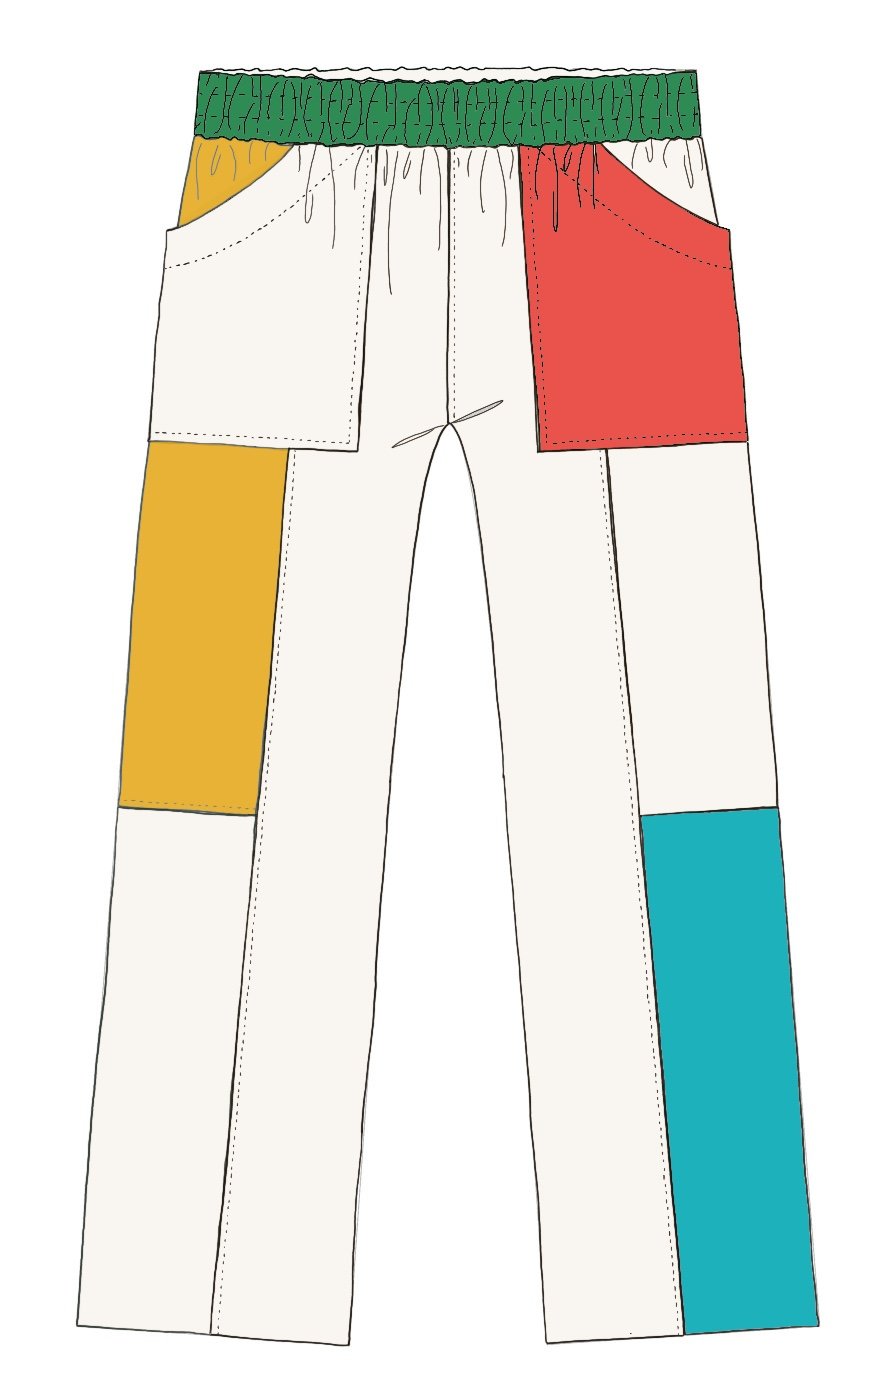
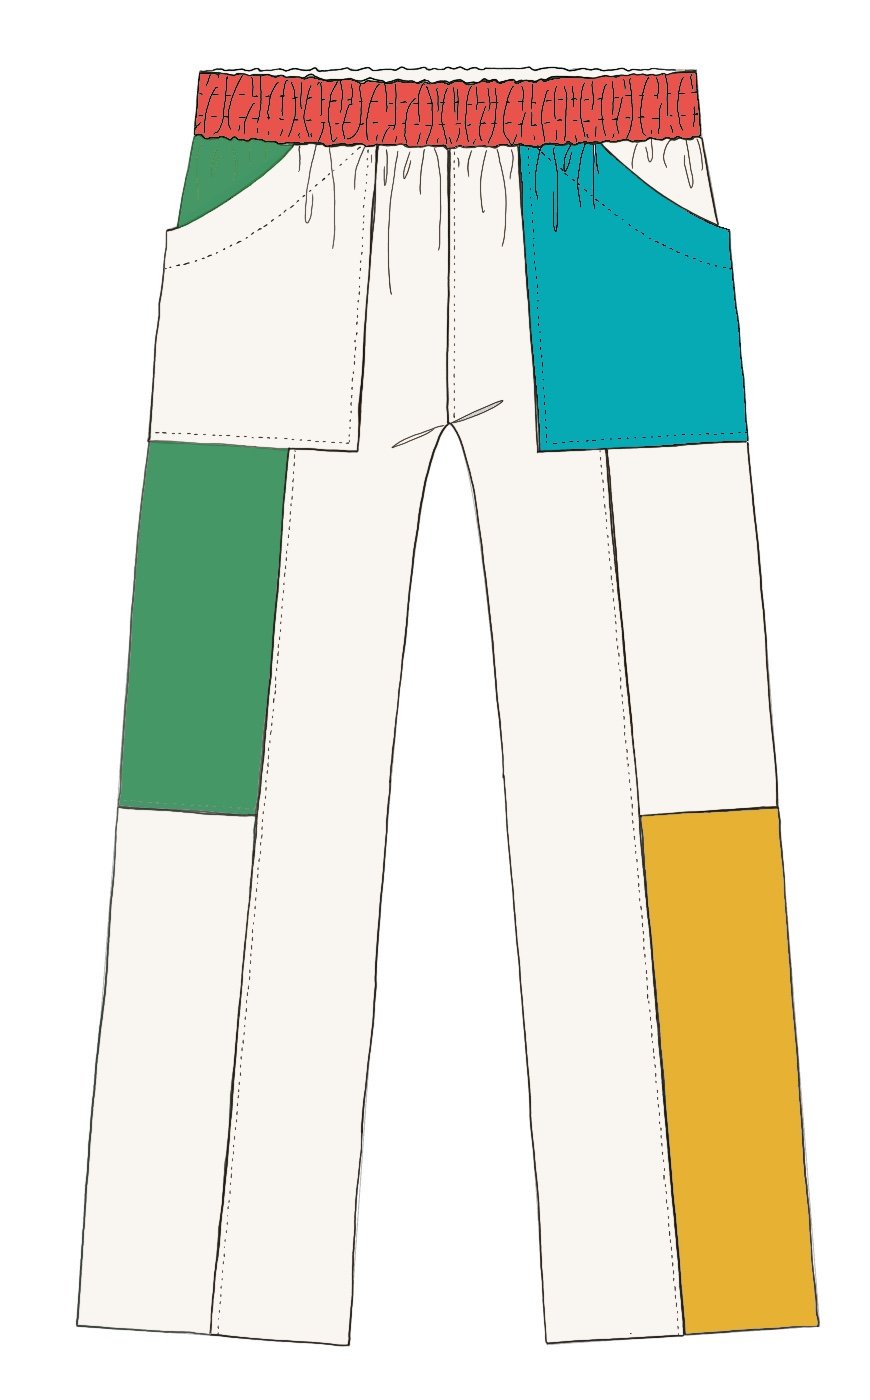
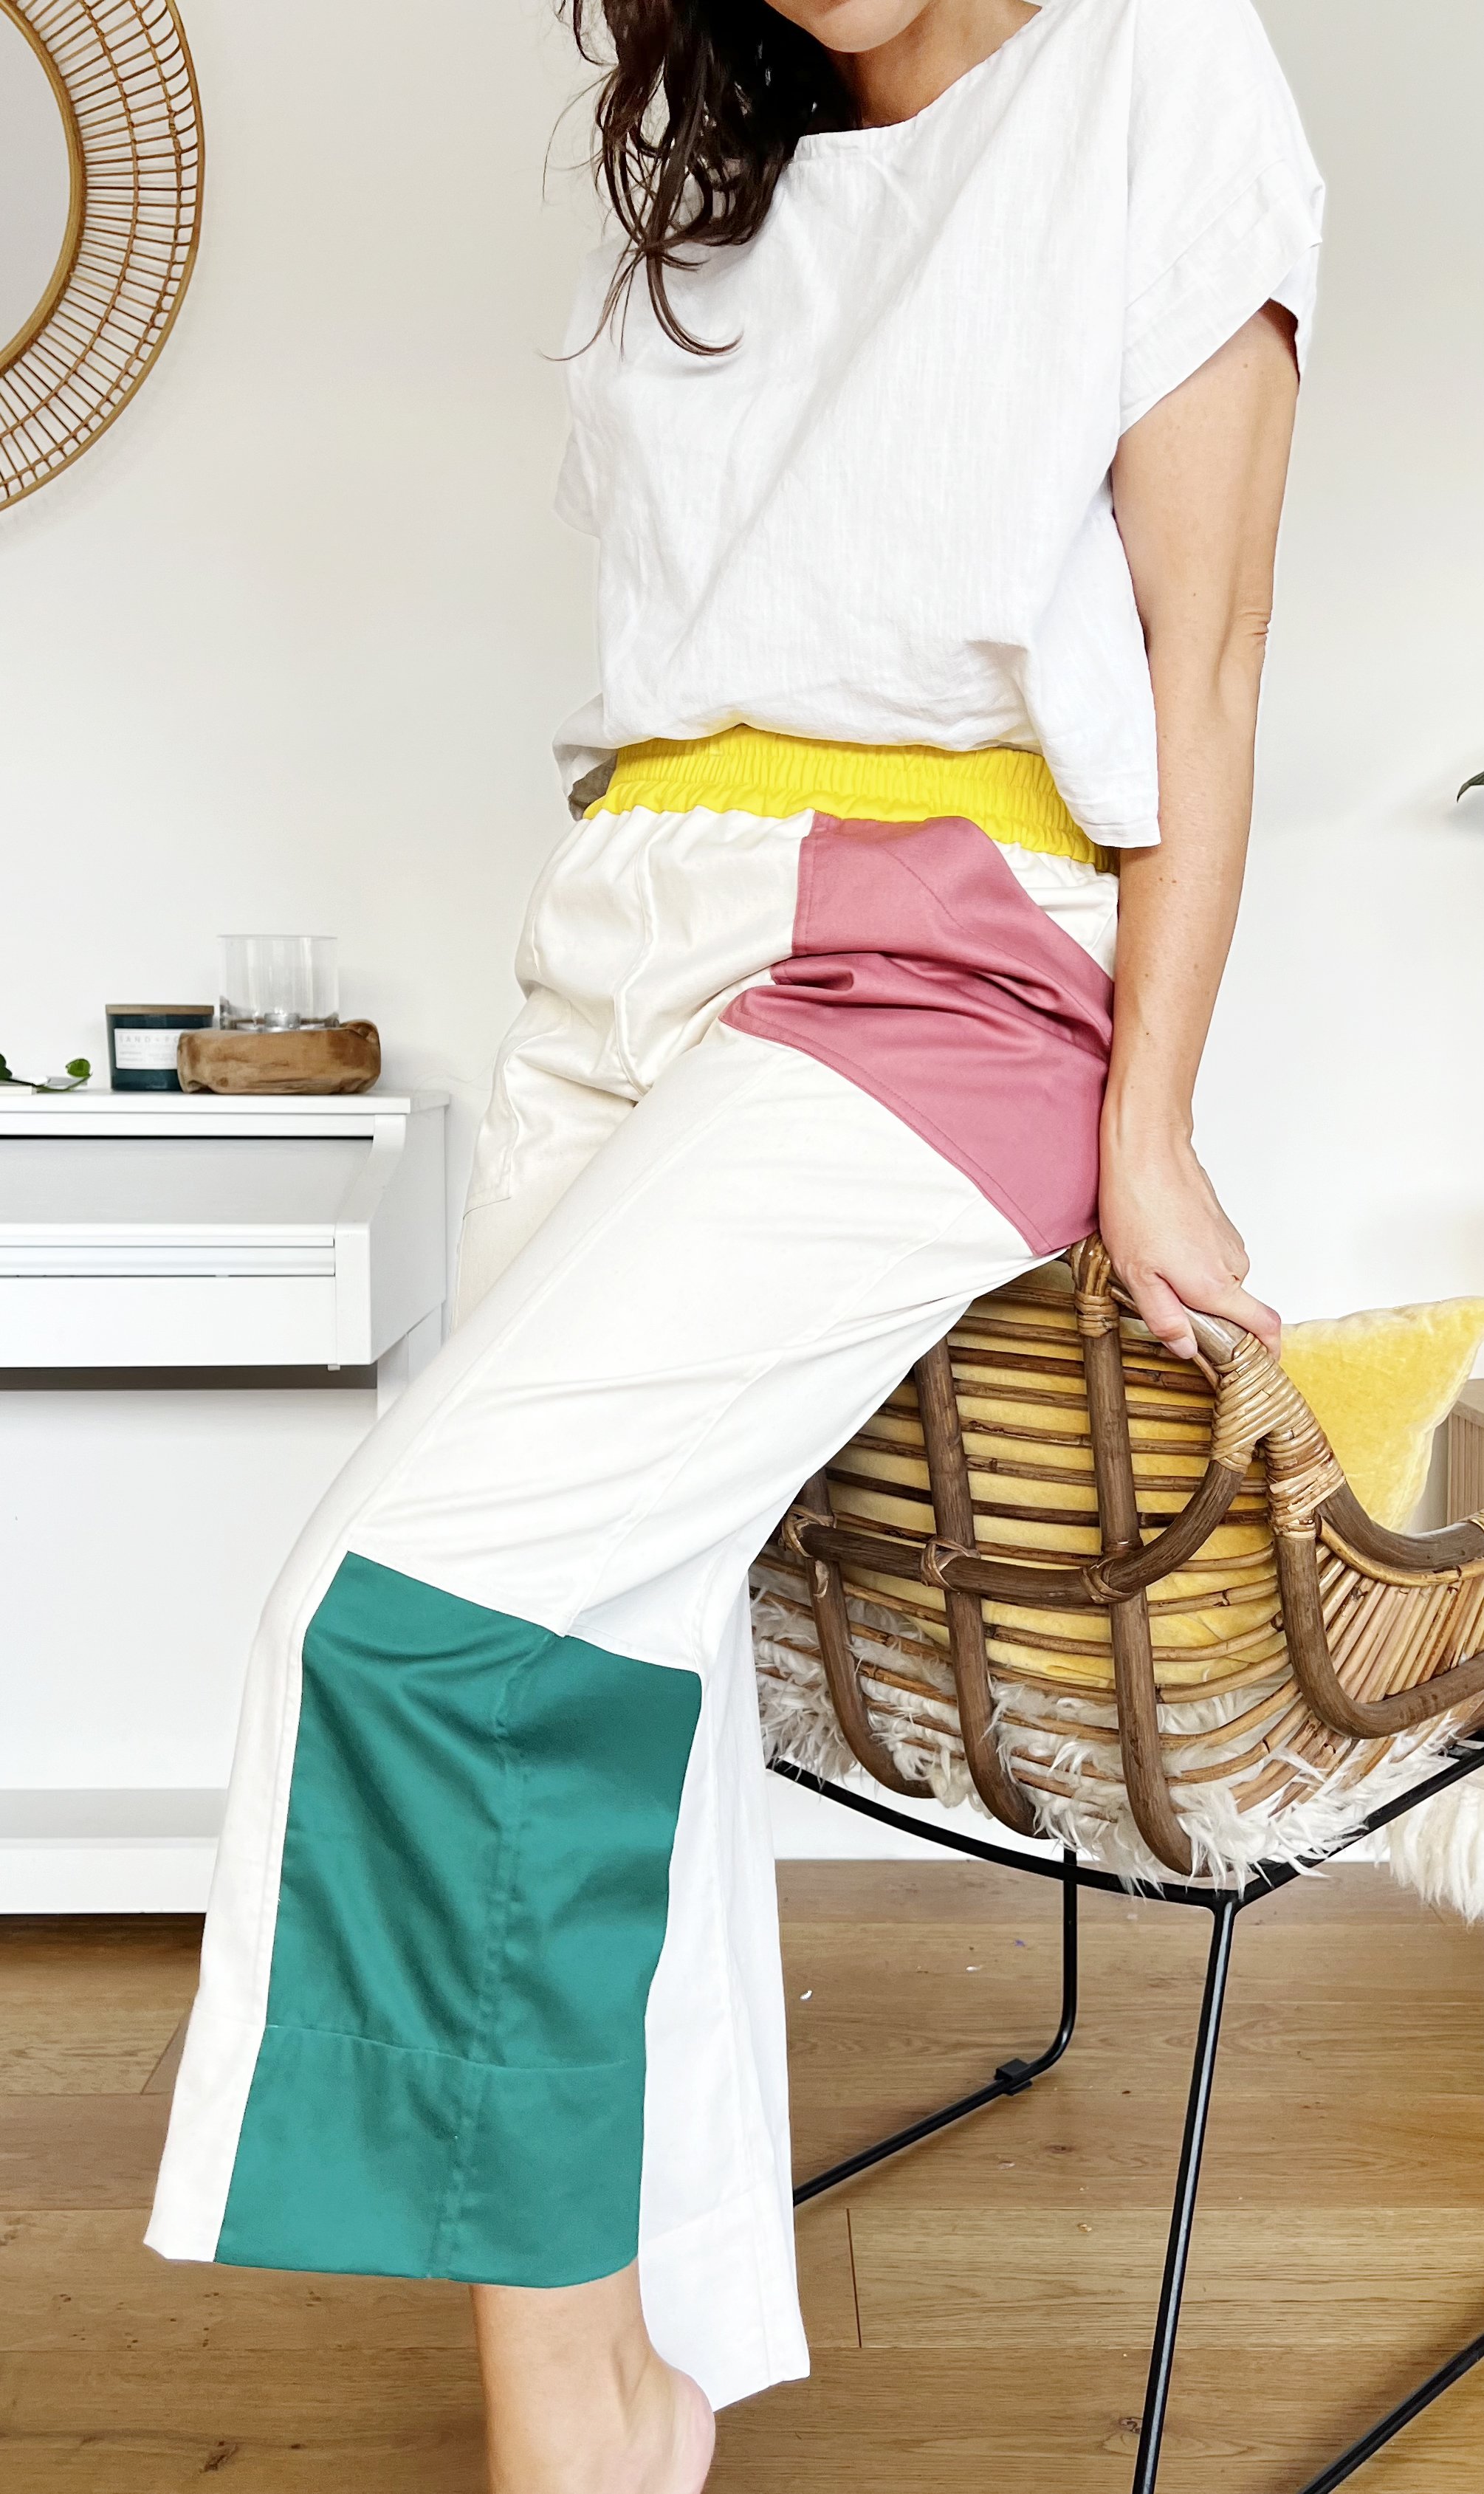
Trendy two piece
Having already traced off a favourite t-shirt of mine during Copy Your Clothes month, I felt I was already halfway towards a matching set!
And I knew exactly which much-loved pair of comfy pants to trace off to complete the outfit. The only question was, which fabric?
Having recently moved to Melbourne I’ve been enjoying discovering local sustainable fashion brands. During my explorations a theme started to emerge–matching sets in stretch velour. Pretty out there, but also kinda cool.
Alas, the price tags were often quite high, but luckily we sewists possess a certain “I could make that myself” mindset and voila! The idea for a stretch-velour #TwoPieceSpectacular was born.
I am still very-much inspired to bring this idea into existence, but since both of the RTW garments I would be using as base patterns fit me perfectly, this project offered little opportunity to explore those pattern drafting techniques I’m so keen to learn, such as grading sizes and other fit modifications.
Plus, I love a good story, and ultimately it was the narrative behind my final idea which sent it straight to the top of the list.
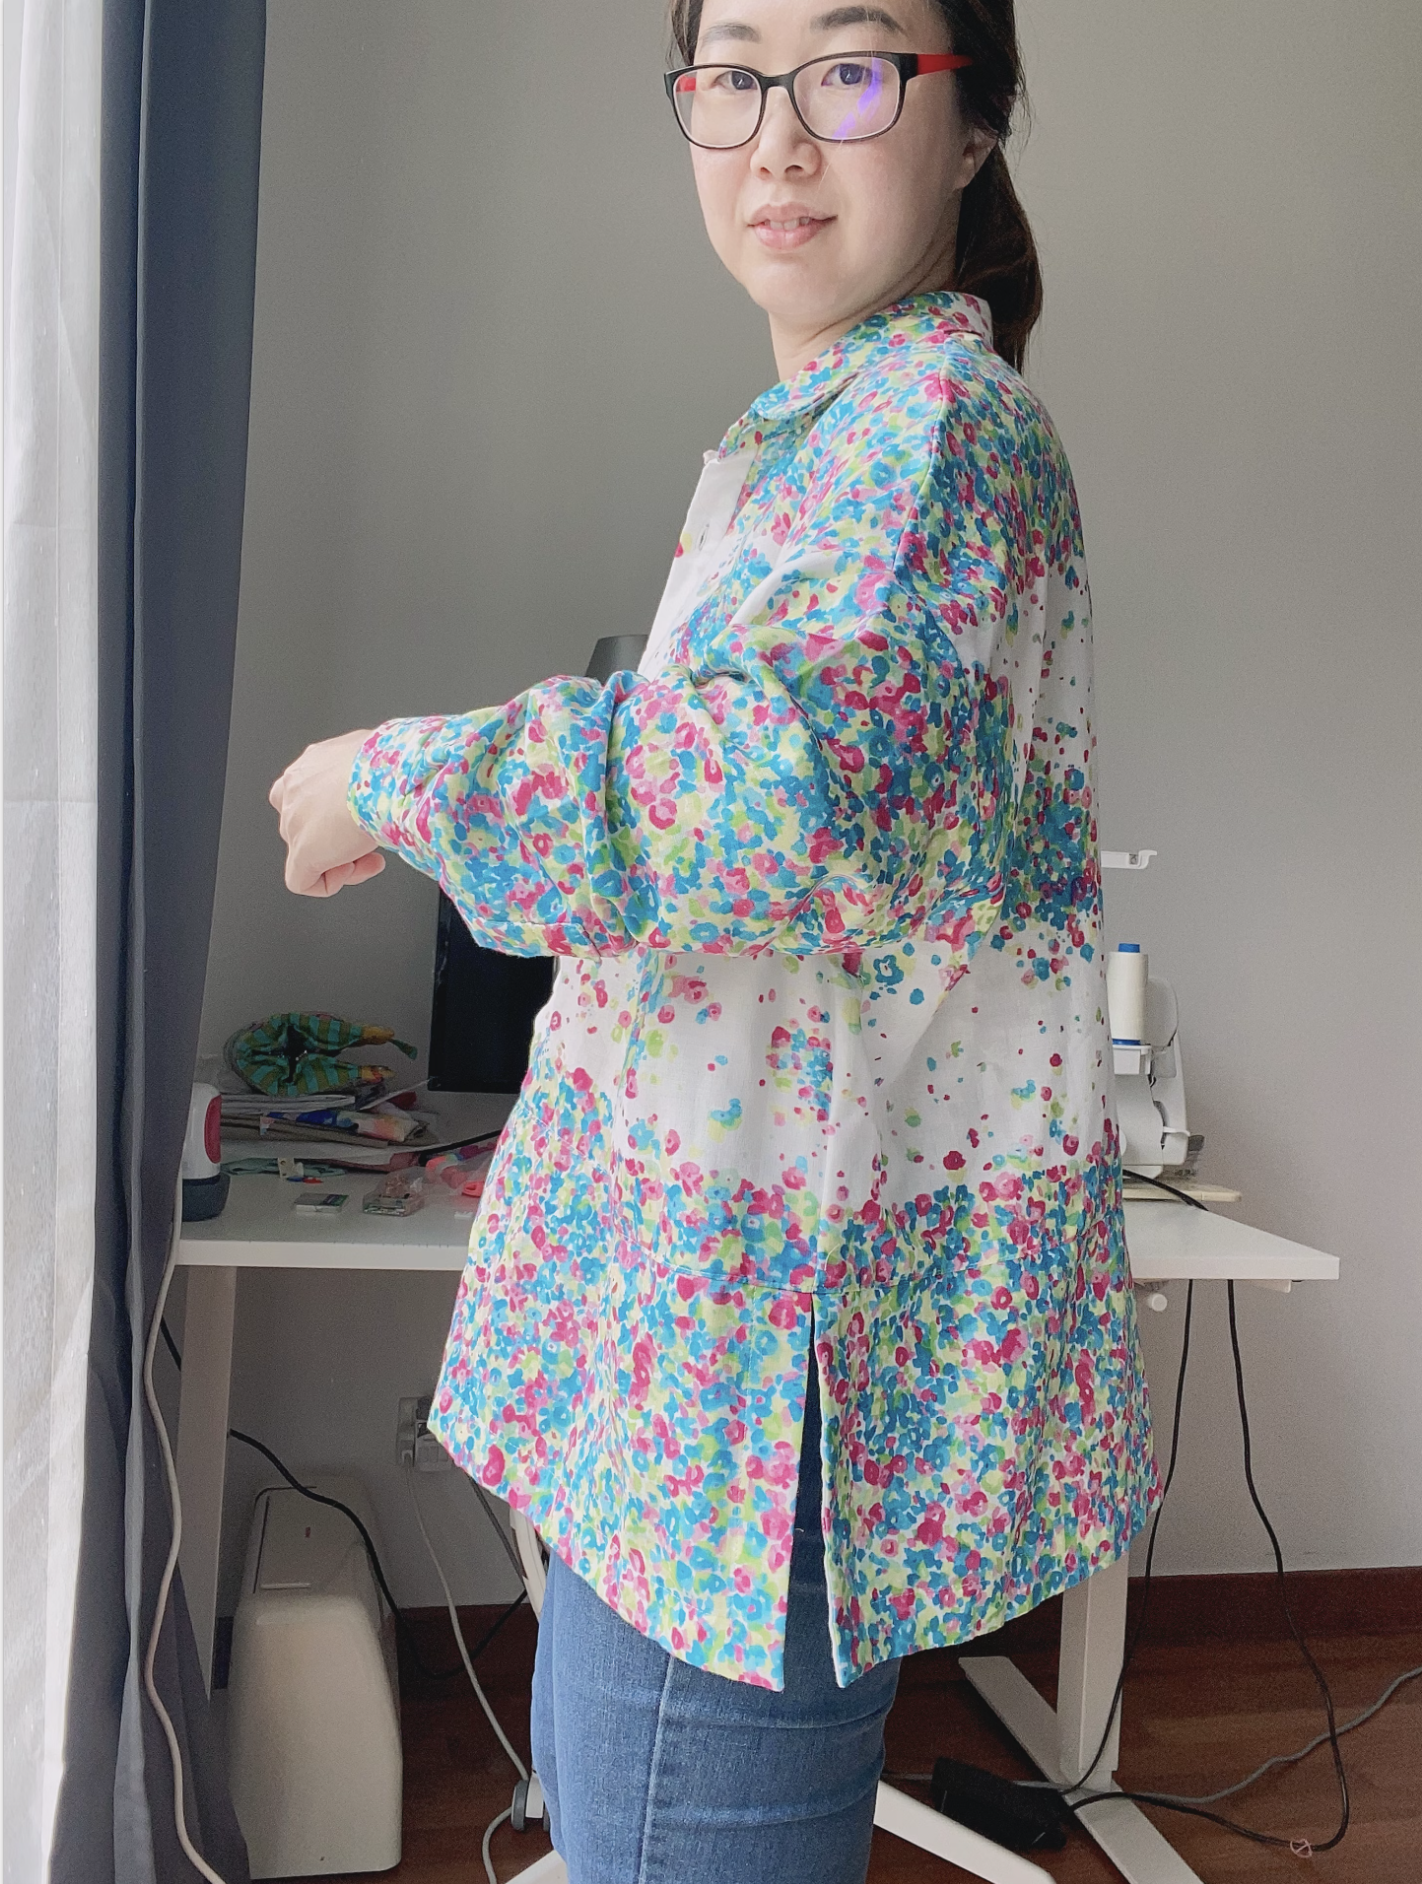
Modernise a sentimental garment and make it more suitable for everyday wear and lifestyle
Thanks to my part Chinese-Malaysian heritage, over the years I have come into the possession of several traditional Peranakan Kebaya blouses, handed down to me from my mother, grandmother and aunties.

These garments have a very special place in my heart, and happily, I got a decent amount of wear out of them while I was a teenager, before I (very sadly!) outgrew them.
As I was preparing for this month’s project, and considering what garment I’d like to personalise using the Make it your own Skills Kit, I was really inspired to create something very unique to me.
As someone whose daily life is spent dedicated to caring for a family, my creative pursuits are a chance to be myself in the moment. They’re an opportunity for mindfulness, self-care and self-therapy. A project focused around my Kebaya blouses seemed to be the perfect fusion of all these elements. It would give me the opportunity to express my own personal modern style, while honouring my family’s traditional ceremonies and celebrating my cultural heritage. I also loved the idea that an everyday staple could be imbued with a touch of sentimental nostalgia.
I often find that my most successful projects are a result of a spark of an idea channelled thoughtfully into something with purpose. For me, the best handmade garments are a combination of having an interesting narrative, being aesthetically beautiful and serving a clearly defined function. And this definitely ticked those boxes!
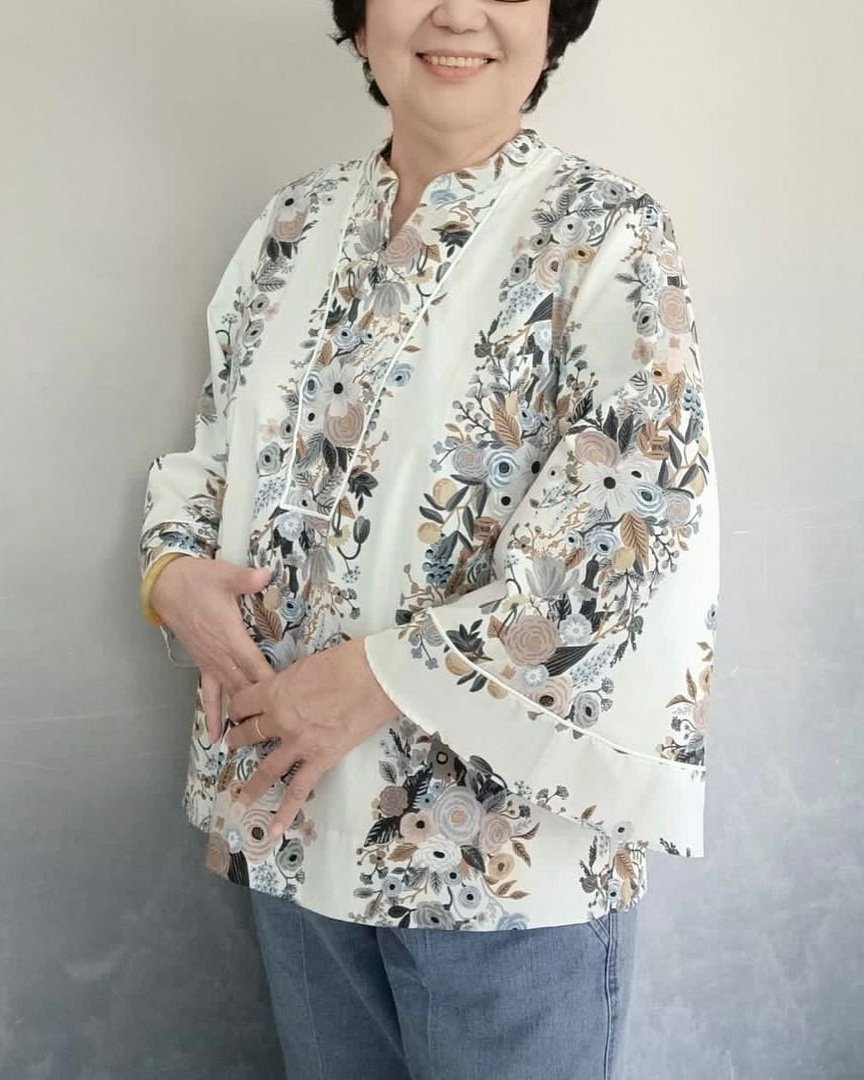
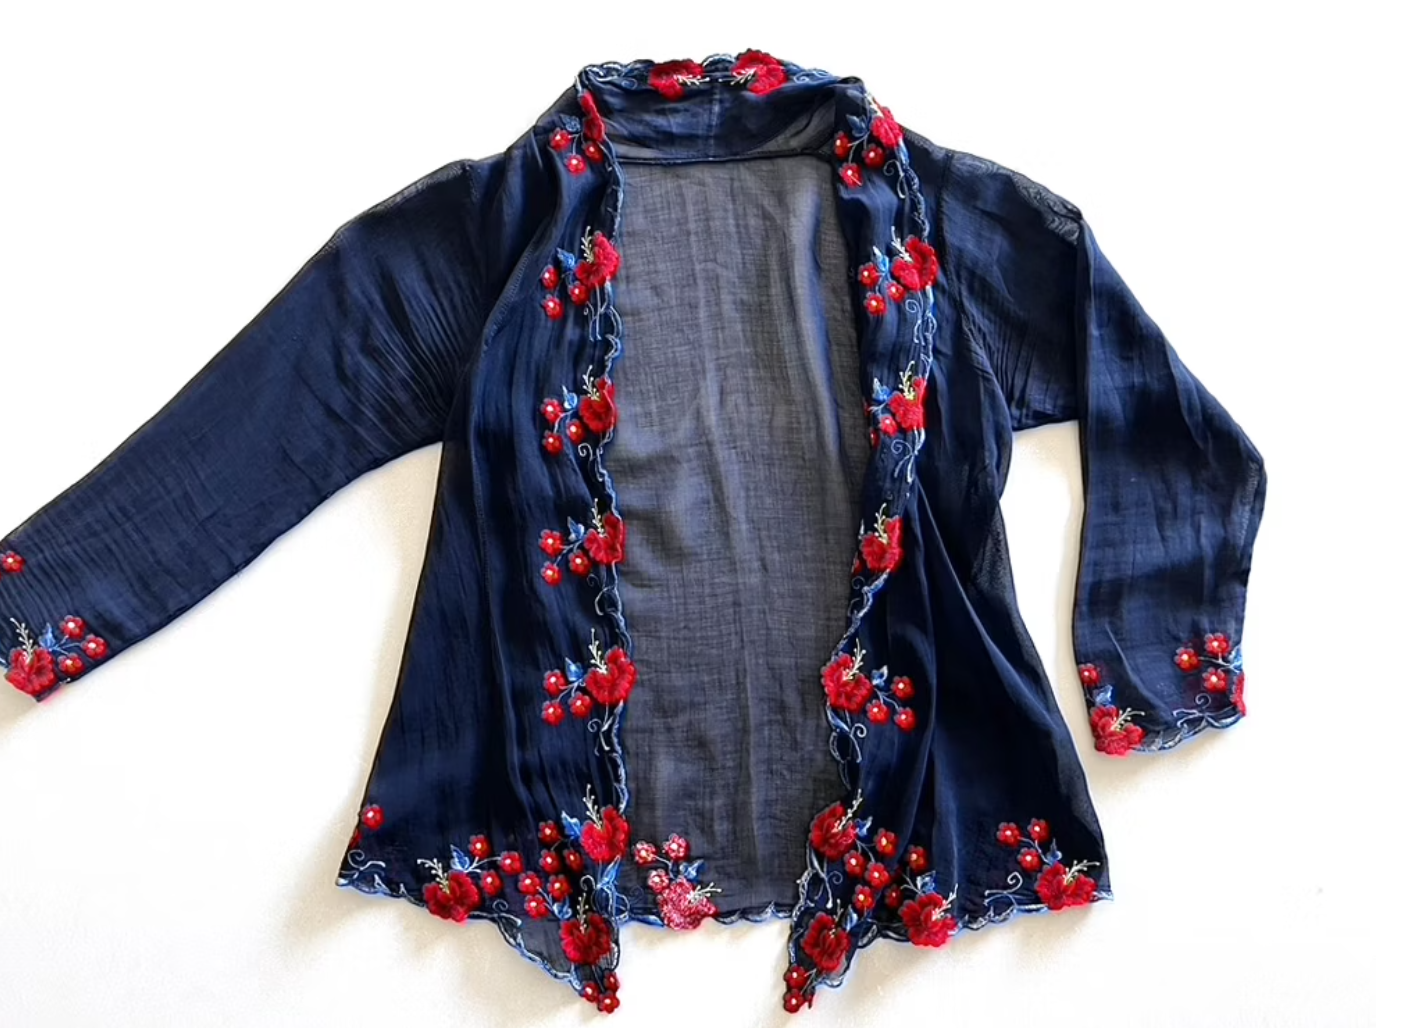
What is a Kebaya?

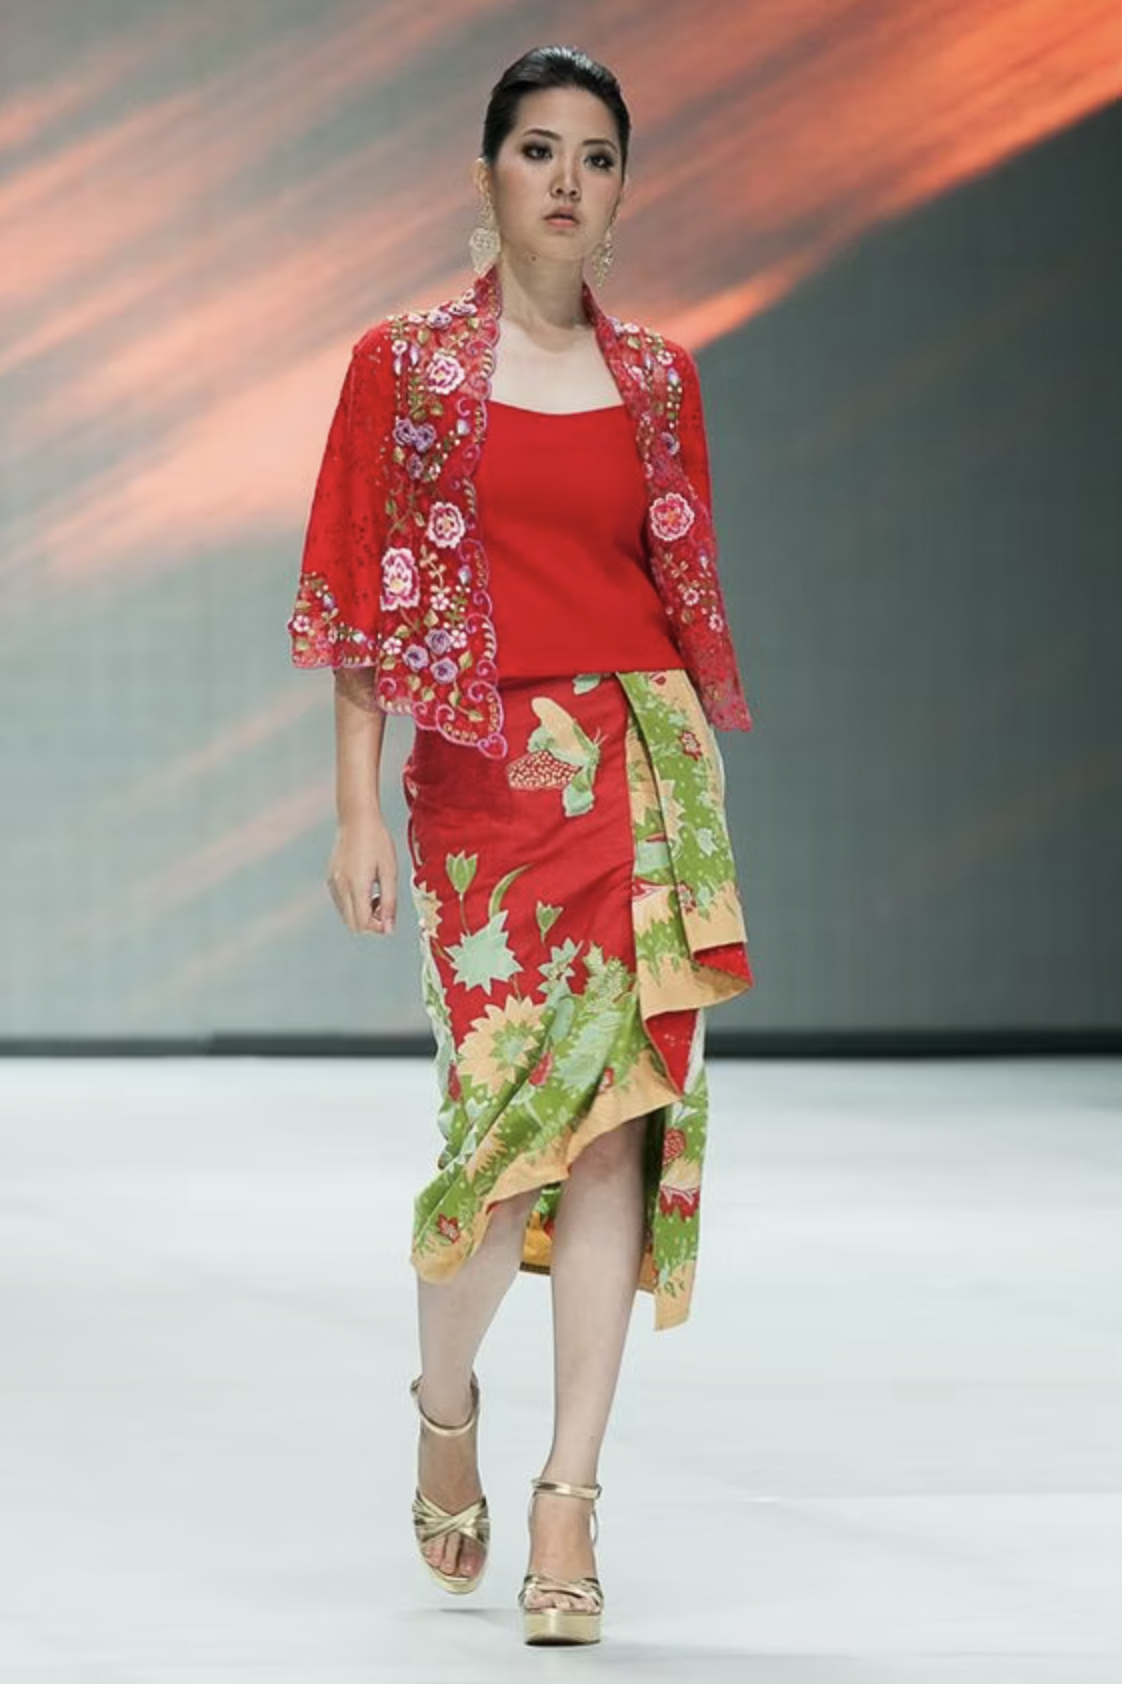
A Kebaya is an elegant blouse worn throughout South-East Asia to formal events and ceremonies. (There are variations of this traditional garment – in my description here I will be referencing the particular ones I have inherited.) It is commonly paired with a sarong skirt, essentially a tube of fabric, tucked to fit.
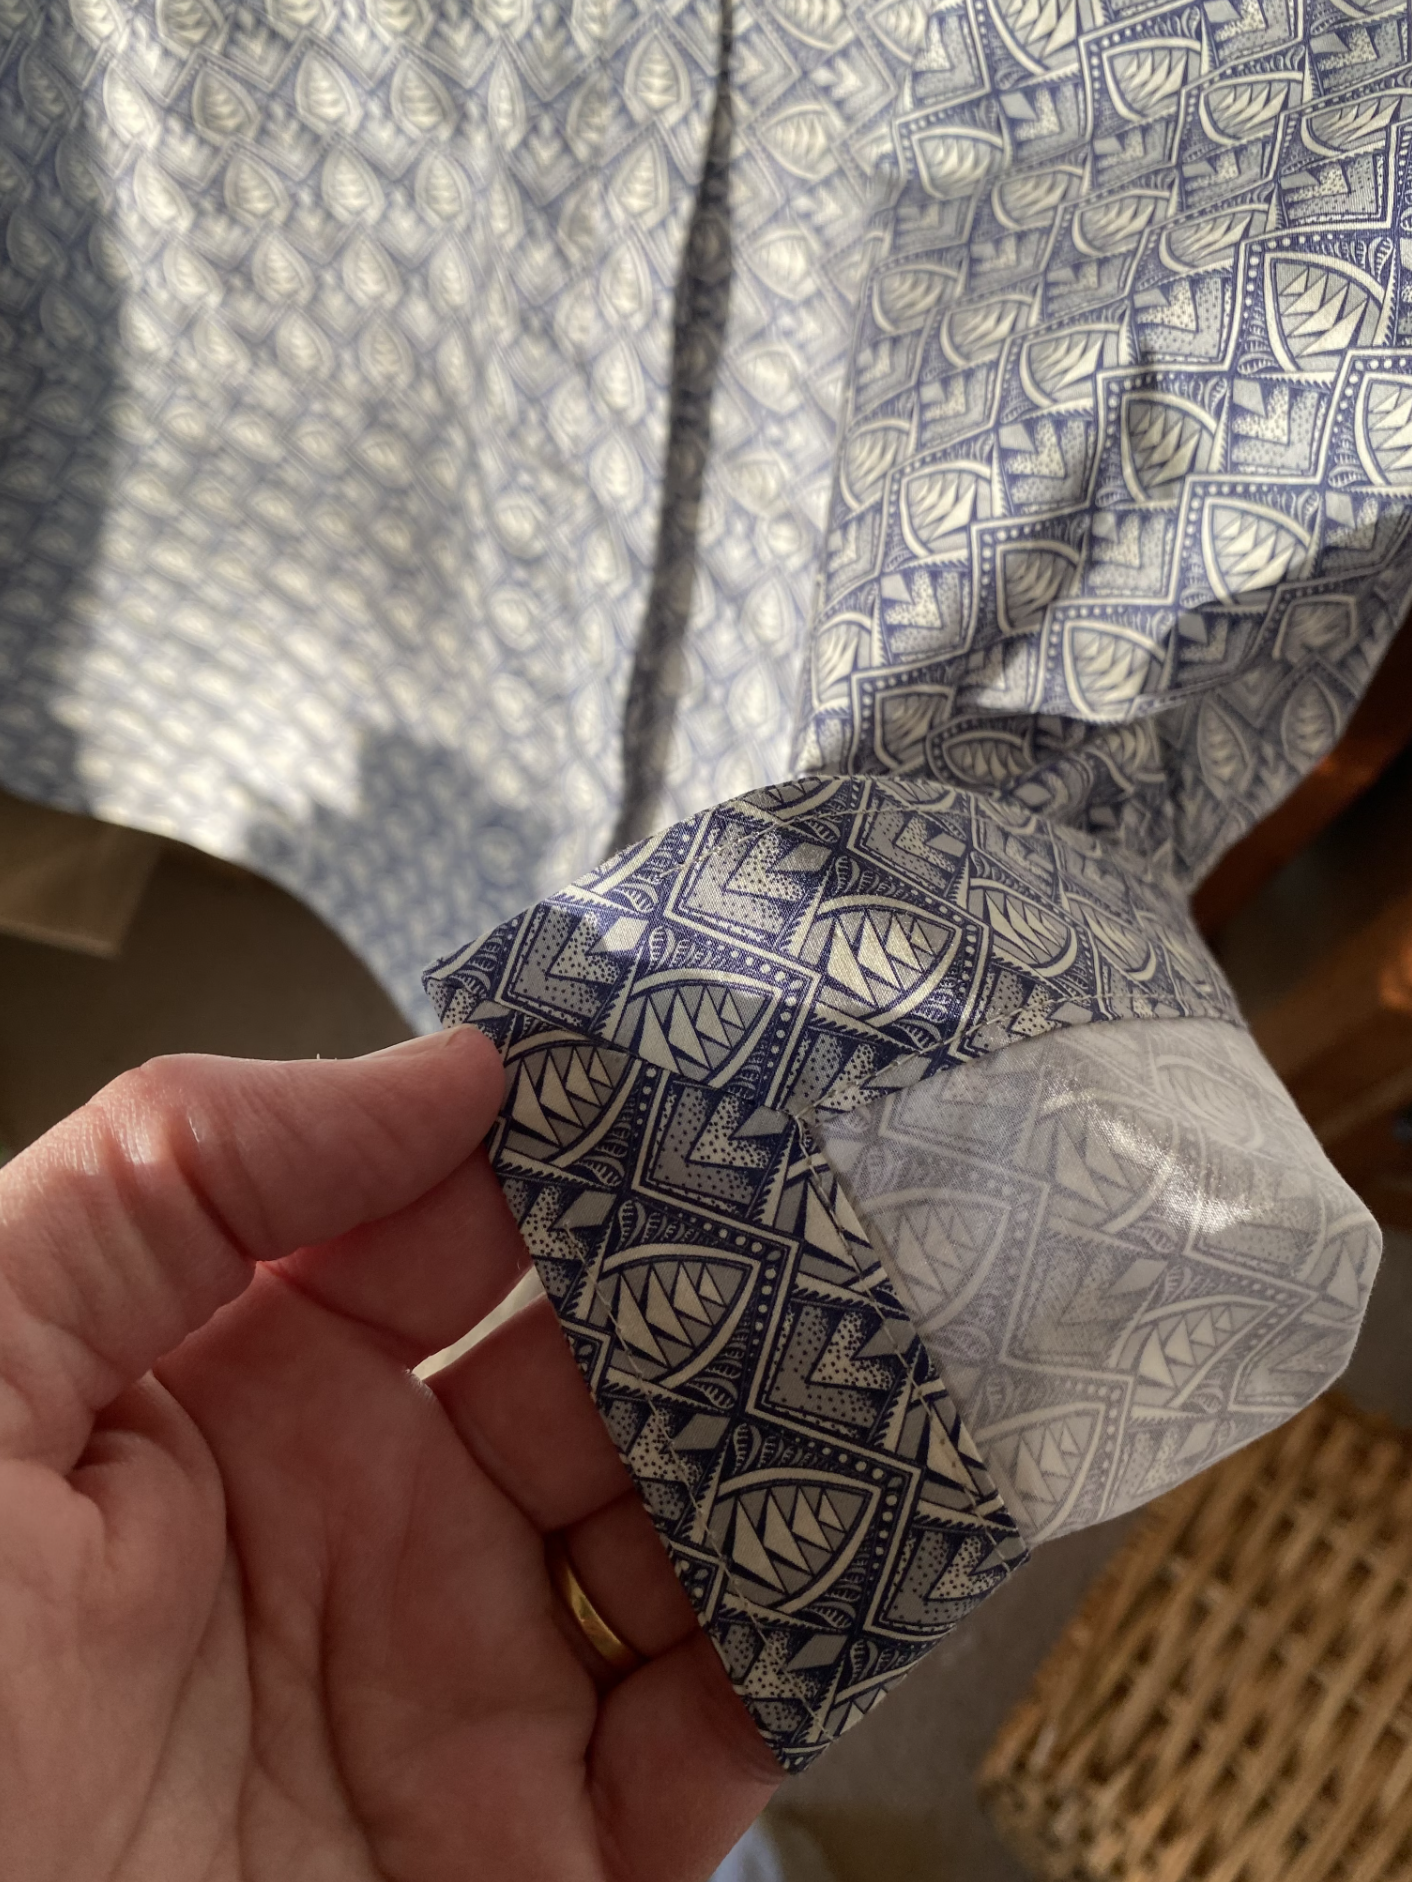
Typically made from sheer materials, like silk, cotton or nylon, and embellished with intricate and often colourful embroidery and lace, a Kebaya has a tailored fit with fisheye darts in the back bodice. It has a deep v-neck and is usually fastened with a brooch around bust height, with the bodice lower front hanging freely and the centre front often tapering to an elongated point. The sleeves are 3/4 length.
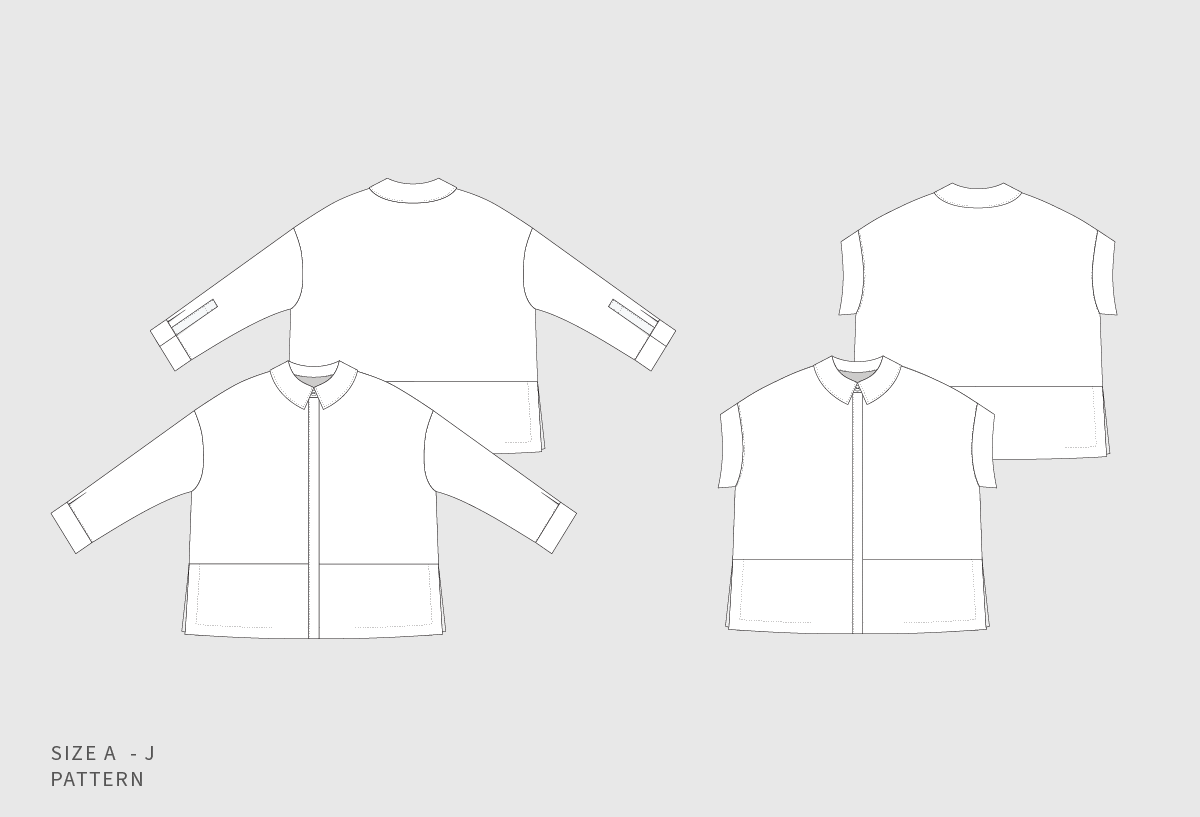
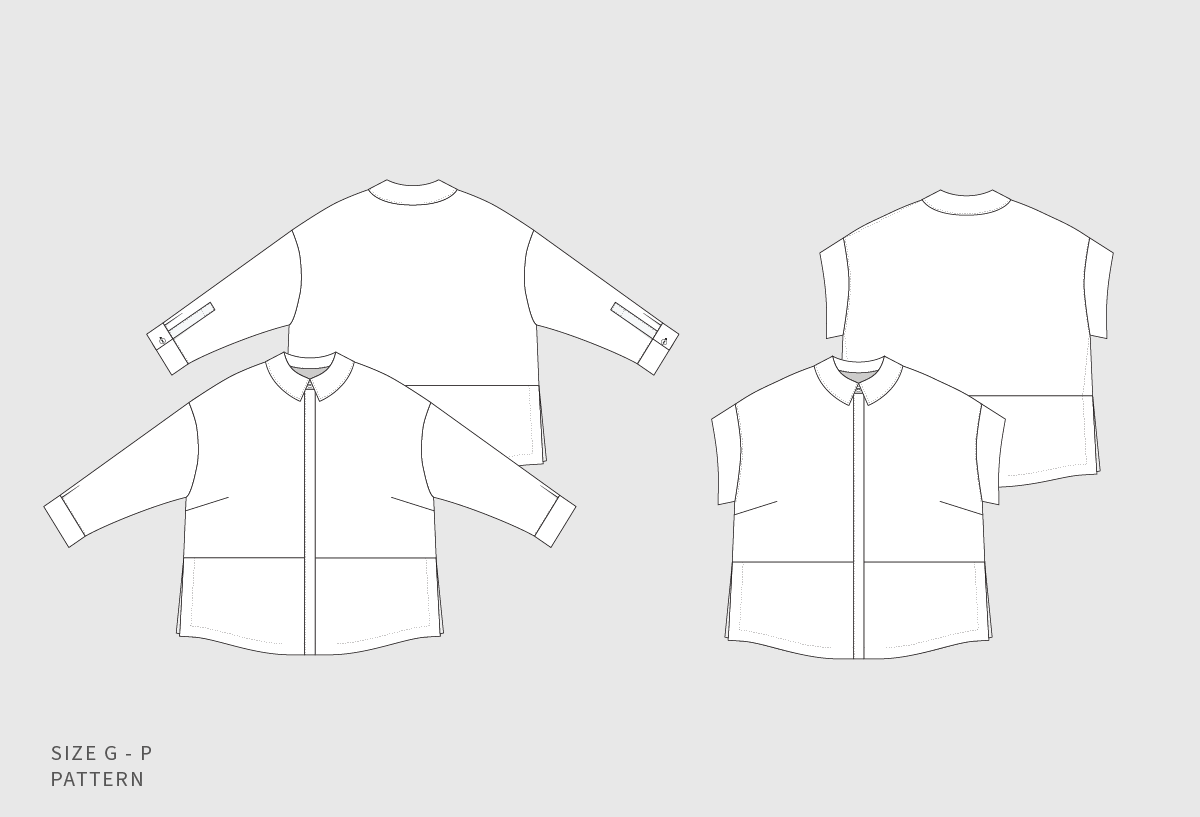
My Kebaya project - Blending tradition, cultural heritage and personal style
Apart from grading up in size to fit my adult body, there were a few must-have modifications that the finished garment needed to include. Using the original and traditional Kebaya pattern as a base, I want to:
Create a neutral version suitable for everyday wear and not limited to special occasions. (Sadly no embroidery or delicate/ sheer fabrics.)
Potentially incorporate front ties to eliminate the need for a brooch fastening. Brooches don't fit into my daily lifestyle looking after my little kids, and in the past I found the brooch damaged the fabric leaving a visible hole in the garment.
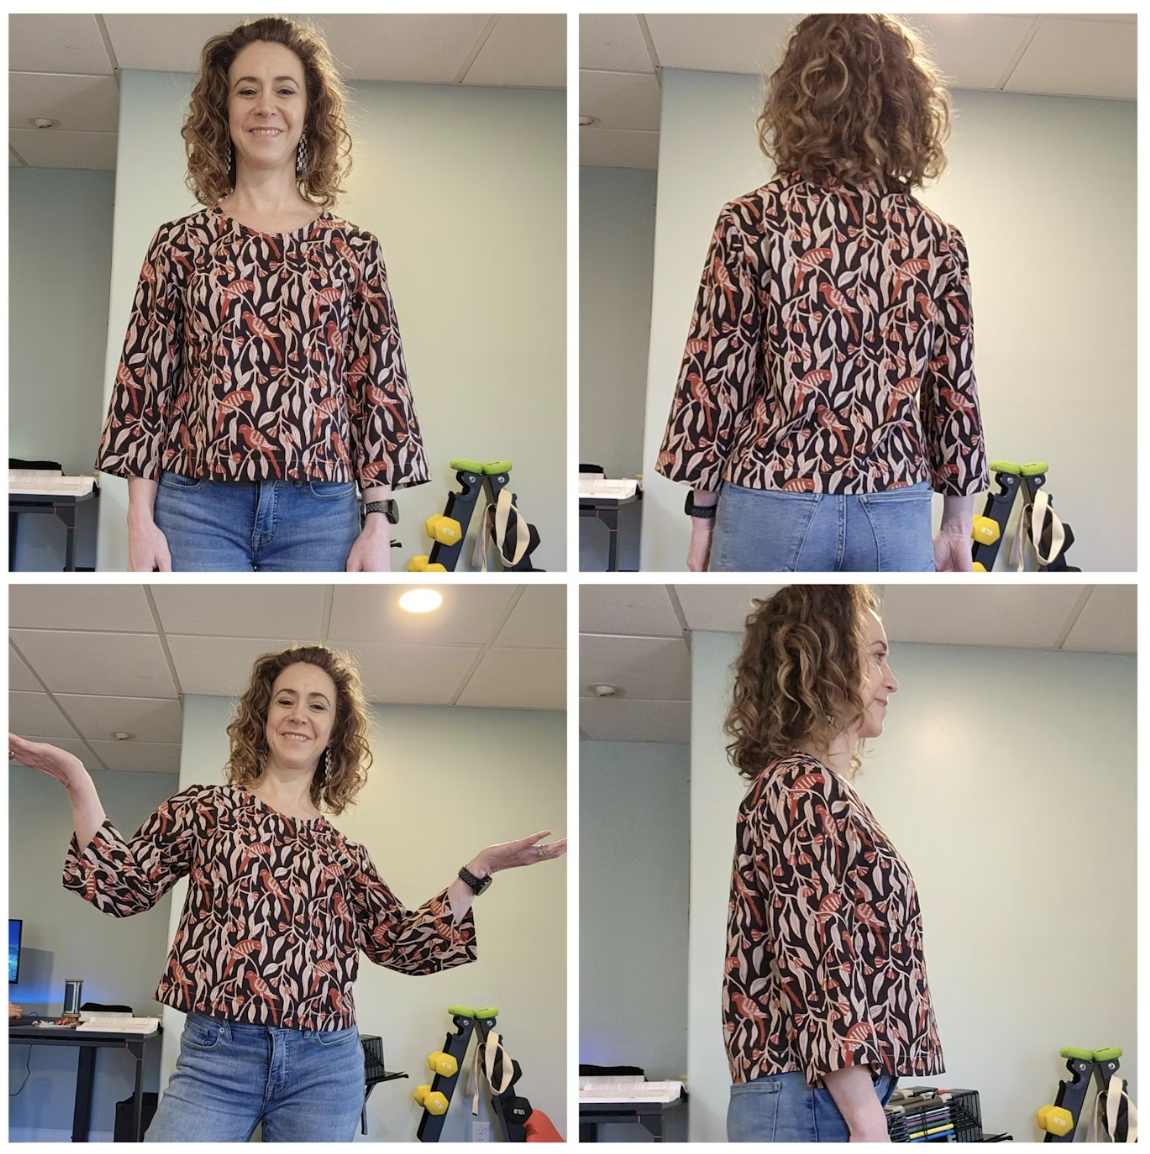
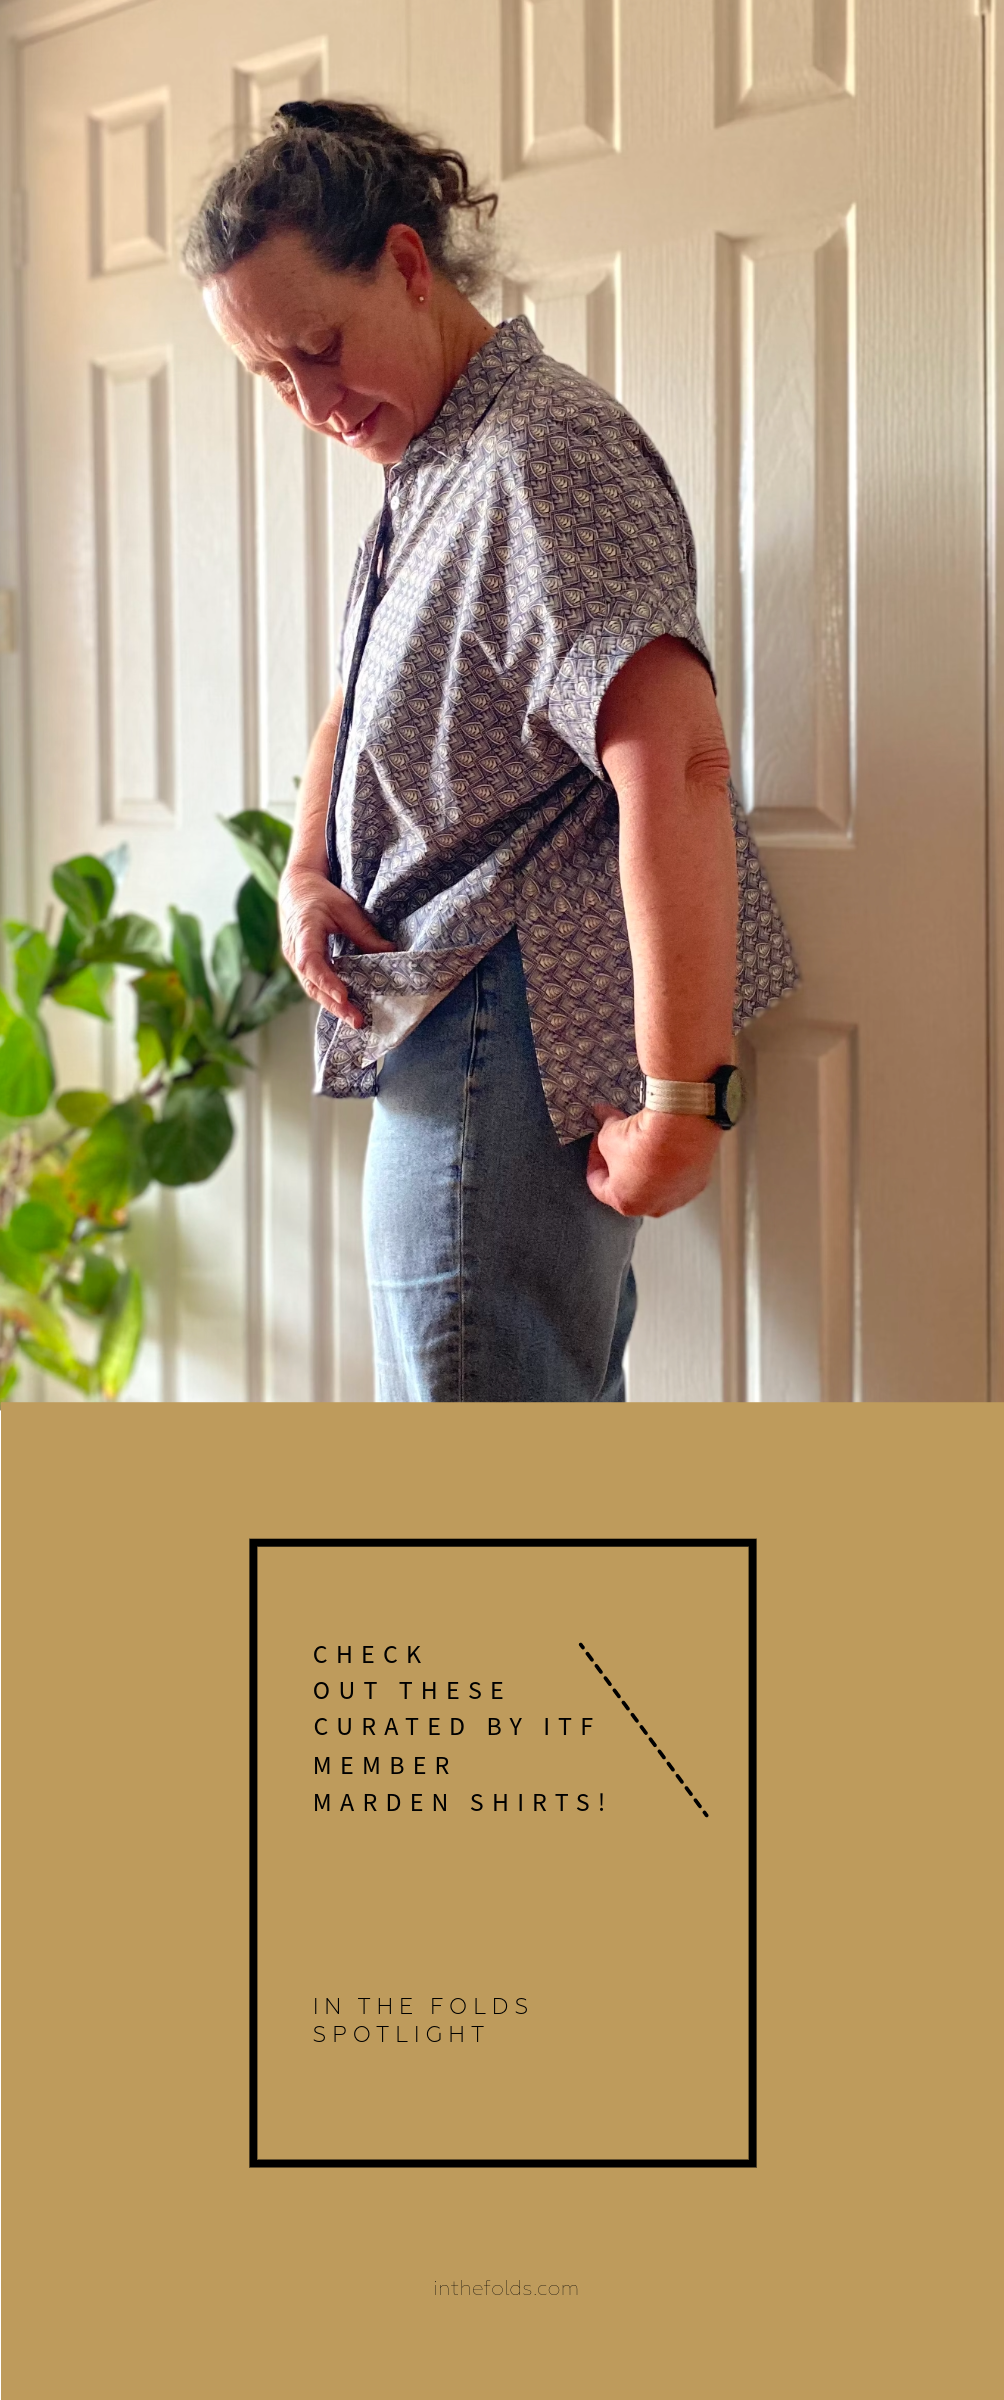
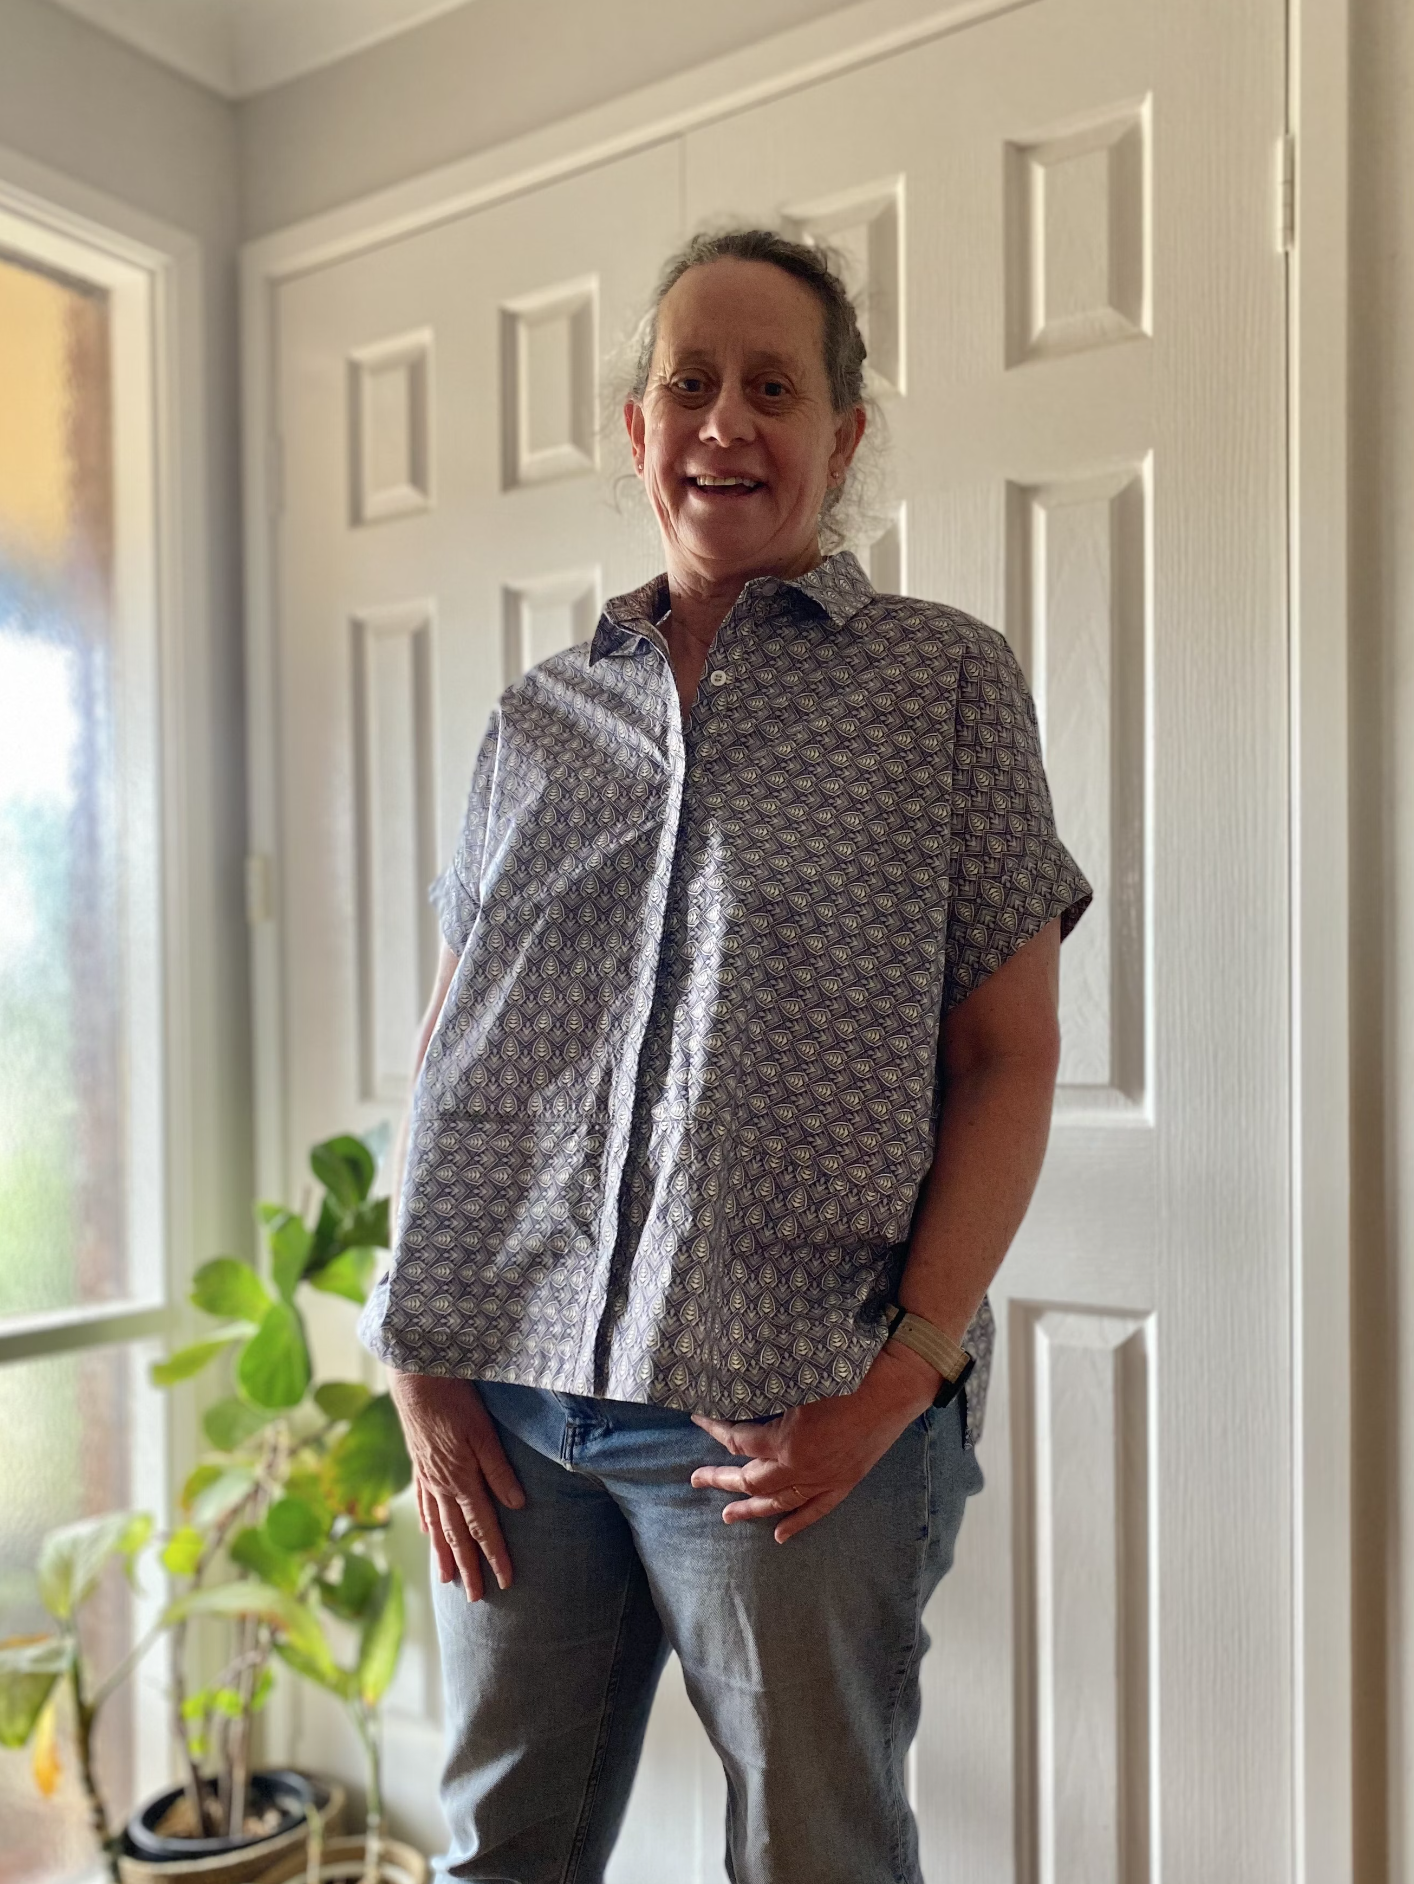
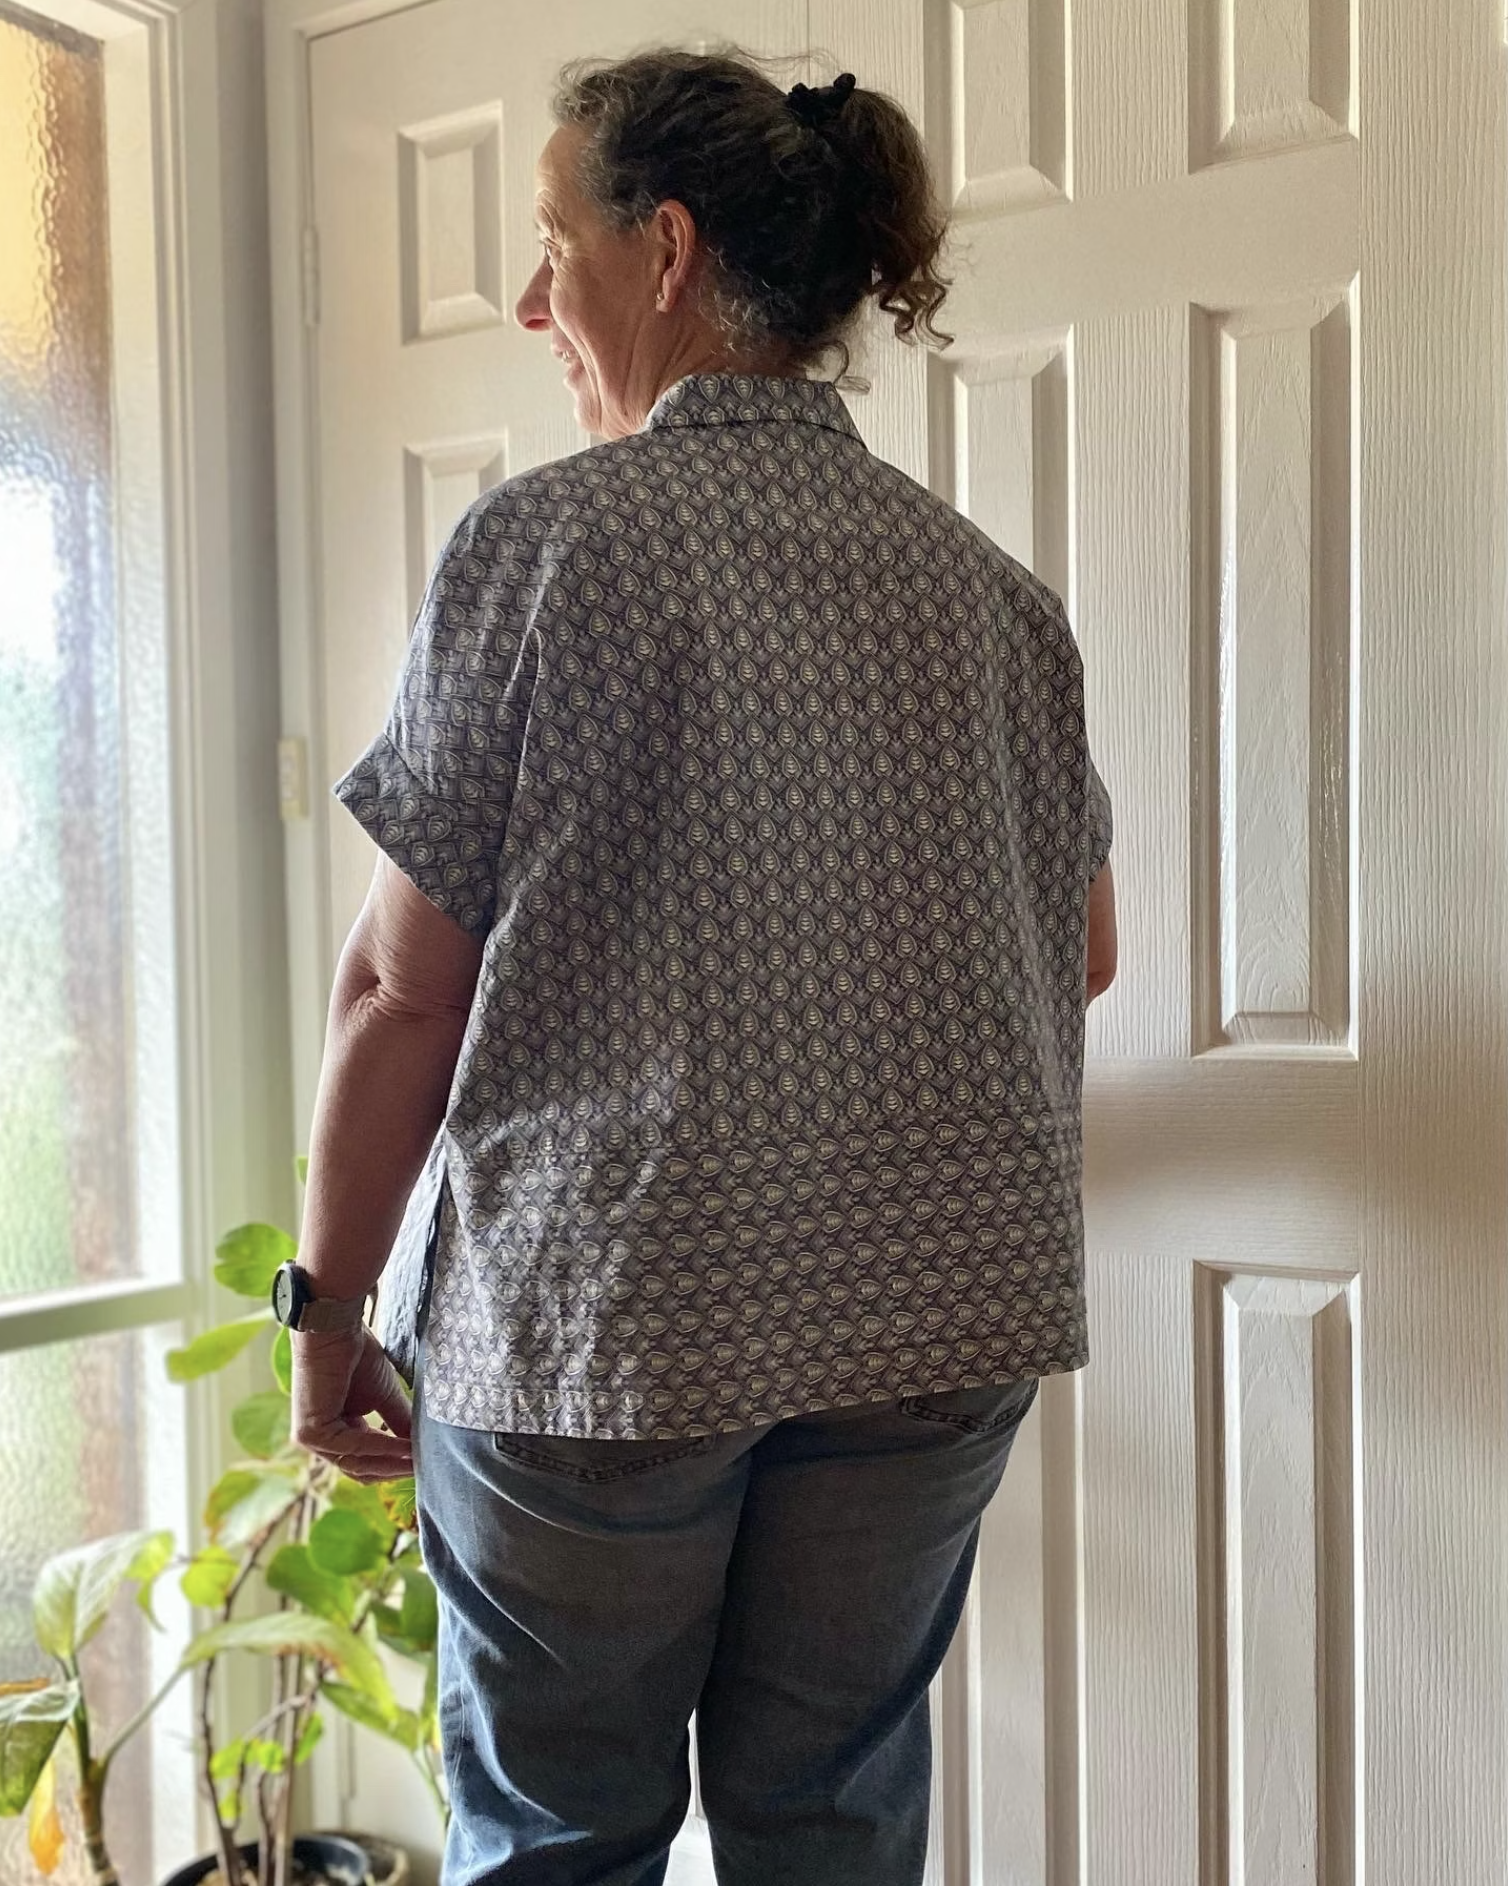
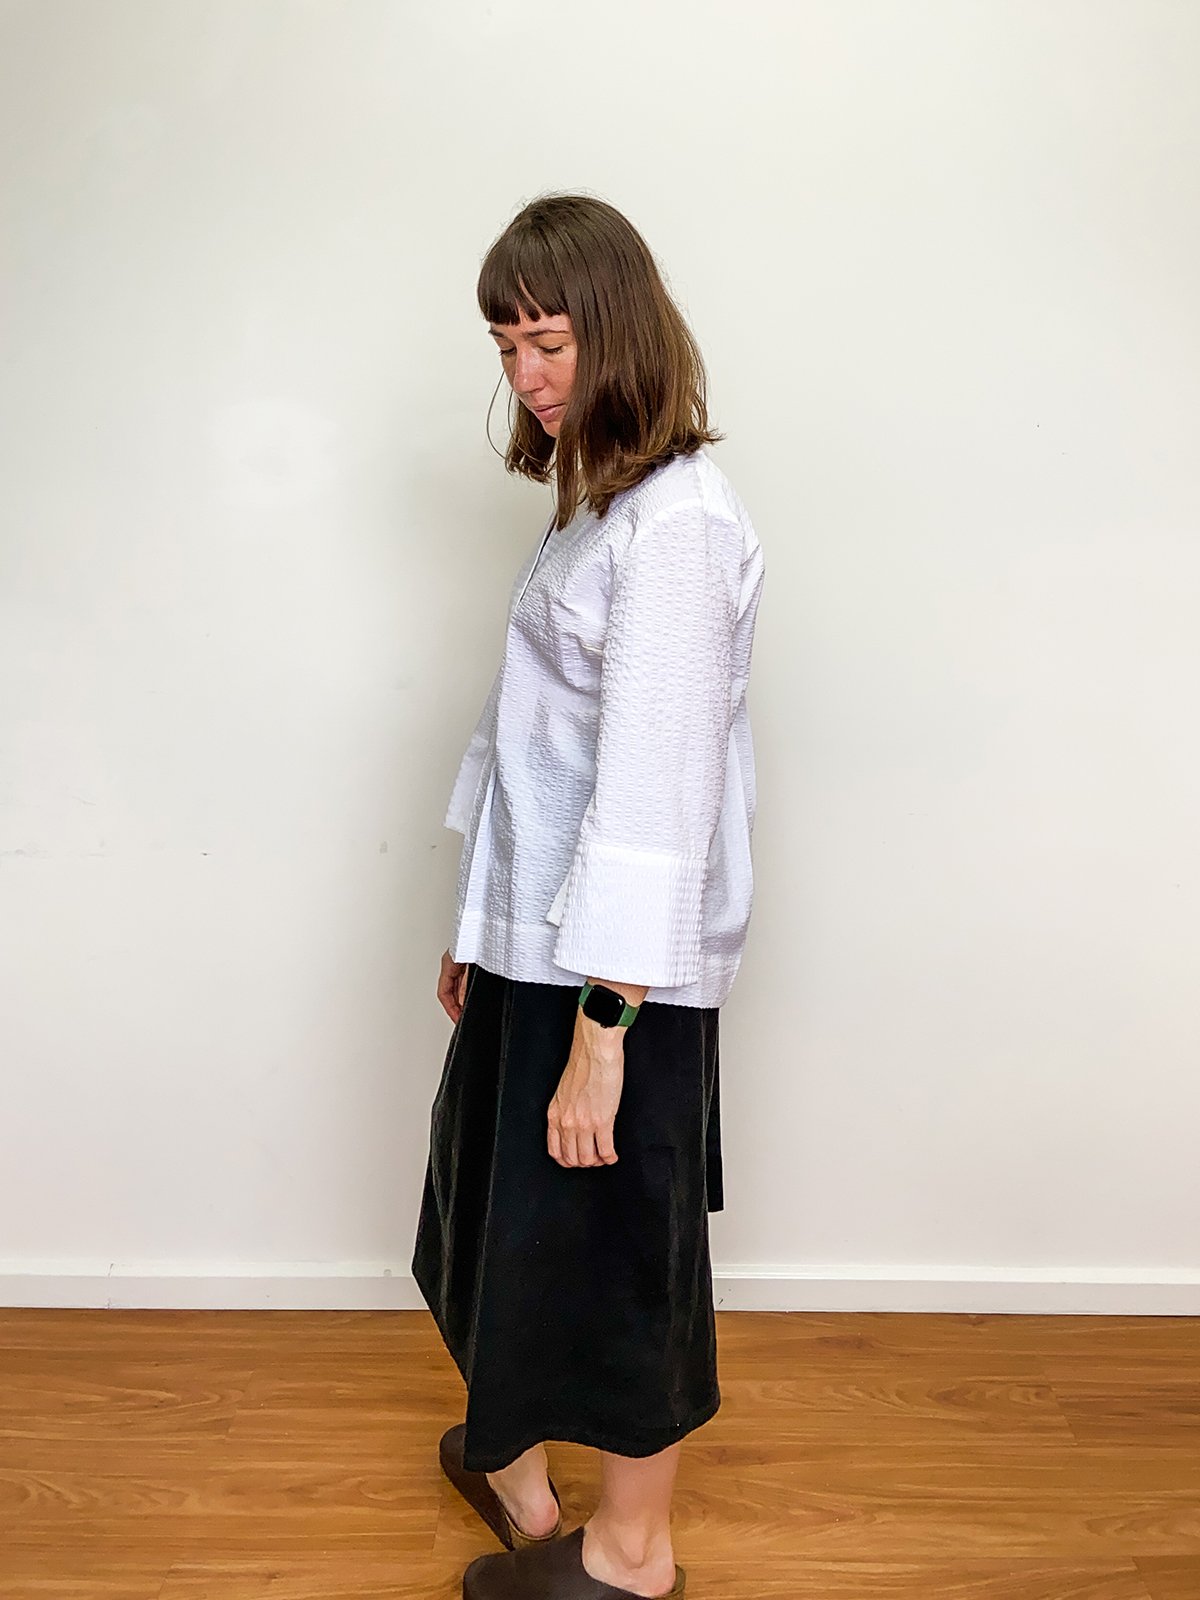
Modernise the feel by cropping the length and removing the darts to create a boxier fit. I like the length and feel of the Kebayas below, they seem more casual and jacket-like. I'm going for a light layering piece rather than a form fitting blouse.
Either finish the edges with bias binding to mimic the front ties or draft a facing and possibly leave off the ties.
Consider the amount of design ease to take the garment from being a blouse to a light layering piece or outerwear jacket.

The Kebaya below is a more recent one I bought when visiting Singapore 5 years ago. It was intended to be a present for my mum but unfortunately it was too small for her, and it's a little snug on me too. This is the one I'm choosing to trace off for my pattern, as it is the one closest in size to my current measurements.

When it comes to sewing garments, the Make It Your Own Skills Kit really opens up a world of opportunities. I hope I’ve given you some ideas for how to use the resource to personalise your wardrobe, and make your garments suit your style and life.
I can’t wait to share the finished Kebaya project with you. Stay tuned!
Happy sewing,
Leanne
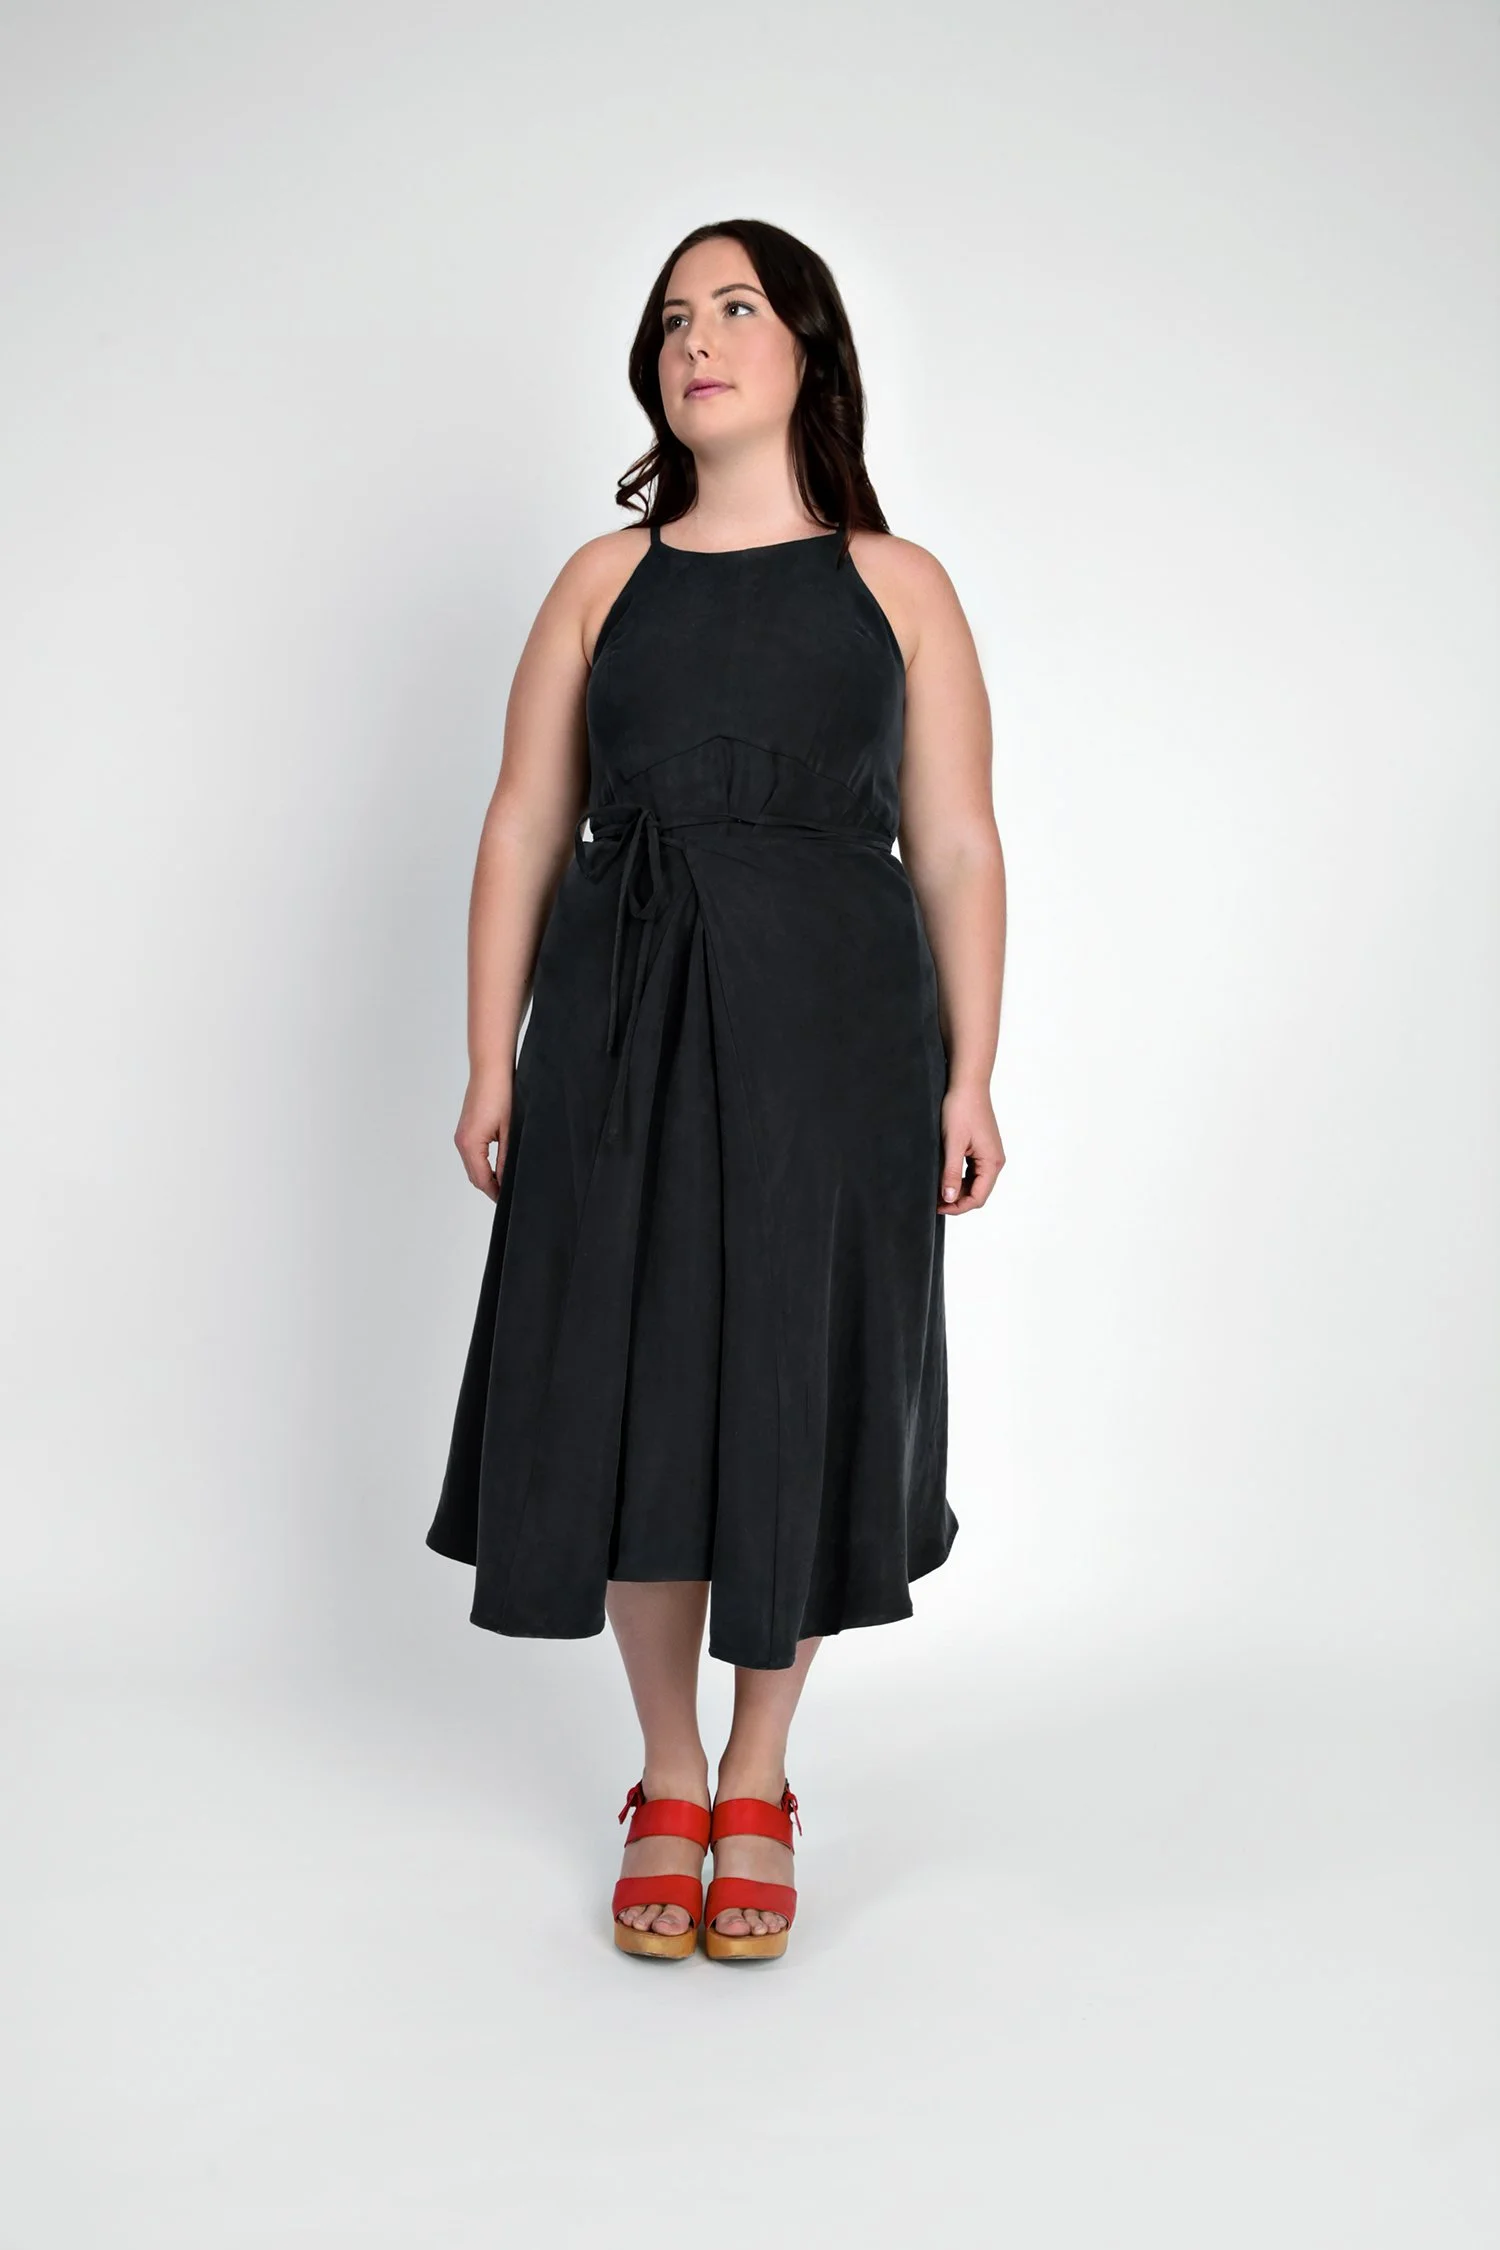
WHAT YOU’VE BEEN MAKING…

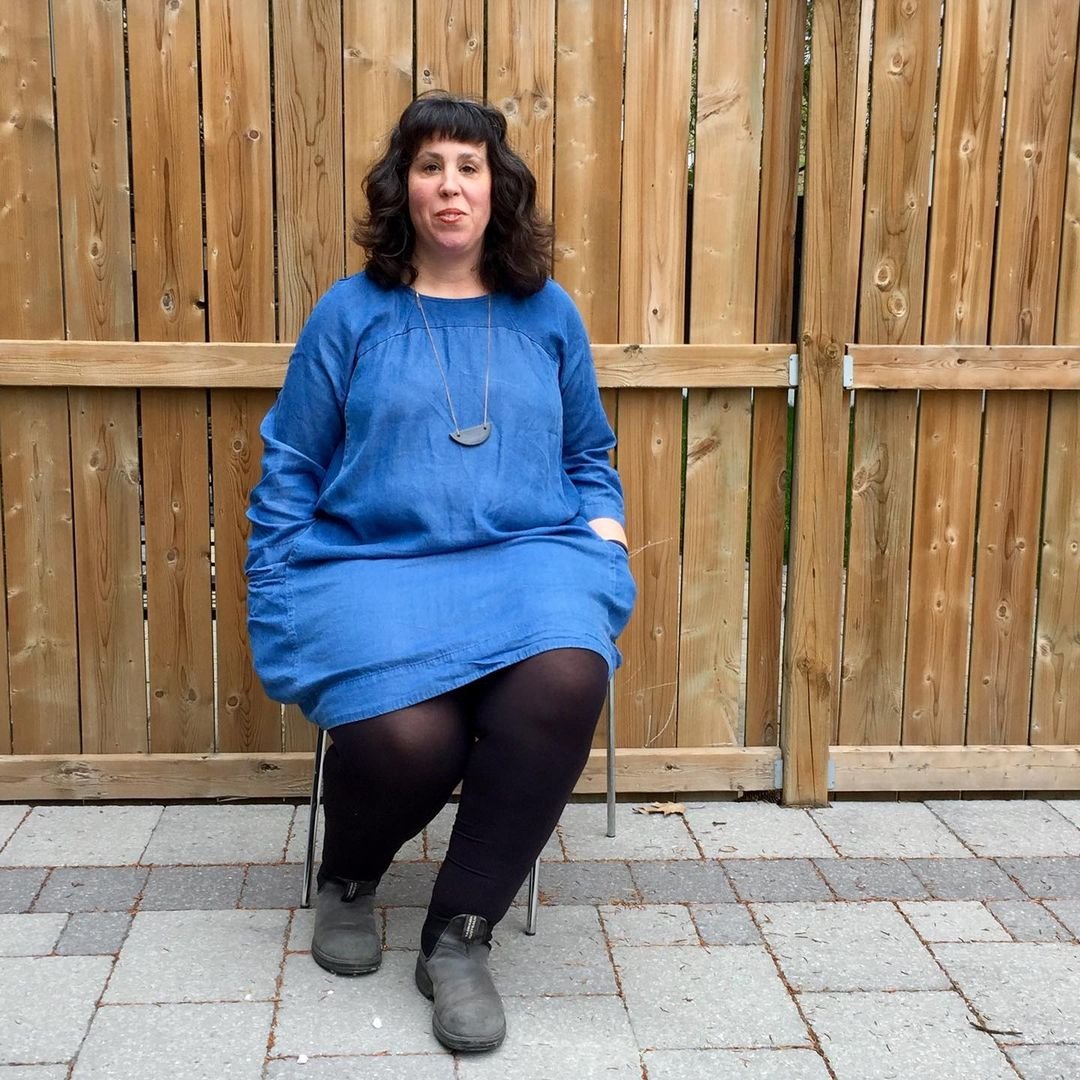
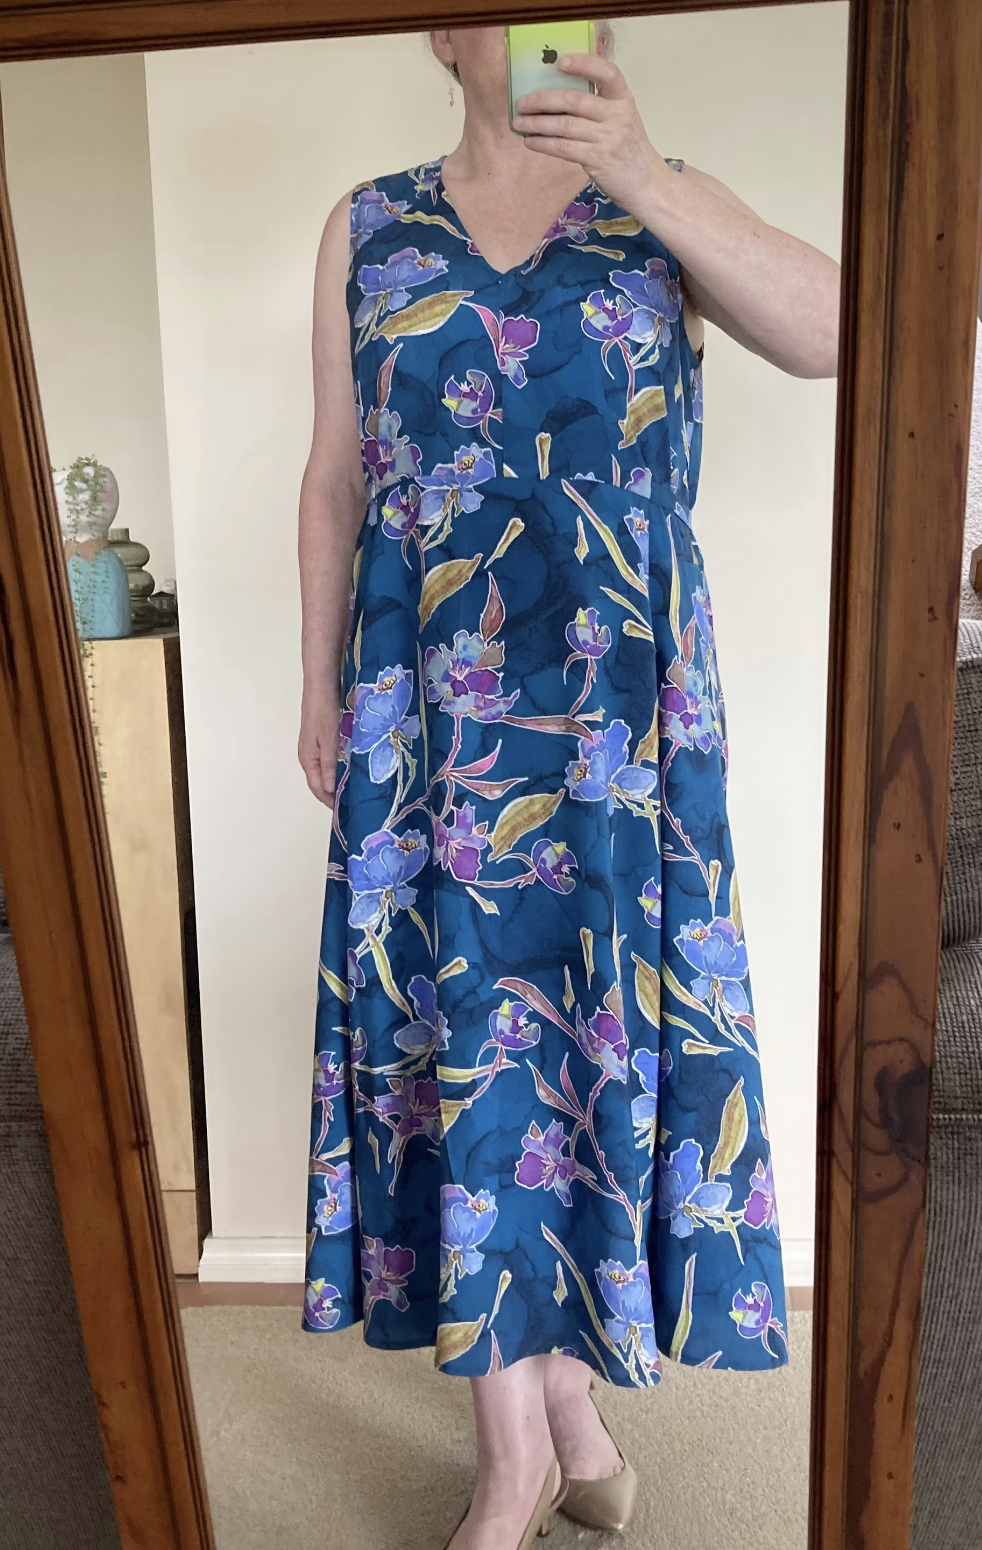
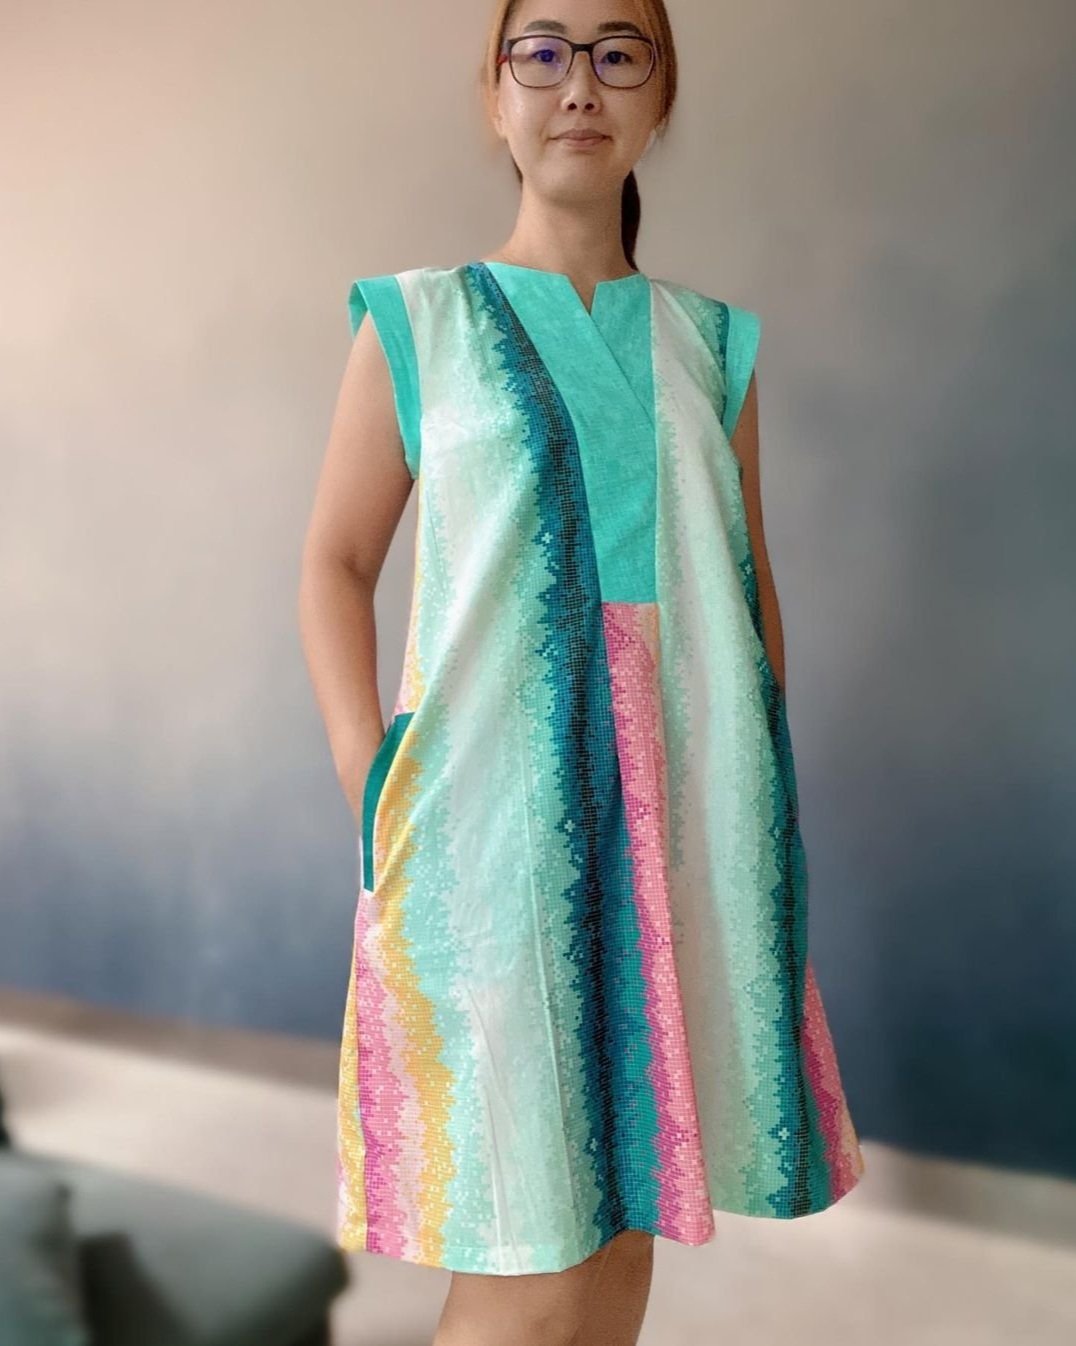
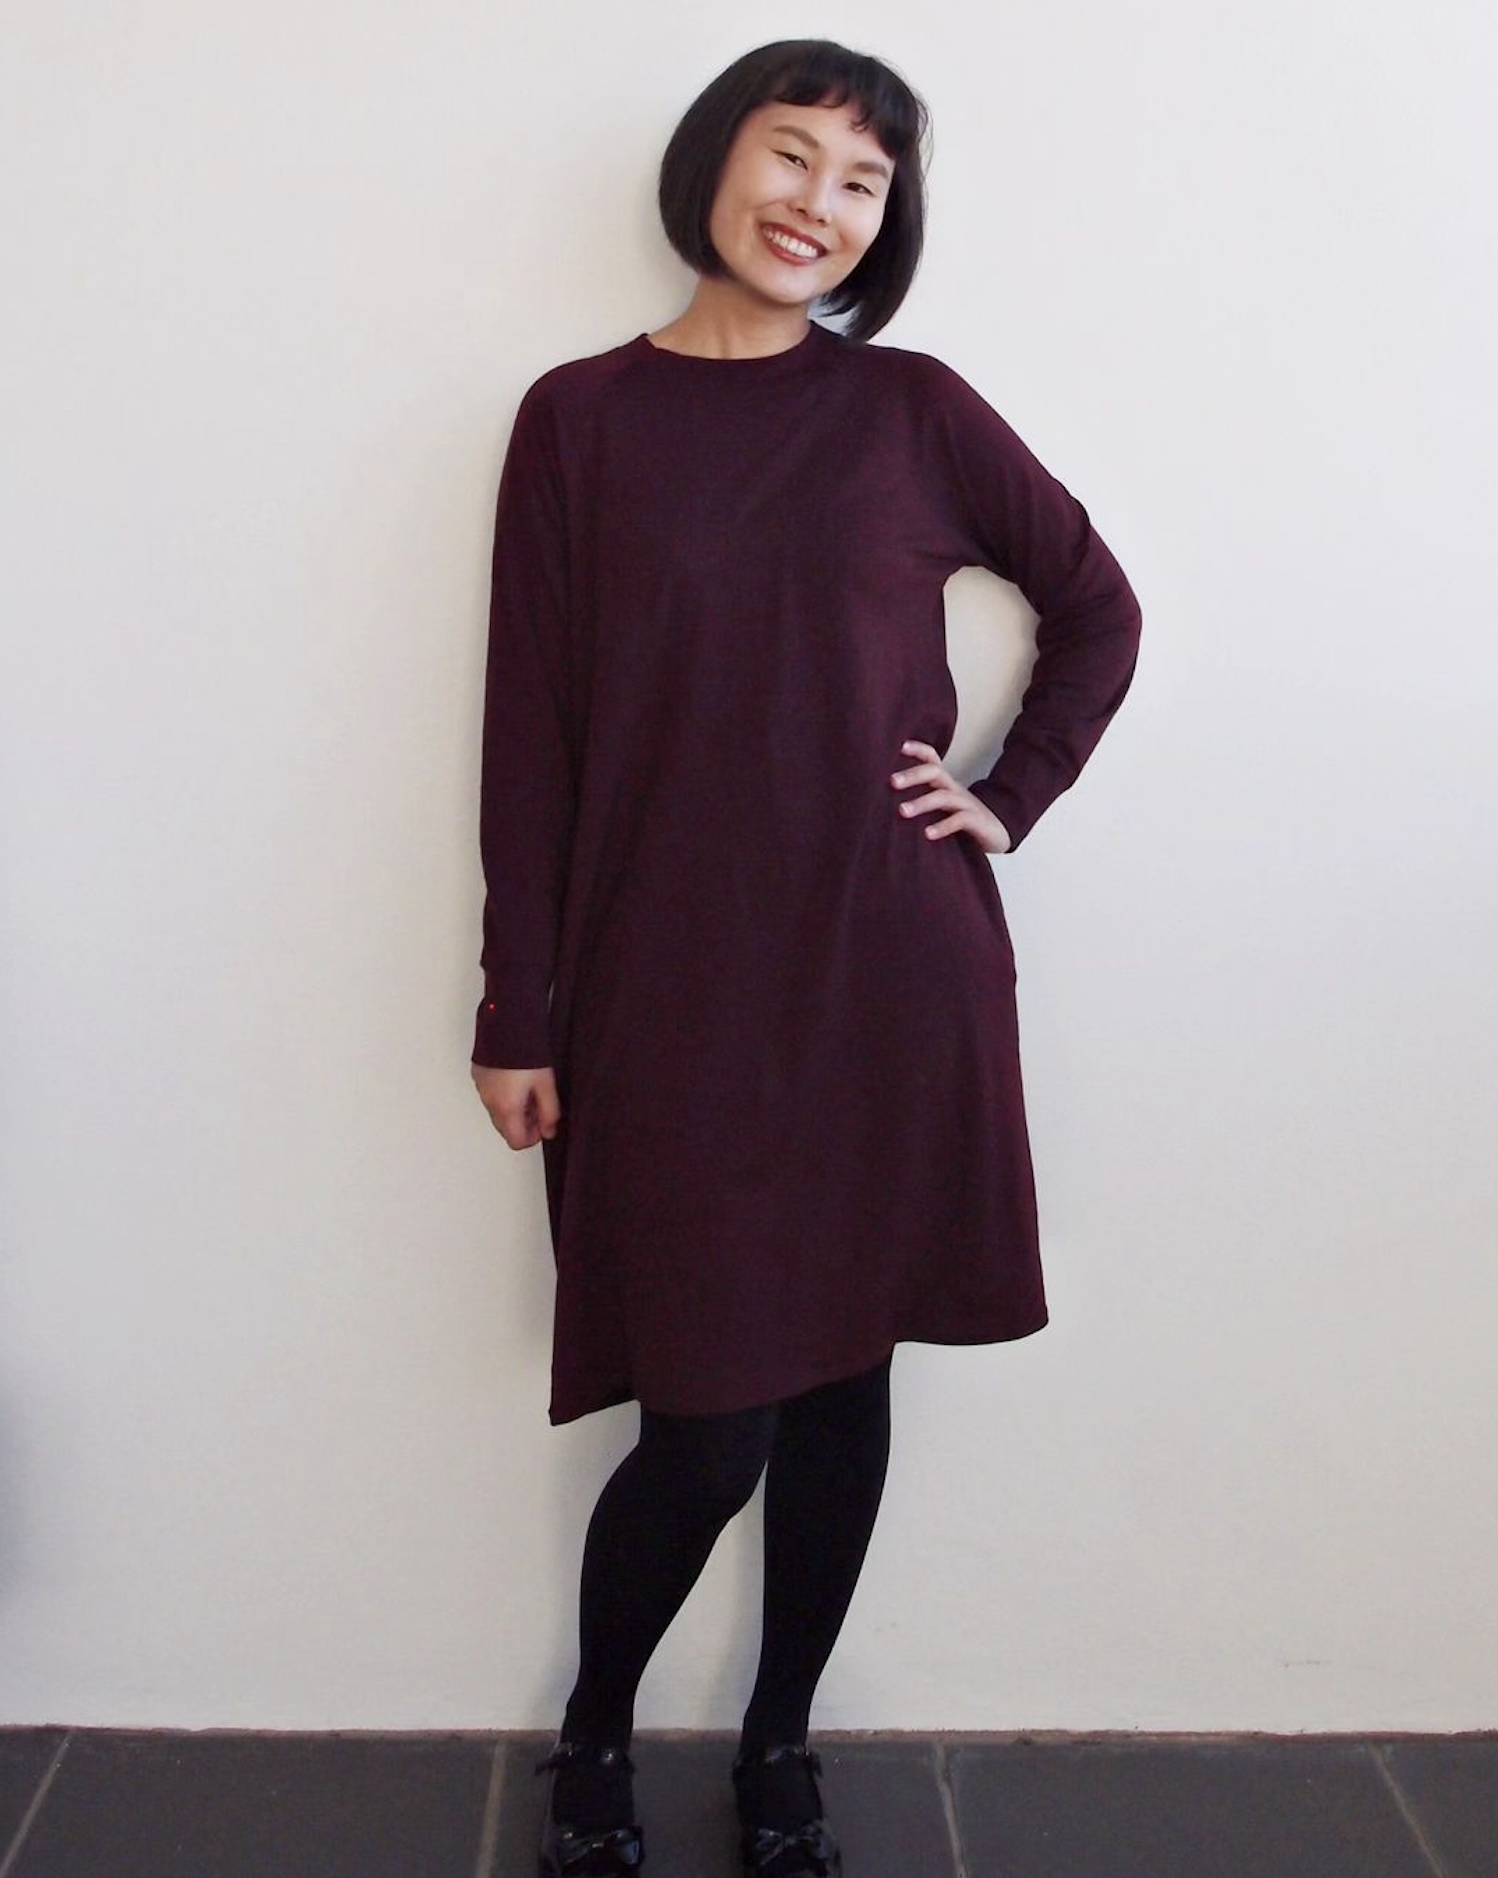
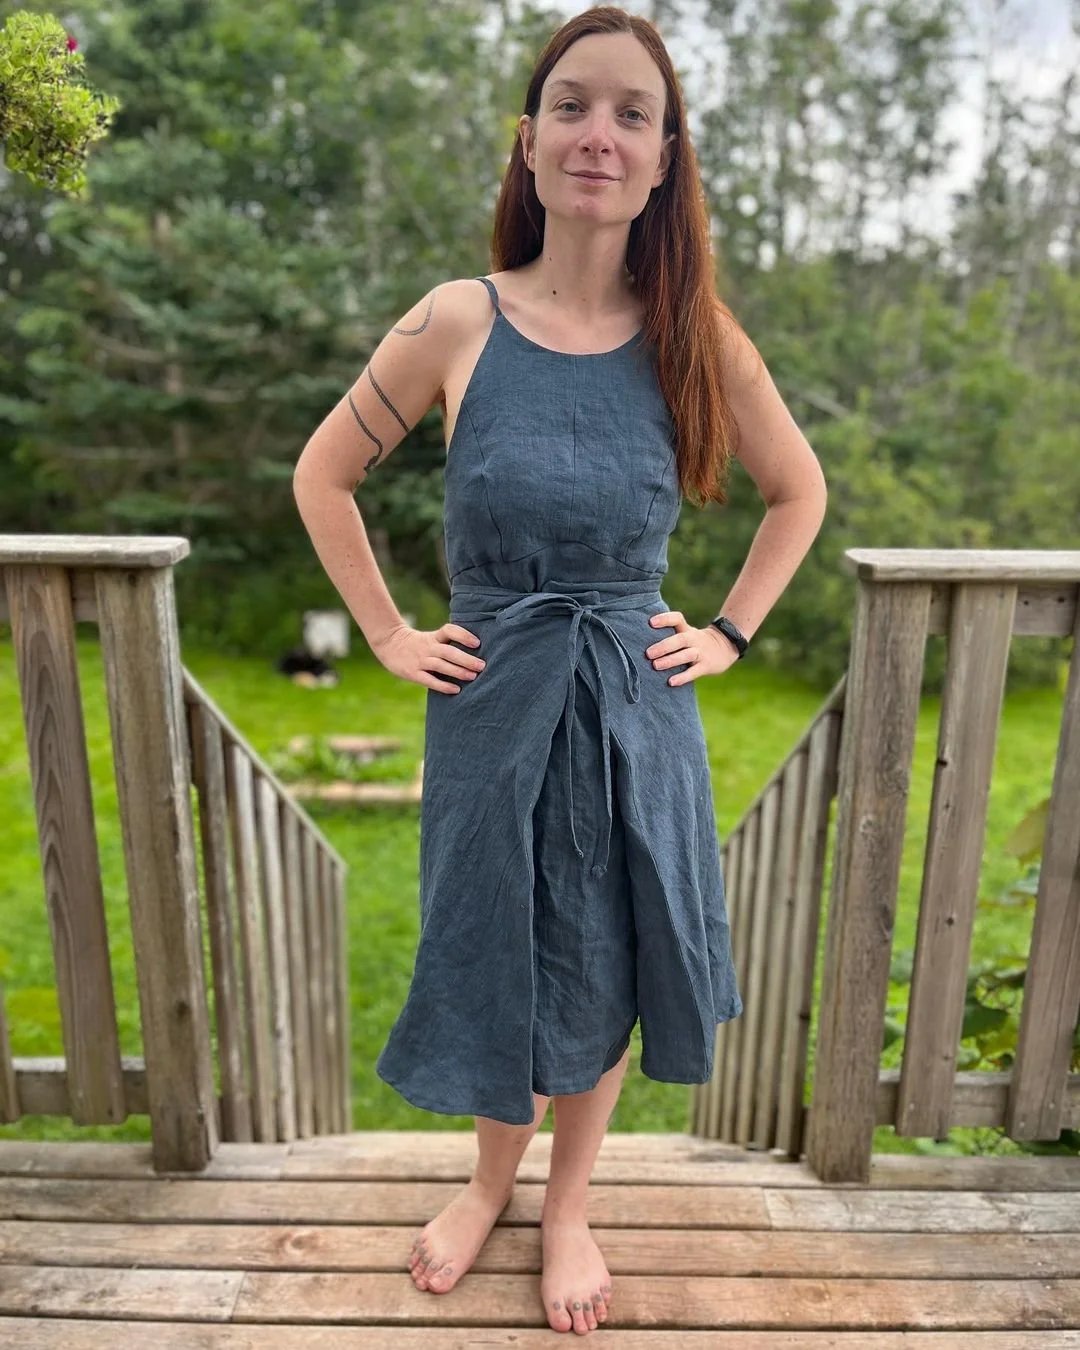
Sawtell dress made by @wis_g