In yesterday's post, I showed you a few alterations that you may want to make to The Rushcutter: lower the neckline, add or removing volume, shortening and lengthening the pattern.
Today I have a follow on post for you, as I was worried I might intimidate you if I put all the alterations in the one post!
Create a slimmer Rushcutter
The Rushcutter sewing pattern is designed to be over-sized, so there is a lot of ease in it. It may be a little too much for some of you, so, in today's post, I will show you how to slim down the dress a little. It is not overly complicated, but is slightly more difficult than it would be on a more conventional pattern, as it does not have side seams!
I would suggest, before making any major adjustments to the pattern (like this one) make a toile, so you know exactly how much width you can afford to remove from the pattern.
1. To start, take the 'Side Panel' pattern piece. This is where we will be removing some width from the pattern piece. The grainline, which runs right through the middle of the pattern piece (and therefore down the side of the body) is where you will be removing the fabric from.
2. Work out how much you would like to remove, by referring to your toile. You will want to take the amount evenly from both sides of the dress. Divide the total amount by 2 and then distribute this measurement either side of the grainline (on the stitching line) - half on the front section of the pattern piece (indicated by the single notches) and half towards the back (indicated by the double notches).
3. Cutting from the top, cut along the grainline, down towards the hemline. Do not cut all the way through the pattern. Stop a 2-3mm from the bottom, so that a small "hinge" of paper remains intact. You will now notice that you can separate the two sides of the pattern quite easily, without detaching them entirely.
4. Now, swing one side of the pattern over the other (doesn't matter which one) until the points that you marked overlap. You will see that, by doing this, you have removed a slice from the middle of the pattern. Tape (or glue) in place.
5. By taking out this slice, the underarm curve will now come to a sharp point. Redraw the stitch line and the cutting edge, with a nice smooth line, to correct this.
Now that you have removed some width from the side panel, you will need to remove the same amount from the raglan sleeve - as these two pieces are sewn together.
1. Remember the amount we distributed either side of the grainline on the side panel? Take this measurement and divide it by 2. Measuring in from the underarm seam (remember to measure from the stitch line, if your pattern still includes seam allowance), marking a point the distance determined. Repeat for the second side.
2. Draw a line from the points marked, down towards the hemline, meeting with the original stitch line, at the line that indicates where to fold up the sleeve hem.
3. Redraw the cutting line, by adding 1.5cm seam allowance to the new line.
Re-draft the pocket
You may decide to make a short version of the Rushcutter. Megan, one of my lovely testers, decided to shorten hers to tunic length. Nice, right? The only problem is that you end up losing quite a bit of pocket depth. The easiest way to solve this is to simply re-draft the pocket piece, so that it will be your desired depth.
I will show you how I drafted the original pattern piece, so your new pattern will fit perfectly, just like the original!
1. Work out how deep you would like to make the pocket, you can do this by referring to the original pattern piece, or by holding the 'Side Panel' pattern piece up to your side and marking where you would like the pocket to start. Mark the point on the grainline of your pattern piece.
2. Draw a line, perpendicular to the grainline, from the marked point. Extend the line 5mm past stitching line on both ends (this is because the pocket panel was drafted to be slightly wider than the piece it is stitched to, to add a little volume).
3. Starting at one endpoint, draw a straight line that meets the bottom corner of the pattern piece, easing back into the original stitch line. Repeat for the other side.
4. Take a seperate piece of paper and trace a copy of the new pattern piece, being sure to also transfer grainline and notches onto the new pattern piece.
5. Add seam allowance to both sides and the hem (not the top edge, just yet). The seam allowance needs to be 1.5cm on each side and 1cm at the hem.
6. Draw a line that runs parallel to the top edge of the pocket, 4cm above the original line. Fold along the top edge of the pocket.
7. Trace the seam lines onto the pocket hem (you want to do this so that when the piece is cut, and you fold the top hem of the pocket back to finish the edge, it meets the pocket smoothly).
8. You now have your pocket piece! Add markings and get sewing!
Relocating the shoulder dart
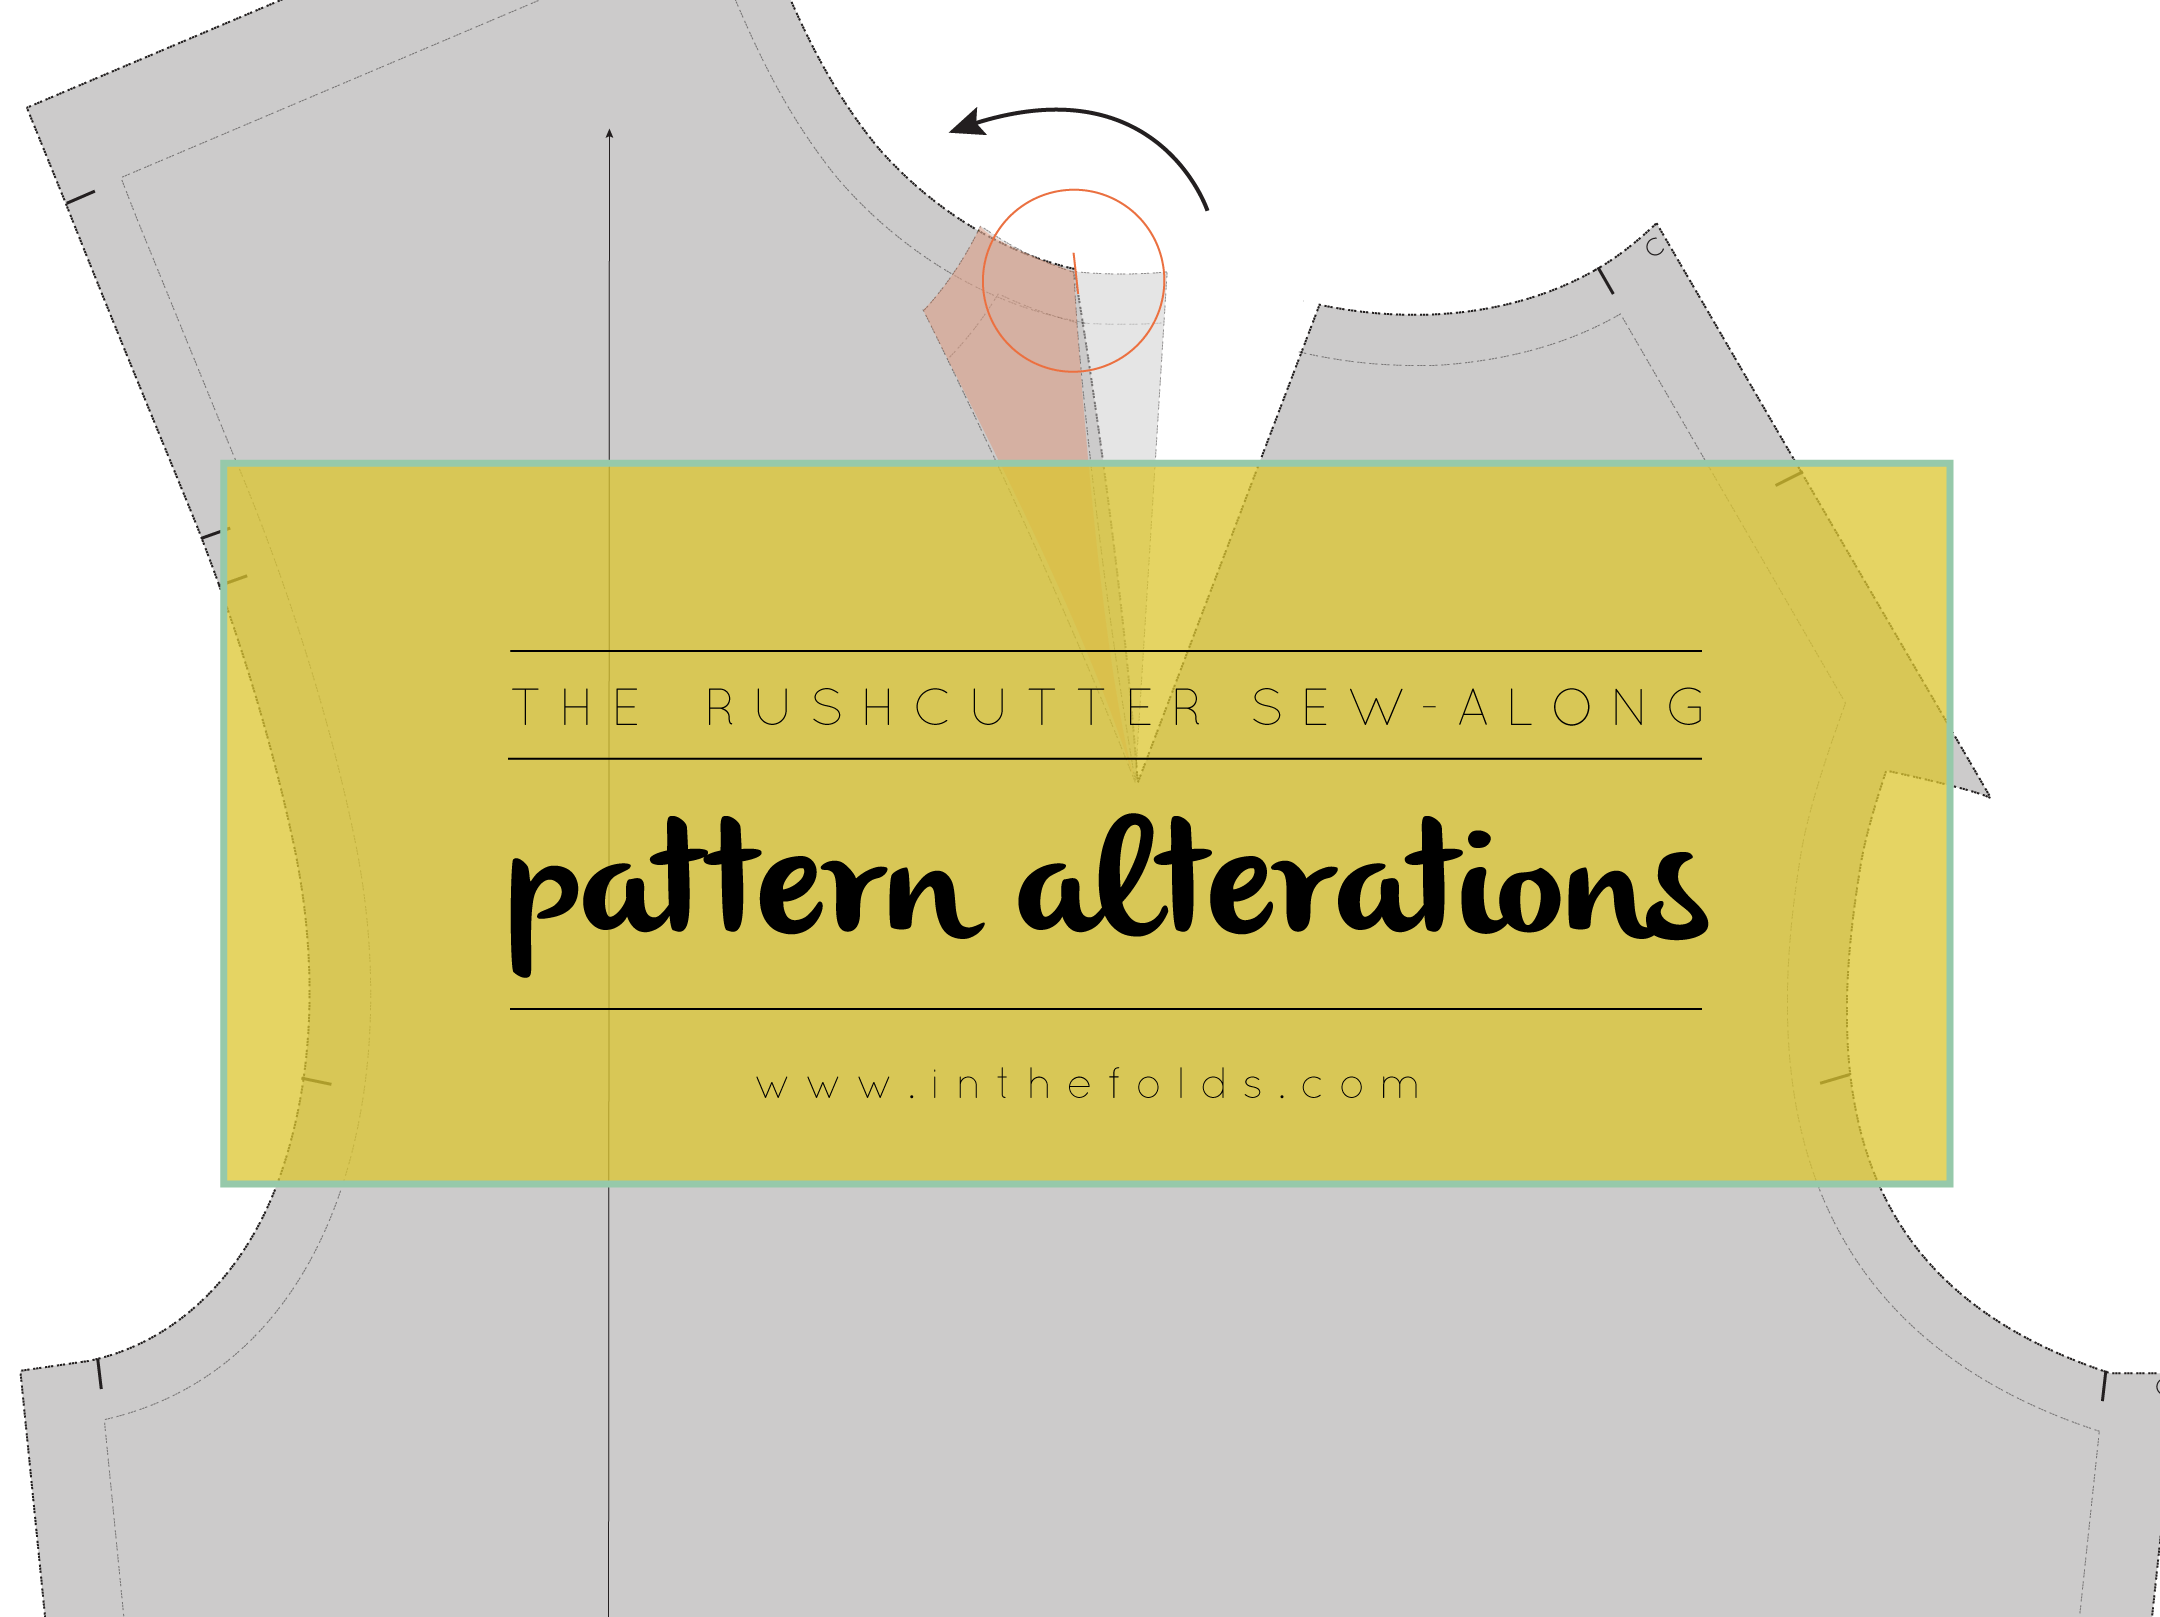
After trying on your toile, you may feel that the dart does not quite sit on your shoulder. If this is the case, you may want to move the dart slightly forward or backwards, from its original position.
1. Work out where your dart needs to be (by measuring in relation to the original dart) and draw a straight line running from the new location on the neckline, to the original dart point.
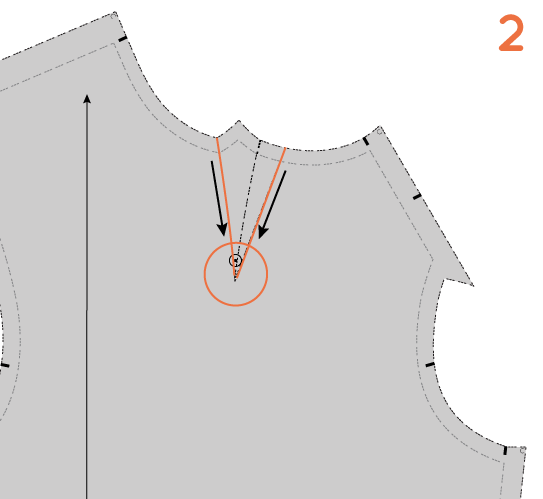
2. Focusing on the original dart, cut down the outside dart arm, from the neckline to the dart point. Don't cut all the way to the end, stop when you are 2-3mm away. Do the same with the line you just marked, also stopping a few millimetres from the end. This will create a small 'hinge,' which allows you to move this section of the pattern, whilst still keeping the pieces attached.
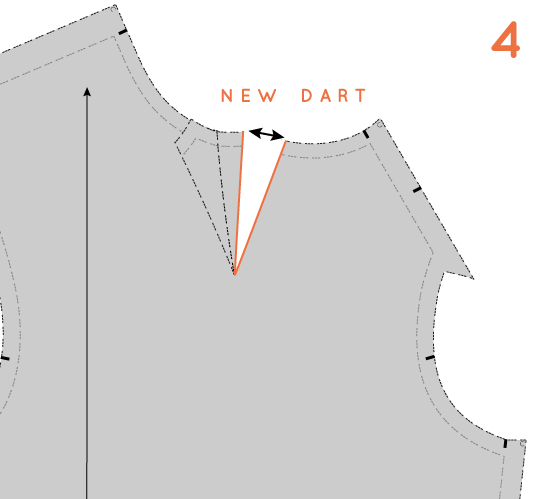
3. Rotate the cut section until you have closed out the original dart (one dart arm overlaps the other), and tape in place.
4. You will now see that you have opened up a new dart. To complete it, you will need to add dart shaping, and seam allowance to the new dart.
Okay, thats it for today's post. And guess what, tomorrow it's finally time to cut some fabric! Yippee! Let me know if there is an alteration that I didn't include in today or yesterday's post that you need!


