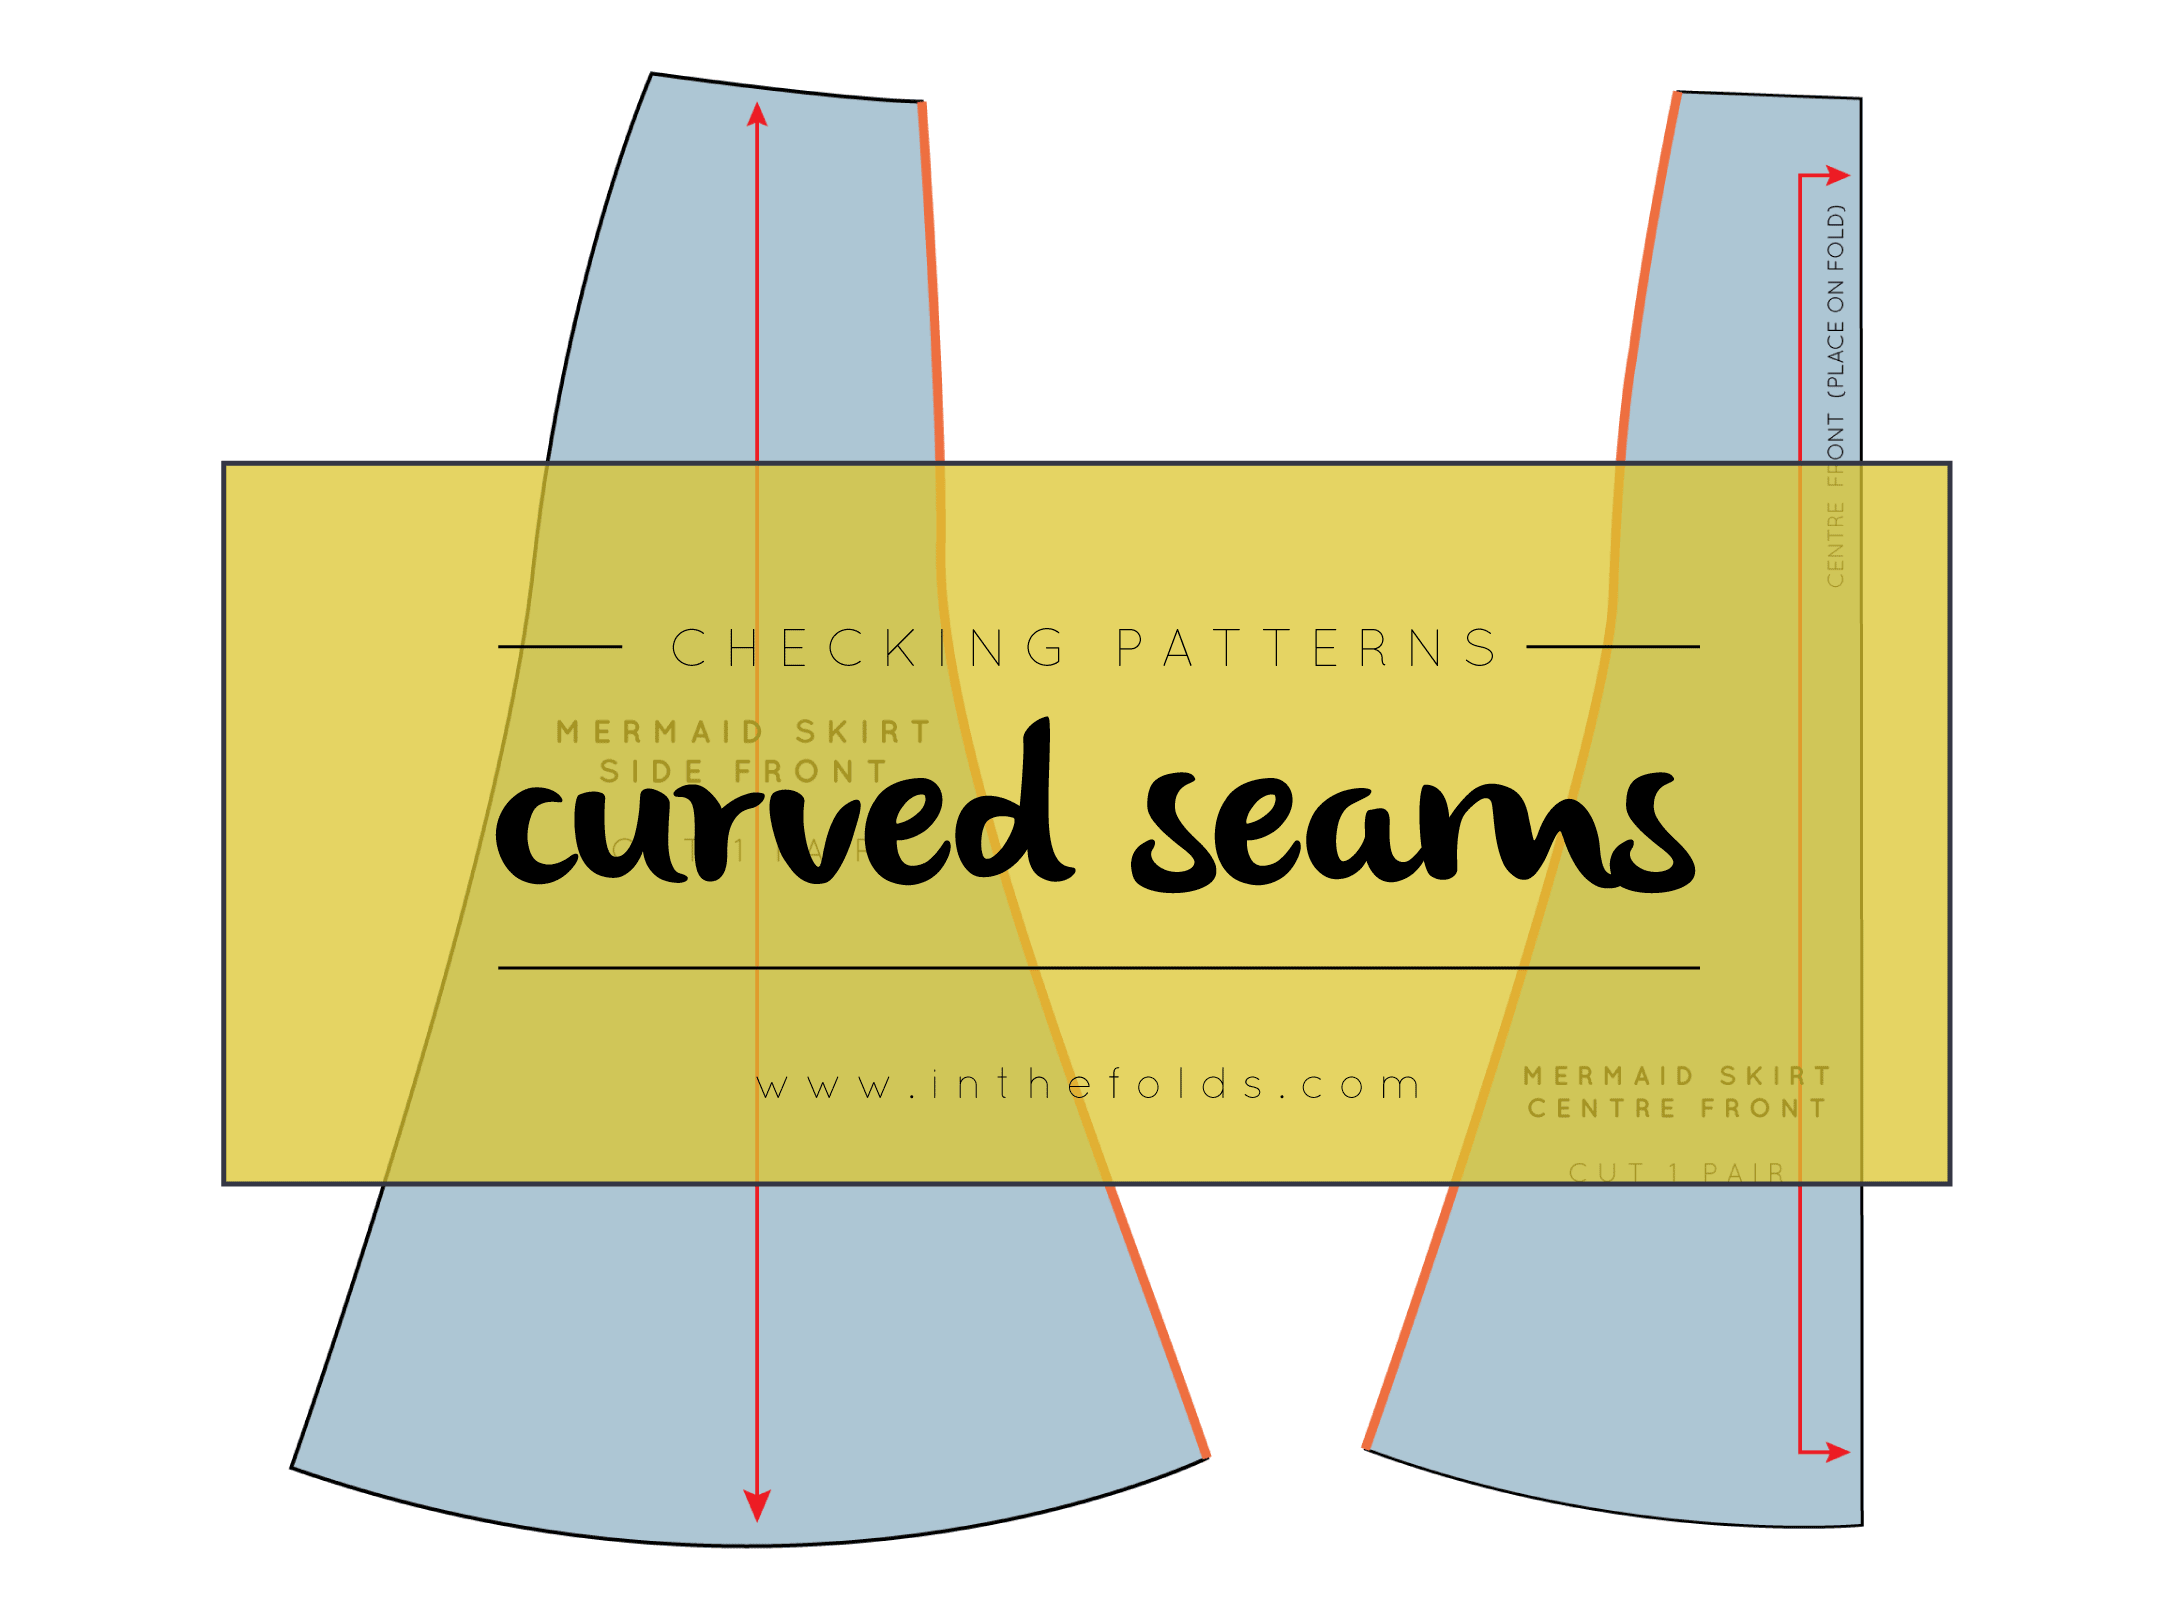
I got to the studio today, ready to write a blog post about checking curved seams as a follow up to last week's blog post on creating princess seams, when I realised that I'd actually done it a few months ago (high-five to past self for that one)! Thankfully I realised before I started. So I thought that instead, I'd take this opportunity to talk about checking and truing patterns
It is really important that you ALWAYS check that your patterns fit together correctly before going on ahead and cutting your fabric. It may seem a bit tedious checking each seam, but taking a few minutes to check your patterns at this stage can save you cutting out incorrect patterns and wasting precious time and fabric later on.
Checking patterns
Method one : Measure each seam
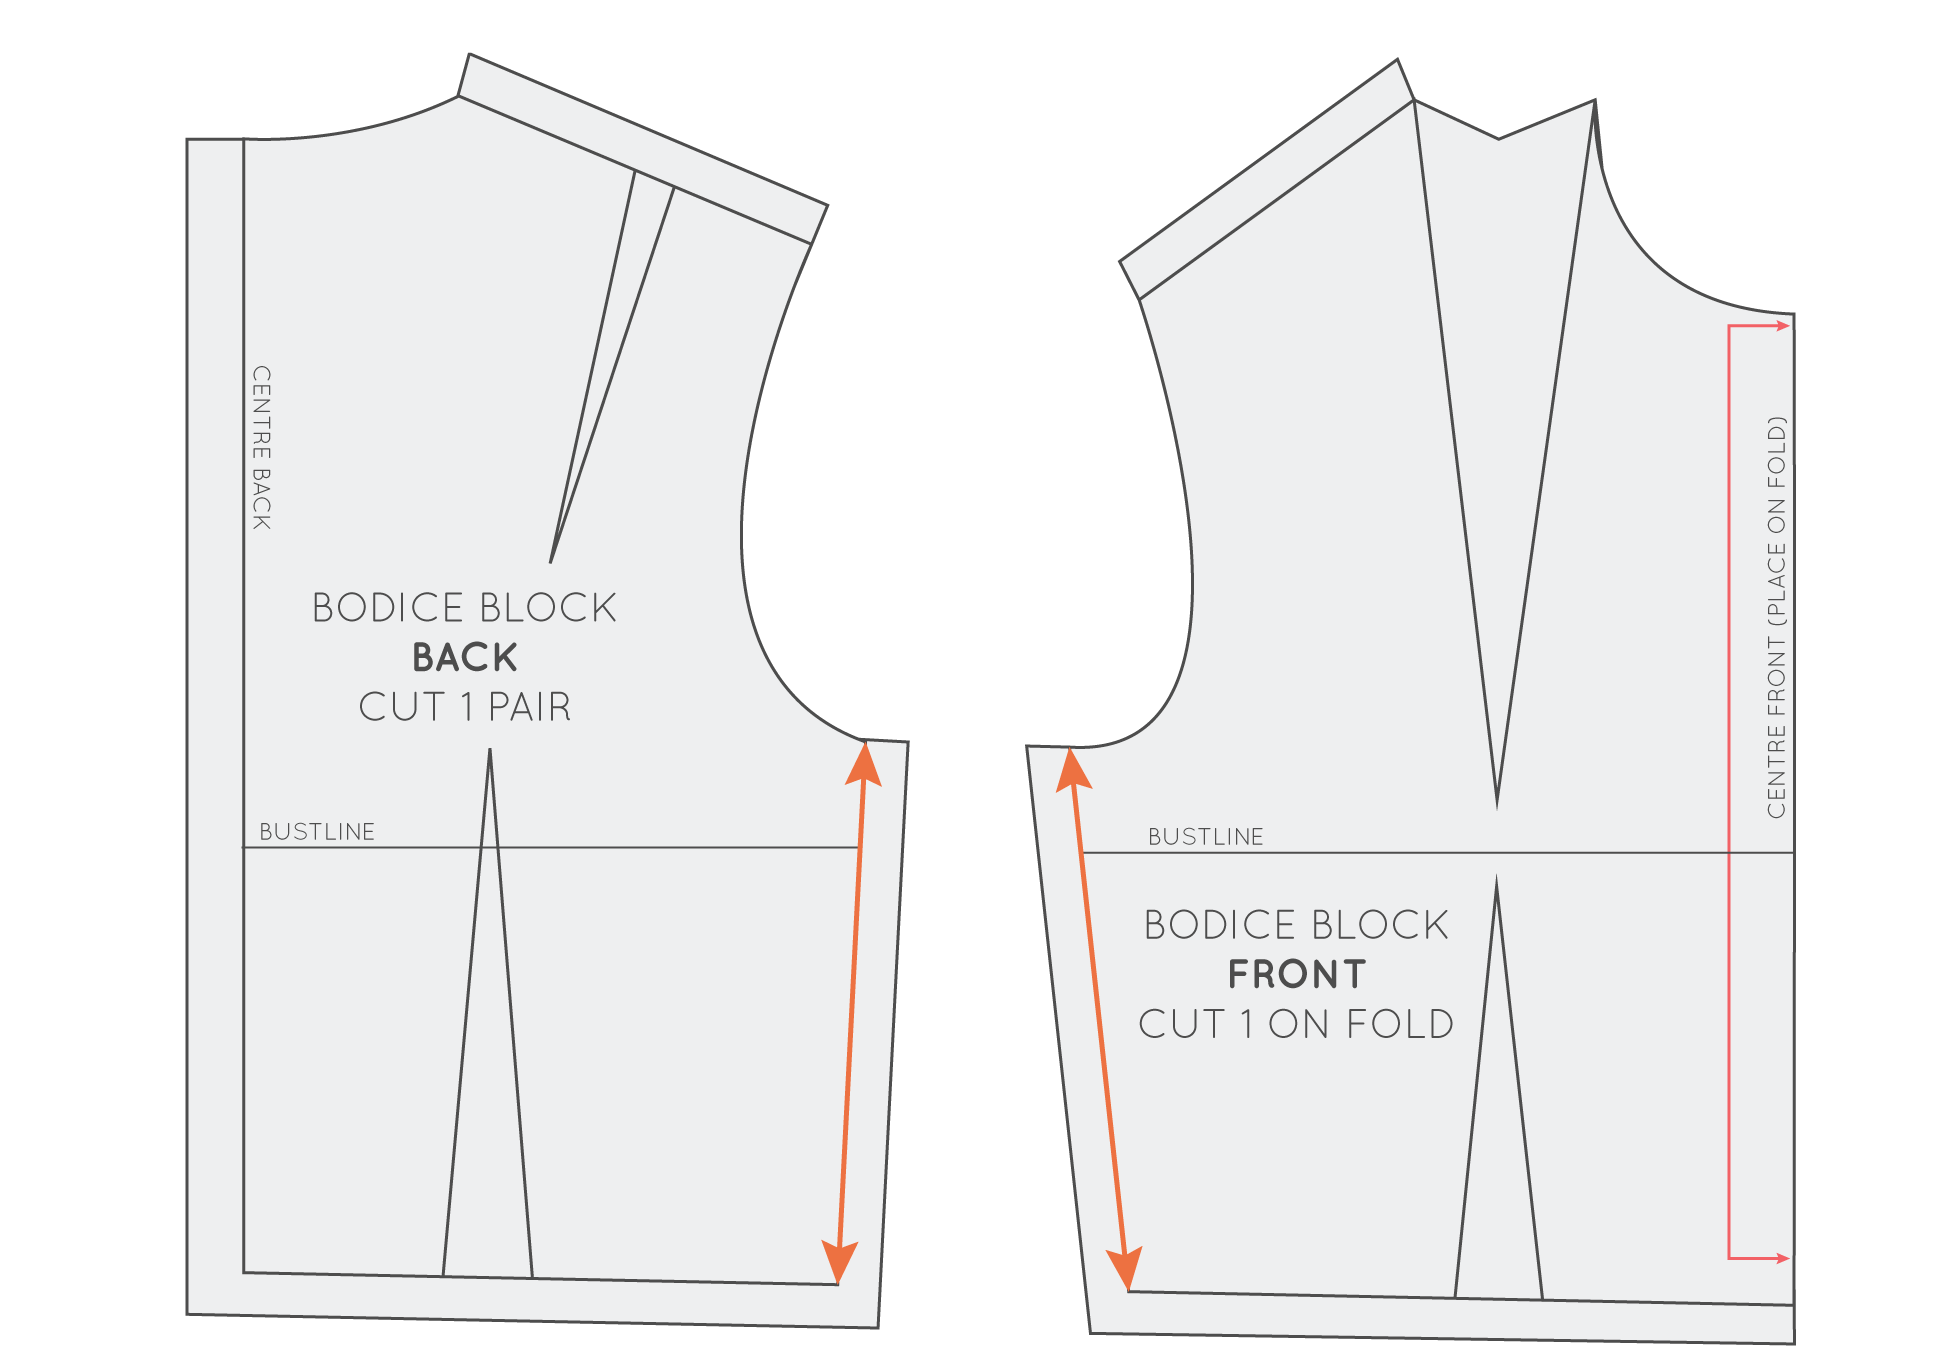
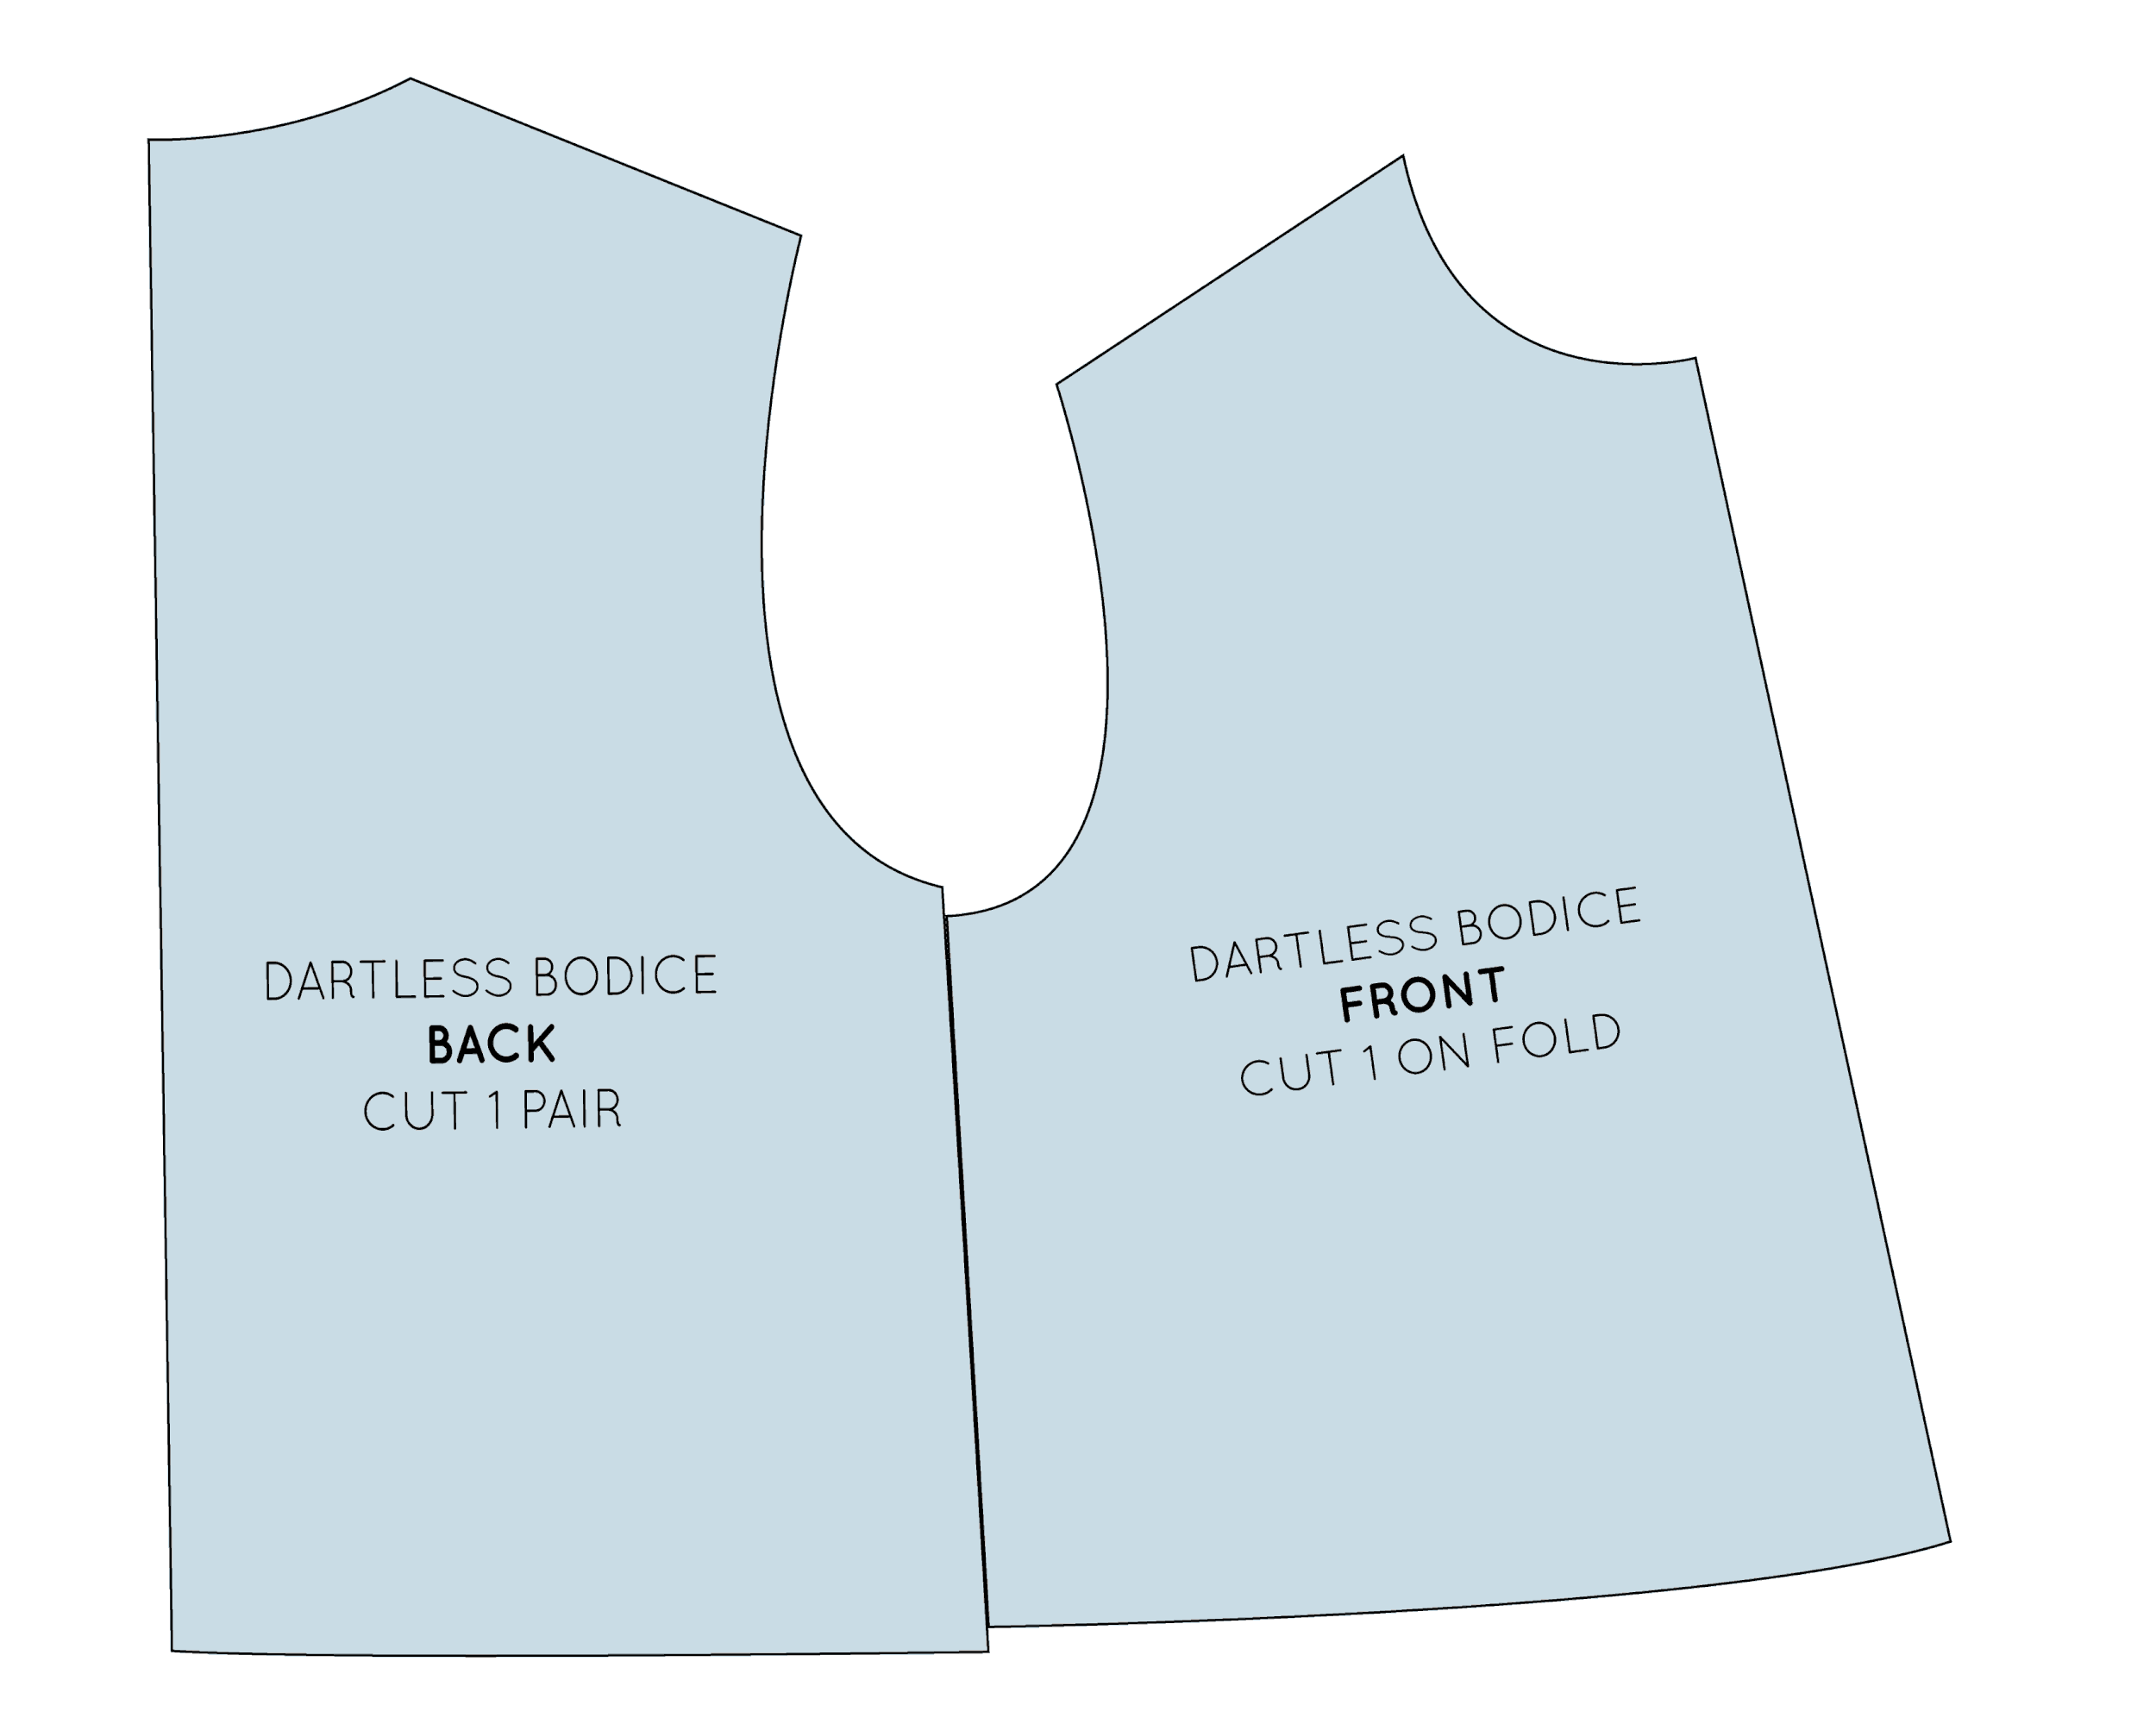
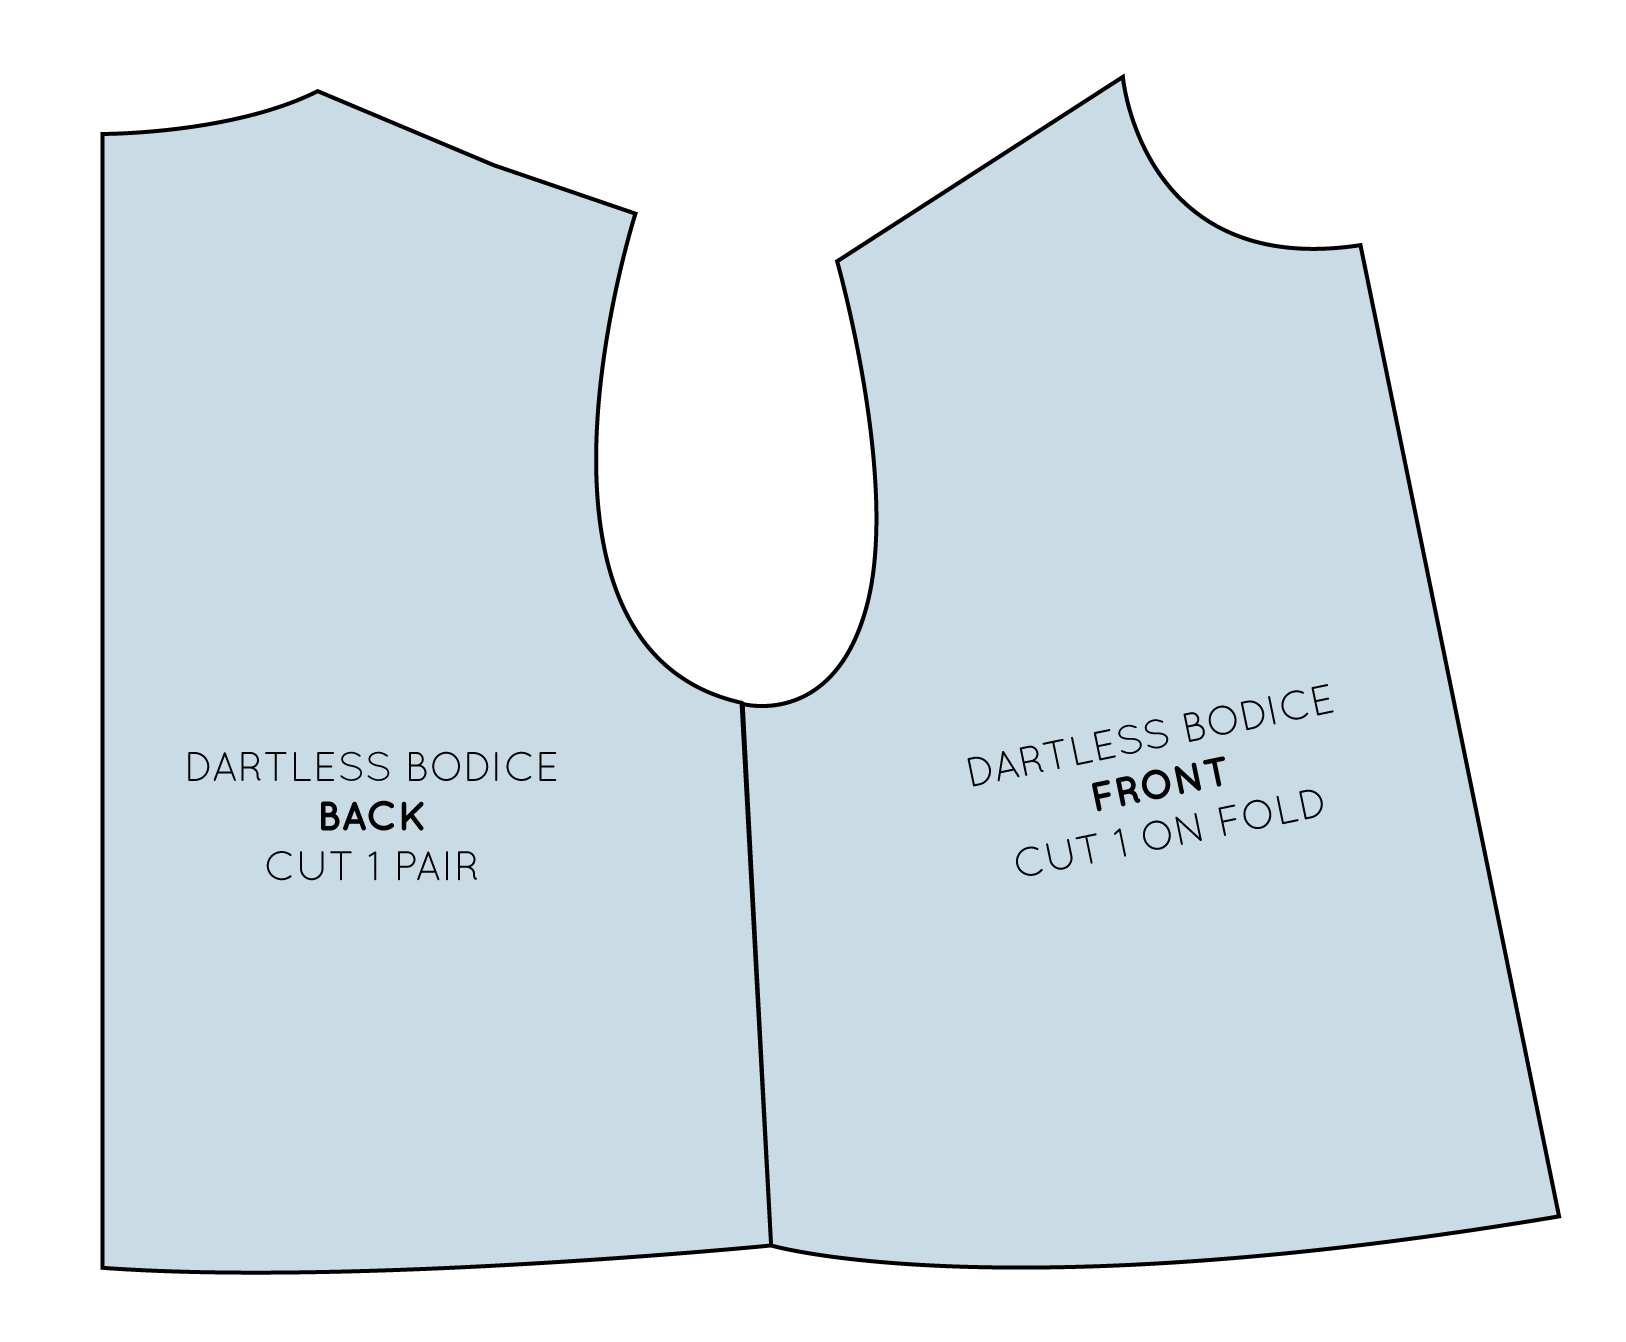
To check that your patterns fit together correctly, you need to check that each seam is the same length as the seam it will be sewn to. For example, in the case of the bodice block, we need to check that the side seams and shoulder seams are the same length. To do this, you can simply take a ruler or tape measure and measure each seam.
Method two : Match pattern pieces and check seam length
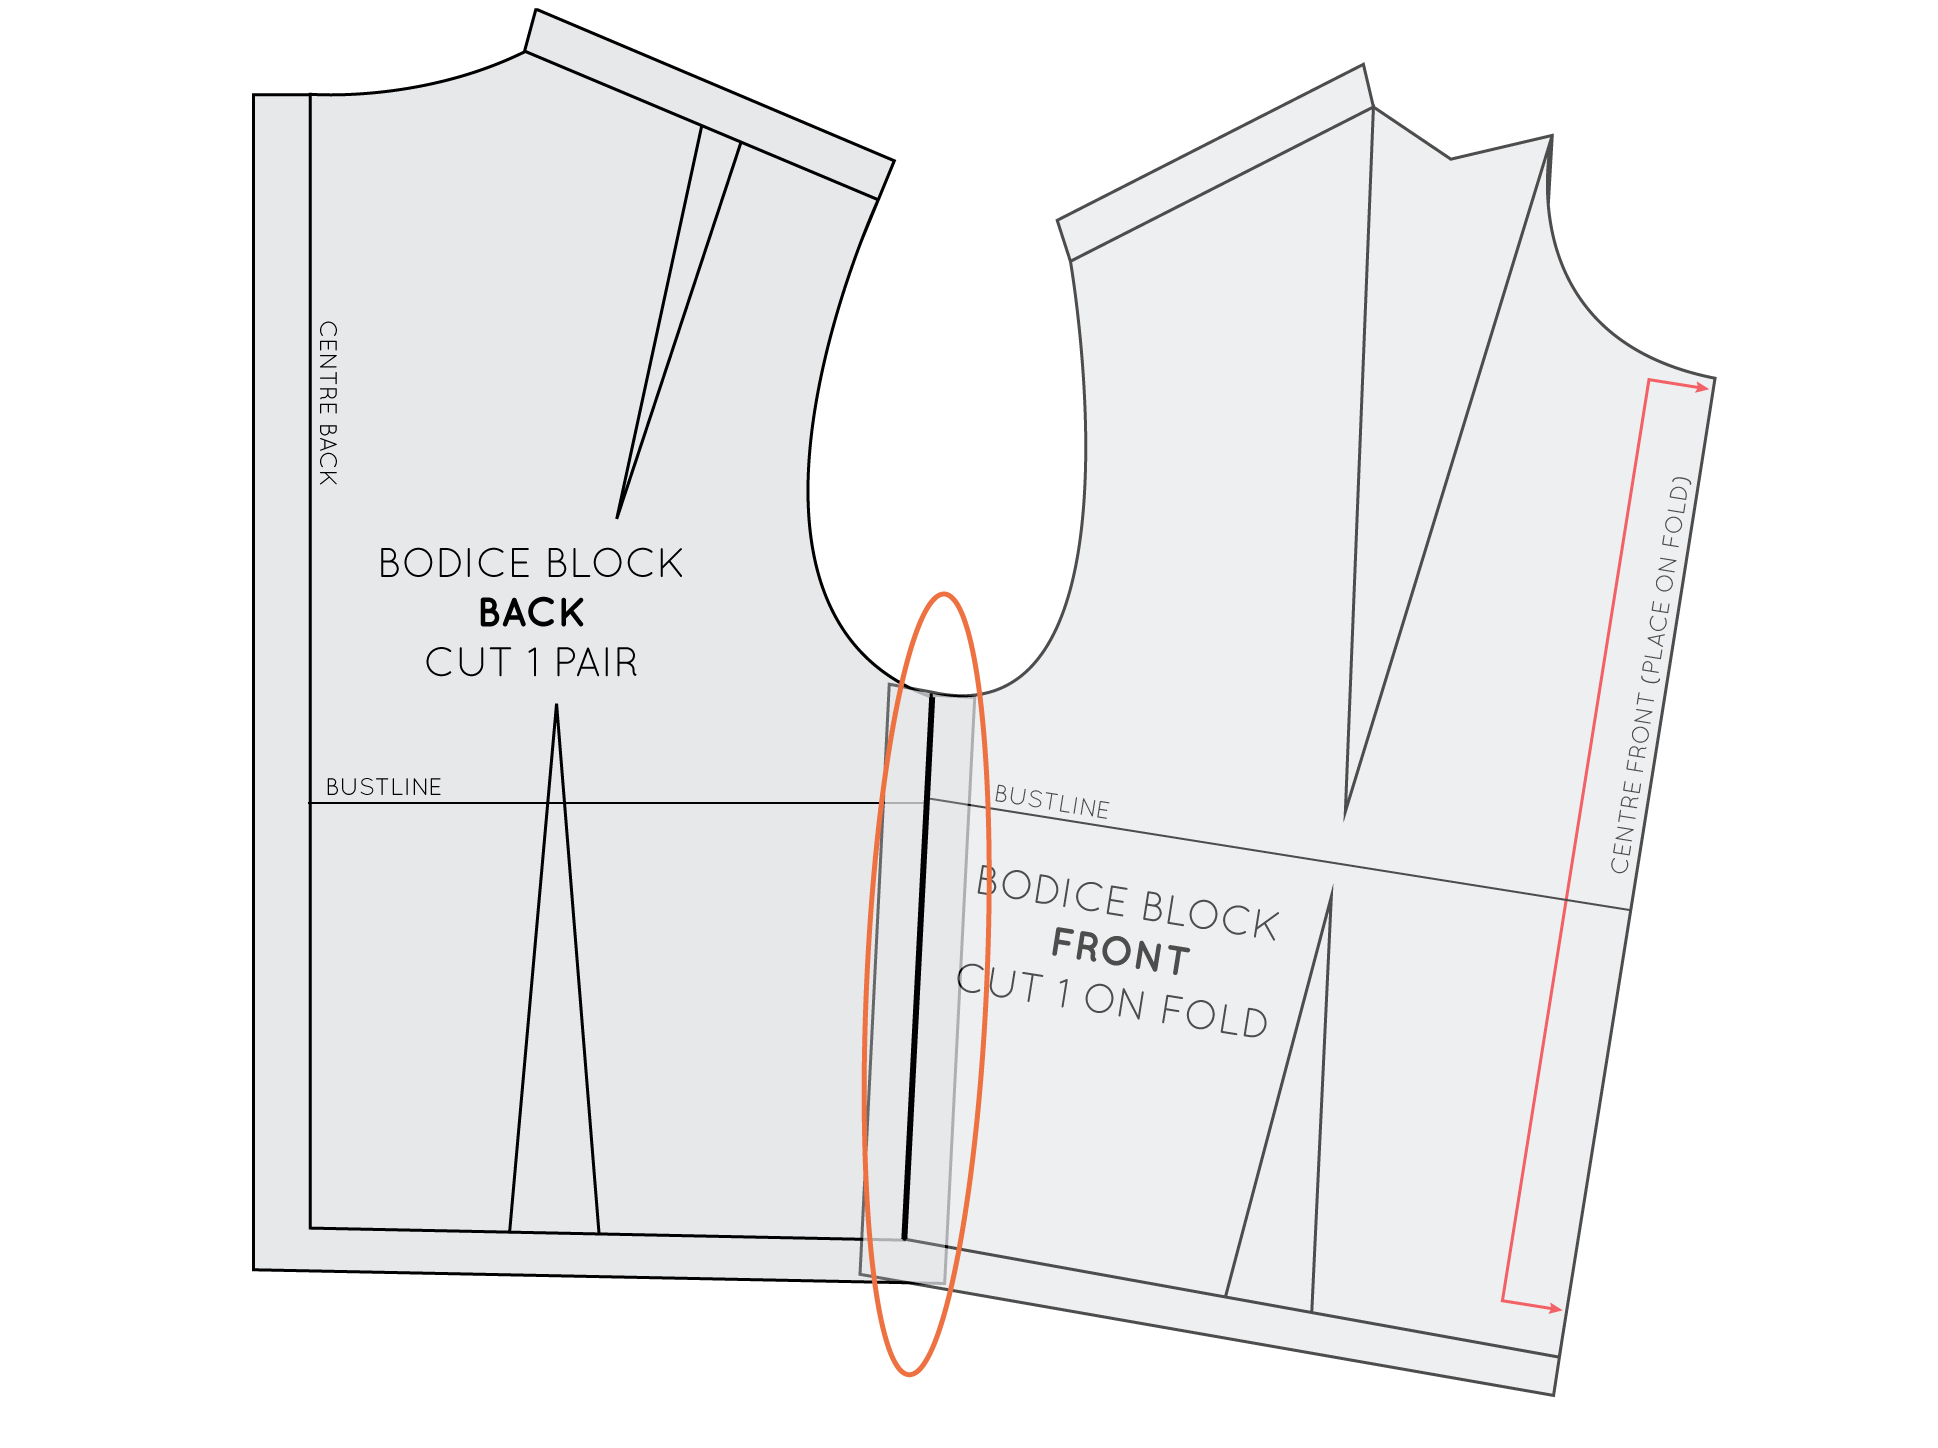
The other way you can do this (which is the method I tend to use) is to match up the seams as if you were sewing them and check that they are the same length. This is very easy to do if your patterns don’t have seam allowance (in the case of a block), but if your pattern does have seam allowance, be sure to overlap the seam allowance so that ‘stitching line’ lays on top of ‘stitching line’ – rather than matching up seam allowances (this is when using slightly transparent pattern paper can be very handy!)
If seams are different lengths
If your seams happen to be different lengths, you will need to do a small alteration to get them the same length. You will need to add a little to one side of the pattern and remove a little from the other.
Measure the difference in length, by lining the two pieces up as if they were sewn, and then seeing how much excess there is at the end of the seam.
Take note of this measurement.
Halve the measurement taken in the previous step and mark this point on the longer side, measuring from the end of the seam. For example, if the difference is 1cm, mark a point 5mm down from the end of the seam. You will need to reduce the length of the back side seam by 5mm and extend the front seam by 5mm - making them the same length.
Tape some pattern paper to the side you will be adding to (in this case, the front armhole) and re-draw the armhole, passing through the point you marked in the previous step. You have now removed some length from the back side seam and added some to the front - making them the same length.
If your seams are significantly different
Sometimes the excess is too much to use the previous method (I’d say if your seam is any more than 2cm out then use the following method). When this is the case, you need to distribute the excess either side of the seam – half on each end.
Place the seams together and find out the difference between the lengths of the two seams and rather than adding to/removing on just one side of the seam, distribute excess on both ends of the seam (in this case, for example, remove excess at both the armhole and hemline).
Mark the midpoint of your excess on either side (in this example, at the 5mm point on either side) and redraw the neckline and armhole passing through these points, ensuring the line is smooth and eases nicely back into your original lines.
"Truing" PATTERNS
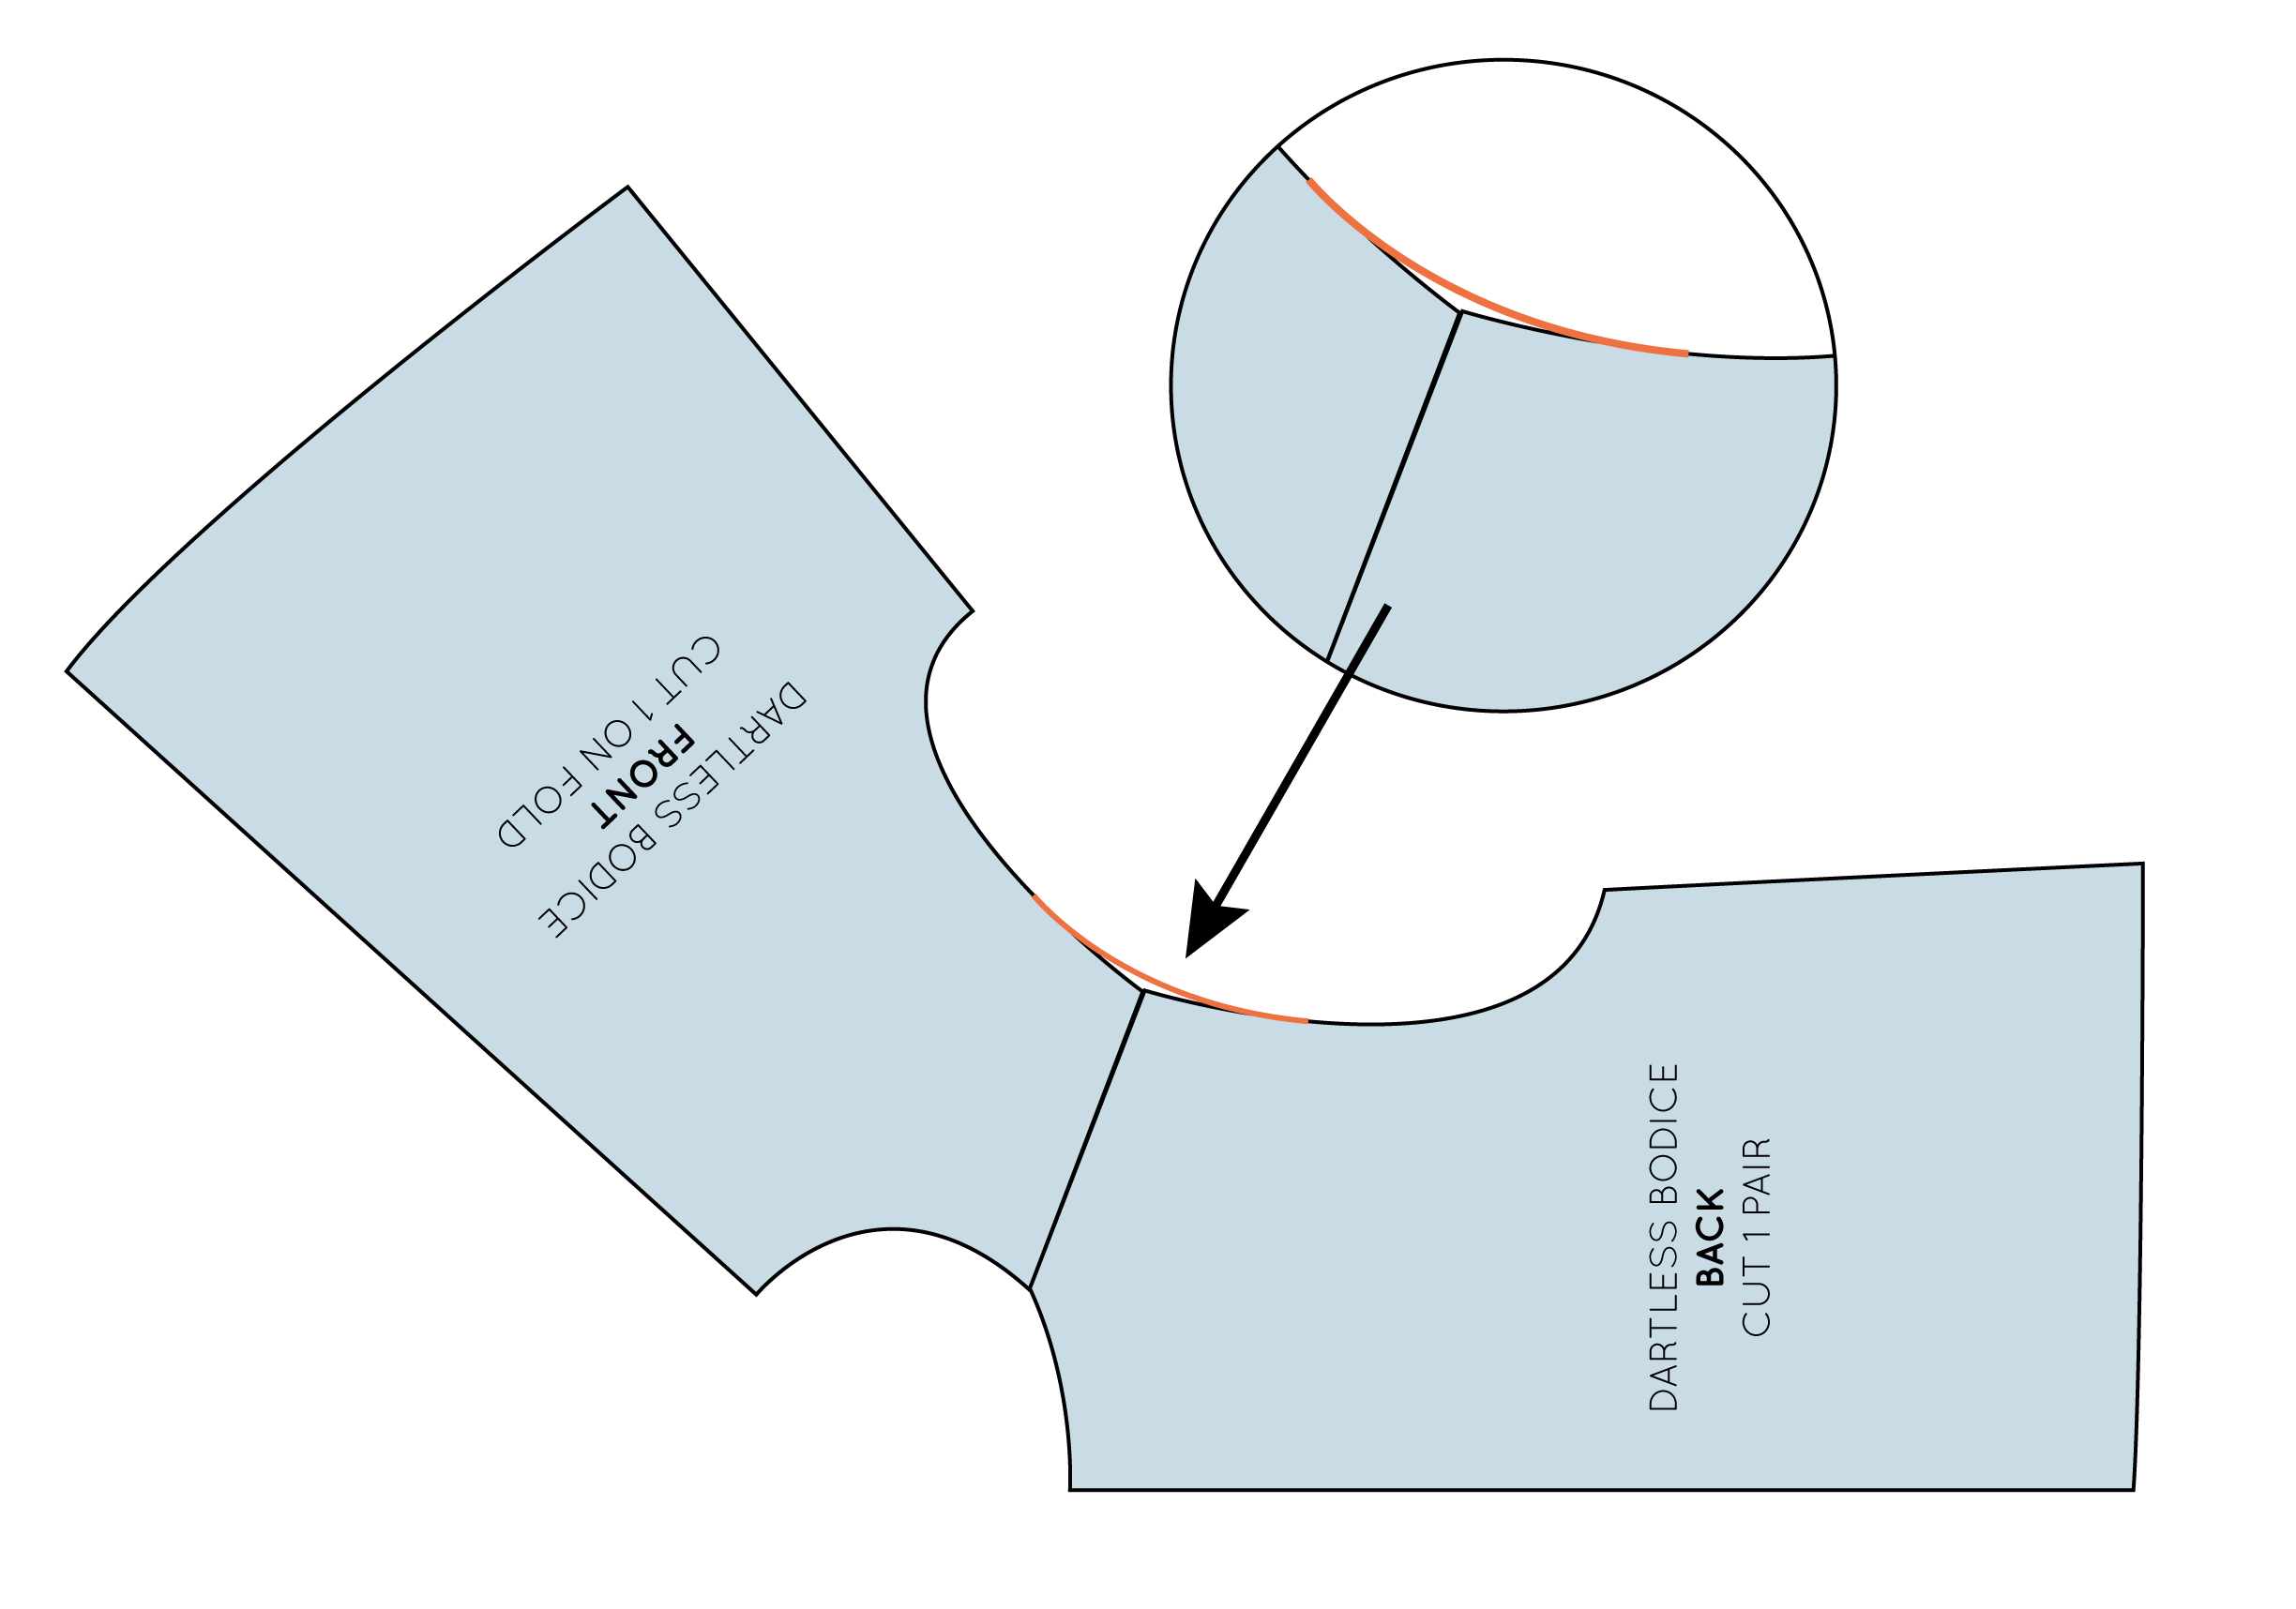
As well as checking that your seams are the same length, when checking patterns, you also need to "true" each seam. What this means is that you need to check that the lines meet smoothly and there are no sharp points or dips in the lines (unless that is the intention of the design).
True the side seams
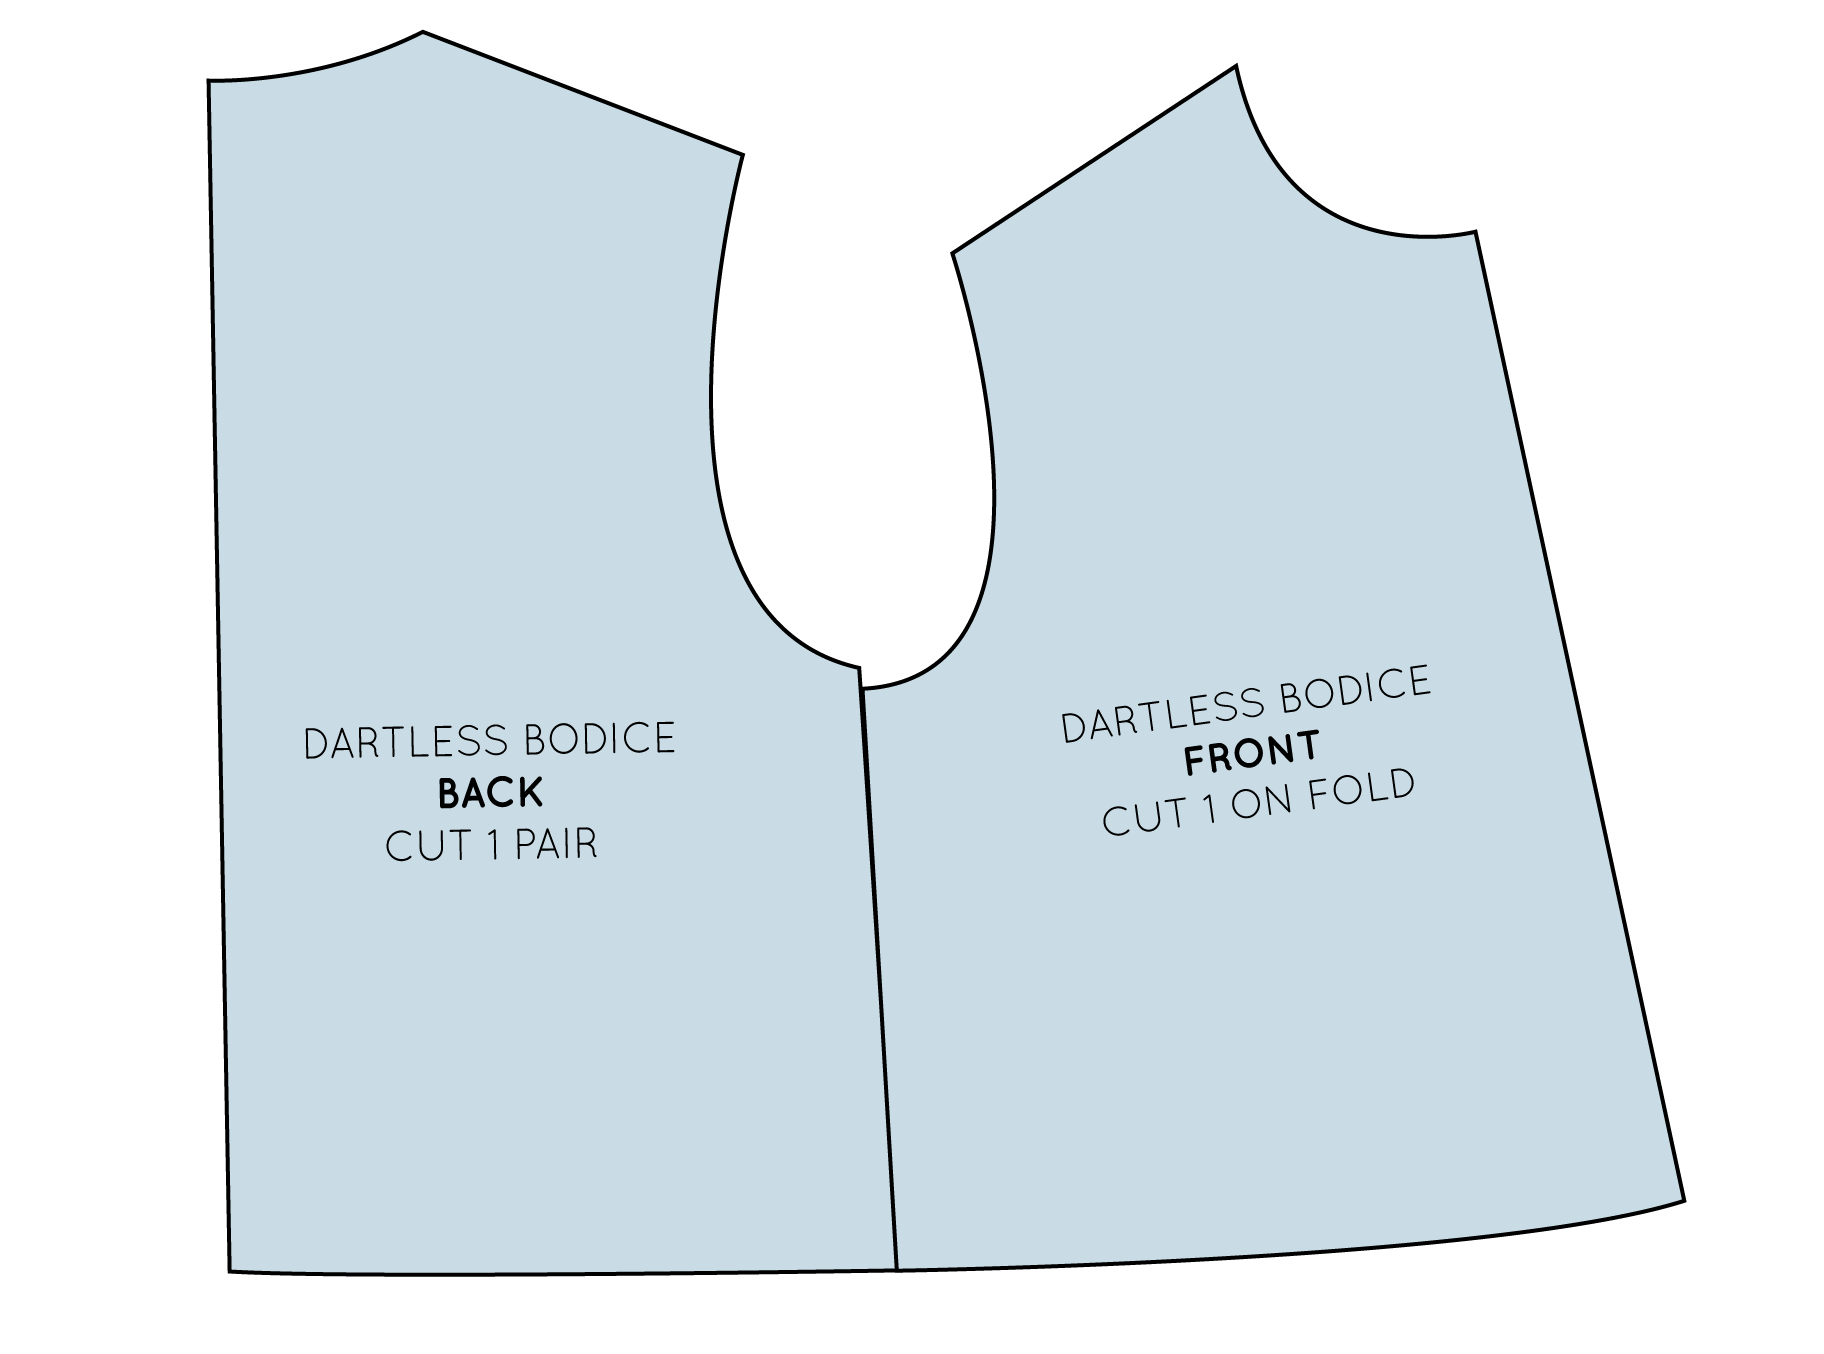
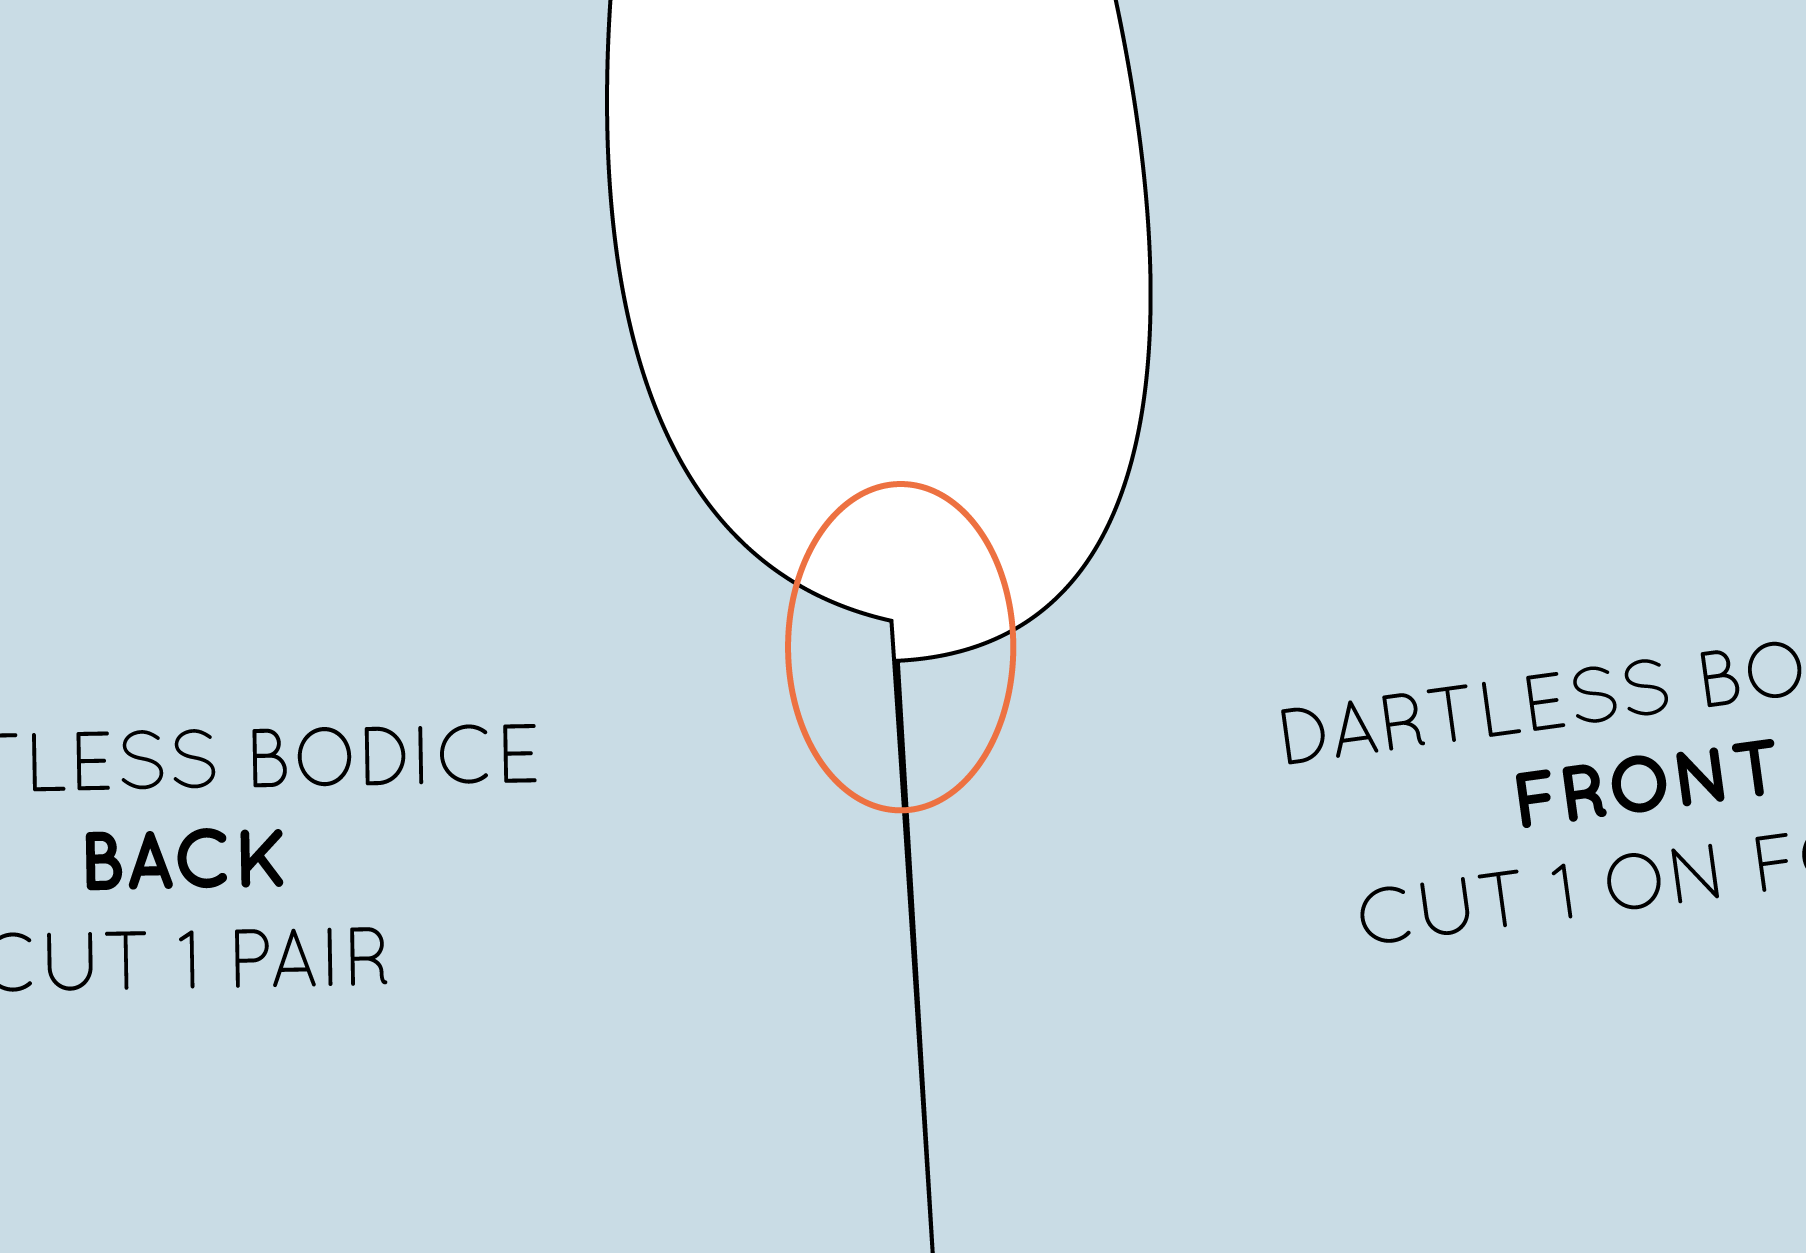
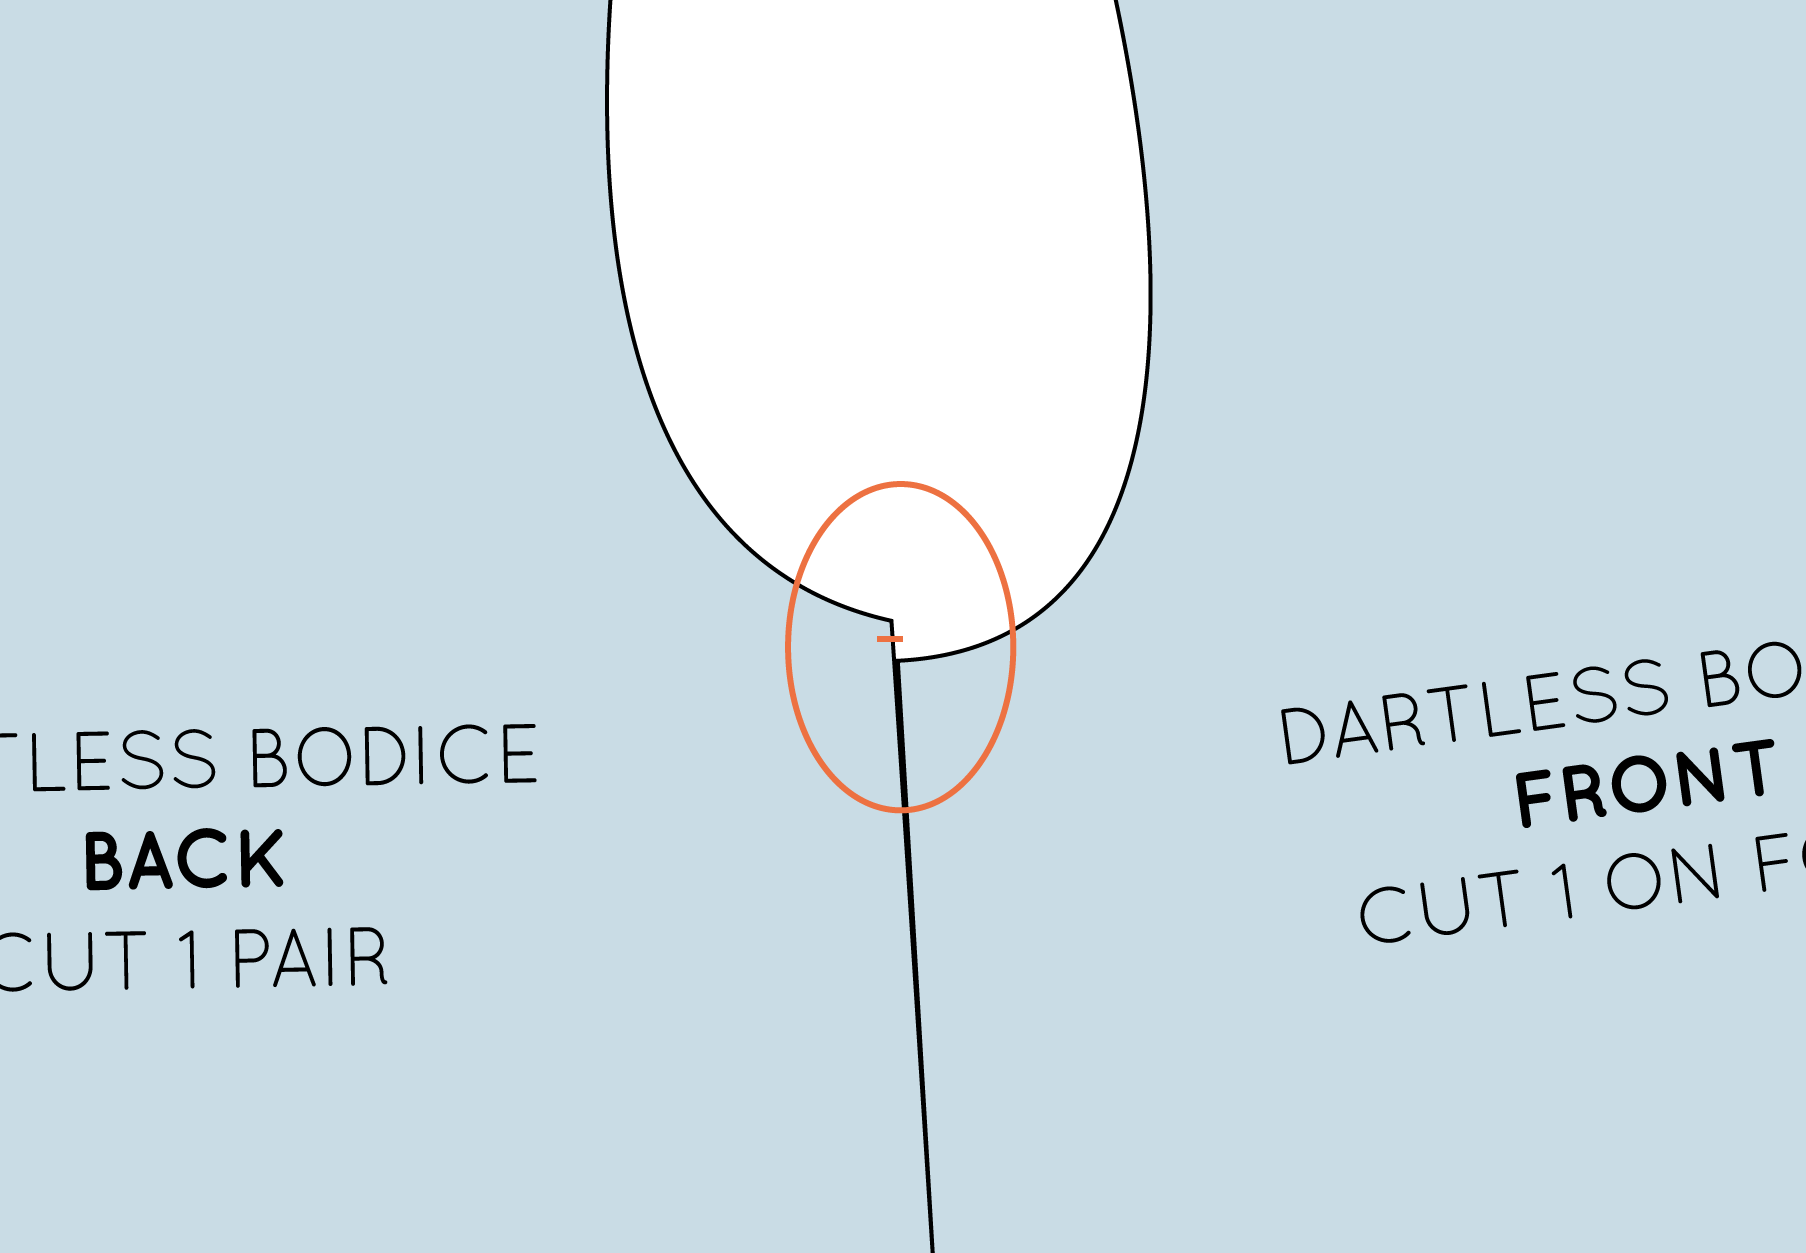
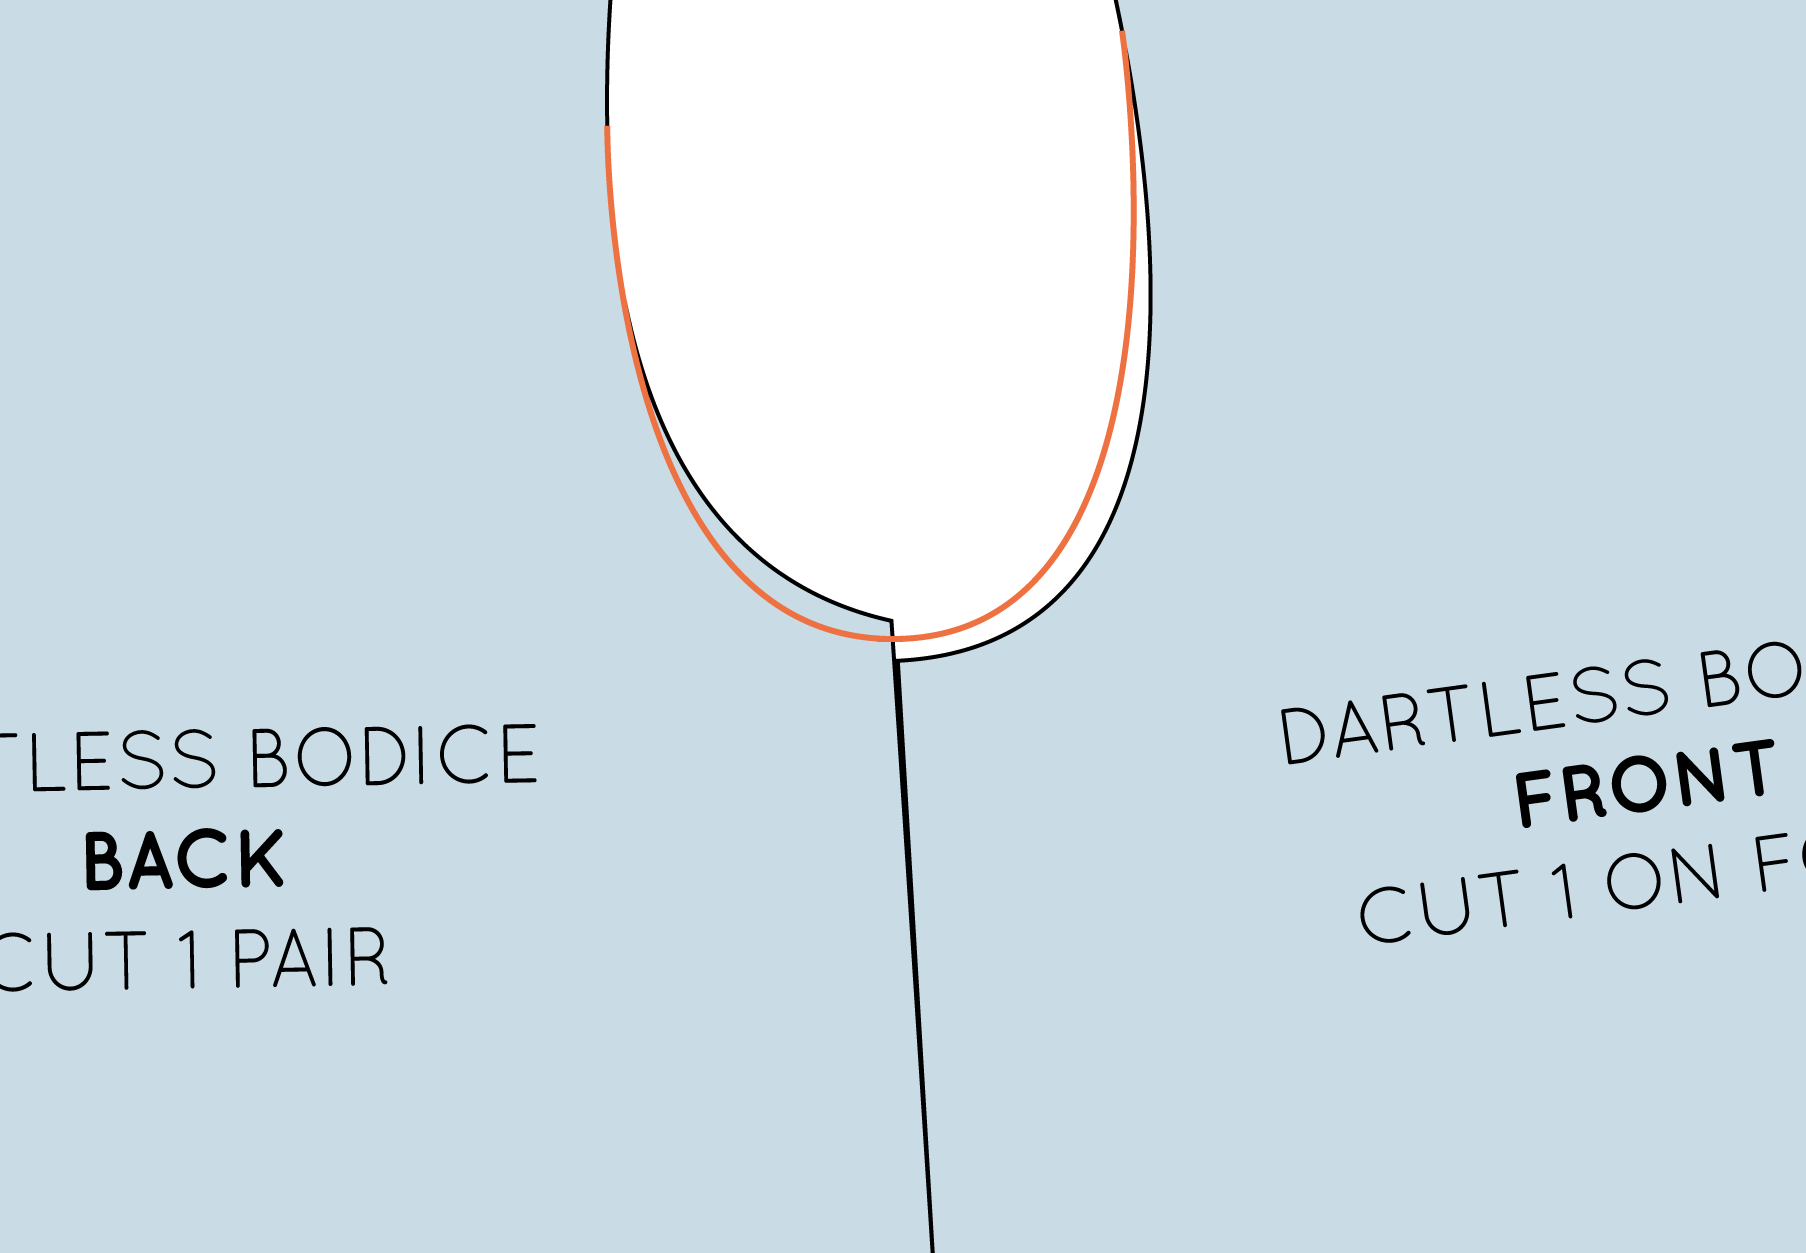
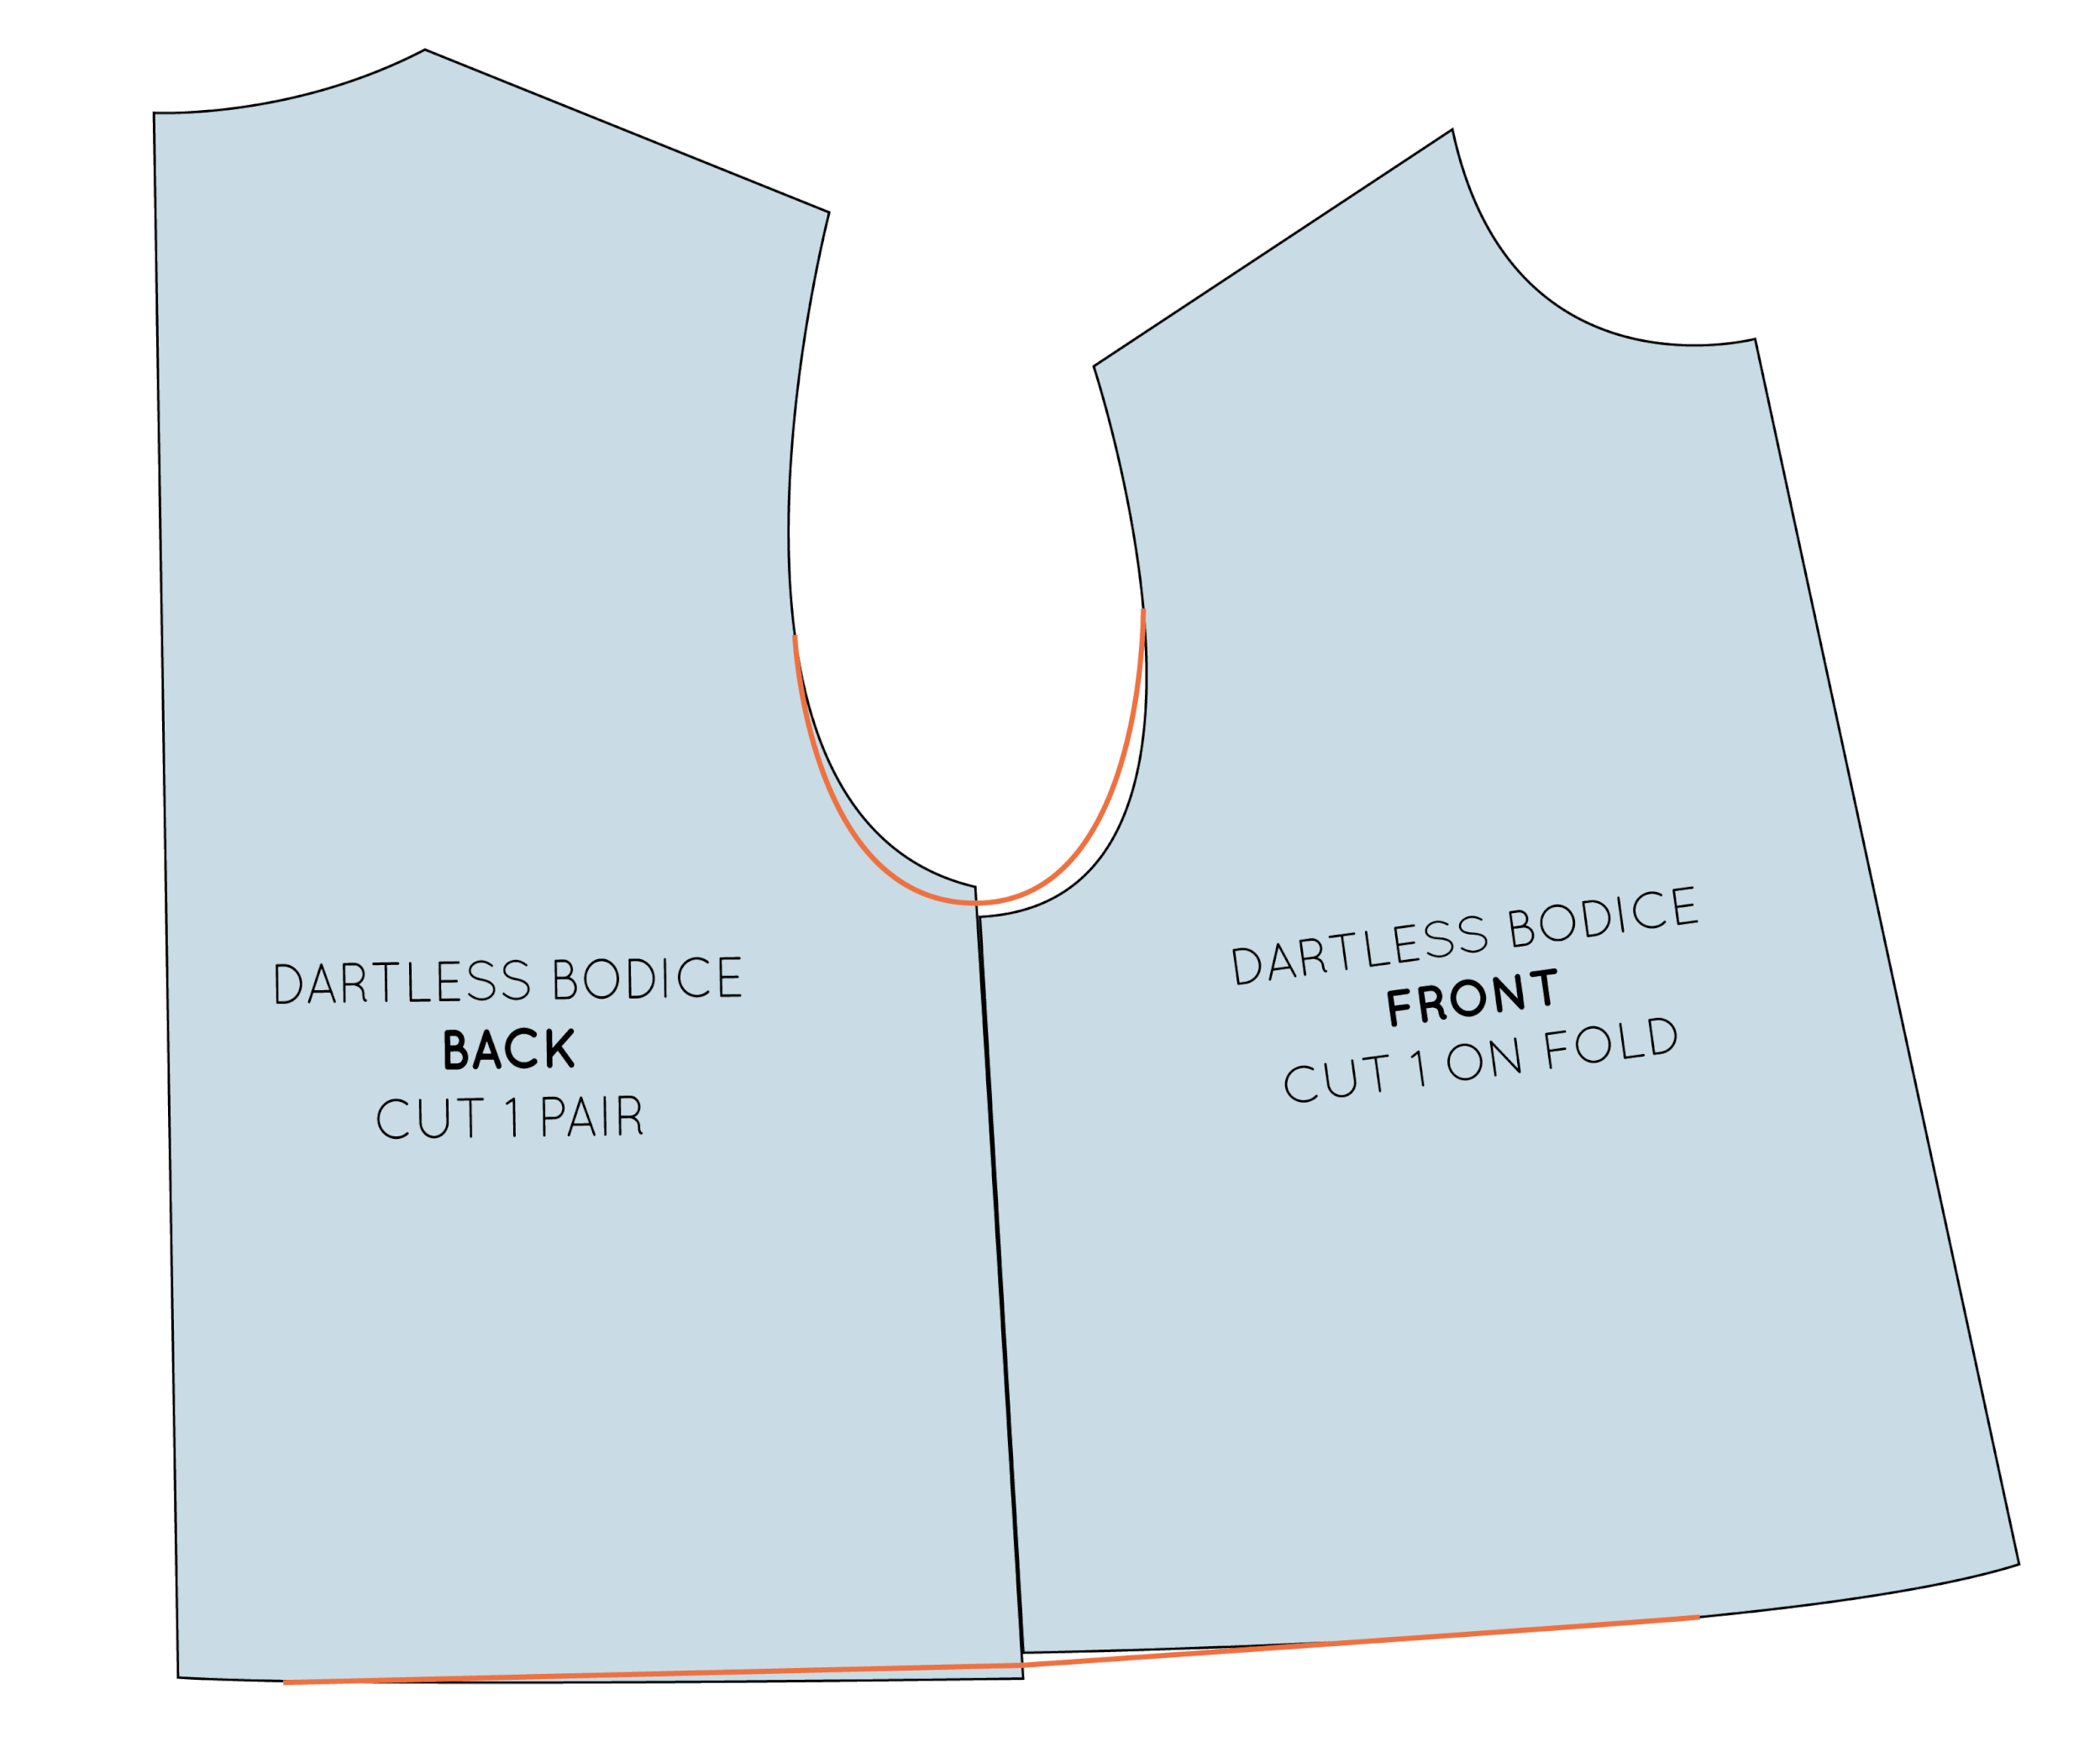
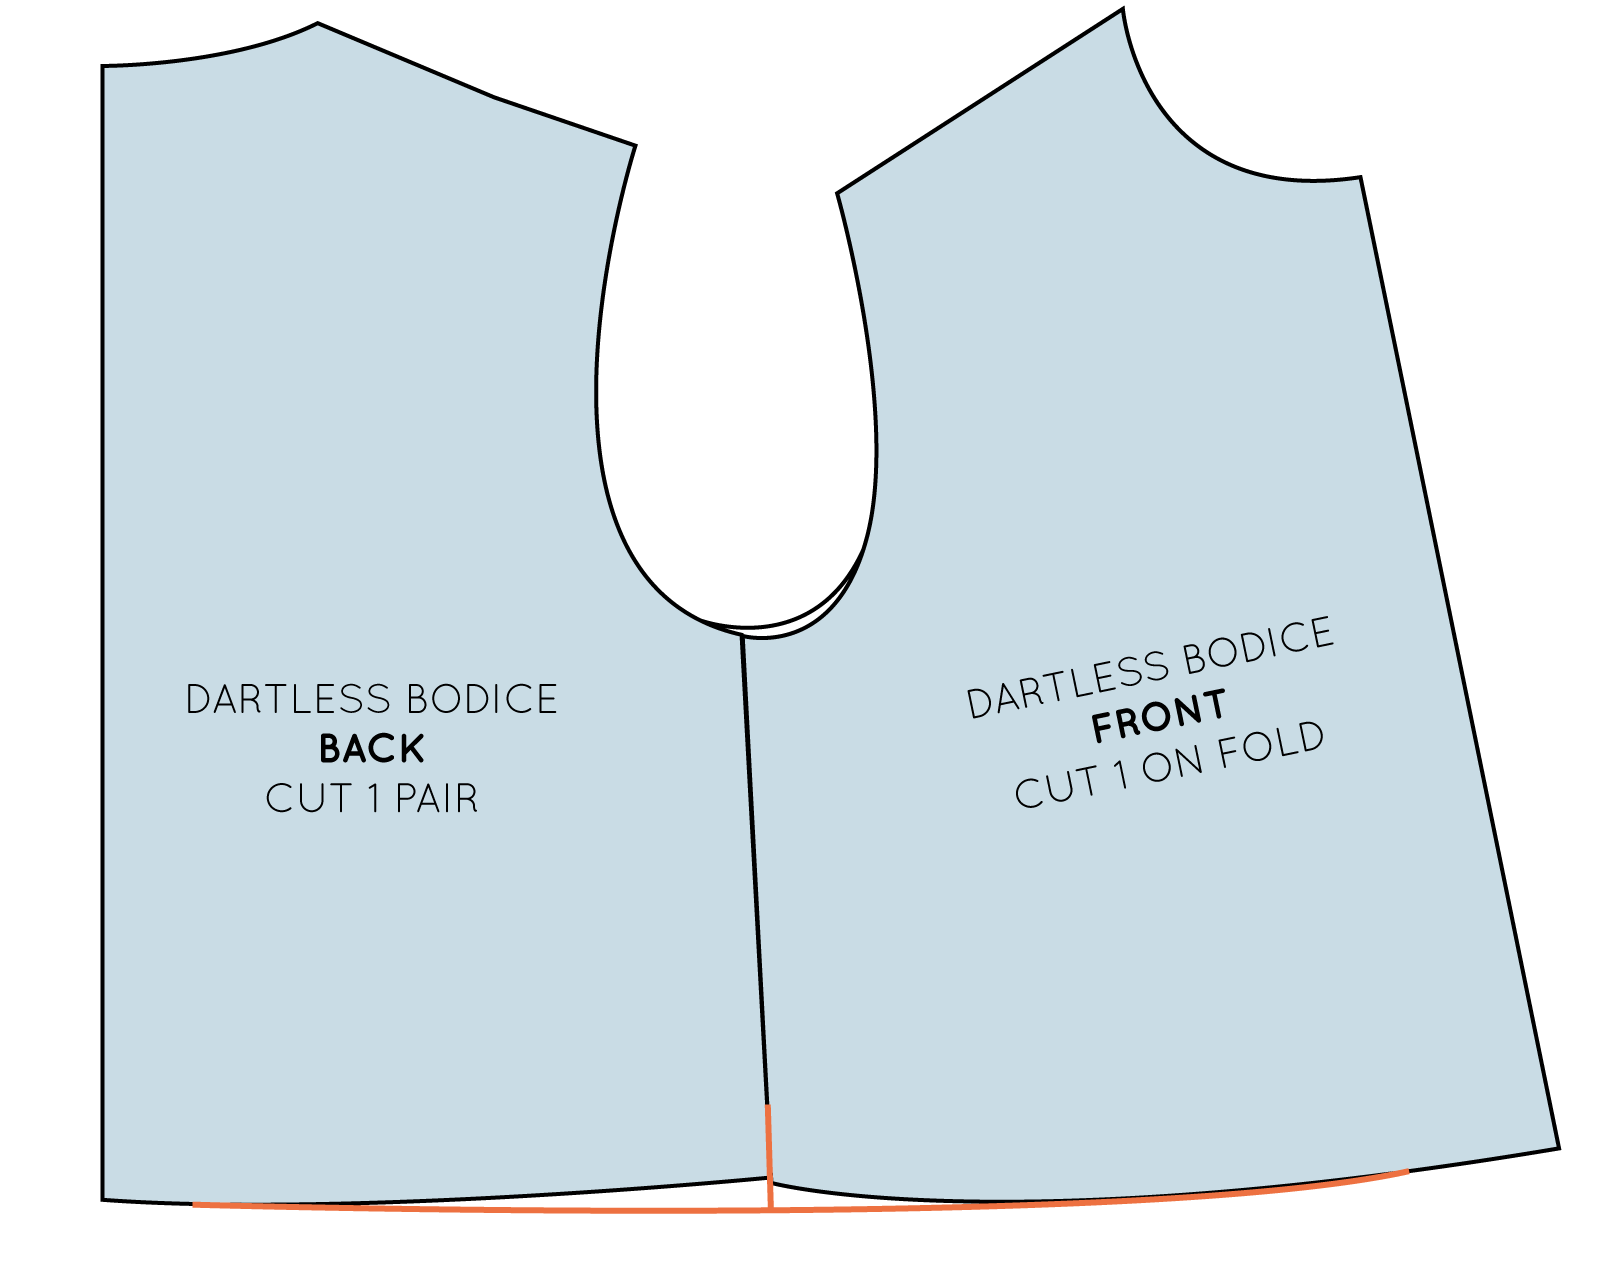
For example, in the image above, you can see that the front and back side seams are the same length, but they do not meet as smoothly as they should at the armhole and hem. The armhole dips forward on the front pattern, creating an unbalanced shape, while the hem line lifts at the side seam, instead of remaining flat and smooth.
To correct this, attach some pattern paper to the area you will be adjusting and redraw the line. You will see in the example above, a little extra was needed on the back armhole, as well as the front to get a nice smooth armhole curve.
Use the same method to smooth out the hem line - adding enough to each side to get a smooth line.
True the shoulder seam
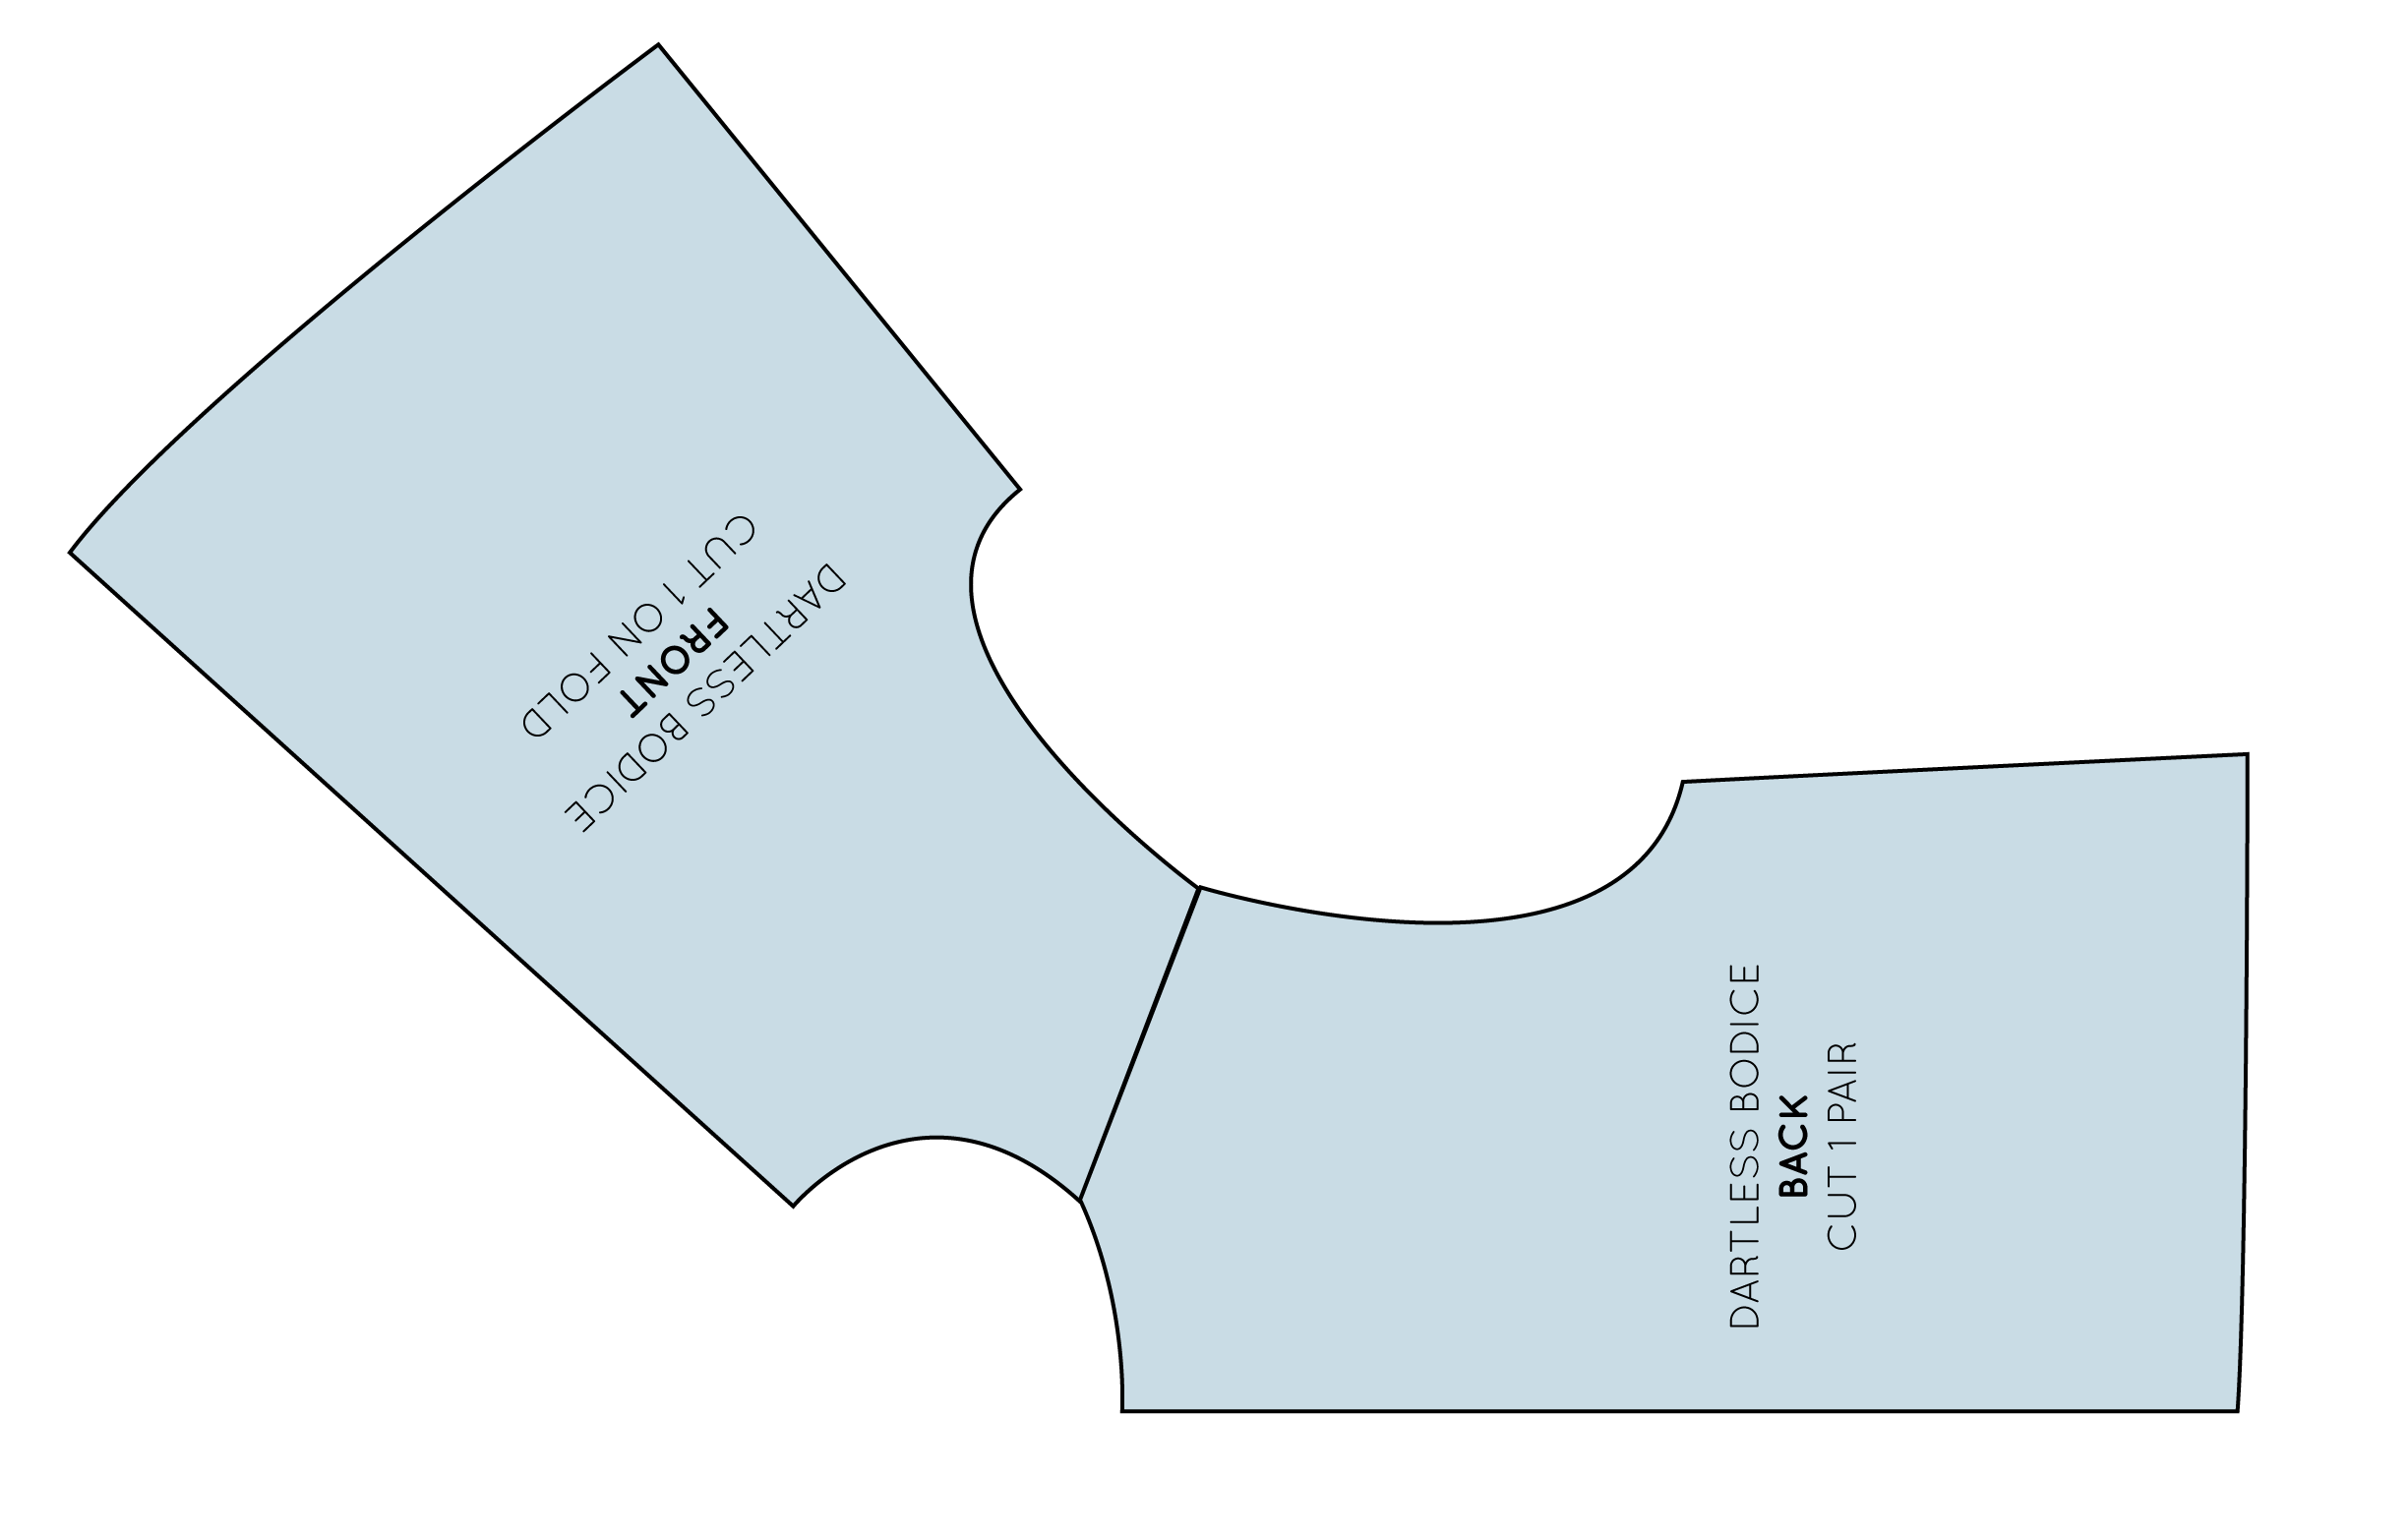
To check the shoulder seam, lay your patterns flat and match up the seams as if you had just sewn them together and were now opening the seam to press it flat. Again, check that they are the same length and then check there is a smooth transition from the front to the back pattern piece. You will see in the example that the neckline is nice and smooth, but the armhole comes to a bit of a point at the shoulder seam.
To fix this, attach a little extra pattern paper to each pattern piece and redraw the curve, smoothly transitioning back into the original armhole curve.
Check that patterns are square
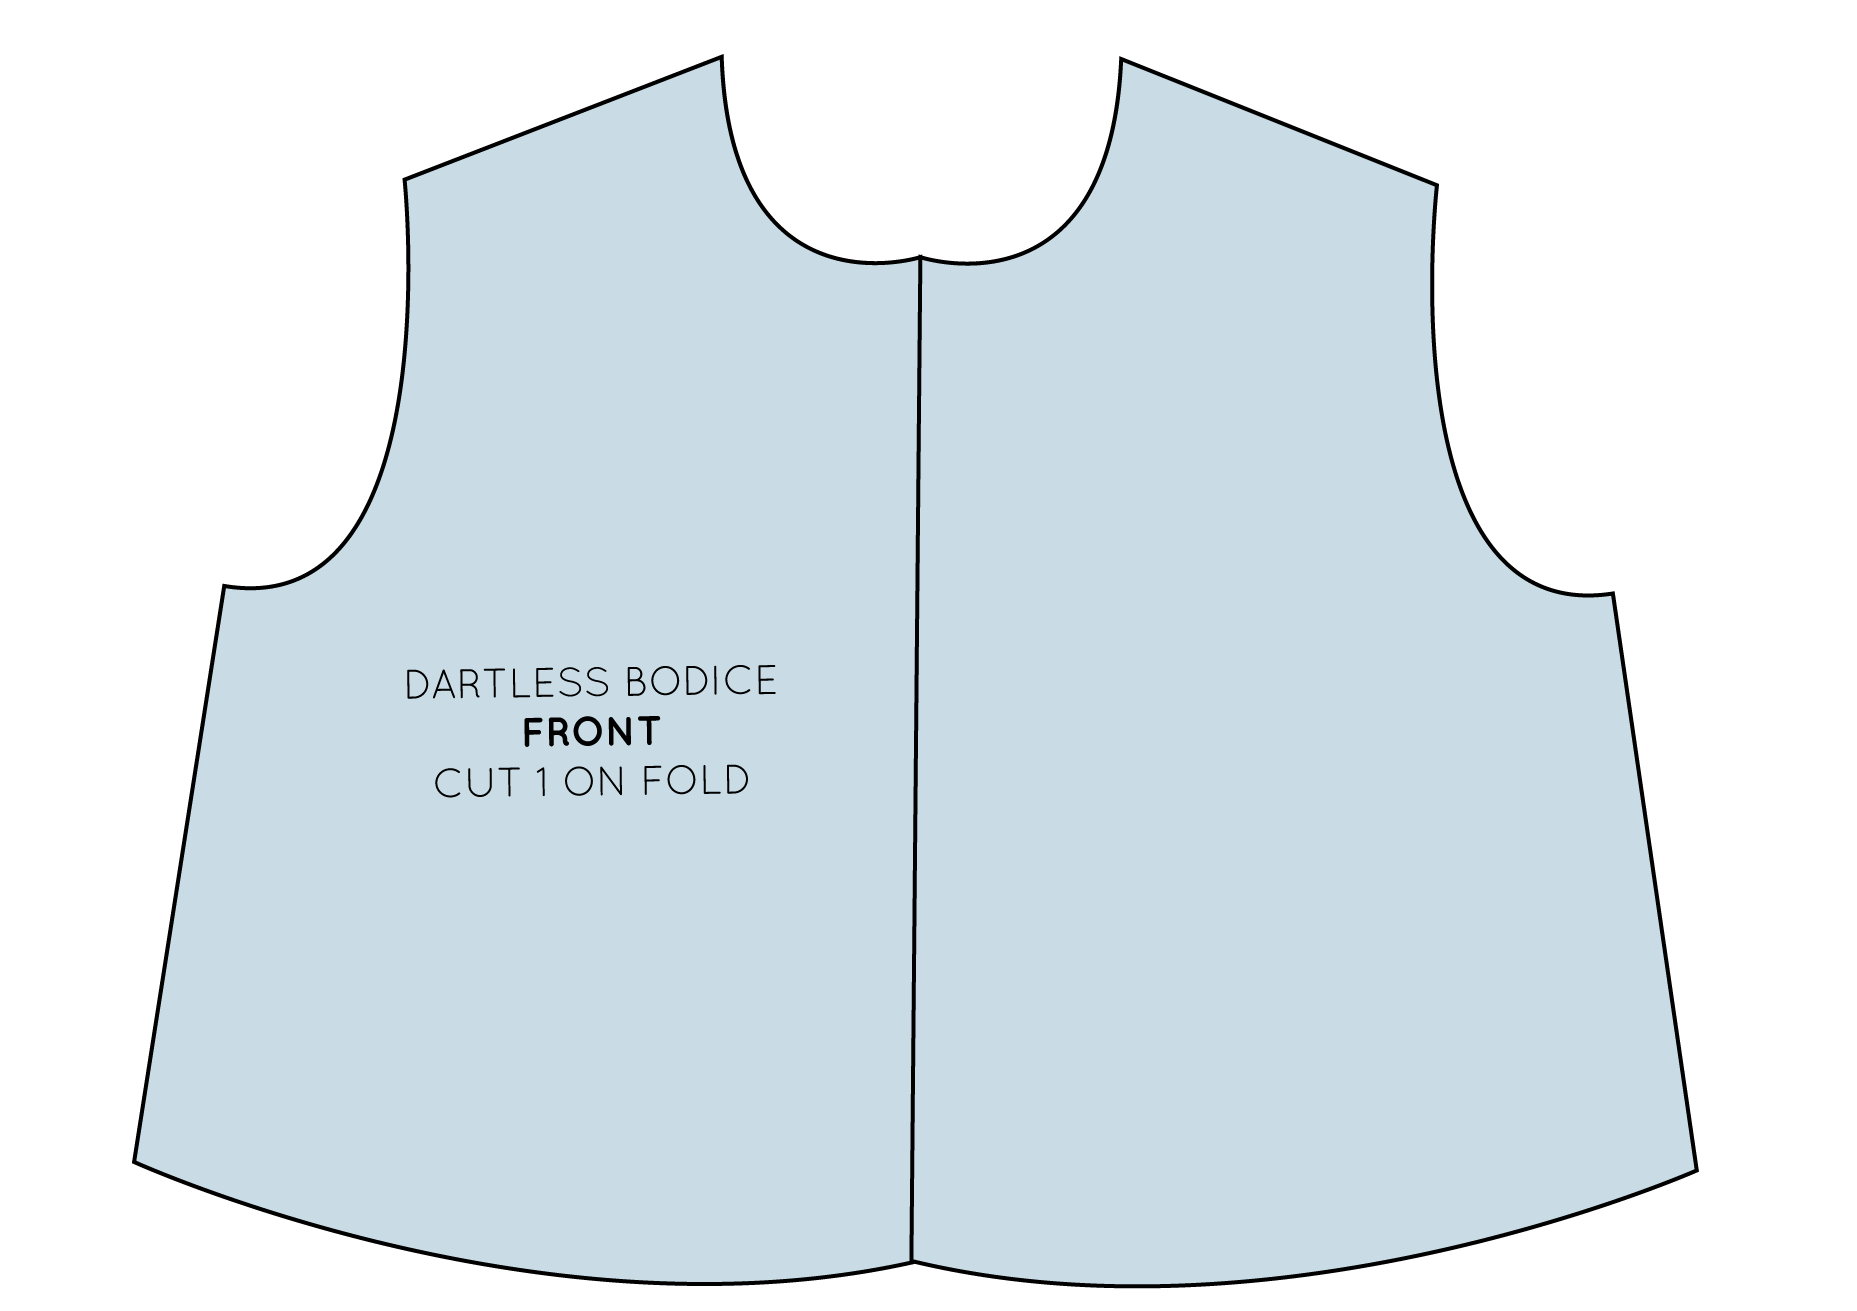
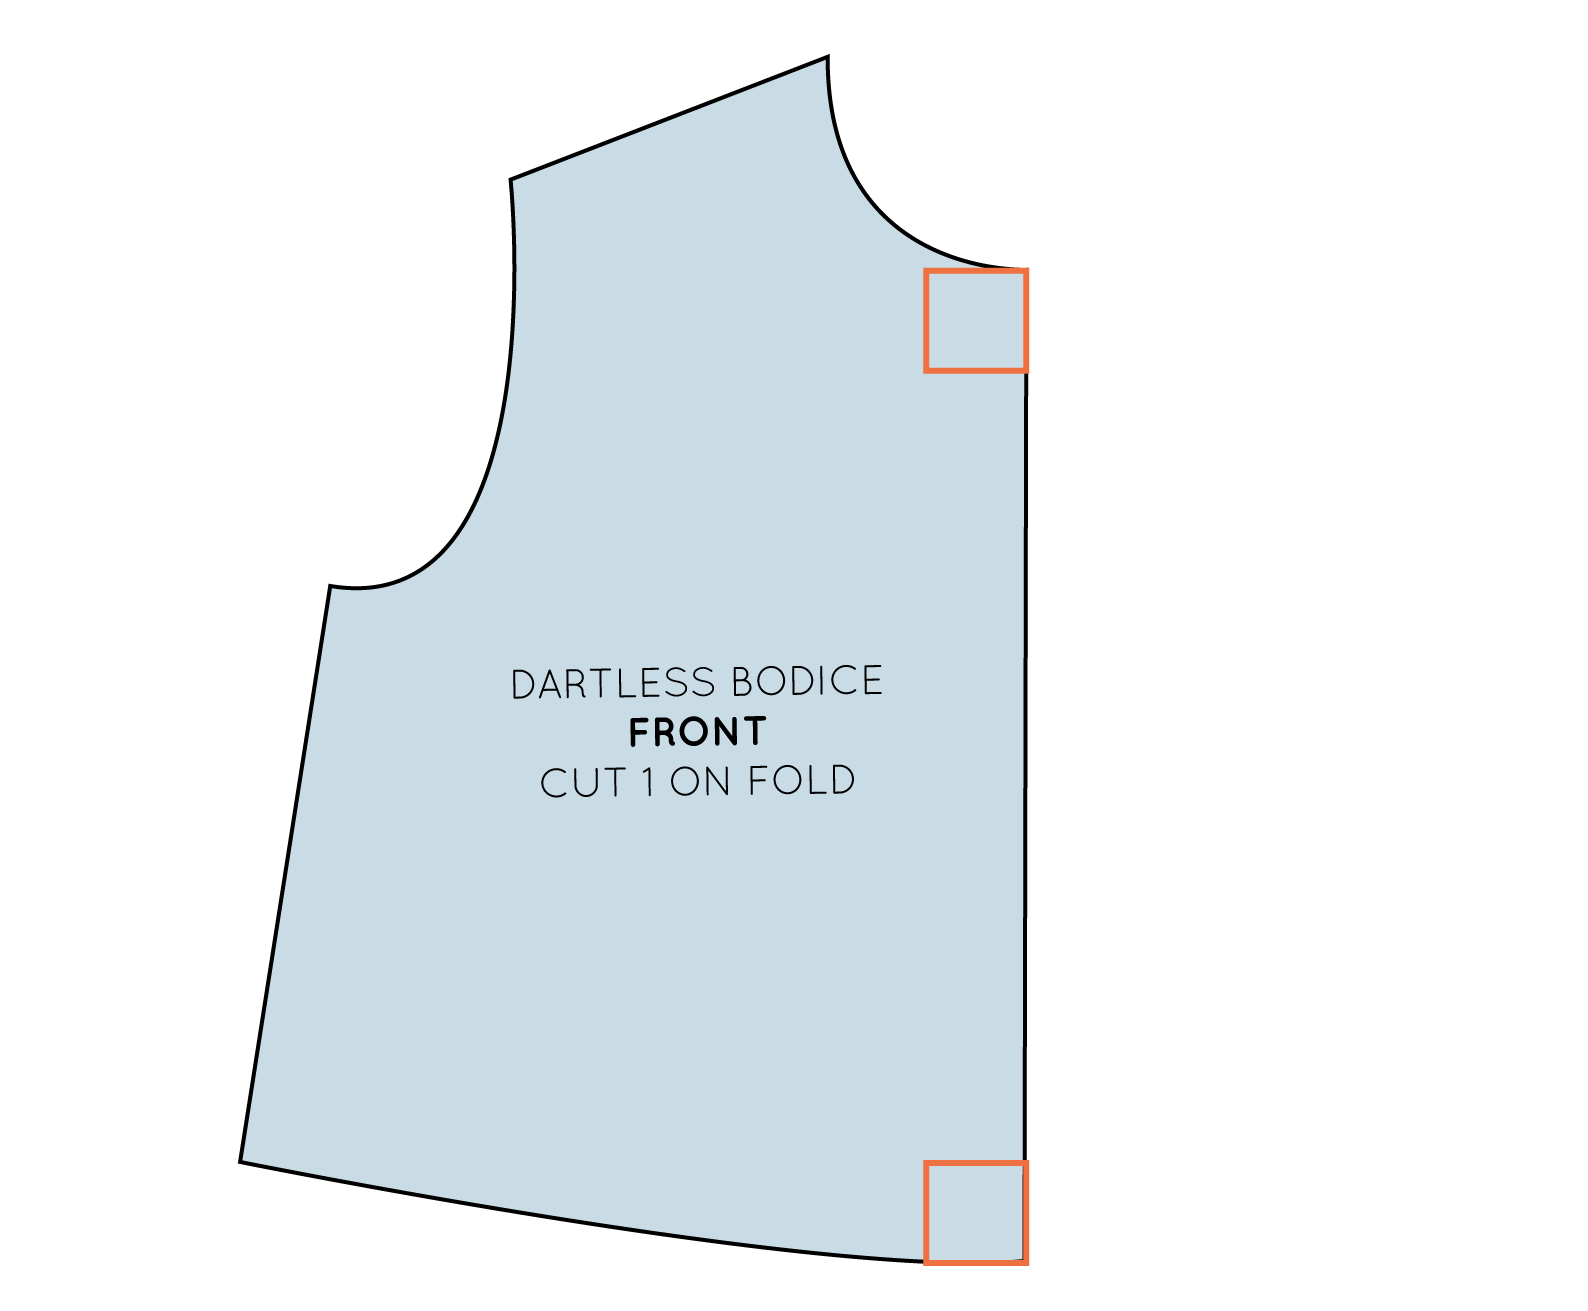
When a pattern is symmetrical always check both ends of the centre line (or "PLACE ON FOLD" line) meet the other seam at a right angle. This will prevent any strange lumps, bumps or points in your pattern piece.
In the example shown, the neckline and hemline were not square to the centre front and when the pattern was cut on the fold, a peak was created in the neckline and a point in the hemline.
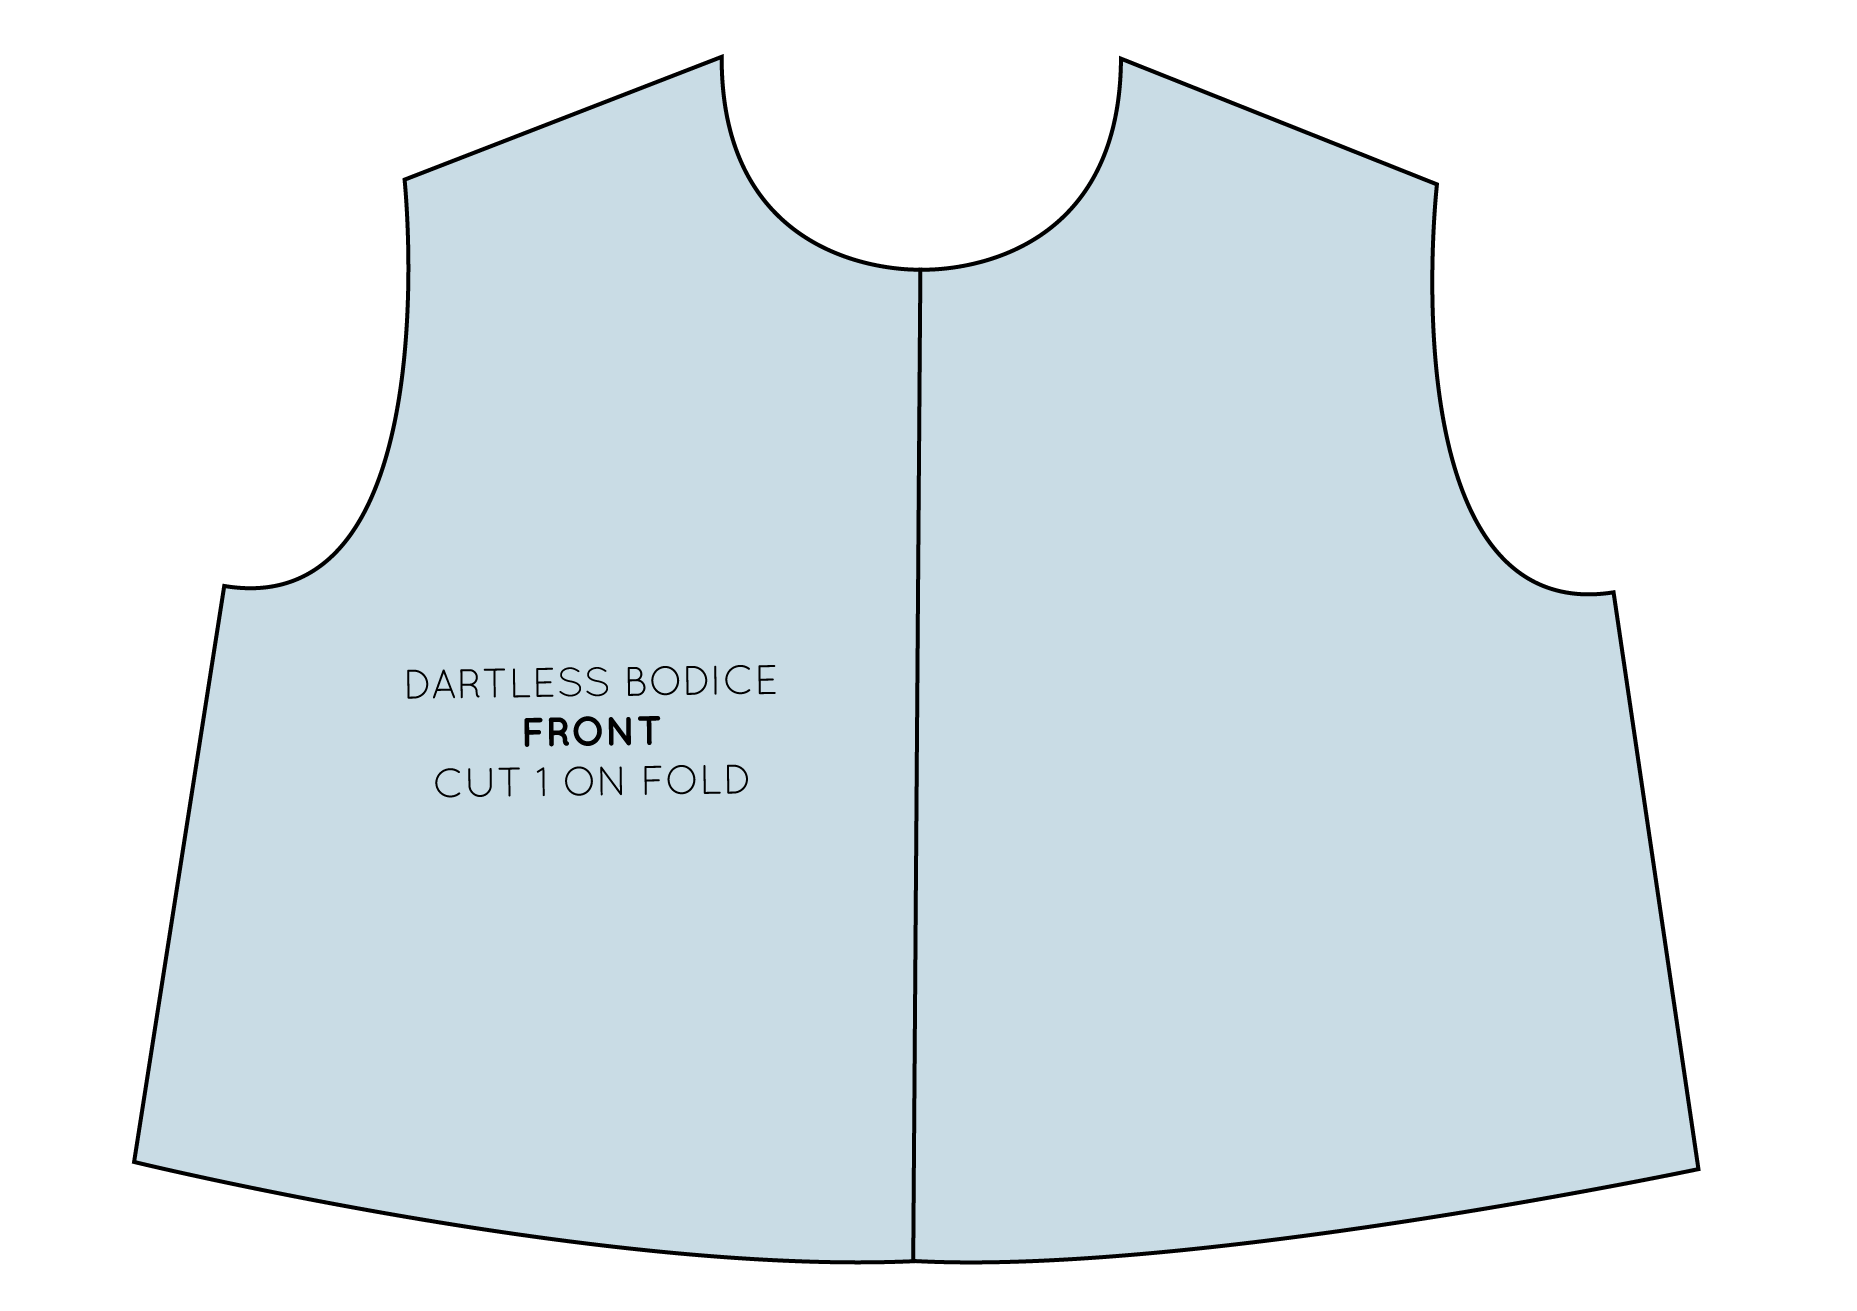
To prevent this from happening, and to ensure a nice smooth neckline and hemline, before cutting the pattern on the fold, check that the curves meet the fold line at a right angle, using a set square.
This way, when you cut the pattern on the fold, the neckline and hemline will remain nice and smooth.
I'd love to hear if you found this post useful!

