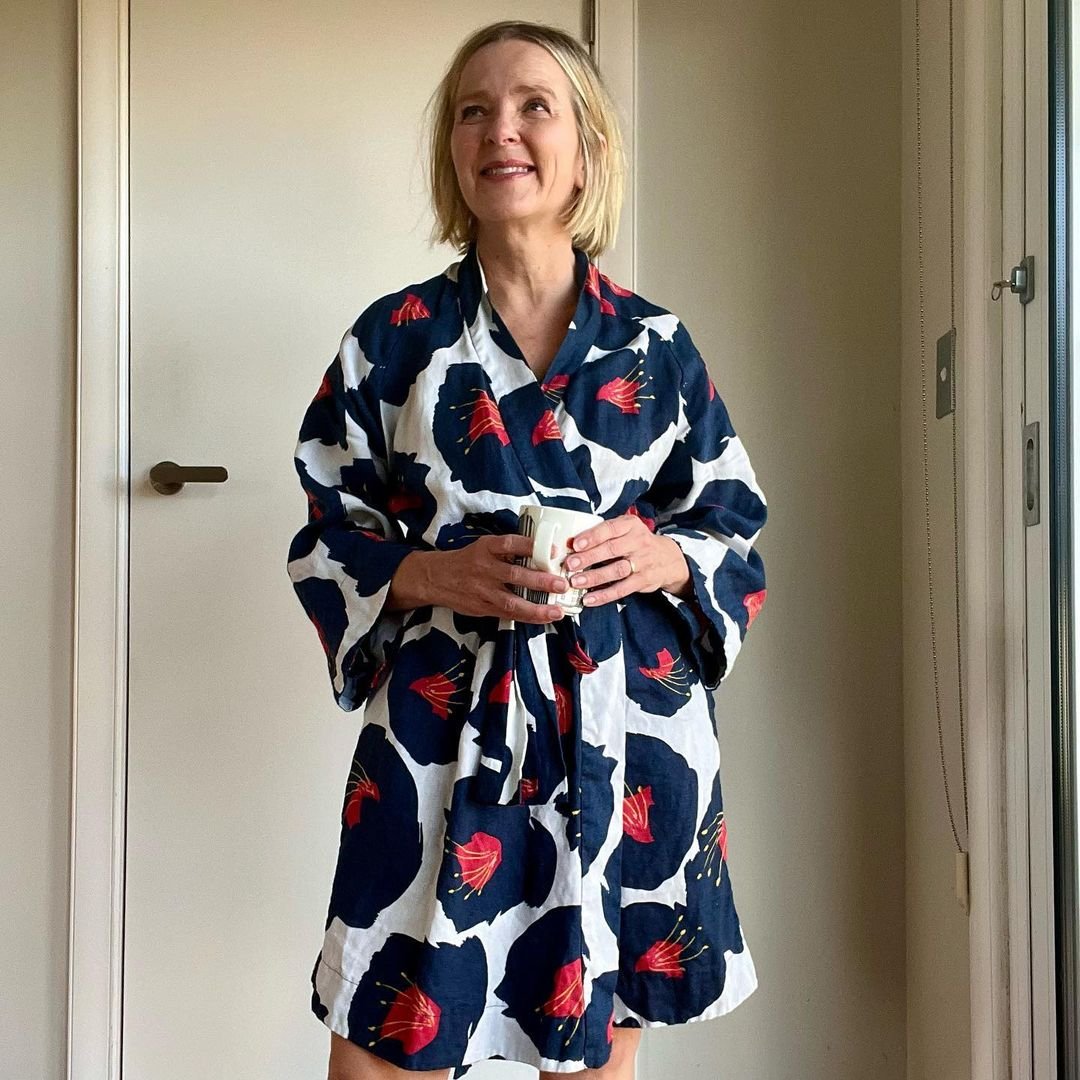
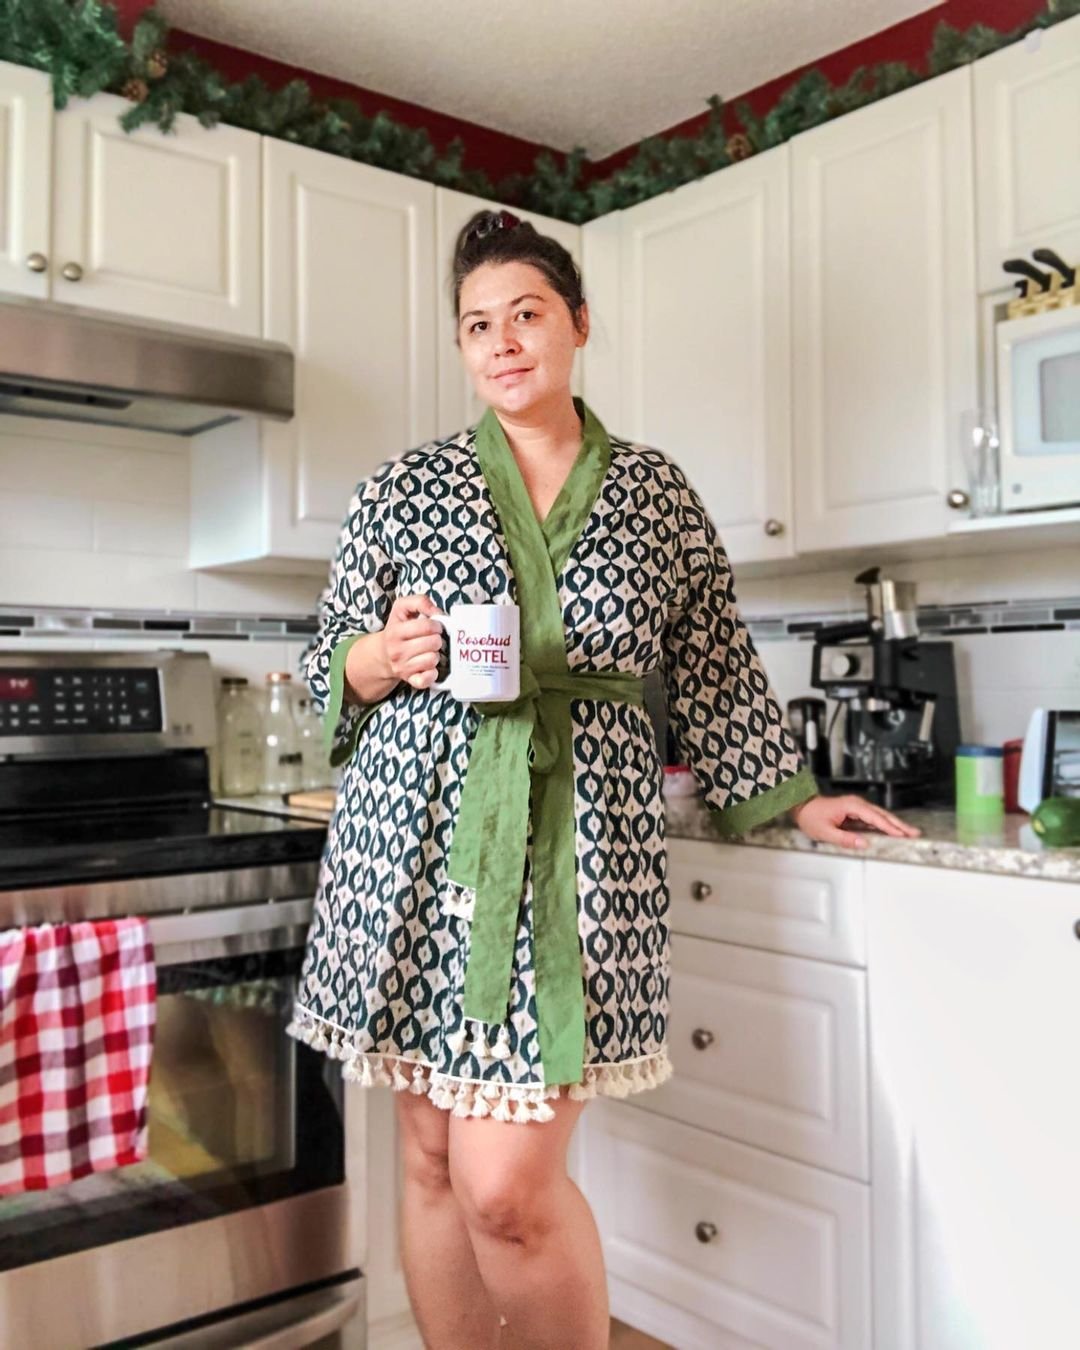
The Curated by ITF private community is a wonderful place where members get to share their love of sewing, inspire and motivate each other, and help others when they’ve hit a roadblock in their sewing journey. We are so impressed by the knowledge that our members hold, but also by their camaraderie and willingness to share their wisdom and love for sewing.
But, unless you’re a member of Curated it’s not something you can really appreciate. Sure, we can tell you how wonderful it is, but unless you experience it you’ll never really know! So this week, we’re giving you a peek into our online community through the eyes of a long-standing and valued member of Curated by ITF - allow us to introduce you to Jo!
get to know Jo
“Lifelong maker, passionate about sewing and gadgets… especially sewing gadgets... and tinkering with vintage sewing machines… and collecting fabric.”
Hi there!
I am #SewOver50 and have been sewing my whole life. When I was a teenager, I was lucky enough to take several units of a certificate course at TAFE, which set me up with the skills and confidence to tackle any sewing project. I love how the internet makes sewing a social activity and at the same time opens up access to indie patterns like In the Folds, gorgeous fabrics and supplies, along with many new skills, previously never available to home sewists.
As a Sydney local, I originally joined Curated by ITF to support Emily, but I stayed for the lovely community and the reference library of techniques and patterns I am building! The ITF community feels very friendly and easy to engage with. Members are encouraged to share their process as well as their finished makes, ask for help or just start a conversation. So many supportive like-minds!
Join Curated by ITF - find your new community!
If you're looking to be supported, motivated and inspired through your sewing journey our Curated by ITF subscription might be just what you're looking for.
As well as a monthly sewing project, you’ll gain access to our private member platform where you can receive feedback and advice from the ITF team and other experienced makers, participate in sew-alongs and make sewing besties all over the world!
Jo recently shared a post in the community entitled ‘An ode to staystitching’ and we thought it needed to be shared more broadly, so read on to hear some of Jo’s hard-won sewing wisdom!
an ode to staystitching
(Written by Jo M, originally shared in the Curated by ITF private community.)
I am about to (finally!) embark on my first Whitlow Robe, as a gift for a special friend, and am reading everyone's wonderful posts from 12 months ago. (Editor’s note: Jo is referring to the content shared in the community when the Whitlow robe pattern was first released back in November 2021.)
So much inspiration and information!
A few mentions were made about the front neckline section of the Whitlow stretching out a bit with handling. I notice that staystitching is instructed in the pattern first up (which I LOVE!!), but I want to suggest a slight tweak in technique might help - the clue is in "directional sewing" - more below…
I was fortunate to have some training early in my sewing "career" back when the Readers Digest Complete Guide to Sewing was our text book. Staystitching can make a huge difference to our finished product and how it wears, so I thought I could share a little technique round-up (referring to the book) here in case it helps others.
If you see this book in a second-hand store, run and buy it. Mine is a 1984 edition. I have read that some later editions might be less comprehensive. I could write an ode to this book too... it is the BEST. (Editor’s note: Jo did, in fact, write an ode to this book, also shared in our private online community!)
Staystitching is generally a permanent addition to the garment that supports the garment structure during construction but also during wear.
Generally we use staystitching (sometimes along with other methods like interfacing, tape etc) to stabilise shaped seams for woven garments. Sometimes I also use it for knits if the particular seam needs to be stabilised (ie the seam is required to not stretch during wear or construction, such as when installing a placket, a staystitched edge can provide stability and better accuracy).
Another place it helps me is, for example, when doing a baby rolled hem, that first pass of stitching gives you a stable line for a clean first fold!
My staystitching tips
It is best to staystitch shaped seamlines as soon as you remove the paper pattern from the cut fabric and before any other construction. This is one of the reasons I feel a bit unsure about using a projector for cutting out, as I like to leave my paper attached to pieces for as long as possible for identification and to avoid distortion.
Generally, use your standard stitch length (2.5mm most often for medium weight fabrics) and try to place the staystitch line in the seam allowance about 1 to 2mm inside the final stitchline.
Before/during staystitching be as careful as possible to avoid over-handling your fabric piece, ensure you don't allow the fabric to "hang" as it feeds into the machine. I kind-of ‘pool’ the fabric in front of the presser foot and allow the foot to pull the fabric through with only gentle guidance.
Staystitching should be done directionally. That is, Readers Digest says we should generally stitch from the widest to the narrowest part of the garment as this supports the fabric grain rather than distorting the grain. They are quite helpful and detailed about why (see image).
So, for an angled front like on the Whitlow robe, I will staystitch from the bottom (widest part) to the top of the angled front neckline (this is my suggested little tweak to the instructions).
Staystitching for round necklines should be done from the shoulder to the centre front (and similarly for the centre back) - that means you need to stop stitching at the centre, flip the piece and stitch the opposite side to meet in the centre, not stitching it all in one go which might be prone to distorting the shape as you sew up towards the opposite shoulder.
Conversely, staystitching for V necklines should start at the bottom of the V, up to the shoulder.
Facings should also be staystitched the same way as the particular garment section - so for a neckline facing, I stitch shoulder to centre. The only difference is that I apply the interfacing before staystitching as this helps anchor the interfacing to the fabric and I can trim the interfacing back to the staystitch line easily if desired.
Hope this detailed (nerdy!?) technique is a helpful reference for my fellow Foldies! Interested to hear your thoughts and experiences.
I hope this has given you some insight into what you can expect to find when you join our Curated by ITF subscription, If we’ve peaked your interest you can find out more about this month’s project here. We’d love to see you in there!
Happy sewing!
Emily


