Original Technical Drawings
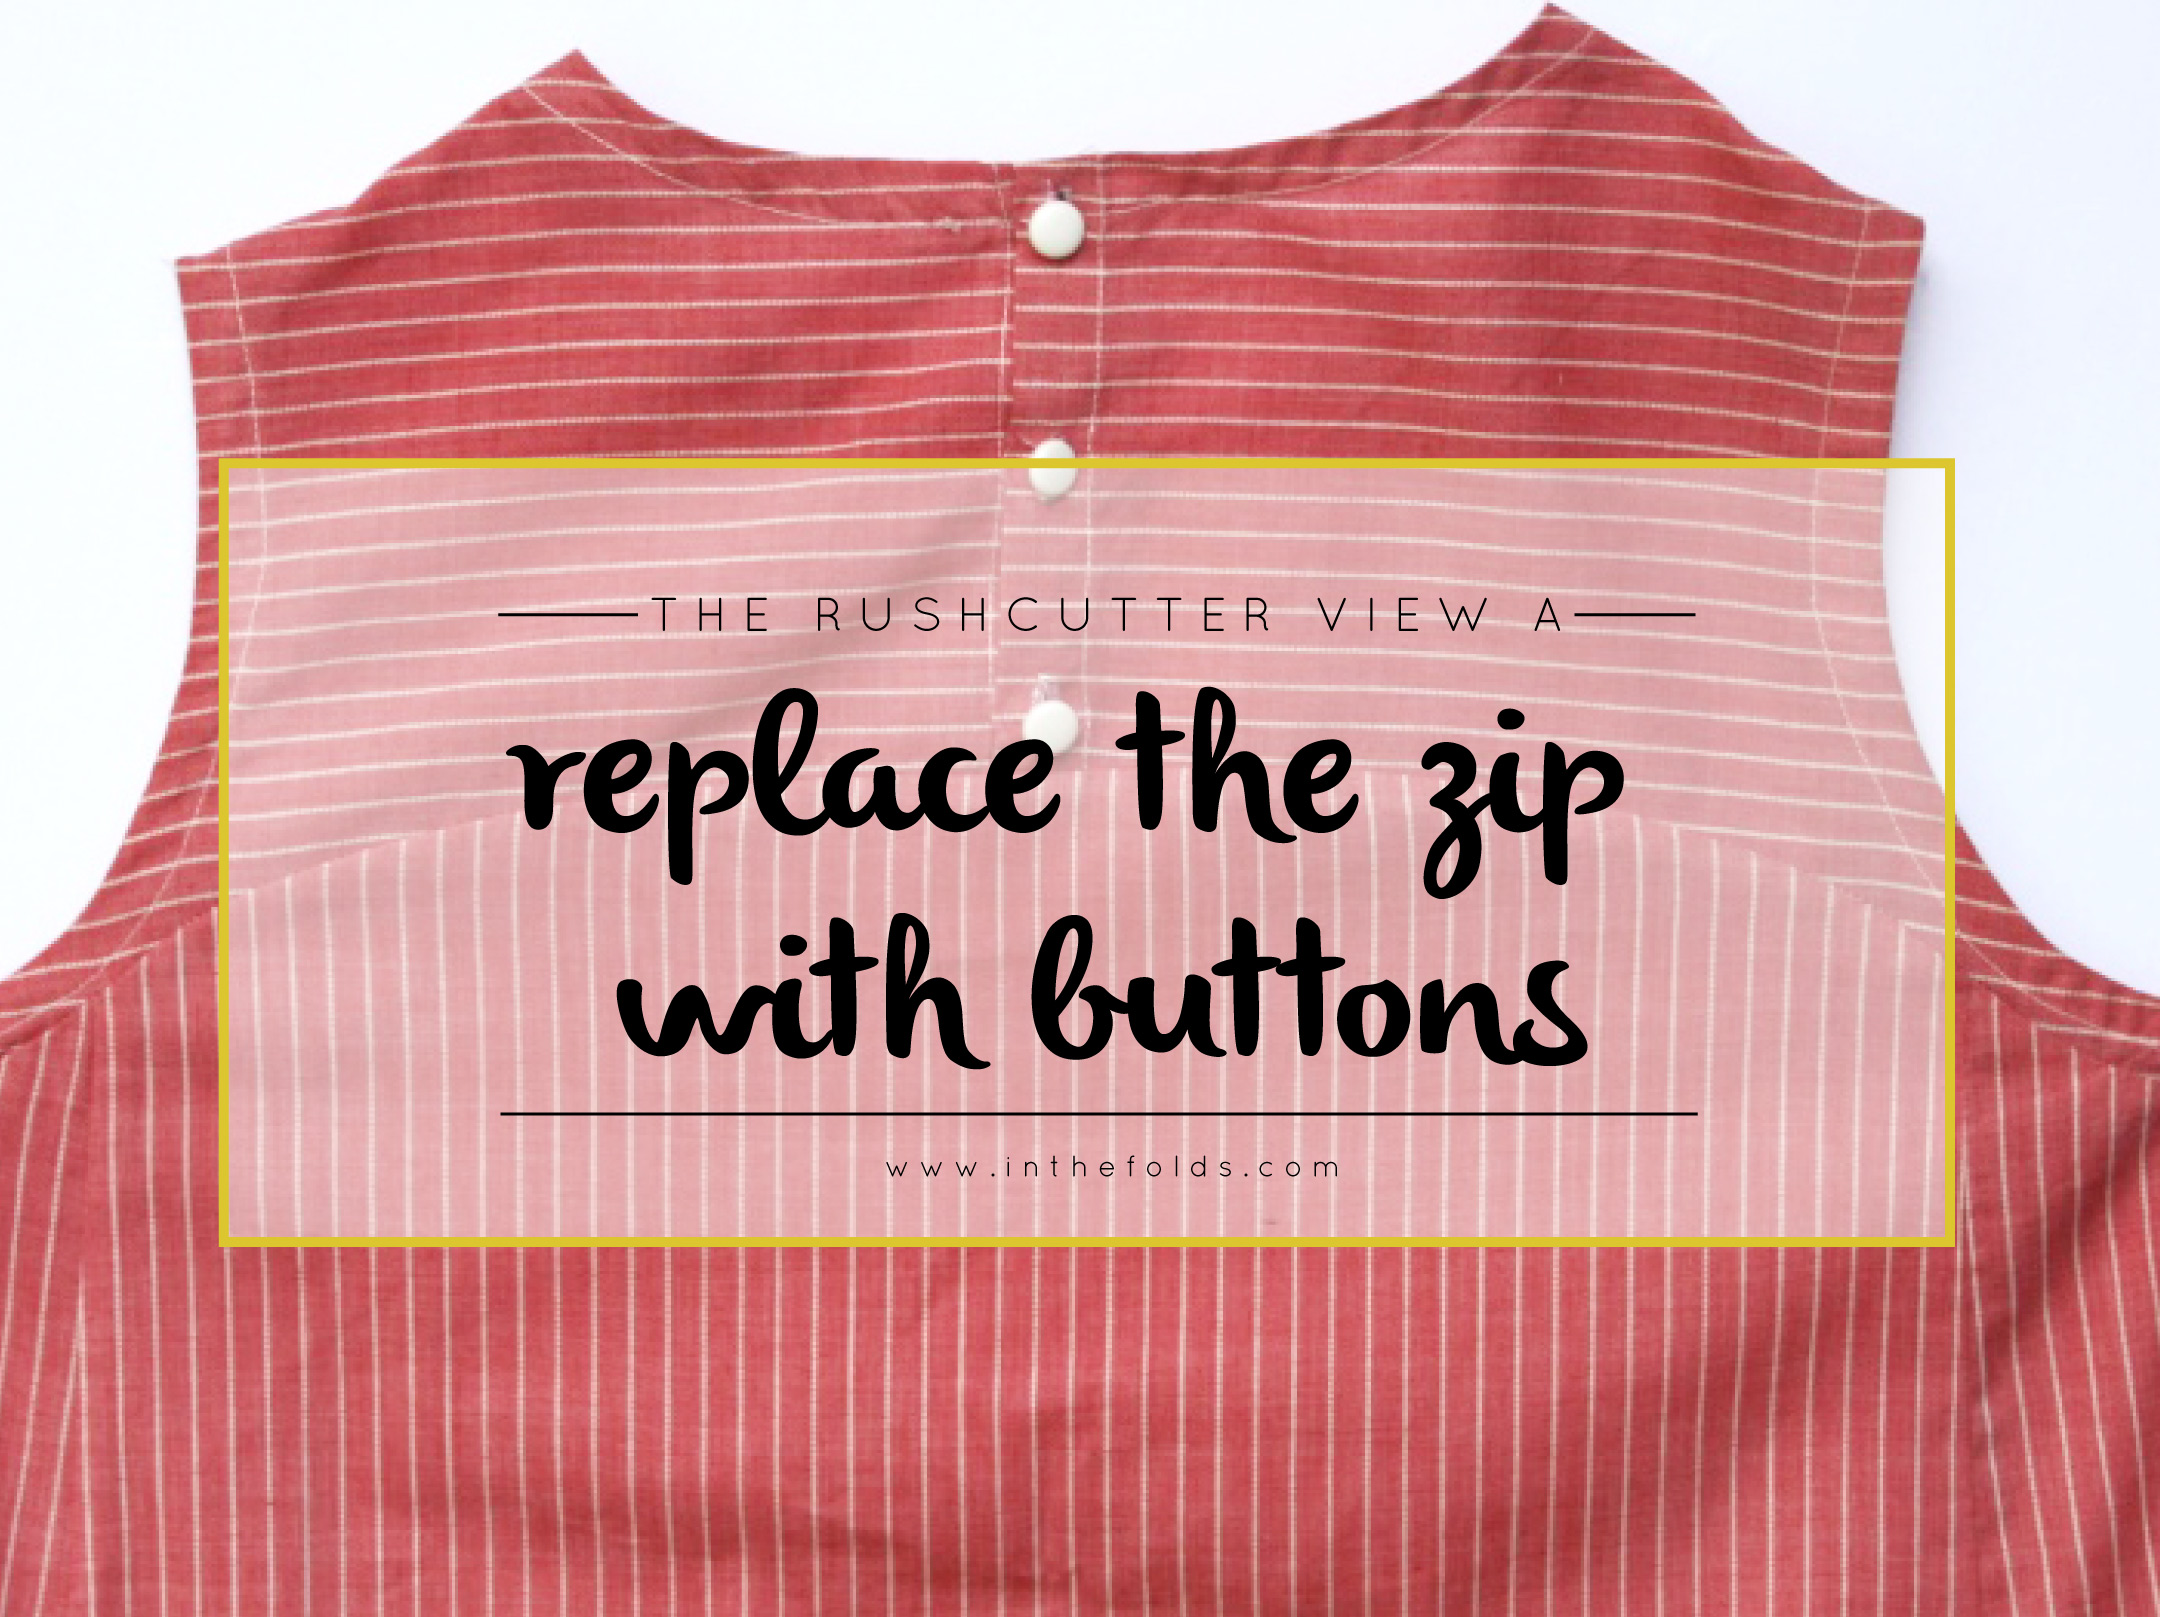
Recently, a customer got in touch and said that she wanted to make the Rushcutter View A (the version with sleeves), but would like to add buttons to the back, like View B, but wanted to check if it was an easy adjustment to make to the pattern.
A Rushcutter with sleeves and buttons
It is a nice and easy adjustment to make, and it is a tutorial I have been meaning to create forever, so I thought this was a sign it was about time I got around to it, as I am sure she is not the only one who would like to make this adjustment!
A little bit about In the Folds patterns
If you have used the Rushcutter pattern, you will know that both stitching line and cutting lines are marked on the pattern.
Why is the stitching line marked?
When I first decided to start creating sewing patterns for home sewers, one of the first decisions I made, before I even started sketching, was that I wanted to create patterns that would help sewers develop their skills, in both sewing and pattern making.
By including the stitching lines on each pattern piece, it makes it much easier to understand how the pattern was originally made, but also allows for easy adjustments and 'hacking' to the pattern (as all pattern alterations should be done without seam allowance added to the pattern).
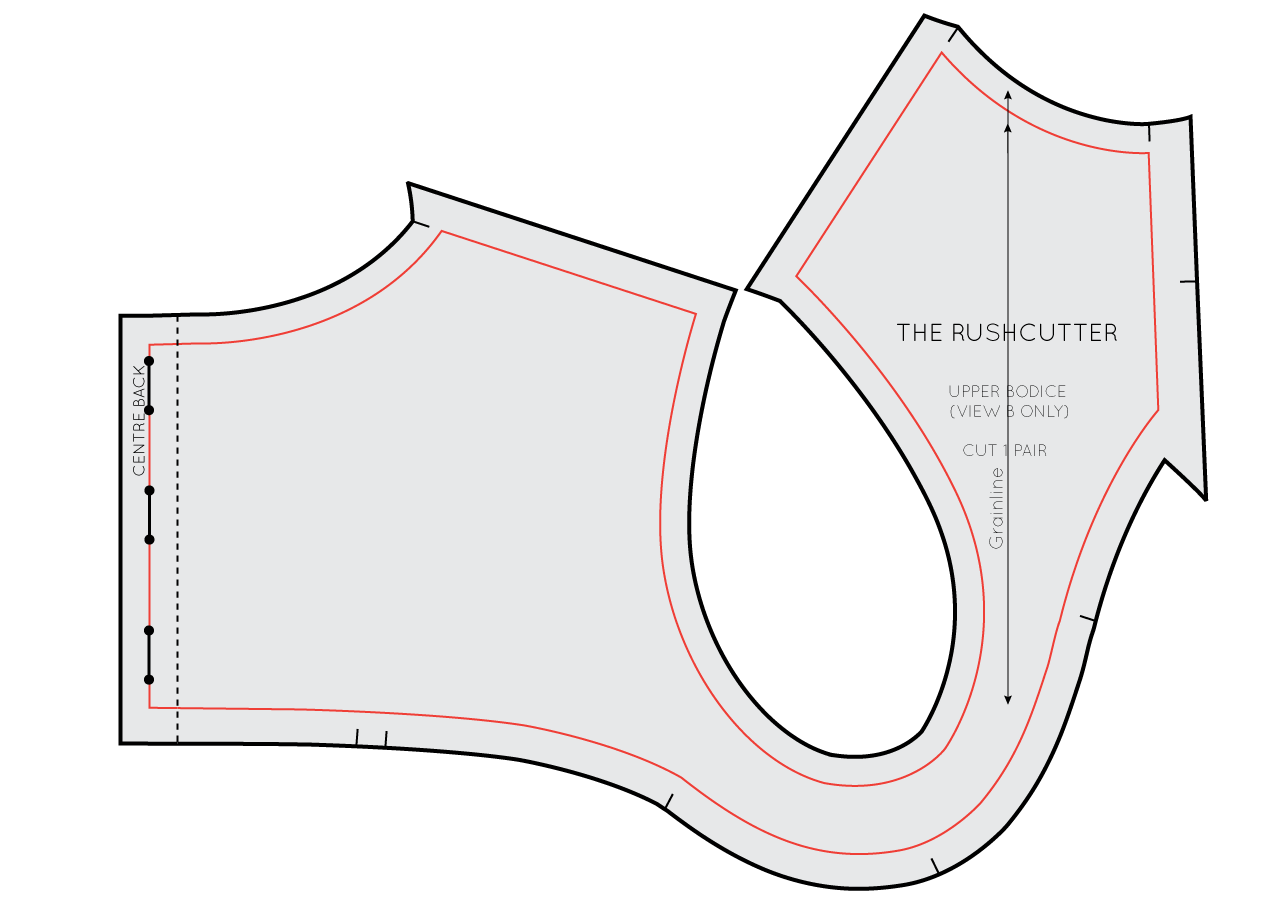
In the image you can see that the stitching line is marked with a red line, while the cutting line (outside edge of the pattern) is marked with a thick black line. If you wanted to make changes to this particular pattern piece, you could simple cut along the stitch line to remove the seam allowance, and the piece would be ready to be altered.
Understand your pattern
Before making any adjustments to a pattern, I always suggest having a good idea of how the pattern works and fits in it's original design.
So, for this example, have a look at how the button placket works on View B, before adding it to View A.
The button placket
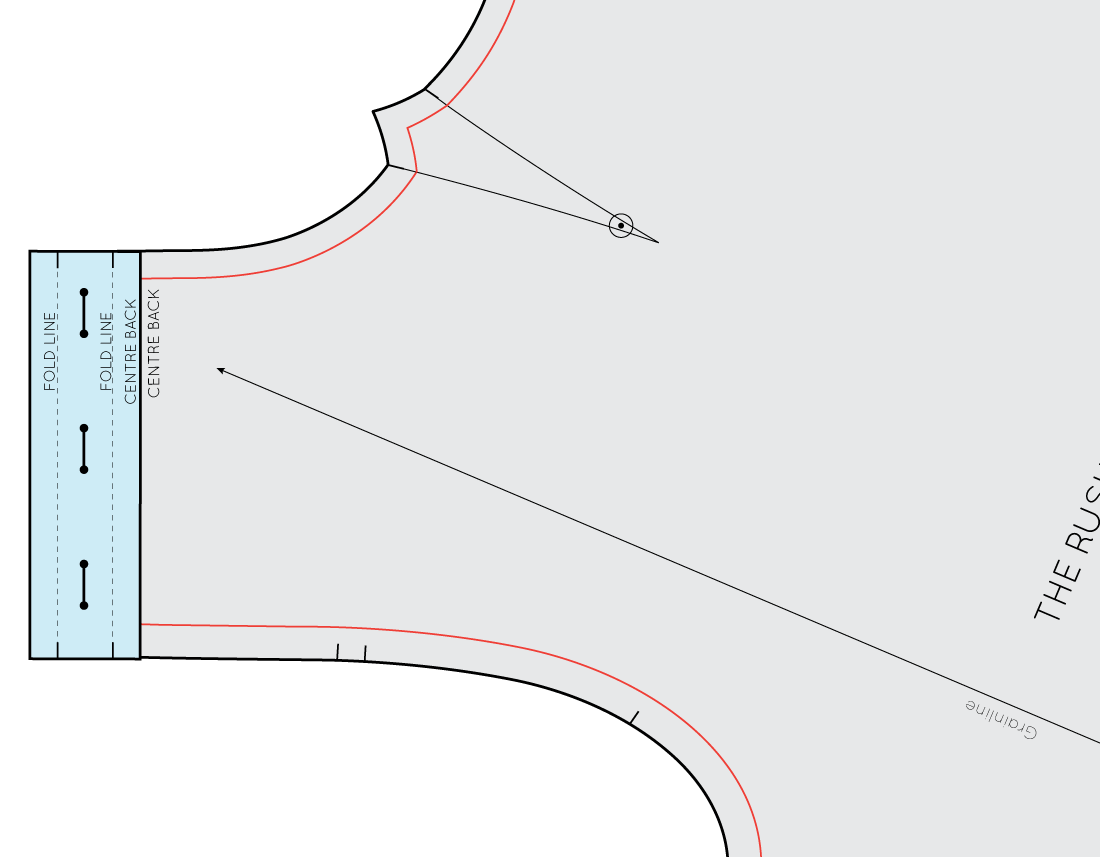
As you can see, the button placket is made up of three sections, that folded to create the button placket. The first (closest to the centre back) is 1cm from the centre back. This is the first fold line. The next line is 2cm from the first fold line and is the second fold line (the buttons and button holes will be placed between these two lines). And the third line is 1cm from the second fold line and is the edge of the pattern piece.
When the piece is cut, the first fold line is folded and pressed towards the centre back.
The second fold line is folded and pressed, enclosing the raw edge inside, creating a button placket.
To finish, the buttons and button holes are placed on the centre back line. To see how this looks in fabric, you can check out this step from the Rushcutter Sew-Along.
Make the adjustment
Take the 'UPPER BODICE' pattern piece from View B, and cut along the centre back line, removing the placket from the pattern. If you would like to keep the pattern intact, simply trace a copy of the placket section onto a seperate piece of paper.
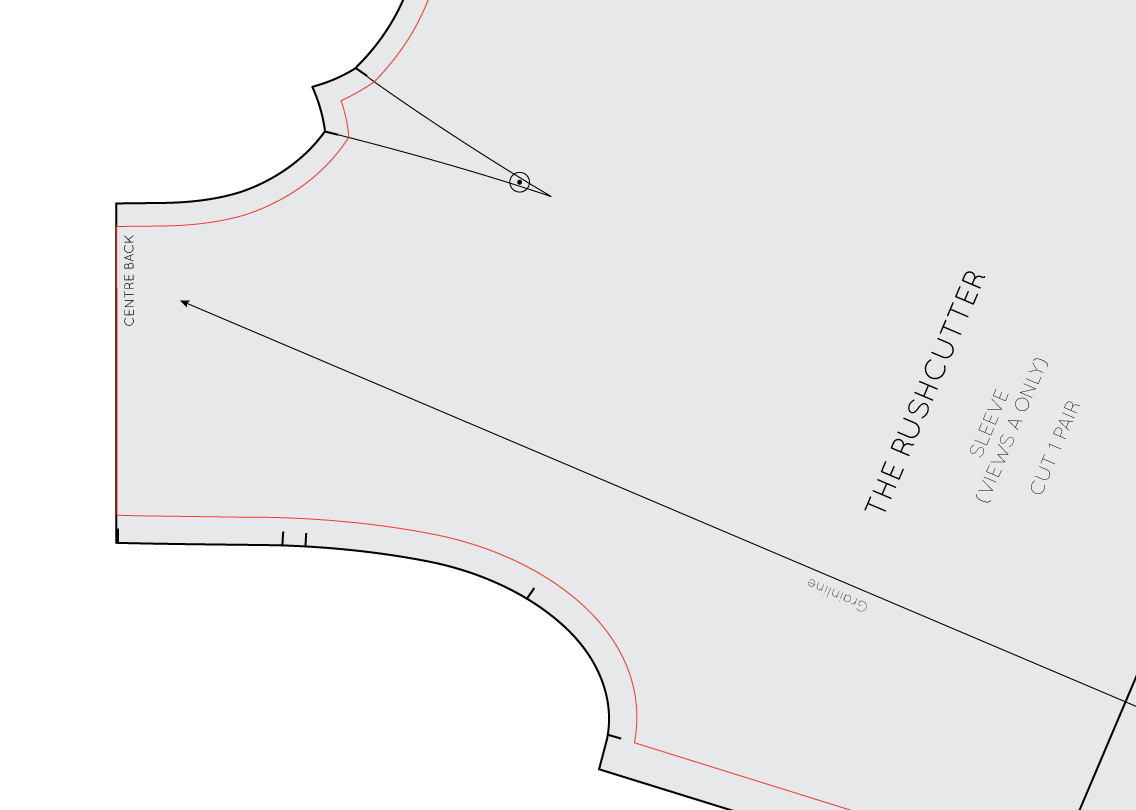
Now that you have removed the placket, you can get your sleeve pattern (from View A) ready.
You will be placing the right edge of the placket onto the centre back of the sleeve pattern (the stitch line).
Attach placket to sleeve
Line the placket up with the centre back of the sleeve pattern and tape or glue in place.
And that's it... Your Rushcutter is ready for buttons instead of a zip!
If you don't have the placket piece from View B
If you have already printed your pattern, and then decided to change from zip to buttons, and don't have the pattern pieces from View B, do not worry! It is super simple to create the placket piece, with the help of a pencil and a ruler.
Remove the seam allowance
Take your sleeve pattern and remove the seam allowance from the centre back seam (by cutting along the stitch line marked on the pattern).
Take a small piece of pattern paper, and tape it to the centre back of the pattern, creating space for your placket.
Create the placket by:
1. Drawing a line 1cm (3/8in) from the centre back, running parallel to the centre back.
2. Drawing a second line, 2cm (3/4in) from the first
3. The final line will be drawn 1cm (3/8in) from the second line.
Complete the placket shape
Extend the top and bottom edges of the sleeve pattern to complete the placket shape.
ADD PATTERN MARKINGS
Complete the placket by adding button / buttonhole placement markings.
And you are ready to sew!
Over to you
Do you have a pattern hack for the Rushcutter in mind? I'd love to hear about it!
If you use this tutorial, I'd love to know! Simply tag your photos on Instagram with the hashtag #draftingwithinthefolds.

