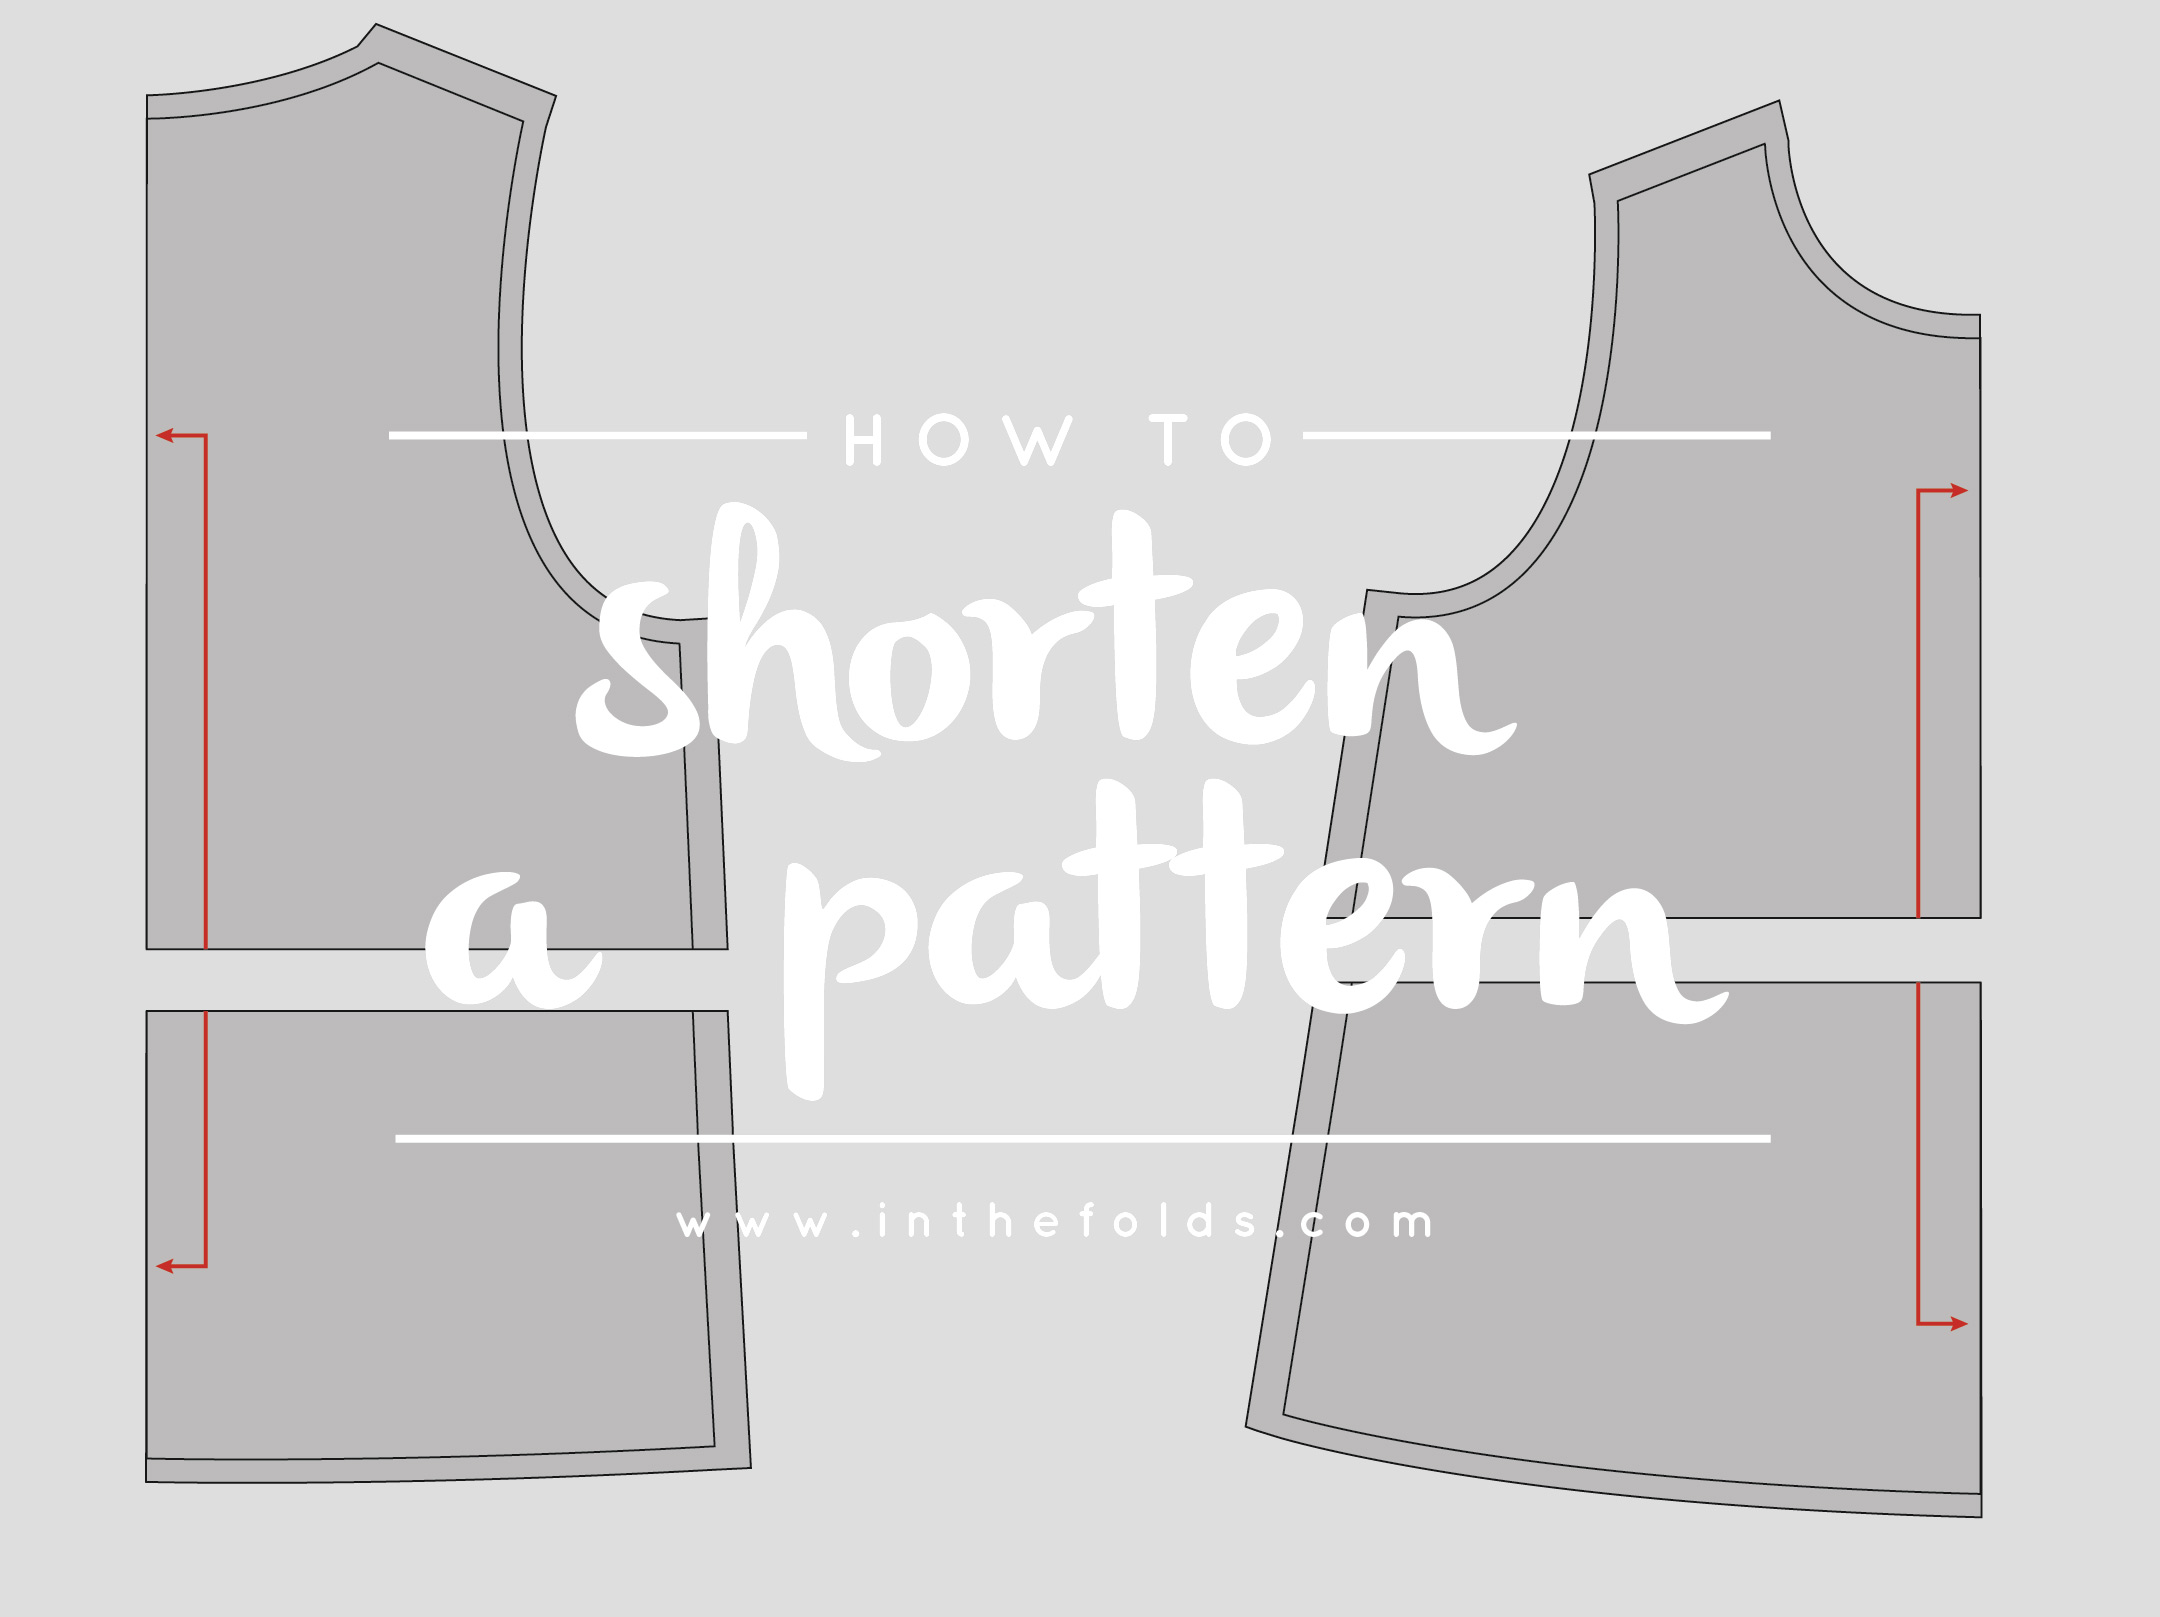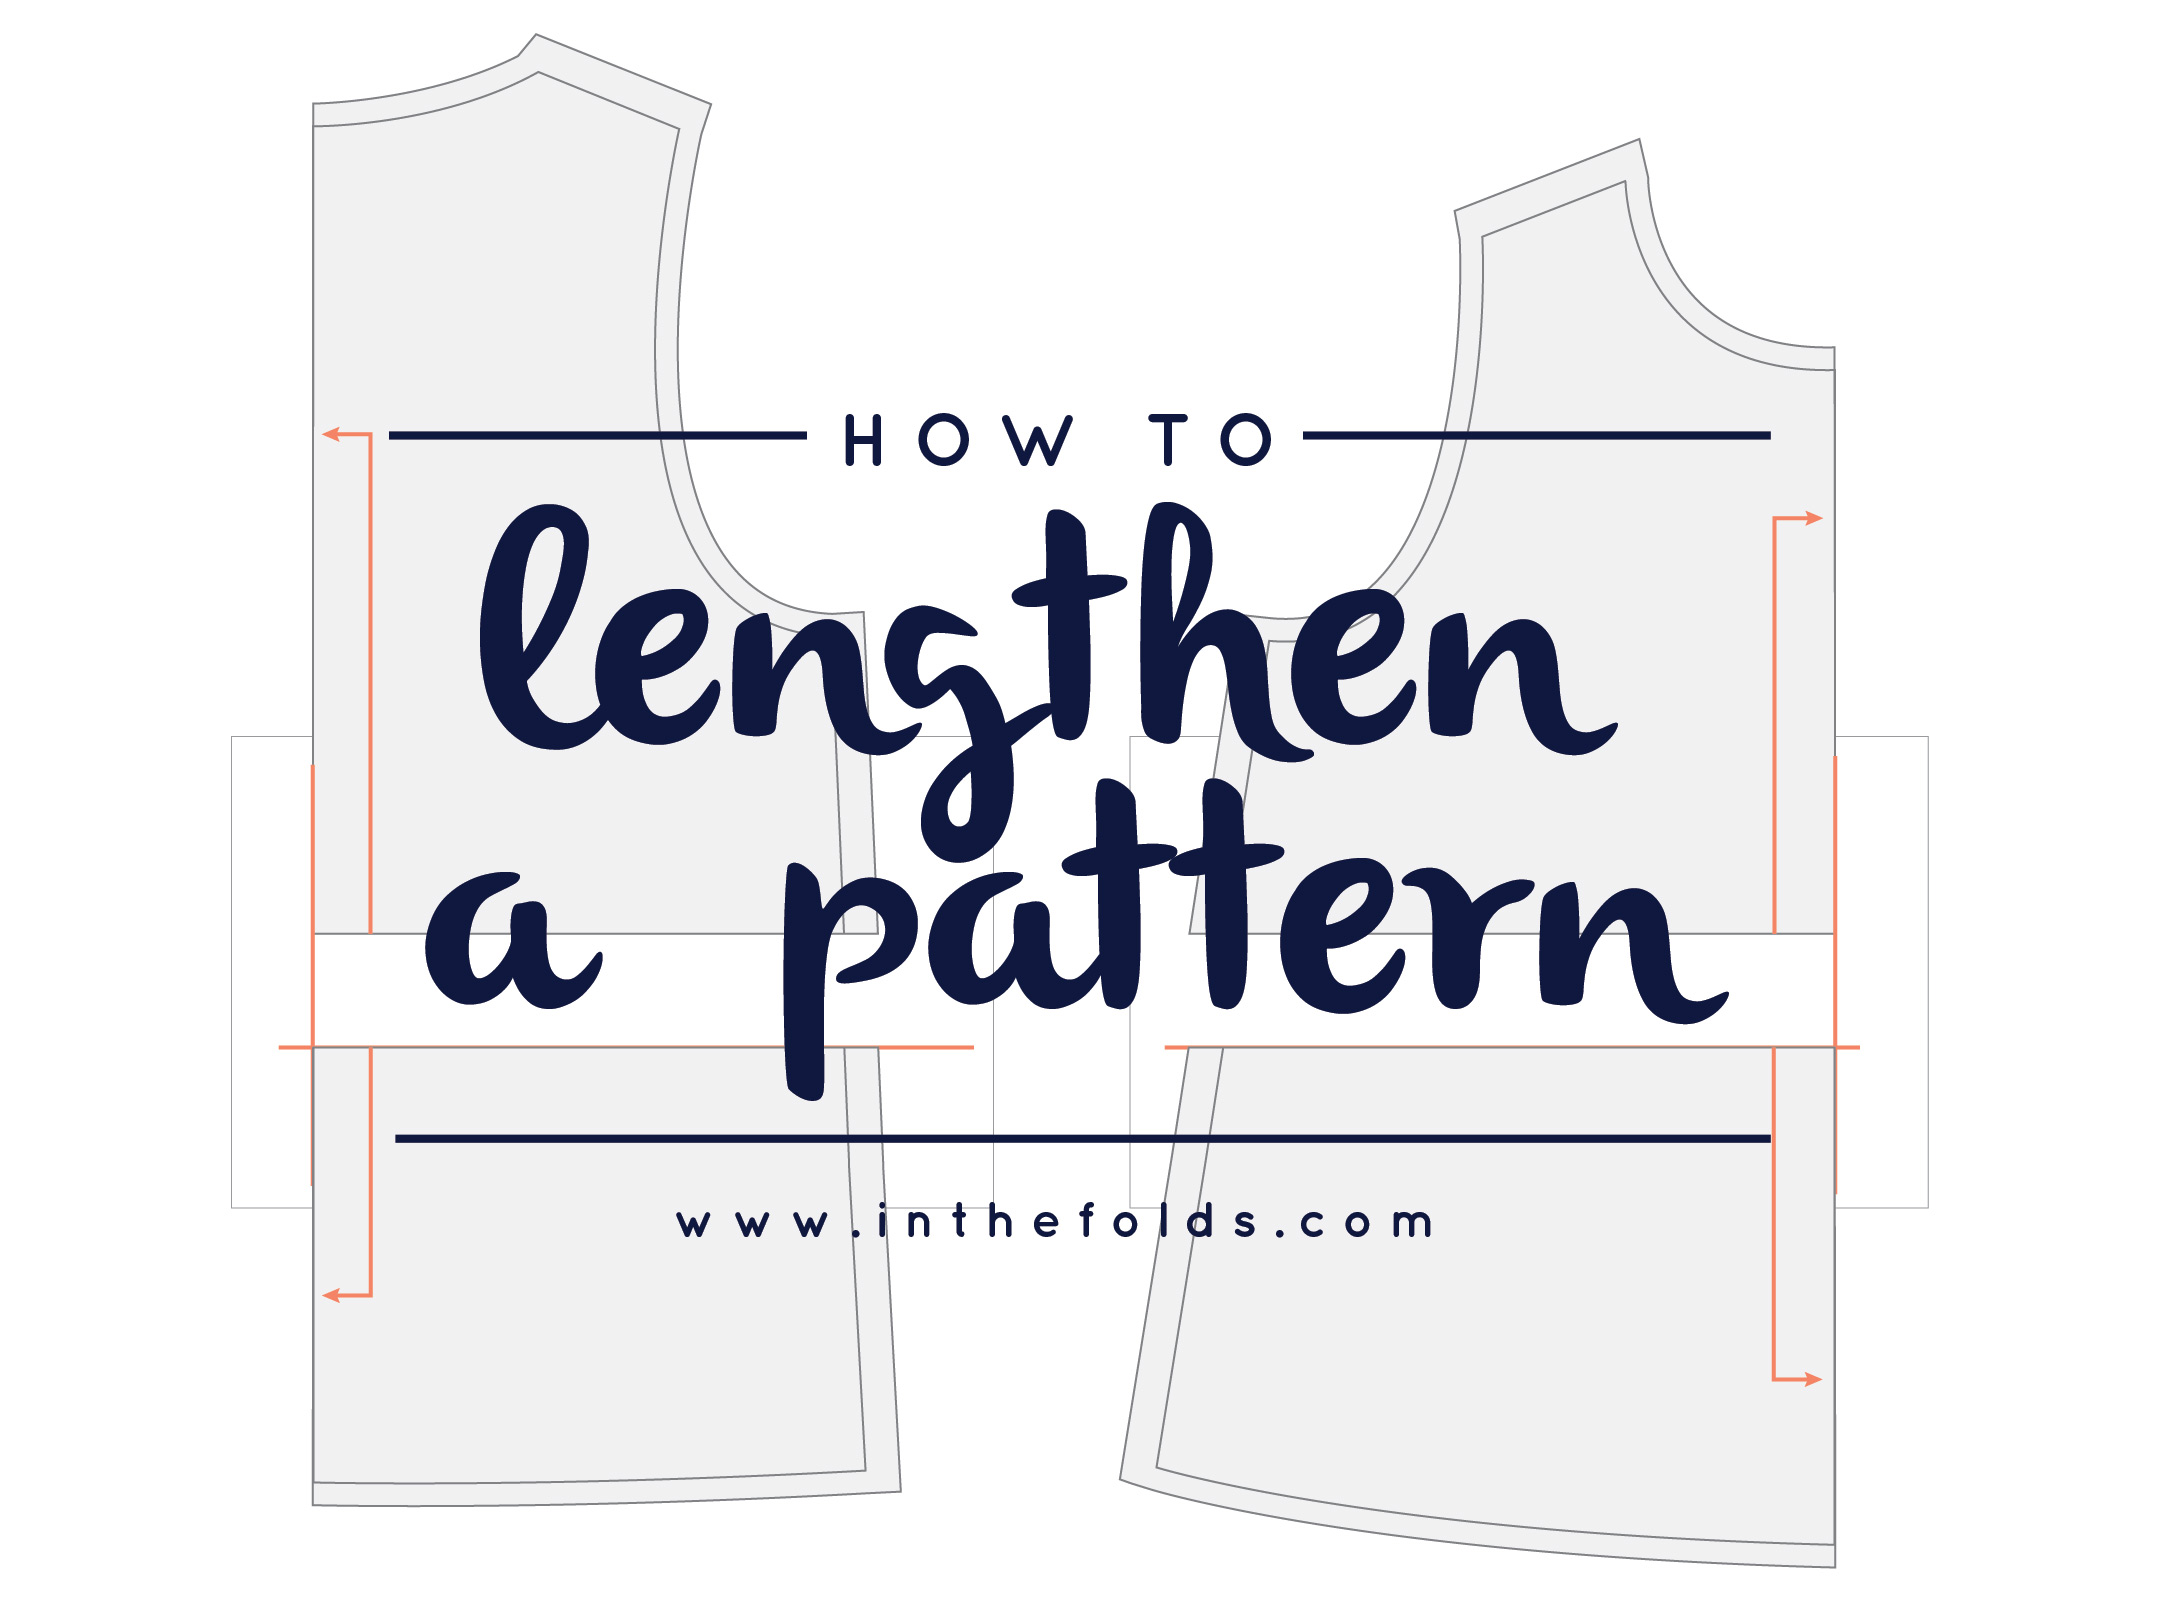
You may have seen that earlier this week I did a post on "How to Shorten a pattern," so today I thought I'd do a post on how to lengthen a pattern! The principle is exactly the same, you just need to add access length, instead of removing it.
As I said in the previous post, sometimes you can simply add some length to the hem of a garment, I would use this method in the case of a straight skirt, sleeve or trousers. But there are times when you may want to add the excess length to the interior of a pattern piece, so that the piece still fits properly with the rest of the pattern. For example, if you wanted to lengthen a sleeve that had a cuff, you wouldn't want to just add the extra length to the bottom. You would be extending the length of the placket too, and maybe even changing the shape of the sleeve overall. This is also the case if you have a pattern with an interesting shape - such as an A-line dress. You would not want to just add the extra length to the bottom of an A-line dress, as you could end up with a shape far more extreme than you anticipated!
For the case of the example, I will use the simple summer top pattern I showed you how to draft a few weeks ago.
Trace the original pattern

Take a copy of the pattern, with seam allowance. Normally when making alterations to a pattern I suggest to remove the seam allowance, but with something as straight-forward as this, there's really no point removing it. Take note of any important details, such as pattern markings (notches etc.) and the grainline.

Draw a horizontal line through the pattern, roughly half-way between the armhole and the hem, on the side seam. If you are using a ready-made pattern, it is likely that your pattern will have a "Lengthen and shorten line" already on it, so you can skip this step.

Cut through the horizontal line, splitting each piece in two.
Add paper to compensate for excess length

Work out how much length you would like to add to the pattern. This is when a toile can really come in handy!
For the sake of this example, I will be adding 5cm (2") to the length of the top.
Take two small pieces of pattern paper (this is a great way to use up those scraps of paper you have laying around) and stick to the back of the top half of both your pattern pieces (ensuring you have enough room below the pattern piece to add the excess length).

On the paper that you just attached, draw a horizontal line 5cm (or whatever length you are adding) down from the cut line (parallel to the bottom edge of the pattern).

At this stage you can also extend the centre front and centre back lines of both your pattern pieces onto the attached pieces of pattern paper (if your pattern doesn't include the centre front or centre back - for example, on a sleeve - you can just extend the grainline).
Add length
Take the lower pieces of your pattern, and using the lines as guides, stick the pieces in place on the paper.
Re-trace pattern

Take a separate piece of pattern paper and trace the new pattern pieces, creating a new side seam that runs smoothly between the underarm and the hem.
Finalise the pattern

Be sure to add all pattern markings, as well as the grainline. And you're done!