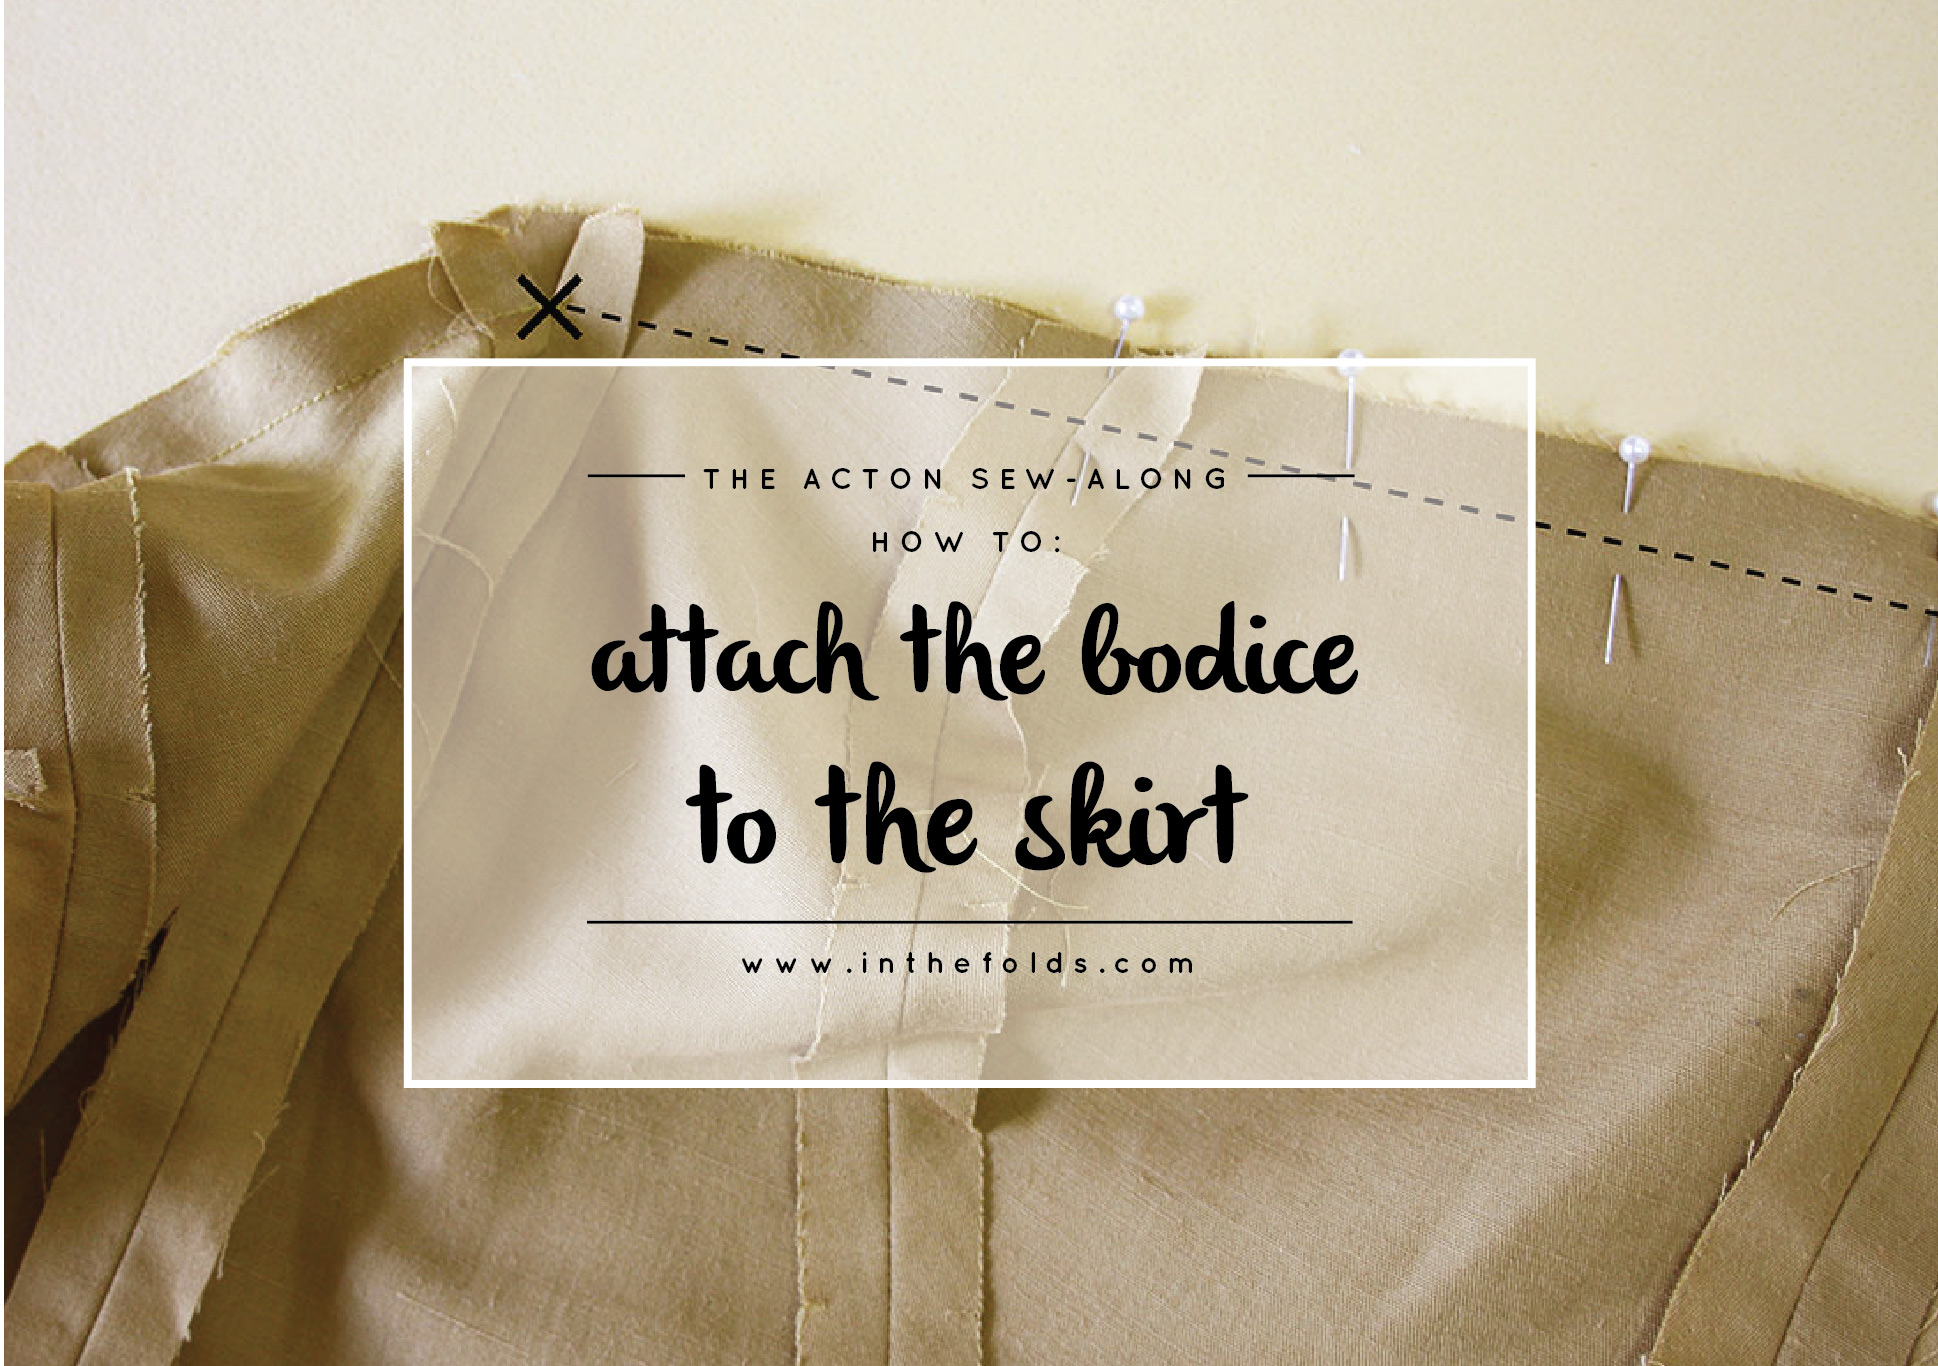
Over the last couple of days, I have shown you how to assemble the bodice and skirt of the Acton (view A). In today's post for the Acton sew-along, we'll be attaching the bodice to the skirt.
Line up the side seams

Take the bodice and skirt and match them together with right sides together. Start by matching the side seams. The side seams meet at different angles, so you will want to start by ensuring they line up at the point where you will stitch the bodice to the skirt (this position is different to wear the seams meet at the cut edge).
To do this, measure down the side seam on the bodice, and mark the stitch line, which is 1.2cm (½in) down, with a horizontal pin.
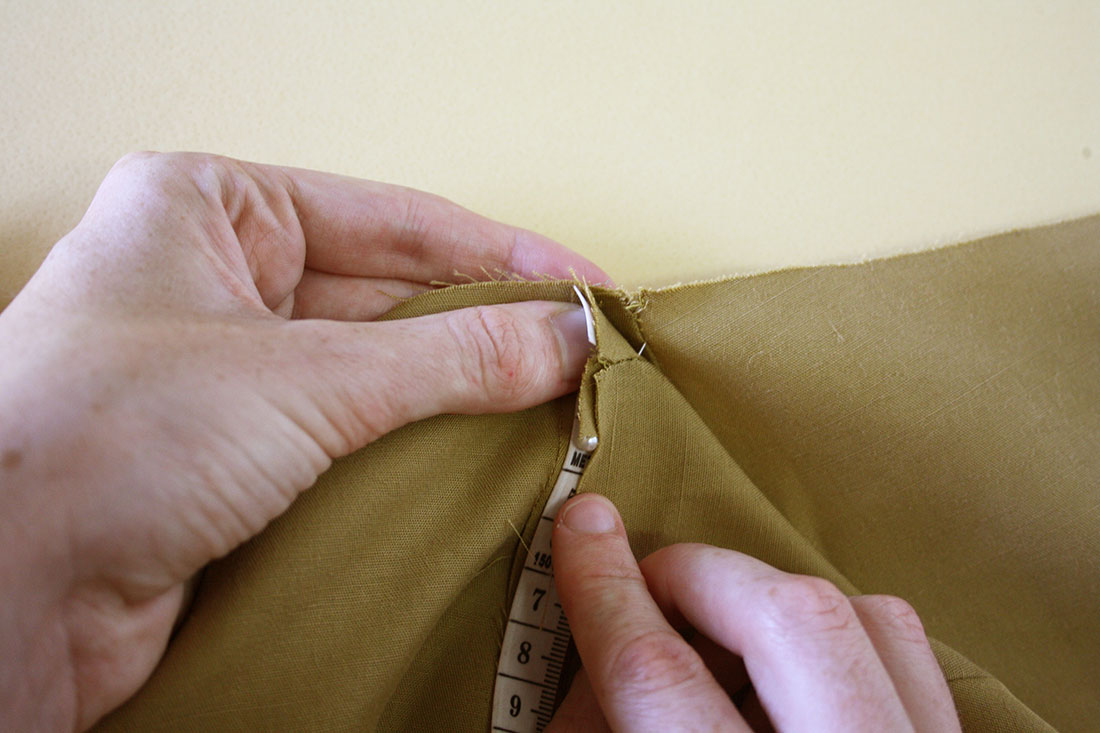
Use a second pin to push through the side seam on the bodice (at the position you just marked) and then through the side seam of the skirt, aligning the two seams at the point they will be stitched. Secure with a pin. Check that the seam allowance on the skirt side seam is still pressed towards the front.

Now that you know that the side seams are aligned, pin the bodice to the skirt on just one side, working from the centre back to the centre front. Use the notches and seam lines to guide you. The opening at the bottom of the centre front line should match up with the drill hole on the centre front of the skirt.

With a 1.2cm (½in) seam allowance, stitch the bodice to the skirt, being careful to start or finish (depending on which end you start stitching at) your row of stitching right at the centre front seam on the bodice.
Repeat the previous steps for the second side, remembering to carefully match the sides seams on the bodice and skirt first.
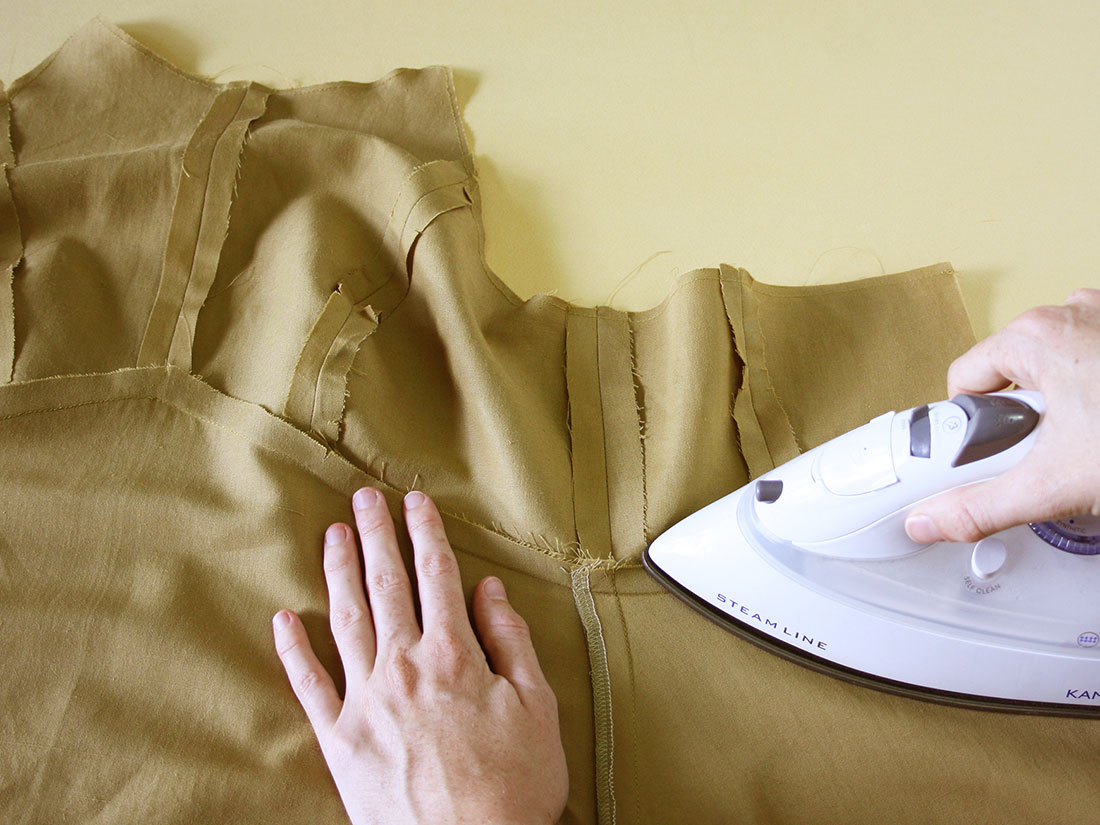
Press the seam allowance up towards the bodice. This seam does not need to be finished as it will be enclosed within the bodice lining (unless your fabric is prone to fraying).
Job done! The bodice and skirt have now become a dress. In the coming days we'll create the straps and insert the zip. It's really coming together now!


