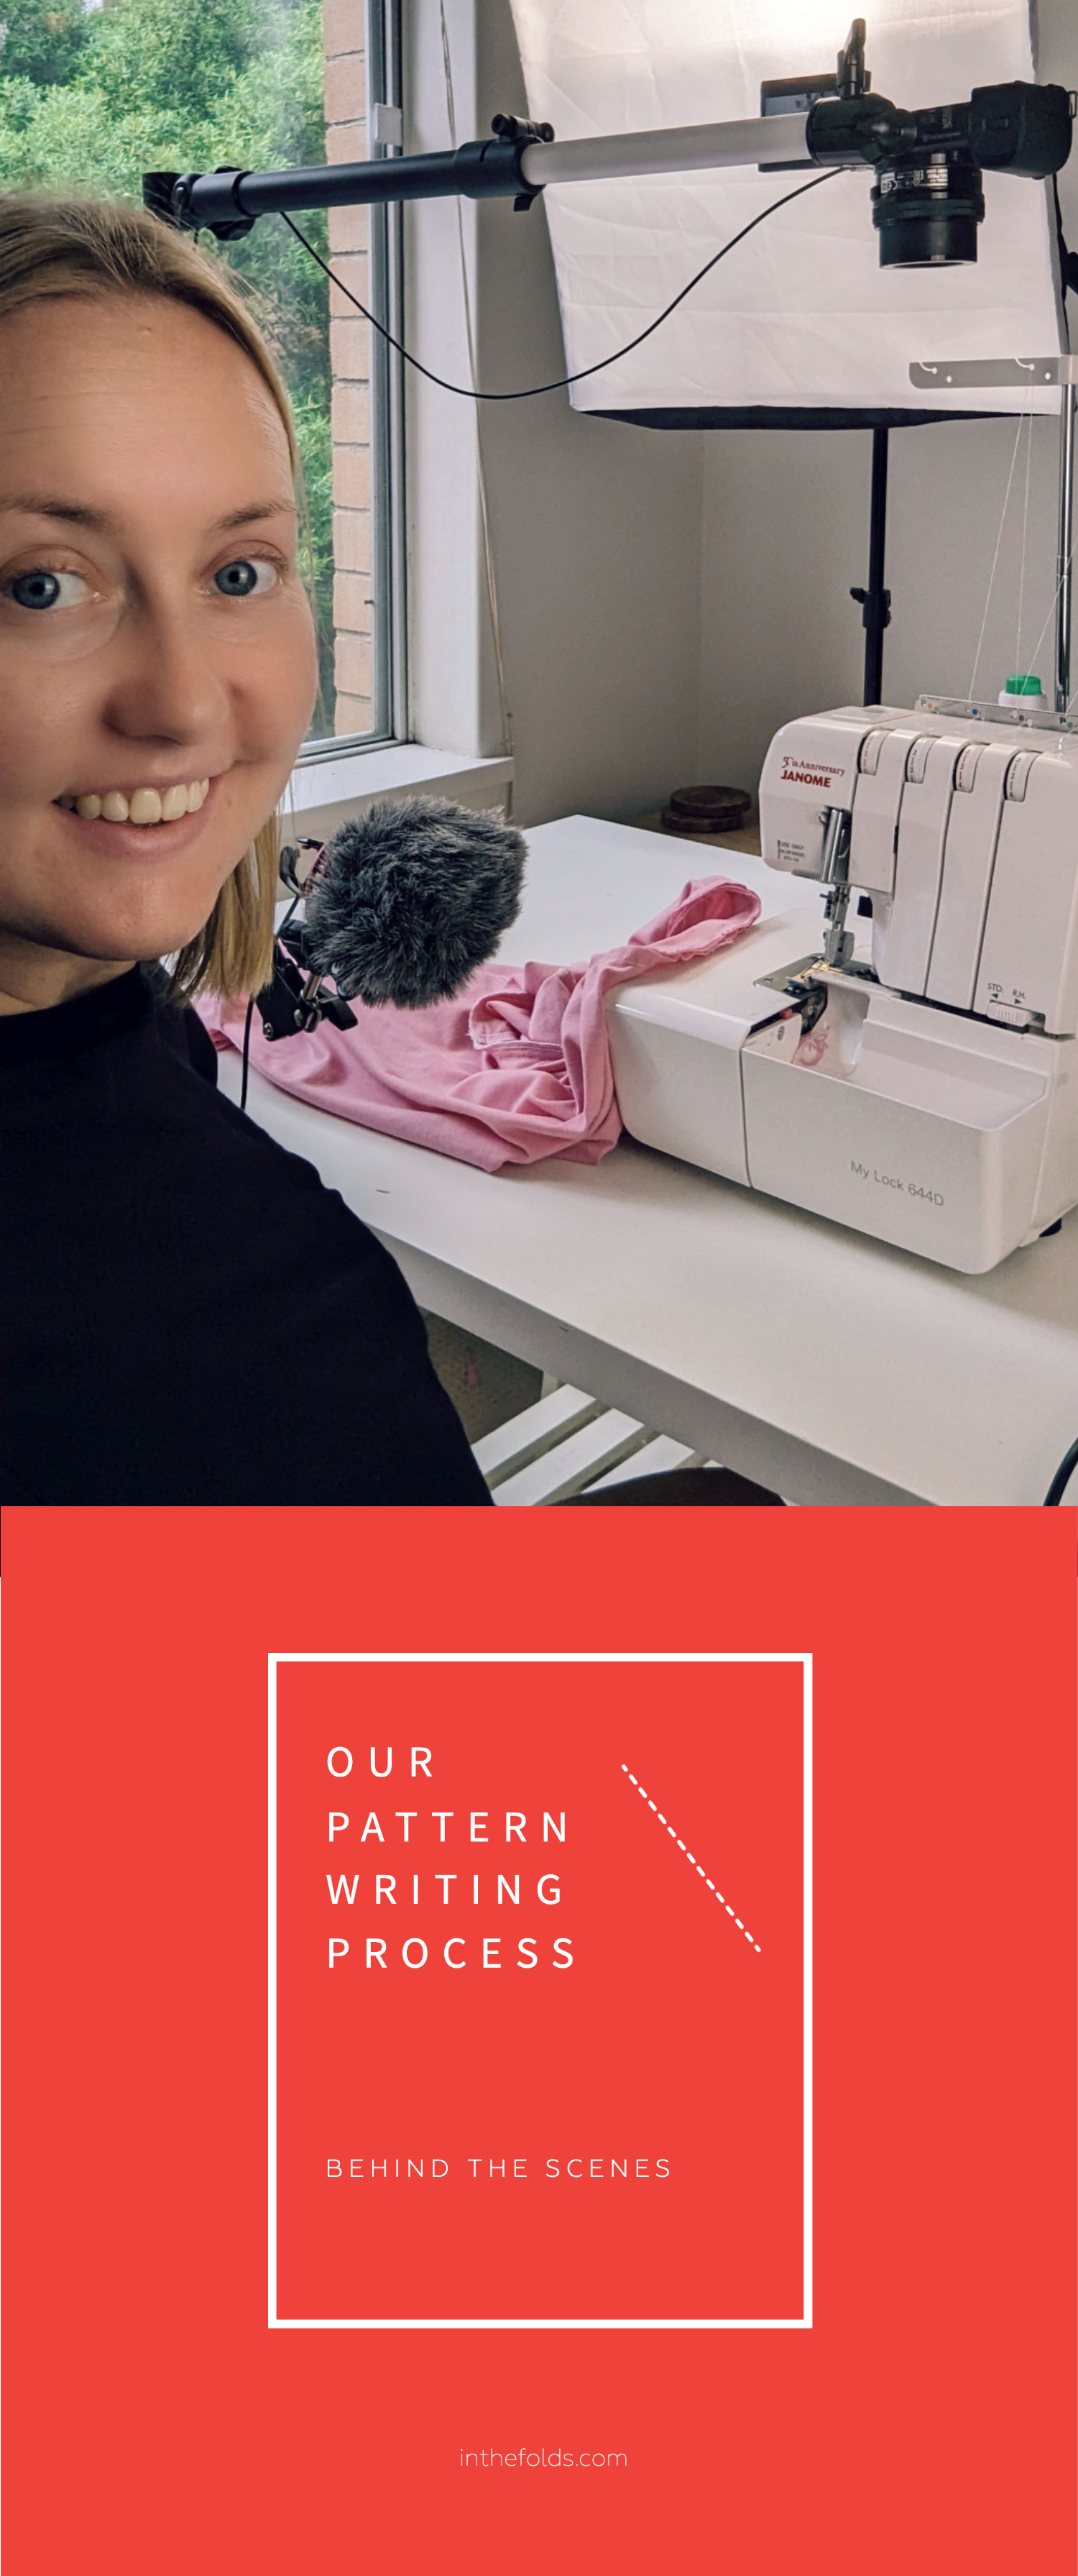
The pattern writing process might seem like a bit of a mystery to some people, so I thought it would be great to share a snippet of the process we go through.
Specifically, how we choose what finishings to include, and how we decide on the order of construction for the booklets we release for our awesome customers each month.
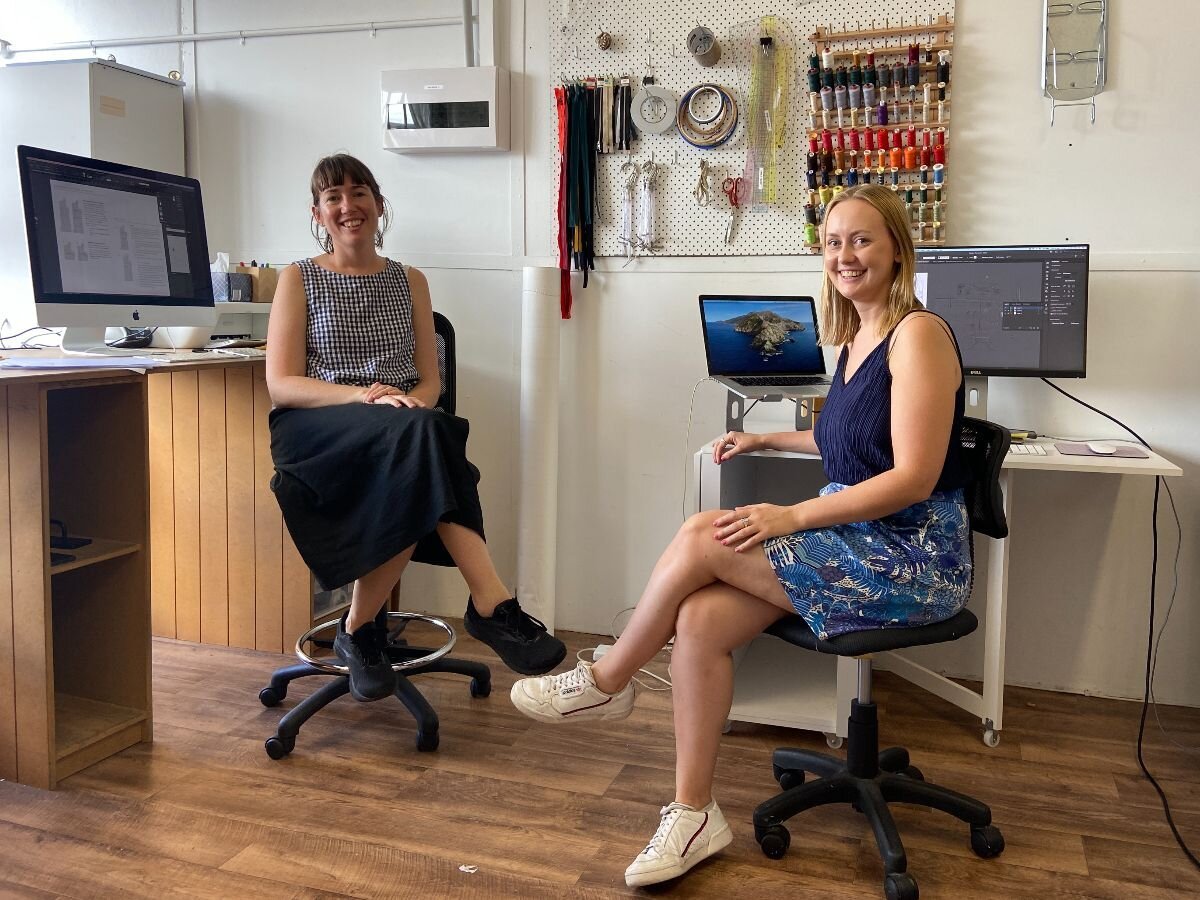
setting the direction
Okay, so first stop… say hello to Emily and I in the In the Folds studio!
Every project we release begins with us having a good long chat about the techniques and skills we want to share. Whether we’re creating a skills resource or a sewing pattern, we ALWAYS focus on what you can learn by making them!
how will we get there?
Once we’ve ticked that off and we know exactly what direction the project is headed in, we chat about the options for finishing techniques and construction order.
This is a stage we both really love. It’s fun to talk through the project and share our ideas. And, this part of the process can vary enormously, depending on the project we’re working on.
Sometimes our ideas will line up perfectly and we know exactly what is needed. Other times our individual experiences with sewing techniques will differ and we’ll have different perspectives on how we should approach the project.
When this happens we’ll discuss the pros and cons of each approach. Not all sewing finishes and techniques suit every application, so we try to base the decision on what is most suitable for the project we’re working on.
Most importantly, we aim to include sewing techniques and skills that our makers will enjoy doing. So, if we don’t think our community will enjoy it or get good results from using it then it definitely doesn’t make the cut!
Once we’re all chatted out, one of us will start to create the content for the project.
We’ll dive into the other areas of creating a pattern in future posts, but today we’re discussing how we create instructions for sewing patterns or samplers. If you’re interested in this topic, you can learn more about how Emily created a pattern for the Gibson loungewear set here.

SAMPLING TO TEST IDEAS
When creating each project, we always sew samples or a complete garment to test out the techniques and order of construction.
Sometimes we know exactly how the steps will be sewn; other times, we experiment and sample with a few different ideas until we come up with the best order for you!
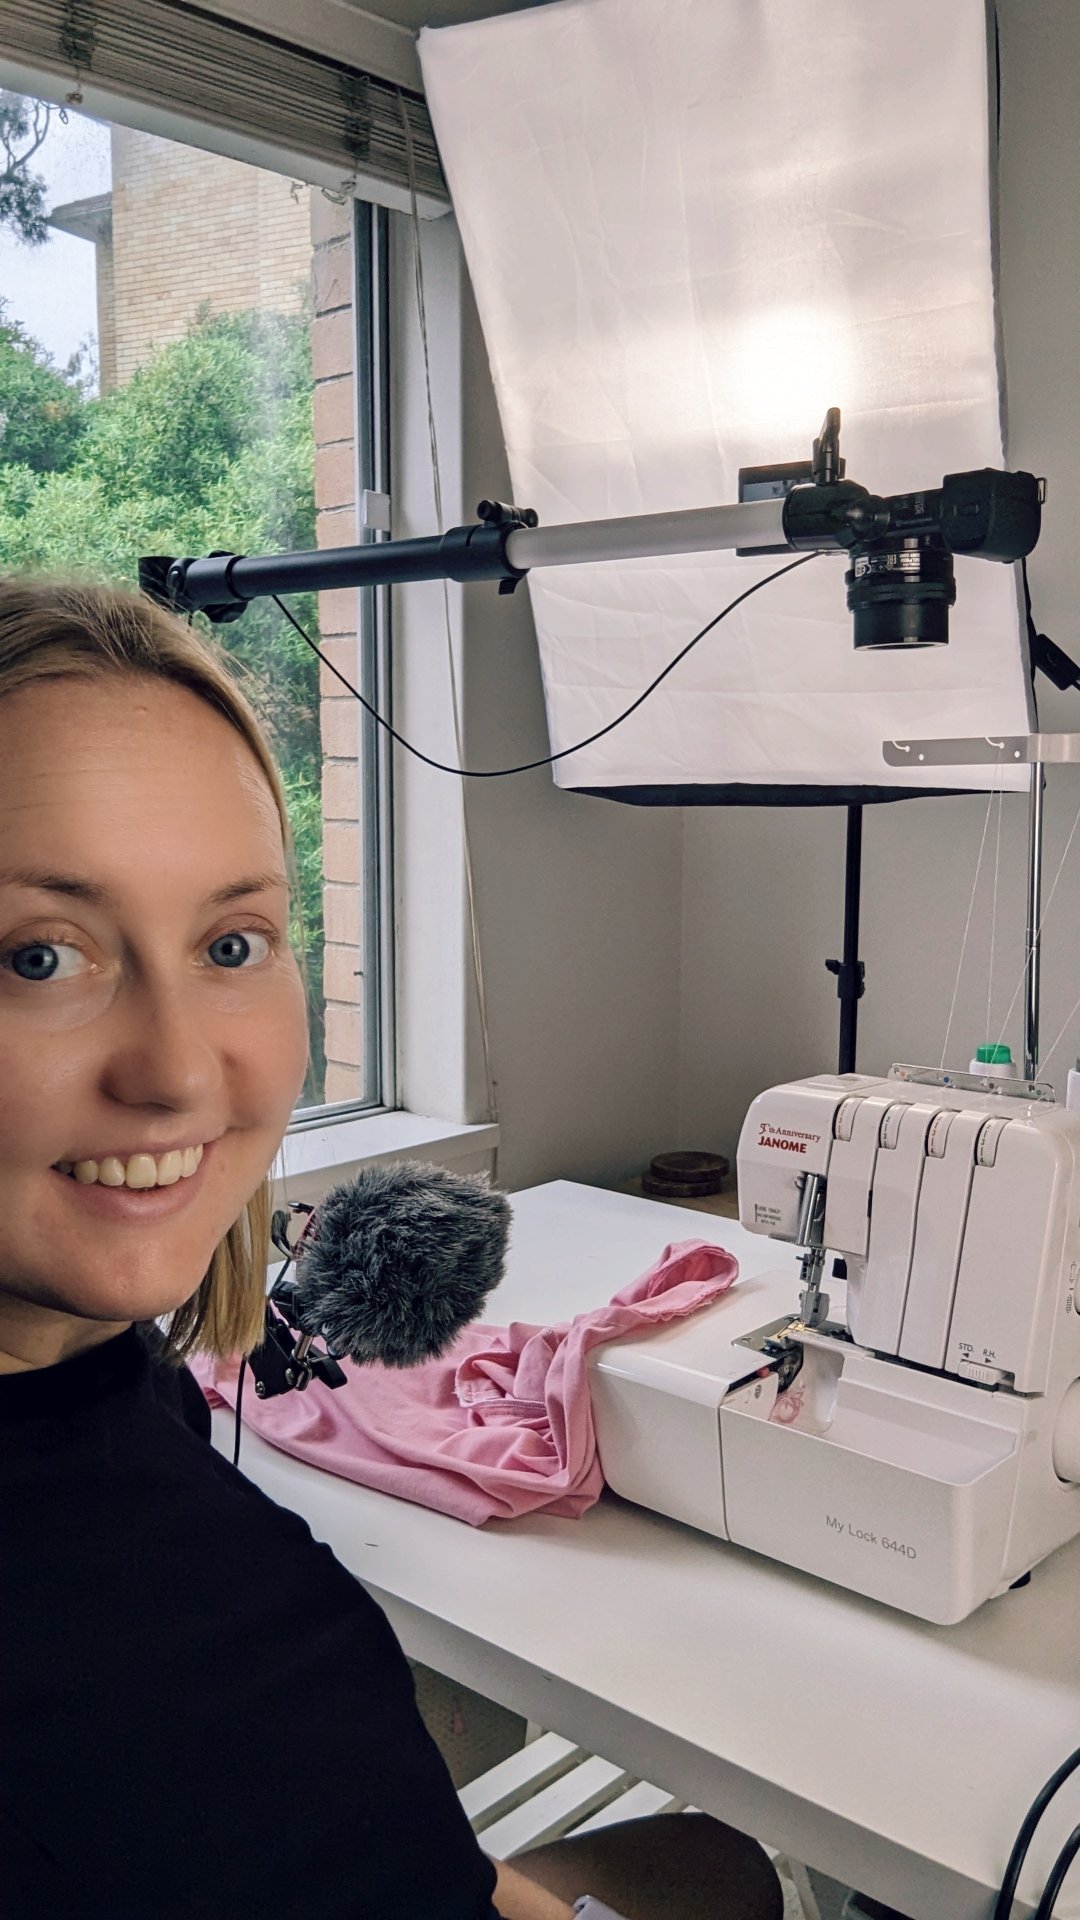
Because so much of our work is computer-based, sewing is a fun part of the process and often a welcome break from the screen! I’ll set myself up for the day and prepare my sewing machine, fabrics, and filming equipment for any sew-along videos or photos.
Join Curated by ITF - find your new community!
If you're looking to be supported, motivated and inspired through your sewing journey our Curated by ITF subscription might be just what you're looking for.
As well as a monthly sewing project, you’ll gain access to our private member platform where you can receive feedback and advice from the ITF team and other experienced makers, participate in sew-alongs and make sewing besties all over the world!

Sometimes we’ll be trialling a few different techniques at the same time and we’ll discover that one method doesn’t work well with another. When this happens we have to adjust, or change completely, the order things are sewn.
If we’re just making adjustments we might sew two alternatives, or go back and just sew and photograph the parts we need for the changes to the construction method. Sometimes if the construction order has changed completely, we’ll sew another version from scratch.
As you can appreciate, it can be a time-consuming process!

For the Sewing Knits Skills Kit samplers, we already knew how most techniques and the construction order would work, which meant I could go ahead and sew each stage and take photos.
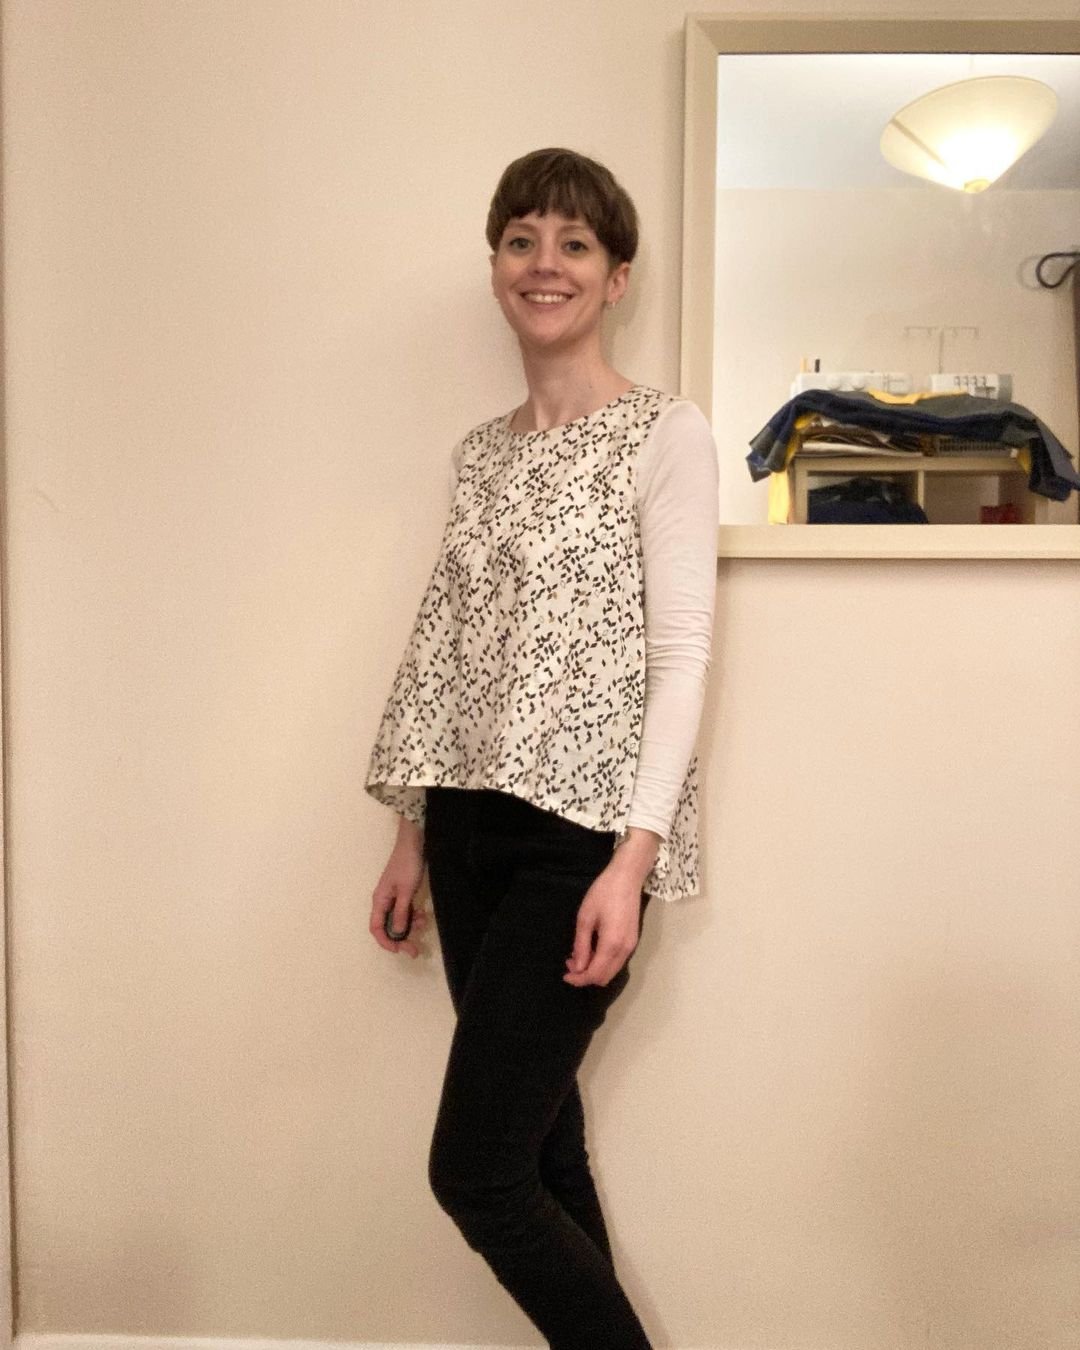
I did, however, test two sleeve options for our T-shirt pattern coming next month! I sewed one in flat and one as a set-in sleeve. They both worked well, but we felt the set-in sleeve gave a better finish overall for this pattern.


When I had photos for each stage, I typed up instruction notes and added the photos to each step. We try to keep the wording of our instructions consistent, so I’ll often look back at past projects and adapt them where necessary.
This document is then handed to our illustrator, who works her magic to create the detailed illustrations you find in our sewing patterns.
Once we receive the illustrations back from the illustrator, we drop them into our instruction booklets and tweak them to ensure they align with our vision!
If I’ve been working on the instruction booklet, once I’ve finished it I’ll hand it over to Emily (or she’ll hand it over to me!) to have a look over it with fresh eyes, and provide feedback.
Then we whisk it off to our pattern editor for a final check before it heads out to our photo team for testing and photography.
I hope you’ve enjoyed this little look inside our creative process! There’s so much that goes on that we can easily take for granted, so if you have any questions, just pop them in the comments and we’ll make sure we answer them!
Happy sewing!
Alys