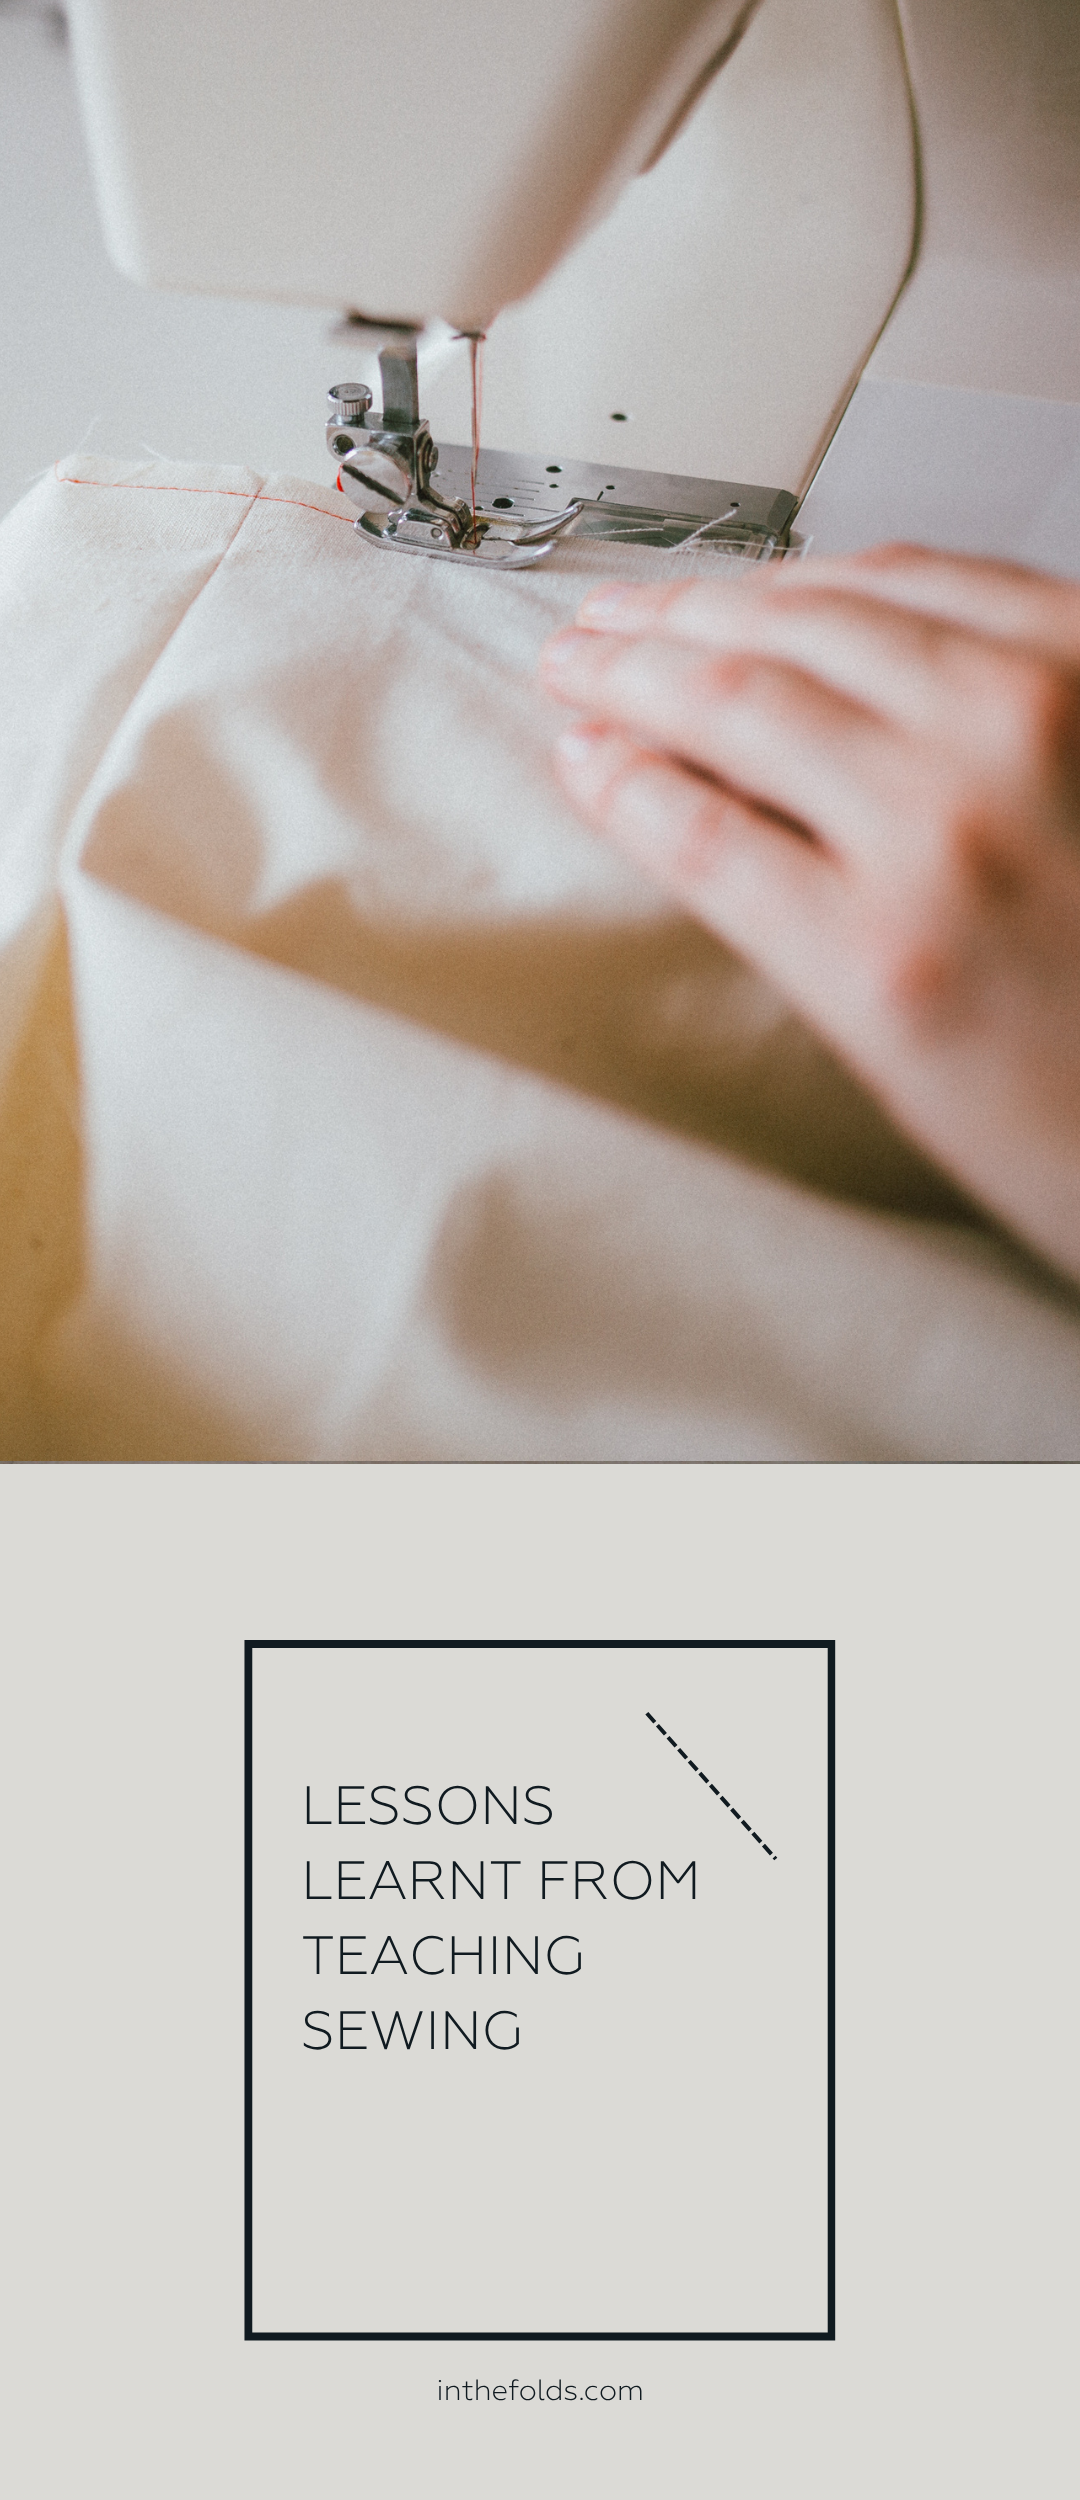
This year I was really excited to start teaching a new-to-me subject at the university where I teach on a casual basis (University of Technology Sydney) - first year construction. Where our students learn to sew on industrial machines. Many of the students were learning to sew for the first time, while others had sewn on domestic machines before.
As we’ve just finished the semester, I thought it would be fun to reflect on a few of the things I learned (or re-learned) through teaching this subject this year as I think they apply to all of us as makers.
Perfectionism kills the process
This is one that I have battled up against my whole life, but somehow seeing others do it made it much more obvious that it’s no good! Some of the students were so fixated on getting everything right, that they just couldn’t enjoy the process. They spent much of the lessons feeling stressed and overwhelmed and trying to see into the future, rather than just giving the technique a go and learning from the process. Some students would come to me with the tiniest mistake or wobbled stitches to ask what to do. I enjoyed being able to support them and encourage them that it’s okay. That’s what we are there for and it will improve with practice.
My partner is Spanish, so in our house we often say “no pasa nada” (no problem) to our toddler as we teach her what’s worth worrying about and what isn’t, and I found myself wanting to say it to my students. Stressing about what is not quite right really takes the focus away from what you did well.
Ask if you need help instead of trying to figure it out on your own.
One of my students wasn’t the best sewist in the class, but she was always going at a solid speed, getting through her work and not getting left behind. One of the people sitting next to her asked her how she was always managing to keep up with things (they are super fast-paced classes), even when she made a fairly big mistake. I answered for her - she always came to me or my assistant to ask for help when she wasn’t sure about something. She didn’t mess around trying to figure it out herself or needed clarification. She also didn’t bother asking her peers to help her (which often leads to a handful of students going down the wrong path together). She never felt like a question was a stupid question (no question ever is) and it meant she learned fast and her skills improved quickly.
There is a right and a wrong way to cut
I would often see my students struggling with cutting their fabric or placing pins. These things might feel like they come intuitively to you, but they are something that needs to be learned.
If you’re right handed, cut with the pattern piece to the left of the scissors. If you’re left handed, do the opposite. Use your hand, or pattern weights, to hold the piece in place as you cut. Cut with long cuts, rather than small snips. Cutting like this means you can clearly see the edge of the pattern and can use your other hand to support the fabric and pattern piece. If you are finding it difficult to get to certain parts of the pattern piece to cut in this way, loosely cut around the piece so you can rotate the piece to get into a comfortable position.
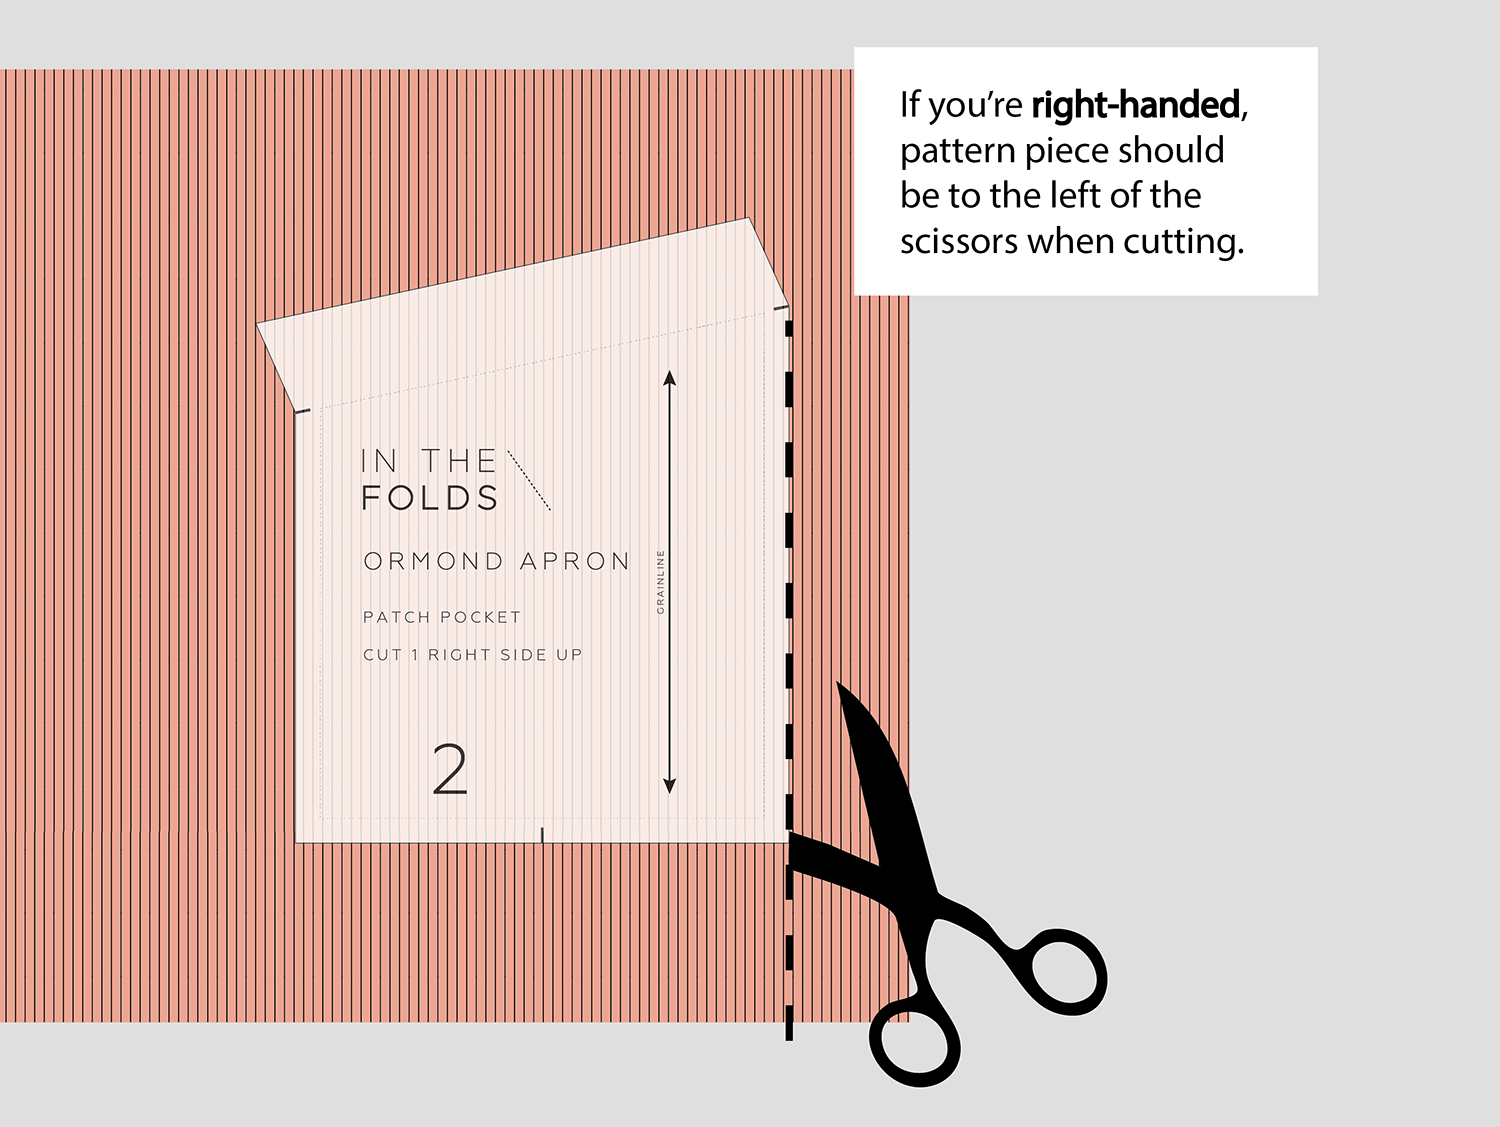
Right handed cutting
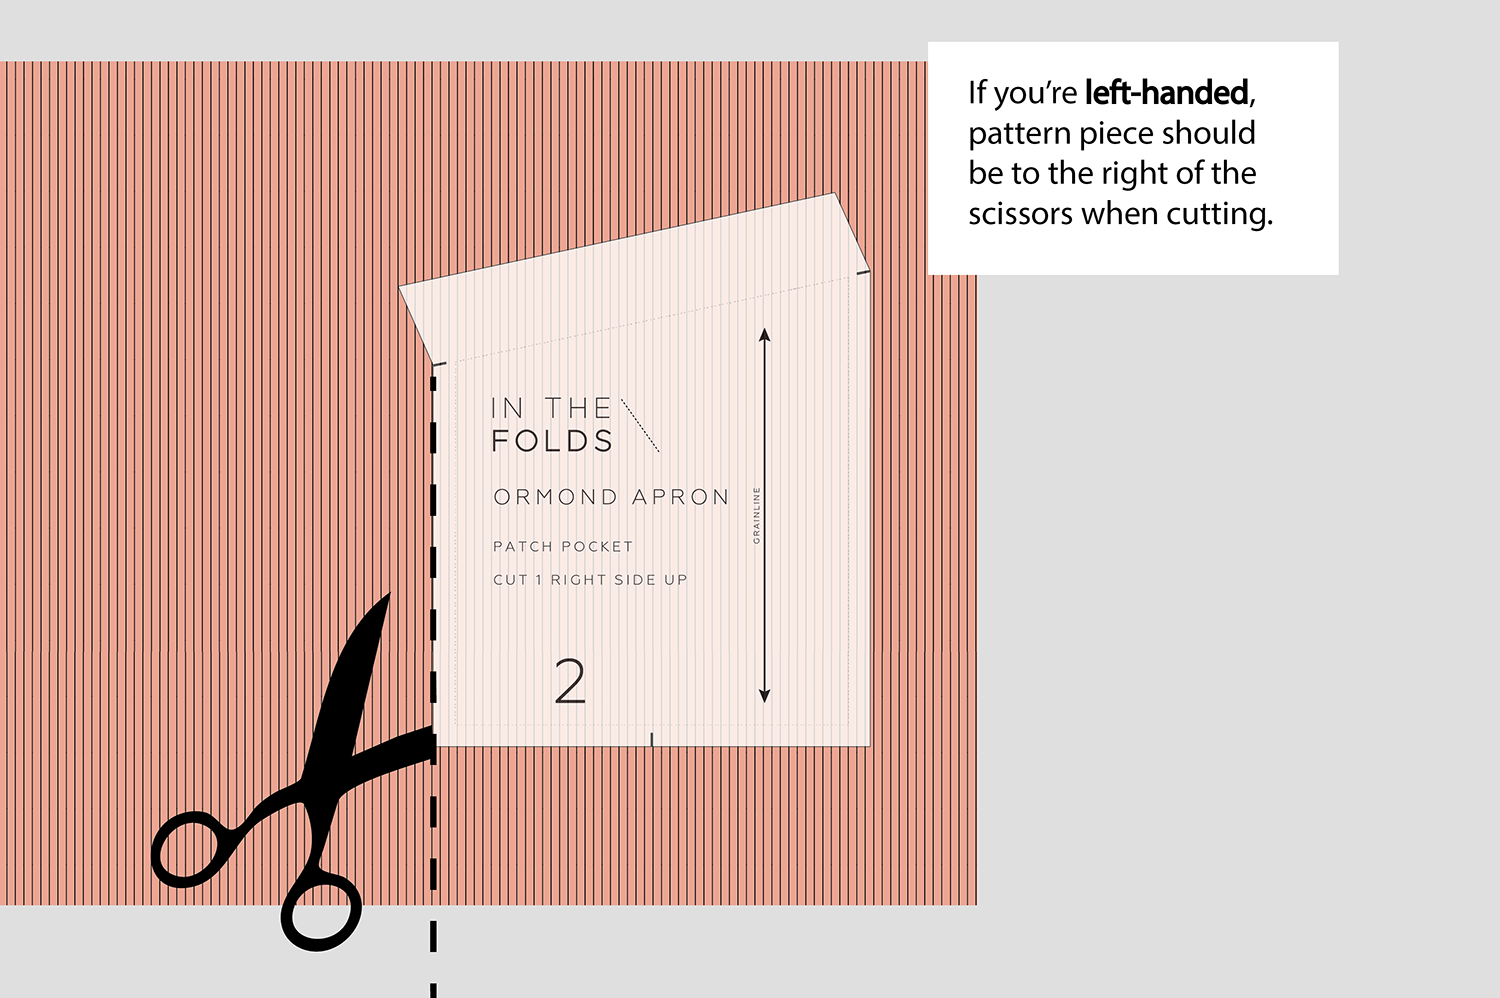
Left handed cutting
The moment I switched the direction they were cutting or where their pins were placed (pin heads should be placed perpendicular to the seam edge with the pin head facing your dominant hand so they can be easily removed as you sew) I would see a lightbulb turn on as things suddenly became a lot easier for them.
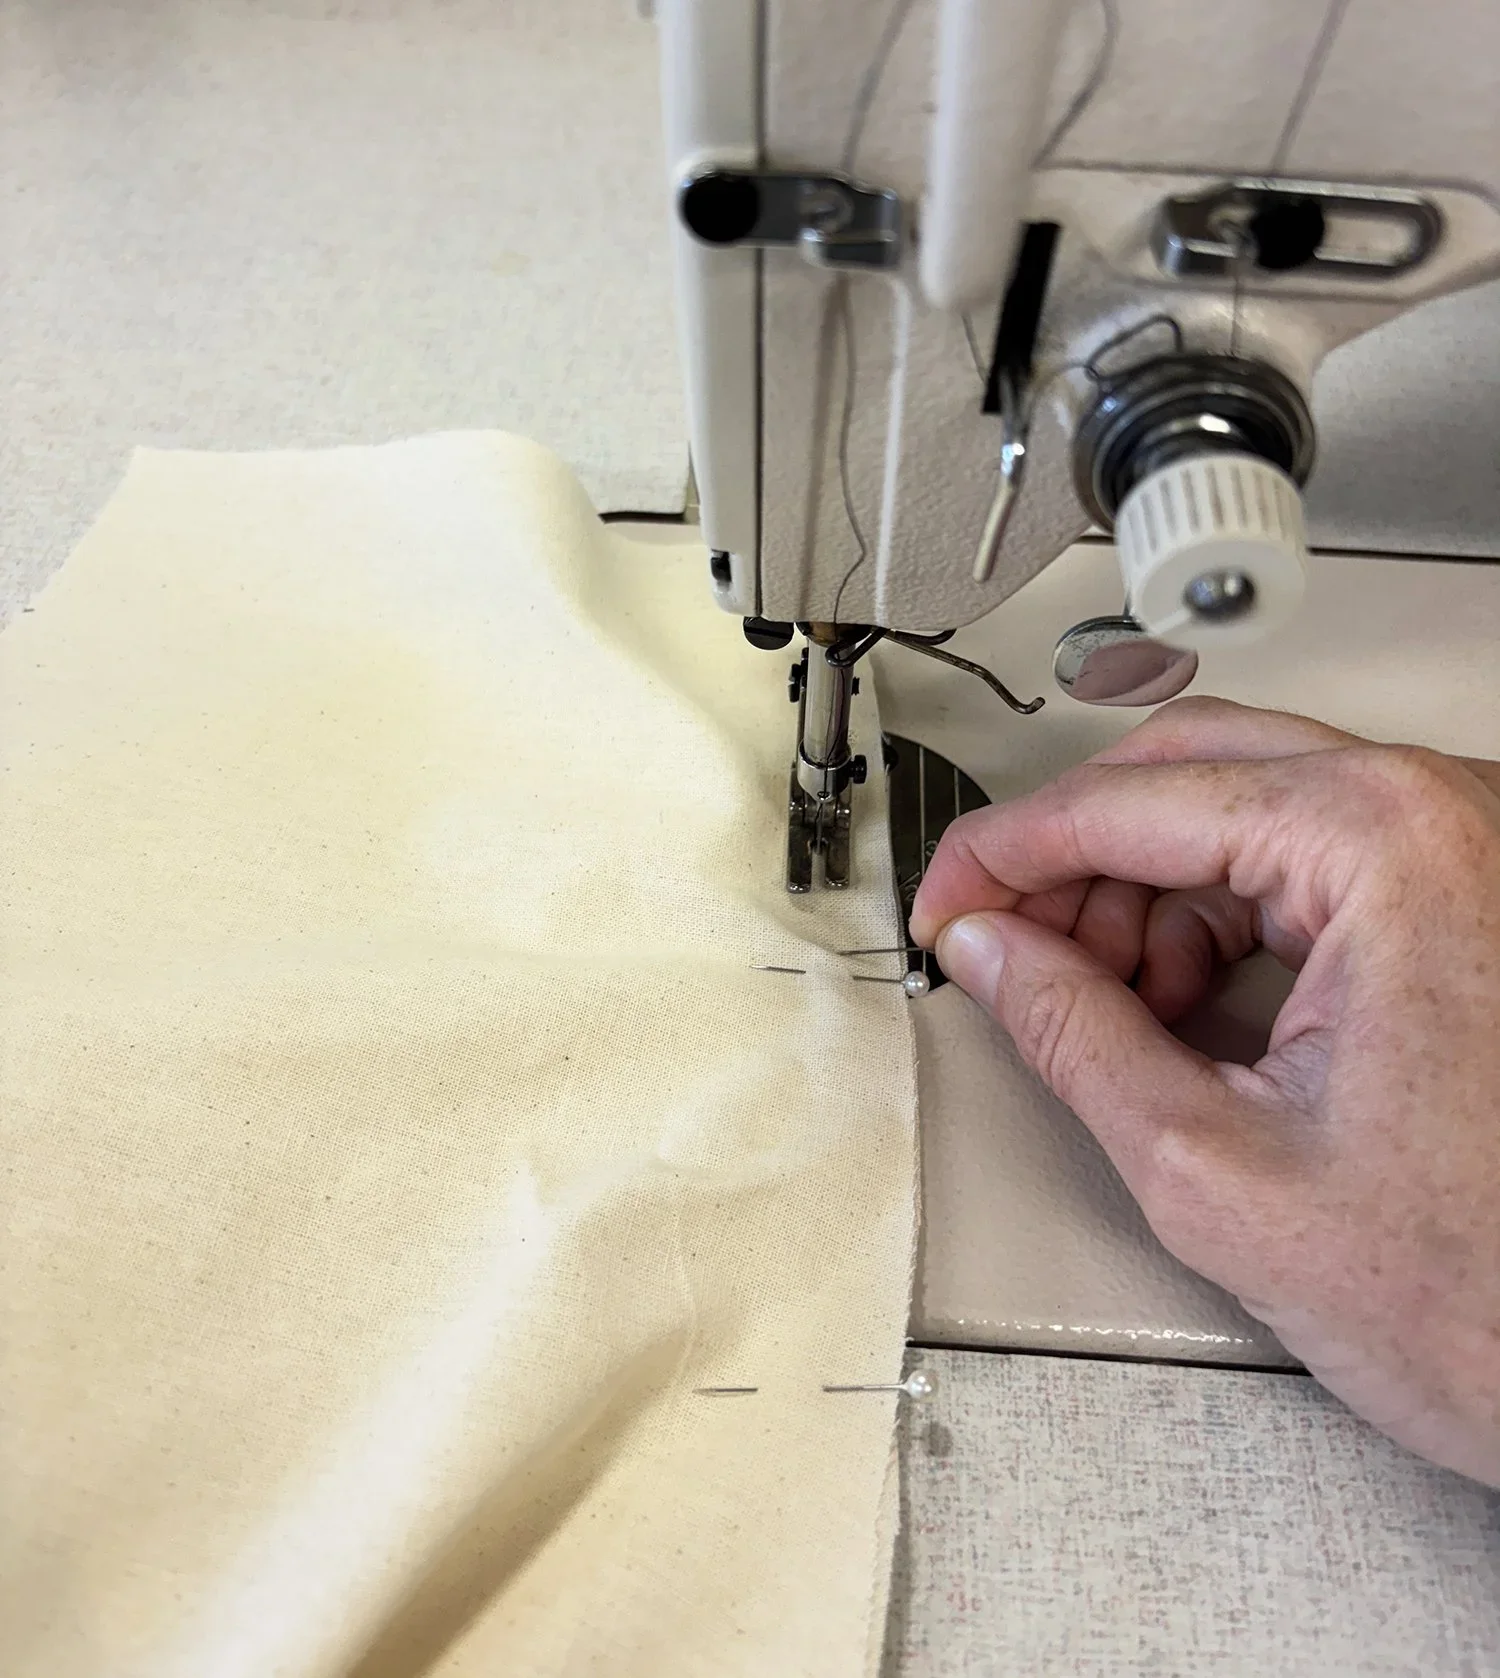
Pins on the right side
Find a way to indicate the right and wrong side
Marking the right and wrong side of the fabric is very important - particularly when working on asymmetric garments. I like to use crossed pins on the right side, but masking tape also works.
Measure twice, cut once.
Sometimes when students were rushing to get everything done, I’d see them make very silly and annoying mistakes. Like cutting the wrong sleeve for the wrong pattern etc. It’s worth staying organised and double checking that you are cutting the correct pattern pieces.
You can have access to too much information.
This is one I think we are all suffering from. We have so much information at our fingertips, that instead of just getting on with the task and giving it a go we often find ourselves getting stuck in research or planning mode.
Some of my students were so worried they were going to struggle with a technique that they would film me doing the demonstration, and therefore be paying attention to the filming instead of the actual demonstration.
Take your time. Rushing toward a deadline is rarely going to lead to good outcomes
This one is a difficult one to impart on students who have so many competing deadlines and are new to university, but your work really does suffer when you’re struggling to meet a deadline. Especially if you’re doing something new!
As we are home sewists, we have the luxury of not sewing to a deadline, so I think it’s important to avoid them whenever we can so we can actually just enjoy the process!
Find a trusted source and follow it
This is something I really enjoyed when teaching - we would teach a specific way to do a technique and then have everyone do it the same way.
As a home sewist it can be overwhelming to see how many ways there are to do particular techniques. I suggest sticking to a few trusted sources for information and then just blocking out the rest of the noise. If you have a certain way of doing things that work for you, don’t reinvent the wheel!
Take photos of your process so you know how to do it next time
A big part of the assessment process is to document the process of making a garment - taking step by step photos along with notes and reflections. I think this is something we could all learn from as it’s a great way to look back at how much you’ve improved, but also a handy reference when making a garment a second time or referring back to a particular technique.
Mark things correctly and accurately
A lot of our students were a bit too happy to use a thick marker when tracing patterns or fabric. Please never do this! When tracing patterns, the thinner the pencil, the better.
Have the right tools
Trying to make do with the wrong tools, really slows you down and impacts your accuracy. I am an advocate of keeping your kit as simple as possible, but you do really need to have some sharp fabric scissors, a pair of snips (even better - put them on a rope around your neck so you always know where they are), pins and something to hold them in, and some accurate marking tools.
Do a practice run
For most of the garments we sewed this year, we sewed a toile before we made the real thing. This wasn’t to check the fit (everyone sews the same garments in the same size) but to have a practice run at all the techniques.
If you are sewing something new to you, it’s worth sewing a toile to both check the fit and to try out any new or tricky techniques.
Those who come clean, learn more
Don’t be embarrassed to say you’ve made a mistake or don’t know how to do something! This is something I have also seen in our Mighty Networks group… when you come clean, people rally beside you and offer words of wisdom and support. If you can’t say you need help, no one will ever know!
Happy sewing,
Emily