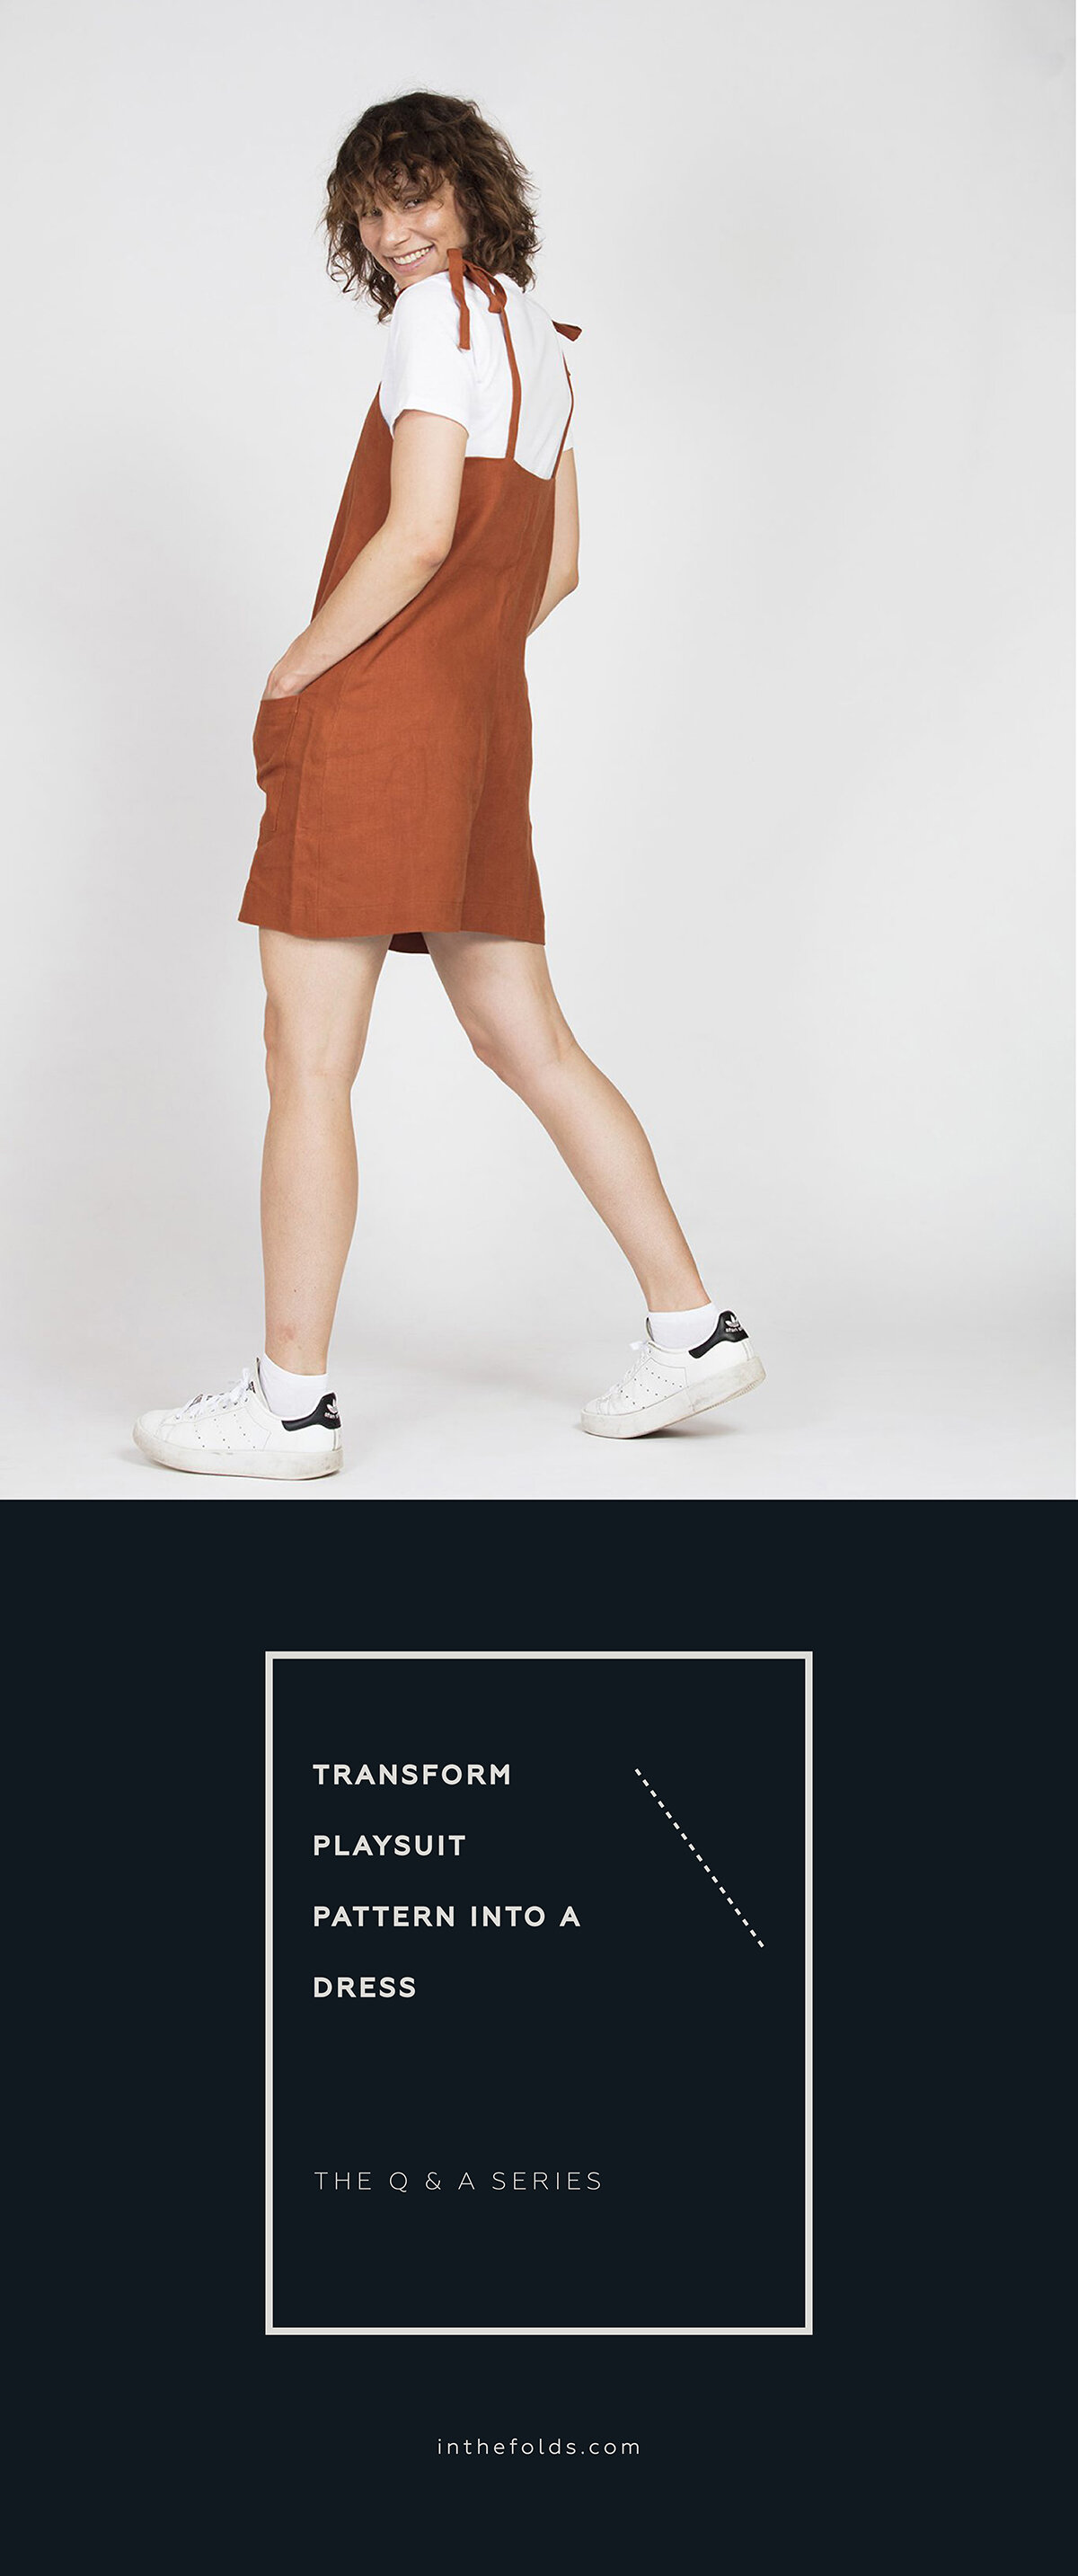
THE Q & A SERIES - TRANSFORM THE PEPPERMINT PLAYSUIT PATTERN INTO A DRESS
Hi!
Just wanted to say I’ve loved your patterns ever since finding them in Peppermint magazine! They are so detailed and thorough and beautiful!
I’ve made the Peppermint Playsuit before (I love it) but I’m hoping to hack it into a dress. I was just going to remove the curve on the front and back which is for the shorts, however I’m worried if I do that there won’t be any movement for my behind.
Any tips of hacking the pattern? Sewing is how I’ll survive this self isolation period haha. Thank you!
Or would the Peppermint Jumpsuit be easier to hack into a dress I wonder?
- Amy
Hi Amy,
I am so pleased to hear you have been enjoying my patterns!
Hacking the Peppermint Playsuit into a dress is a great idea! I actually have a dress that I made from the Peppermint Jumpsuit and it is one of my most worn wardrobe items. It is great to wear over a t-shirt or long sleeve top, or can be worn on its own when it's warmer! I am sure that the Peppermint Playsuit pattern will work just as well!
Both of these patterns - the Peppermint Playsuit and the Peppermint Jumpsuit - can be hacked into a dress. In this tutorial I will show you how to do it using the Playsuit pattern, but you can use the same technique for hacking the Jumpsuit into a dress.
Prepare the pattern
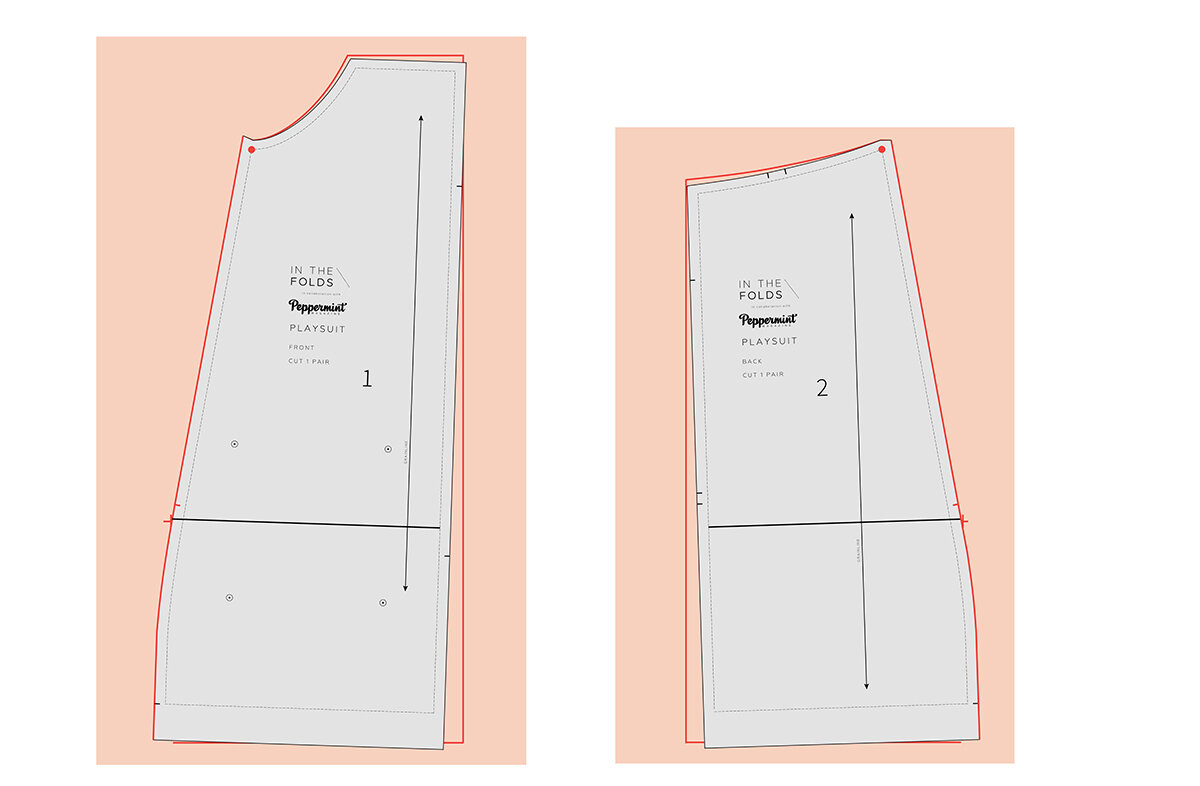
1. To start, take the FRONT [1] and BACK [2] pattern pieces. You can trace them, or just use the original pattern - whichever suits you. If you are tracing the pattern, don't cut it out just yet - the paper around the edge will come in handy in the next step.
Cut / trace the pattern size based on your upper bust / bust measurement, as suggested in the pattern (p 5 in the instructions).
Extend centre front + centre back lines
2. As you suggested in your question - the first thing you need to do is remove the curve of the crotch on both the FRONT [1] and BACK [2] pattern pieces.
As you can see in the illustration (and on the pattern itself), the centre front is straight, so all you need to do is continue the lines down to the hem. You will need the stitch line to work out your hip measurement, so I suggest extending the stitch line (grey line on the pattern), as well as the cutting line (black line).
The centre back of the Peppermint playsuit has some shaping in it to make it more form fitting, so you will need to straighten this out. Mark a straight line from the top of the pattern piece down to the hem (the line needs to be perpendicular to the hem) - once again marking the stitching line and the cutting line. As you can see in the example, you are going to need to stick some paper onto the pattern piece so that you can make the centre back section straight - if you have cut out your pattern already.
Please note: for now we will leave the centre front and centre back seam lines. If you would prefer not to have these seam lines on your dress, I will show you how to remove them at the end of the tutorial.
cut out new pattern pieces
3. You can now cut along your new cut lines to create the new pattern pieces. I would also suggest adding new notches on the centre back seam - as illustrated (only if you plan to keep the centre back seam line).
Check hip measurement
4. Now it's time to check the hip measurement, and ensure that you have enough ease in this area.
We first need to mark the HIP LINE. To do this you can either hold the front pattern piece up to your body and mark the location of your hip on the pattern, or you can make the marking through the centre of the pockets, which is the approximately where the hip line should be on this pattern.
Mark* the HIP LINE with a straight line that is perpendicular to the grainline. Transfer the HIP LINE on to the BACK [2] pattern piece, measuring up from the hemline so that the HIP LINE is in the same position on both pieces.
*The HIP LINE should only run from stitch line to stitch line, as when finding the finished measurements of a garment, we need to remove the seam allowance. If you have traced the pattern without marking the stitch line, simply take the measurement from edge to edge on the HIP LINE and remove 2.4cm (1in) - the sum of the seam allowance on each side of the pattern piece.
Do the maths
5. Now measure the two HIP LINES (front and back) and add together, then multiply by 2 (as each piece is cut as a pair). For example, in this tutorial I am using a size C. The front HIP LINE measurement is 28.4cm. The back HIP LINE measurement is 26.7cm. Added together this equates to 55.1cm. Multiplied by 2, the total finished garment hip measurement is 110.2cm.
If you are a straight size C (for example), this would give you 16.2cm ease at the hip, which is plenty. If your hip measurement is larger than the size you chose to cut, I will show you how to add width to the pattern at the hip to account for this.
Take your actual hip measurement and compare it to the HIP LINE measurement taken from the pattern. For example, let's say that your hip measurement is 105cm. Although it is less than the finished garment HIP LINE measurement, it only gives you 5.2cm ease at the hip (110.2cm - 105cm = 5.2cm). Although 5cm ease at the hip could be okay for certain patterns, I think this will be a little snug for this pattern - although this is up to you! You can always take a tape measure and measure your hips while sitting down to see if there will be enough ease in a pattern for your preference.
For the example I will show you how to add another 6cm ease to the pattern (although again, this amount will depend on your style and fit preferences).
To add 6cm to the hip circumference you will need to divide 6cm by 4 (as each pattern is cut as a pair - there are 4 pieces in total). 6cm / 4 = 1.25cm. Write that number down. This is how much we will be adding to each pattern piece at the HIP LINE.
Add width at hip (if required)
6. Get two large pieces of pattern paper and put your FRONT [1] and BACK [2] pattern pieces on the paper, using pattern weights (or whatever you have around) to hold them in place.
Partially trace around the pattern pieces.
For the FRONT [1] trace:
- from the top of the side seam up the armhole
- across the top edfe
- down the centre front
- along the hem
For the BACK [2] trace:
- from the top of the side seam along the top edge
- down the centre back
- along the hem
Do not trace the side seam at this stage.
Use an awl / stiletto (or even just a pencil) to mark the pocket placement markings on the FRONT [1] piece.
extend hip line
7. On the HIP LINE on both the FRONT [1] and BACK [2] extend the HIP LINE so that it reaches the cut edge and continues onto the pattern paper underneath by a few centimetres.
Now, take the measurement that you found in STEP 5. Measuring from the cut edge on the hip line, mark the distance of the measurement (e.g. 1.25cm) on the HIP LINE on both the FRONT [1] and BACK [2].
Pivot pattern
8. Now you need to pivot the pattern so that you can draw a new side seam - that will be adjusted for the new hip measurement. To do this, take a pin, or an awl / stiletto and put it in the corner where the side seam meets the top stitch line - as marked with red circles in the illustration above. Carefully rotate the pattern so that the side seam moves towards the line marked in the previous step. When you reach the point, use pattern weights to hold the pattern pieces in place. Trace the side seam in the new location. Do this for both the FRONT [1] and BACK [2] pattern pieces.
Finalise pattern + add pattern markings
9. Remove the original pattern pieces to show your new pattern lines underneath. You will need to join the hemline to the side seam in the corner of each piece, due to the alteration made. Simply continue the straight line of the hem line and then continue the side seam until the lines intersect.
Transfer the pattern details (Pattern name - re-naming if you like, pattern piece name and number, grainline etc.) from the original pattern to the new pattern pieces.
Remove centre front / centre back seams
10. If you would like to remove the front and back seam lines (as they are no longer required from a functional perspective) you can remove them by removing the 1.2cm seam allowance from the centre front and centre back.
You will now need to change the cutting instructions to CUT 1 ON FOLD. Adjust the grainline to indicate this, as illustrated.
For more details about pattern markings, you can check out this blog post.
If you would like to add more length to the pattern, you can use this tutorial.
I'd love to see your finished dress. Please send me a photo or tag In the Folds on Instagram!
I hope you are keeping well at this strange time. I appreciate all the responses I got to my previous email and I feel very lucky to be in a position to offer a bit of joy, inspiration and distraction at such a difficult time.
Happy sewing,
Emily
resources mentioned in this issue
In the Folds patterns can be found here.
Peppermint Playsuit pattern can be found here.
Peppermint Jumpsuit pattern can be found here.
Peppermint Playsuit instructions can be found here.
In the Folds sizing chart can be found here.
Tools for patternmaking blog post can be found here.
Adding pattern markings to your patterns blog post can be found here.
How to lengthen a pattern blog post can be found here.
In the Folds Instagram account can be found here.
P.S. Would you like to know what the Q & A series is all about? This page tells you a little bit more about the motive behind the series. Past issues from the Q & A series can be found here.
Don't have a question, but found this newsletter helpful? I'd love to hear from you! Get in touch and say hi.


