THE Q & A SERIES
How to trace patterns
Hi Emily
I purchased the Collins Top pattern at the end of last year and I’m so excited to get stuck into making it now the kids have gone back to school! I am a beginner trying to branch out a bit further than just sewing Boomerang Bags so I thought I’d give your pattern a go.
However, I get so nervous cutting up the original pattern, because, what if it is not the right size for me? What’s the best way to do this... should I trace it on another piece of paper? Or do I lay it onto the material and use a marker pencil to draw the outline? Or do I just cut it up and hope for the best!!
Any tips would be greatly appreciated!
Cheers,
Suse
Hi Suse,
I am so pleased to hear that you will be sewing a Collins top!
I never cut the original pattern, because like you, I am worried it will be the wrong size or I will want to use the other sizes in the future! Here are some tips for tracing patterns.
Why it's good to trace patterns
The main reason to trace patterns is so that you will always have the original pattern to refer back to. It’s great to reference this in case something goes wrong but also so you can see how the pattern has changed as you’ve worked on it. This might be helpful when you're sewing other patterns, as often we have to make the same adjustments to each. (This means fitting gets a lot easier over time!)
Other reasons why it is a good idea to trace a pattern are:
• You can transfer the pattern onto a paper / card that you prefer working with. For example, if you don't like how delicate tissue paper is, you can transfer the pattern onto something sturdier.
• It means you keep the original pattern with all the sizes so you can use a different size in the future.
• It means that you can trace just the size/s you need, if you have printed all the sizes in the pattern. This can save confusion when there are intersecting lines.
What paper to use
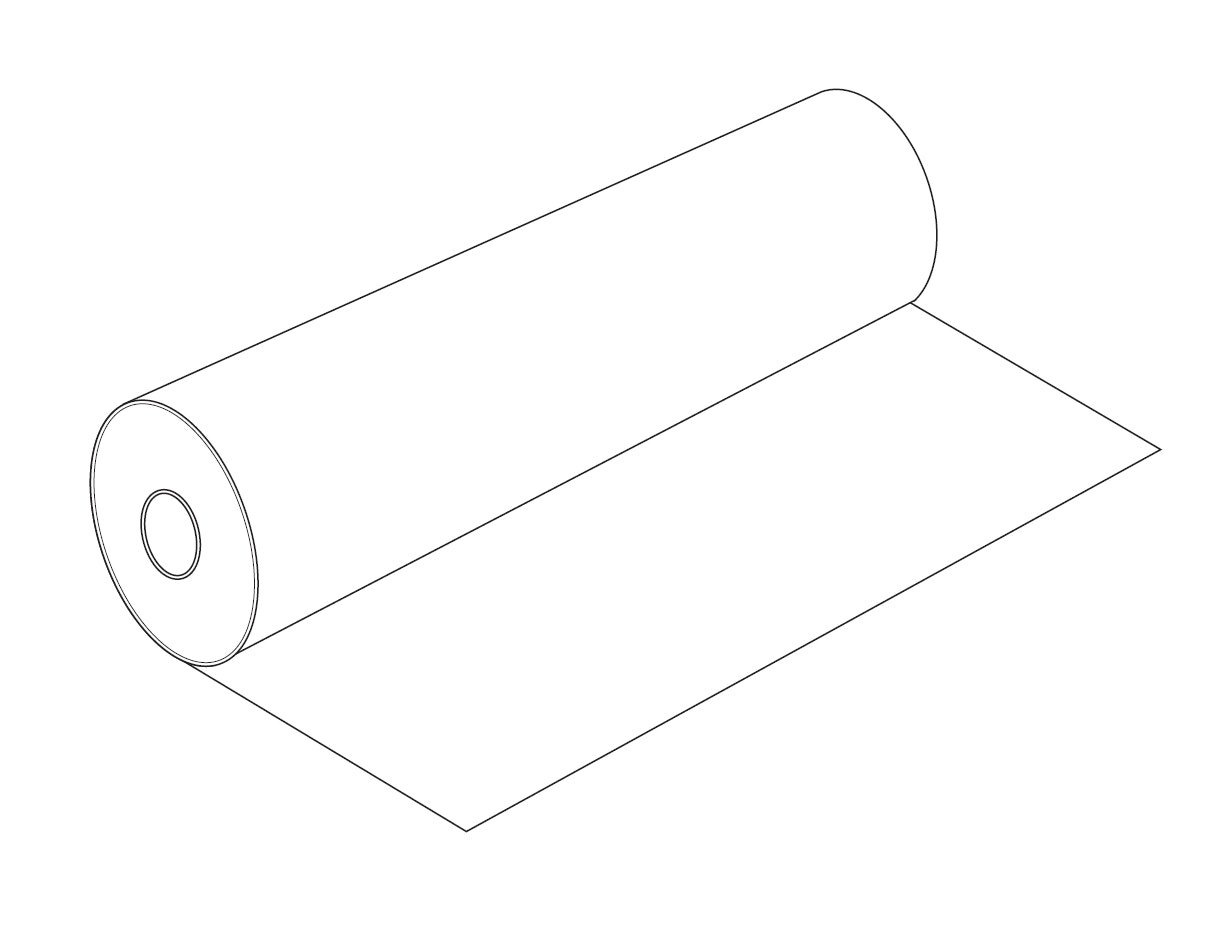
There are countless pattern paper options and it will depend on your preferences and what you have access to.
Consider:
• Dot and cross paper (this is our preference)
• Swedish tracing paper
• Plain pattern paper
• Tracing paper
• Some people use mid-weight interfacing (the type that doesn't have glue on it)
How to trace a pattern
1. Lay the pattern out on a large flat surface.
2. Place the pattern paper on top of the pattern piece. Hold paper in place with pattern weights (if you don't have pattern weights - canned food works well).
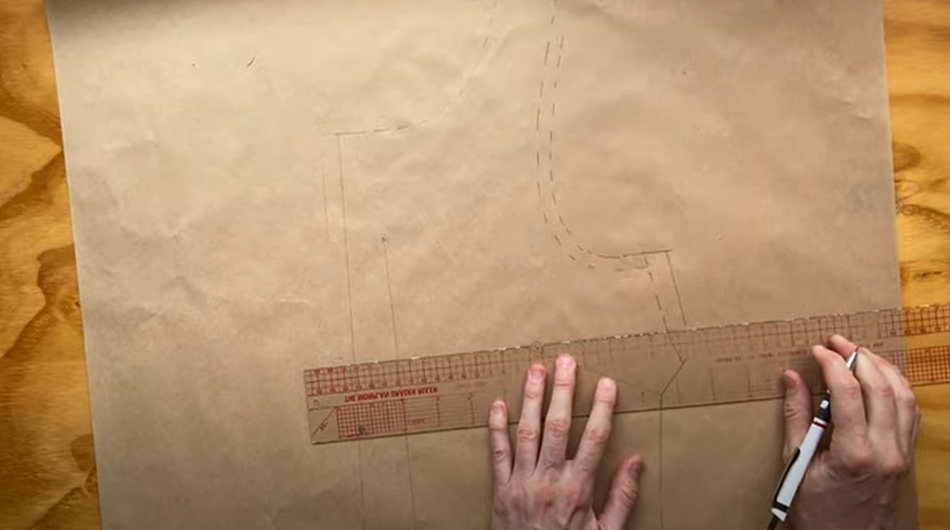
3. Take a pacer pencil and a ruler and trace around the outline of each pattern piece. Go slowly and trace carefully. Be sure to transfer the grainline and all pattern markings, such as notches, darts and drill holes. It is up to you whether or not you want to trace the stitch line as well as the cutting line. In the Folds patterns include both so that it is easier to make adjustments to the patterns - but it is up to you if you want to trace both lines.
4. Add the name of the pattern, the size/s you traced, the pattern piece name and cutting instructions, such as 'cut on the fold'. We also suggest adding the date you traced the pattern. This helps if you make adjustments to the pattern and would like to refer back to it in future.
5. You are ready to cut out your pattern or you may want to leave this uncut to leave space to make adjustments.
Other methods for tracing patterns
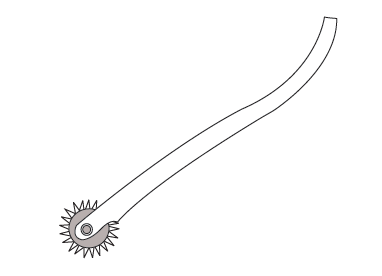
Another option is to use a tracing wheel, to trace the pattern onto sheets of pattern card. You then just need to take a ruler and mark lines using the dots left on the card. This is a great option if you would like a more hard-wearing pattern. You can also use a tracing wheel and dressmakers carbon paper to transfer the pattern directly to the fabric. I have never used this method as I like having my patterns on paper / card ready to go straight onto the fabric, but if you would like to give it a go, you can find a tutorial from Tilly and the Buttons here.
I hope this helps!
Happy sewing,
Emily
For more issues of the Q & A series, you can check out the archive here.
What you’ve been making
Peppermint jumpsuit made by @foodnerdextreme
Hove jacket made by @bobo_bun
Whitlow robe made by @shuaychong
Acton dress made by @shuaychong

