Panel lines are a great way to add interest to a design. There are countless variations and it is a way to include more than one fabric in your design if you would like. I really struggle to keep a design limited to one fabric, so often add a contrast fabric with panel lines. Panel lines are also a good way to eliminate darts, without losing the fitted shape of the garment.
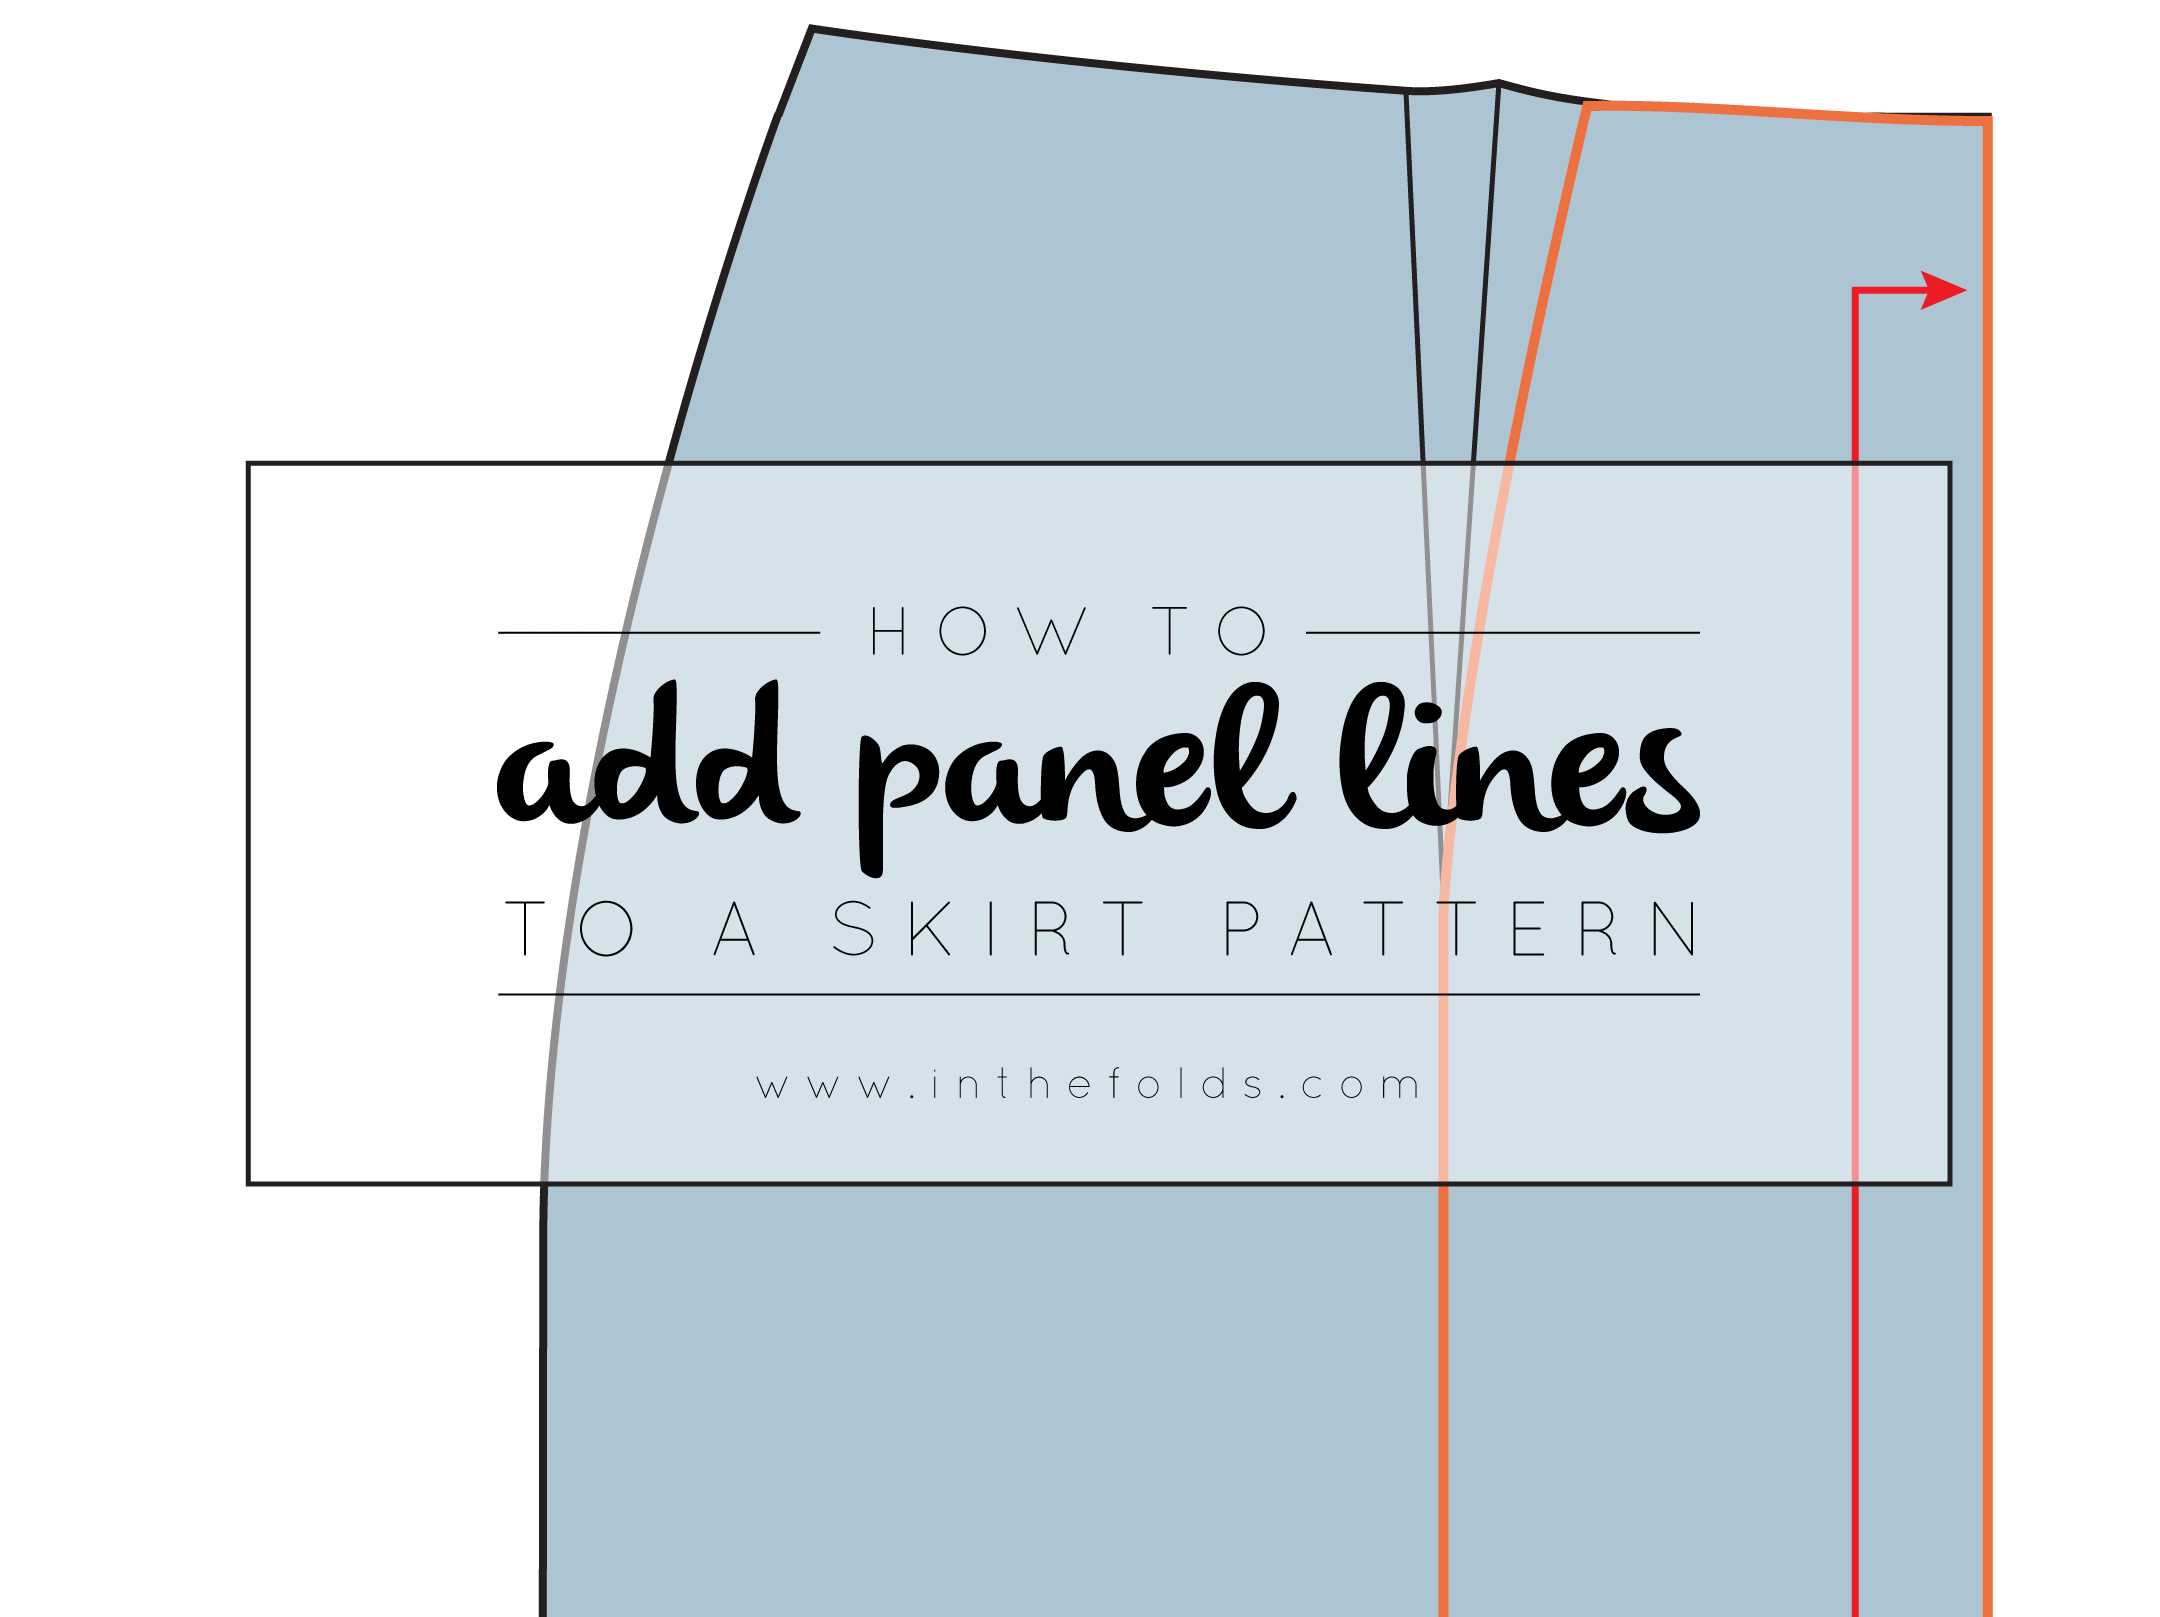
Now that our skirt blocks are done, it's time to have a play! In today's post I will show you the basics of creating panel lines on a pattern. This same principle can be used on all different patterns, so keep reading, even if it's a bodice or dress you're planning to add panels to.
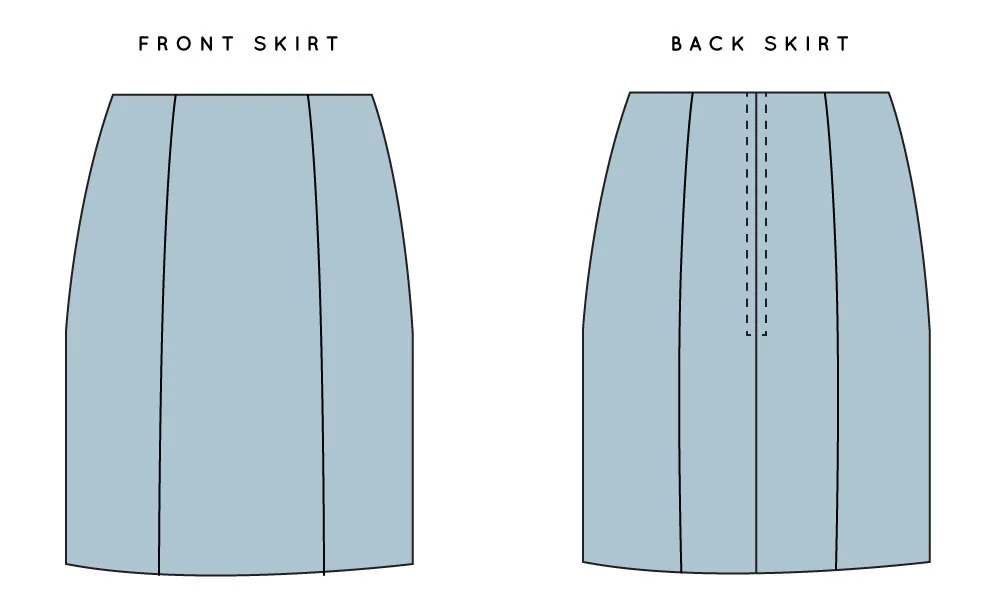
I will show you how to add panel lines where the darts are on the original skirt block. With these panels, you will no longer need darts, as the shaping required will be provided by the panel lines.
Mark panel lines

1. Take your skirt pattern and draw a line from the tip of the dart to the hemline, ensuring it is parallel to the centre front (or entre back if you are working on the back pattern piece).
2. Add notches to the line. This will help when you are matching the two pieces together later. I suggest putting one in line with the dart point and another on the straight part of the line.
Now that you have the line marked, you can cut the pattern into two pieces, or you can trace the pieces onto seperate pieces of paper (my preferred method).
Create side front panel piece
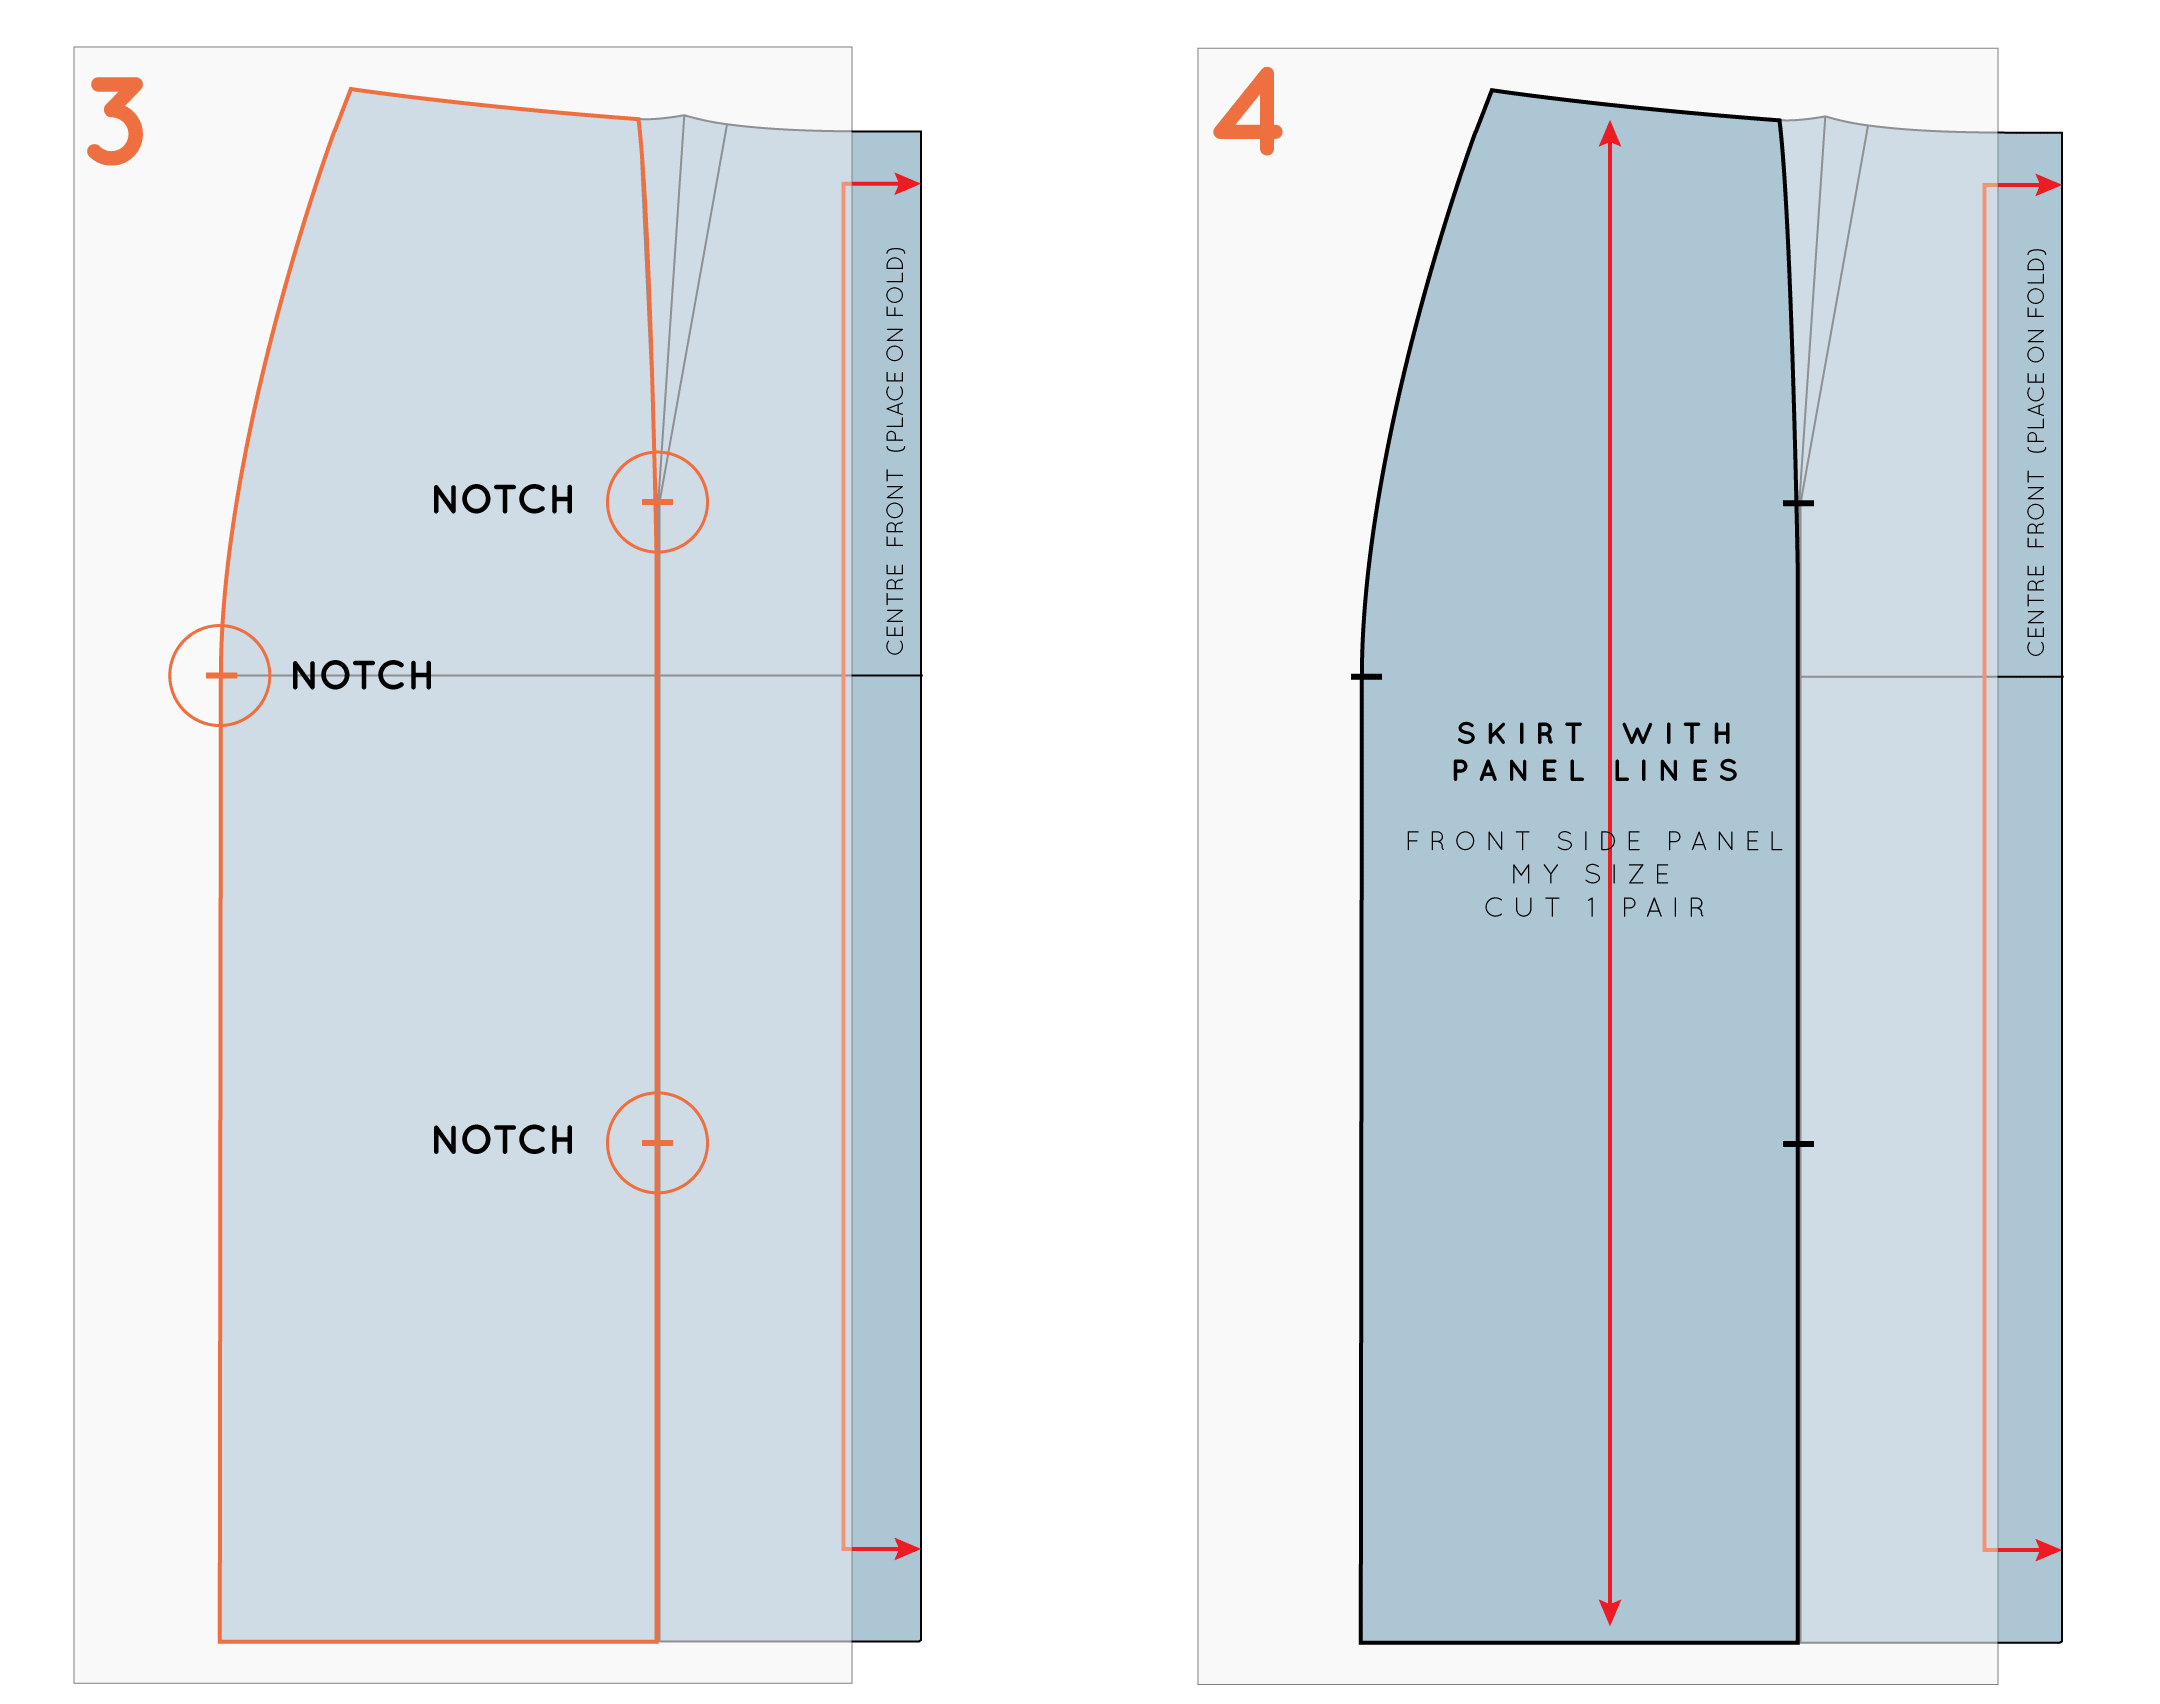
3. Take a separate piece of pattern paper, and place it on top of your skirt block. To start, you will be tracing the left side panel. Trace down the side seam, along the hemline, up the line you drew (Step 1), along the left dart arm (being sure that the transition between line and dart is a smooth curve) and then along the waistline. Transfer the notches from the panel line, and notch the hip line on the side seam.
4. Before removing the tracing, transfer the grainline, which should be parallel to the original grainline. Add pattern information and cutting directions (Front side panel / cut 1 pair).
Create centre front panel piece

5. Next, you will need to trace the centre front panel. Take another piece of pattern paper and trace down the centre front, along the hemline, up the panel line, up the right-hand dart arm and along the waistline. Once again, make sure your transistion from panel line to dart line is nice and smooth. Transfer the notches on the panel line.
6. Before removing the tracing, transfer the grainline, which should be parallel to the original grainline. Add pattern information and cutting directions (Centre front panel / cut 1 on fold).
Add seam allowance

7. Add seam allowance to both pattern pieces. I suggest 1.2cm - 1.5cm (1/2in - 9/16in). You may want to add more to the hemline, but for the sake of the example I have left the seam allowance consistent. Repeat process for the back pattern, and now you have a skirt with panels, instead of darts!


