So we are almost there! By now your Rushcutter should be really be looking like a dress. All we have got left to do is to finish the neckline and do the hems.
Finishing the neckline
Now that the zip is done, you can finish the neckline.
With the dress inside out, fold the binding to the inside of the dress, rolling the seam line slightly towards the inside too. Make sure the raw edge is folded under, and press in place.
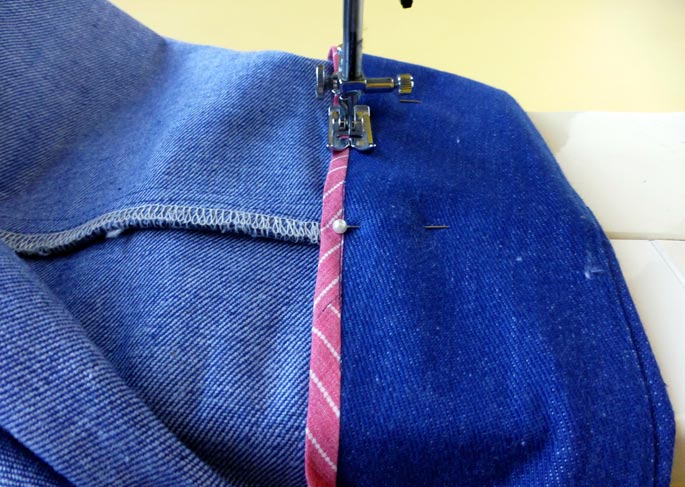
Pin the binding around the neckline, using your fingers to smooth out the binding.
When you reach the zip, make sure that the short edge of the binding sits a few milimetres away from the zip teeth.
Stitch along the edge of the binding. Press to remove any wrinkles.
Hem the sleeves
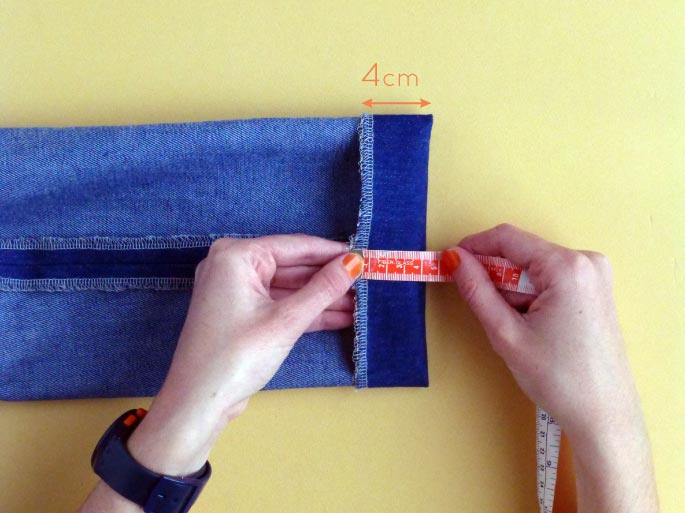
With the neck done, move onto the sleeve hem. With the dress still inside out, fold back each sleeve hem by 4cm (1 1/2in). Press and pin in place.
Stitch the hem in place, by stitching close to the edge.
Prepare the hem facing
Take the FRONT and BACK HEM FACING and, with right sides together, pin them together at the side seams. Stitch with a 15mm (5/8in) seam allowance. These seams will be enclosed in the hem, so do not need to be finished.
Press both seams open.
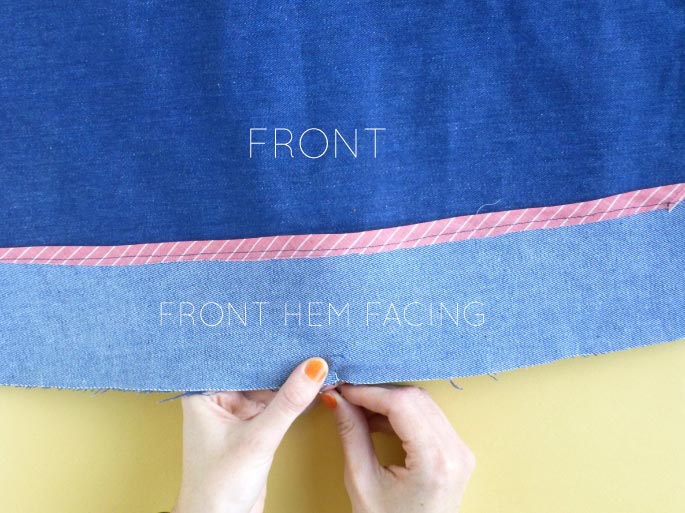
Finish the top edge of the facing (the edge that will not be attached to the hem of the dress). Consider using a contrasting binding for an interesting inner detail.
Attach the hem facing
Pin the hem facing to the dress, with right sides together. Start at the centre front notch and work way around the facing, matching each seam line with the corresponding notch. Stitch with a 1cm (3/8in) seam allowance.
Trim back the seam allowance of your hem facing, to minimise bulk in the hemline.
Lay the seam flat and, with the seam allowances pushed towards the hem facing, understitch the seam allowances to the facing.
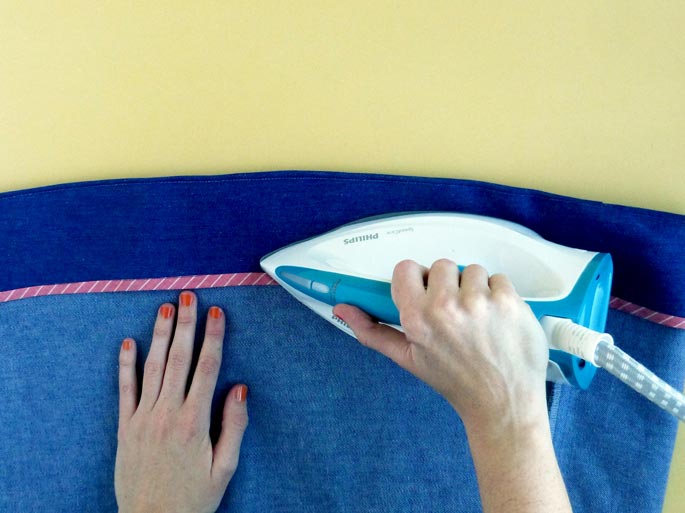
Turn the hem facing to the inside of the dress, being sure to roll the seam line slightly to the inside, and press.
Stitch the hem in place, by hand or machine, close to the end of the facing.
Give the dress one final press and you're done! Wooohooo!


