
Each month we like to give you a bit of a peek behind the curtain in our Behind the Scenes email. As our team discussed ideas for this month, we thought it would be good to share the challenges I faced when creating the Malvern culottes pattern as this isn’t something that many pattern designers do.
With how many designers there are in the world, you might think that sewing patterns come together really easily, but a lot of the time, that’s just not the case. With Malvern, I ran into a few issues when drafting the actual pattern, and that’s pretty normal, but the main challenge was when I had to turn it from pattern to product.
What do I mean when i say from pattern to product?
In theory, I am a patternmaker; but not in the traditional sense.
In the traditional sense, a patternmaker drafts patterns that are used to create ready-to-wear garments. This means the end-user (the person who buys the finished garment) never sees the pattern, and a lot of people don’t even know a pattern is used to cut a garment!
When it comes to making patterns for home sewists, the pattern is the product. So, the pattern not only has to be functional (as it does in ready-to-wear), but it also needs to look good and lead to a positive user experience.
In this way, I sometimes think of myself more as a product designer, and maybe (at a stretch) an experience designer. I am constantly thinking about the experience of using our patterns and doing everything that I can to make sure that the experience is interesting, thought-provoking, positive and confidence-building.
This is a lot to keep in mind when designing a pattern! I try to pull back and take it one step at a time, knowing that it’s all the parts working together (the design, the pattern, the instructions, the support in our community group) that will create a successful project. But it is pretty hard to juggle all those balls and do it well!


The intention behind the Malvern culottes pattern
When I set out to create the Malvern culottes, I had a couple of things in mind.
Firstly, I wanted to create a garment that was unique and interesting, while still being comfortable to wear. I also wanted the pattern to be fun and interesting to make, and for it to include some new sewing skills for our Curated by ITF members.
I have two pairs of RTW culottes in my wardrobe that I love. When I wear them I always feel like I’ve stepped my outfit up a notch compared to how I feel when I’m just wearing jeans. And they have a serious comfort factor that many garments worn on the lower half of my body do not!
The idea of a pair of In the Folds culottes has been hovering in the back of my mind for a long while, so I was excited to have the opportunity to give it a go for this month’s issue of Curated.
Creating the Malvern culottes pattern
I wanted to create an oversized silhouette that almost looks like a skirt, with deep pleats that would hide the seams. So that was the basic premise I started out with.
But I’m not going to lie - I struggled creating this pattern!
There were a number of times when I was working on it that I wondered if what I was trying to achieve was too complex, or if the lack of sleep (I have a toddler that does not sleep well) had finally caught up with me.
Thankfully, I kept at it, because I love the finished product (and apparently, so do lots of makers!).
I am always mindful of other patterns that are already available on the market and try to make sure what we are offering is something new and different.
Although I often do preliminary design and drafting work in CLO3D, for this design I just felt I needed to do it by hand. This gave me a feel for the depth of the pleats in the flesh, allowed me to see how the pleats fell in fabric and adjust as I went. I made 4 or 5 toiles, pushing the design further and further each time. And then, sometimes, pulling it back.

In this photo you can see that I toyed with the idea of having a horizontal seam. I realised the design was enough without it, and having the seam wasn’t adding anything more to the design.
One thing I noticed as I was making all these toiles? It was very important to make sure I was folding the pleats correctly and folding them in the correct order.
Often when you fold pleats into fabric you just fold one at a time, working along the fabric or the garment consecutively because the pleats don’t impact on each other.
However, in the case of Malvern, the pleats interact with each other AND the seams, so they have to be sewn in a particular order. For example, the pocket has to be stitched to the side seam and the side seams sewn before the front pleats can cross the side seam to the back. The centre back pleat is created by layering up the fabric at the back.

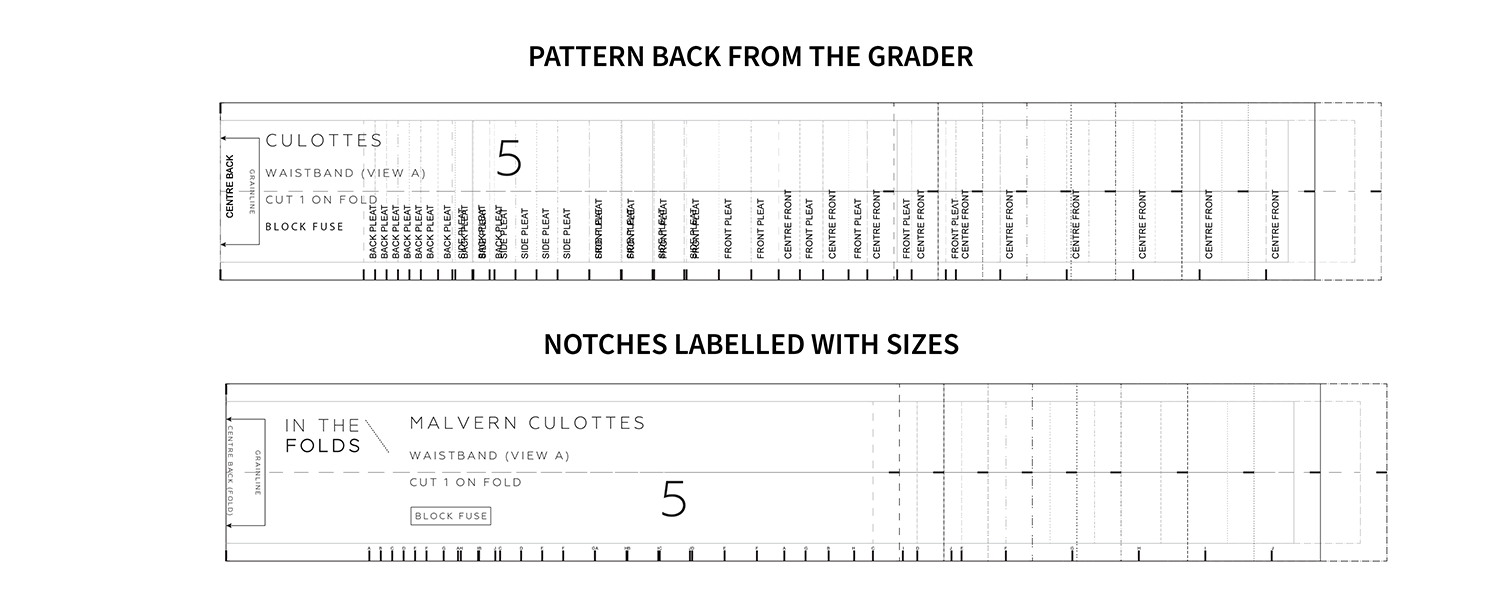
In patternmaking, pleats are indicated with notches, and arrows show which way the pleat is folded. This seemed clear enough on the original pattern that I sent to our pattern grader, but I had it in mind that with all the sizes overlapping into a nested pattern, there was potential for it to get pretty messy.

I suggested to our grader that we label each notch with A - Z, so when folding the first pleat you fold from notch A to B, then C to D and so on.

When the graded pattern came back, I began to worry this wasn’t going to work. Although normally some tweaking and formatting is required when I receive the pattern back from the grader, this didn’t seem like a little reformatting issue. As you can see, the letter C is somewhat clear between sizes, but letters A and B are basically illegible.
At the same time, I was chatting to our other pattern grader, the one who looks after our size G-P range. After looking at the pattern, she wrote:
“I admittedly have no idea how these are intended to go together. I'm lost, lol. I'm trying to match up letters in alphabetical order, following the arrows, but I can't quite wrap my head around how the views are different in the back. The front is a bit of a mystery as well because it looks like the panels overlap, but I'm not sure what the overlapping points are. It's kinda hard to tell from the photos as well.
I know you are probably deep in sewing directions with the labels as is...but just food for thought - I have another client that does lots of tucks and they number the tuck notches so you would match number to number (IE- 4 to 4, and 2 to 2, etc). I'm just a little concerned when I can't tell how to put a pattern together without instructions.”
The realisation that a professional pattern maker had no clue how to put this pattern together made me go back to the drawing board. Although we include very thorough instructions with our patterns, I do like the idea of our patterns saying as much as possible and giving makers a good idea of how the garment is going to come together.
build your sewing skills with a
curated by itf membership
I had also realised that after grading the waistband had become very confusing. Notches are very important when pinning a waistband to a skirt, pants or pair of culottes. They help you make sure you’re not stretching the garment and that the waistband is lined up correctly. I realised that we were going to have to label the notches with the name of each of our sizes (letters) which just confirmed the decision to number the pleats.
With this decision, it meant we lost the labels that were marked on the graded pattern, and although I initially tried not to include this information for ease of use, when our Content Creator, Leanne, gave the pattern a go, she suggested that would have made the process easier if she knew which notch was supposed to line up with which seam or notch.

Rather than adding any more information to the pattern (as there is already a lot!) I decided it made more sense for this information to go in the instructions, which is what you can see in the image above.
I then returned to working out how to label those pleat notches.
To start with, I tried our grader’s suggestion of labelling them 1 to 1 etc, but realised it didn’t help with pleat direction, which is very important in this pattern. Although the arrows would always be marked on the pattern, I didn’t want to leave anything up to guesswork. So, I started playing with the idea of labelling each notch with a different number - 1 goes to 2, 3 to 4 etc.
While updating the pattern, I realised this was always going to be the better option, as letters are used for our pattern sizes and having letters for our pleats too was just going to cause A LOT of unnecessary confusion. And here is where I was reminded of my mission to create patterns that are enjoyable to use and leave makers feeling confident.

Once I started putting the numbers onto the pattern, it was a careful balance of trying to get the numbers large enough to see, but not so big that they ended up overlapping each other and creating more confusion. It took some time to update all the notches with the correct information, but in the end I was left with a pattern that was legible and had clear annotations for how to use it.
While working on this pattern, I realised that the sewing of the culottes is not what is tricky about this project. Rather, it’s understanding the pattern, particularly because it’s an asymmetrical design, and what you do to one side is slightly different to the other side. But that excited me, as I know our community is always up for a challenge and keen to learn new skills. I was confident that this pattern was going to push their pattern interpretation skills, while giving them a new-found confidence in garment sewing, which is a big success.
Some tips for working with the Malvern culottes pattern
These tips will help you work through any complex sewing pattern!
If possible, only print the size or sizes that you need.
Read the instructions from beginning to end before getting started. Even if you are a proficient sewist, this will help you understand the process so when you get started you know what lies ahead.
Leave pattern pieces pinned to fabric until you are ready to sew the piece. This means that pieces don’t get mixed up and you also have the pattern right there to refer to.
When working with complex pleats, pin small pieces of paper (or use masking tape if it won't damage the fabric) to the notches on the fabric to record the pleat number. This will mean you don't need to keep referring back to the pattern when folding the pleats.
Trust the process. This is one of those patterns (like the Darlow pants and the Hove tote) that may not feel intuitive at times. Be encouraged to slow down, read the instructions carefully and trust that it will all make sense soon enough!
I hope this has given you a little more insight into what goes on behind the scenes of designing sewing patterns.
Happy sewing,
Emily
WHAT YOU’VE BEEN MAKING…

Collins top made by @meanwhilemaker

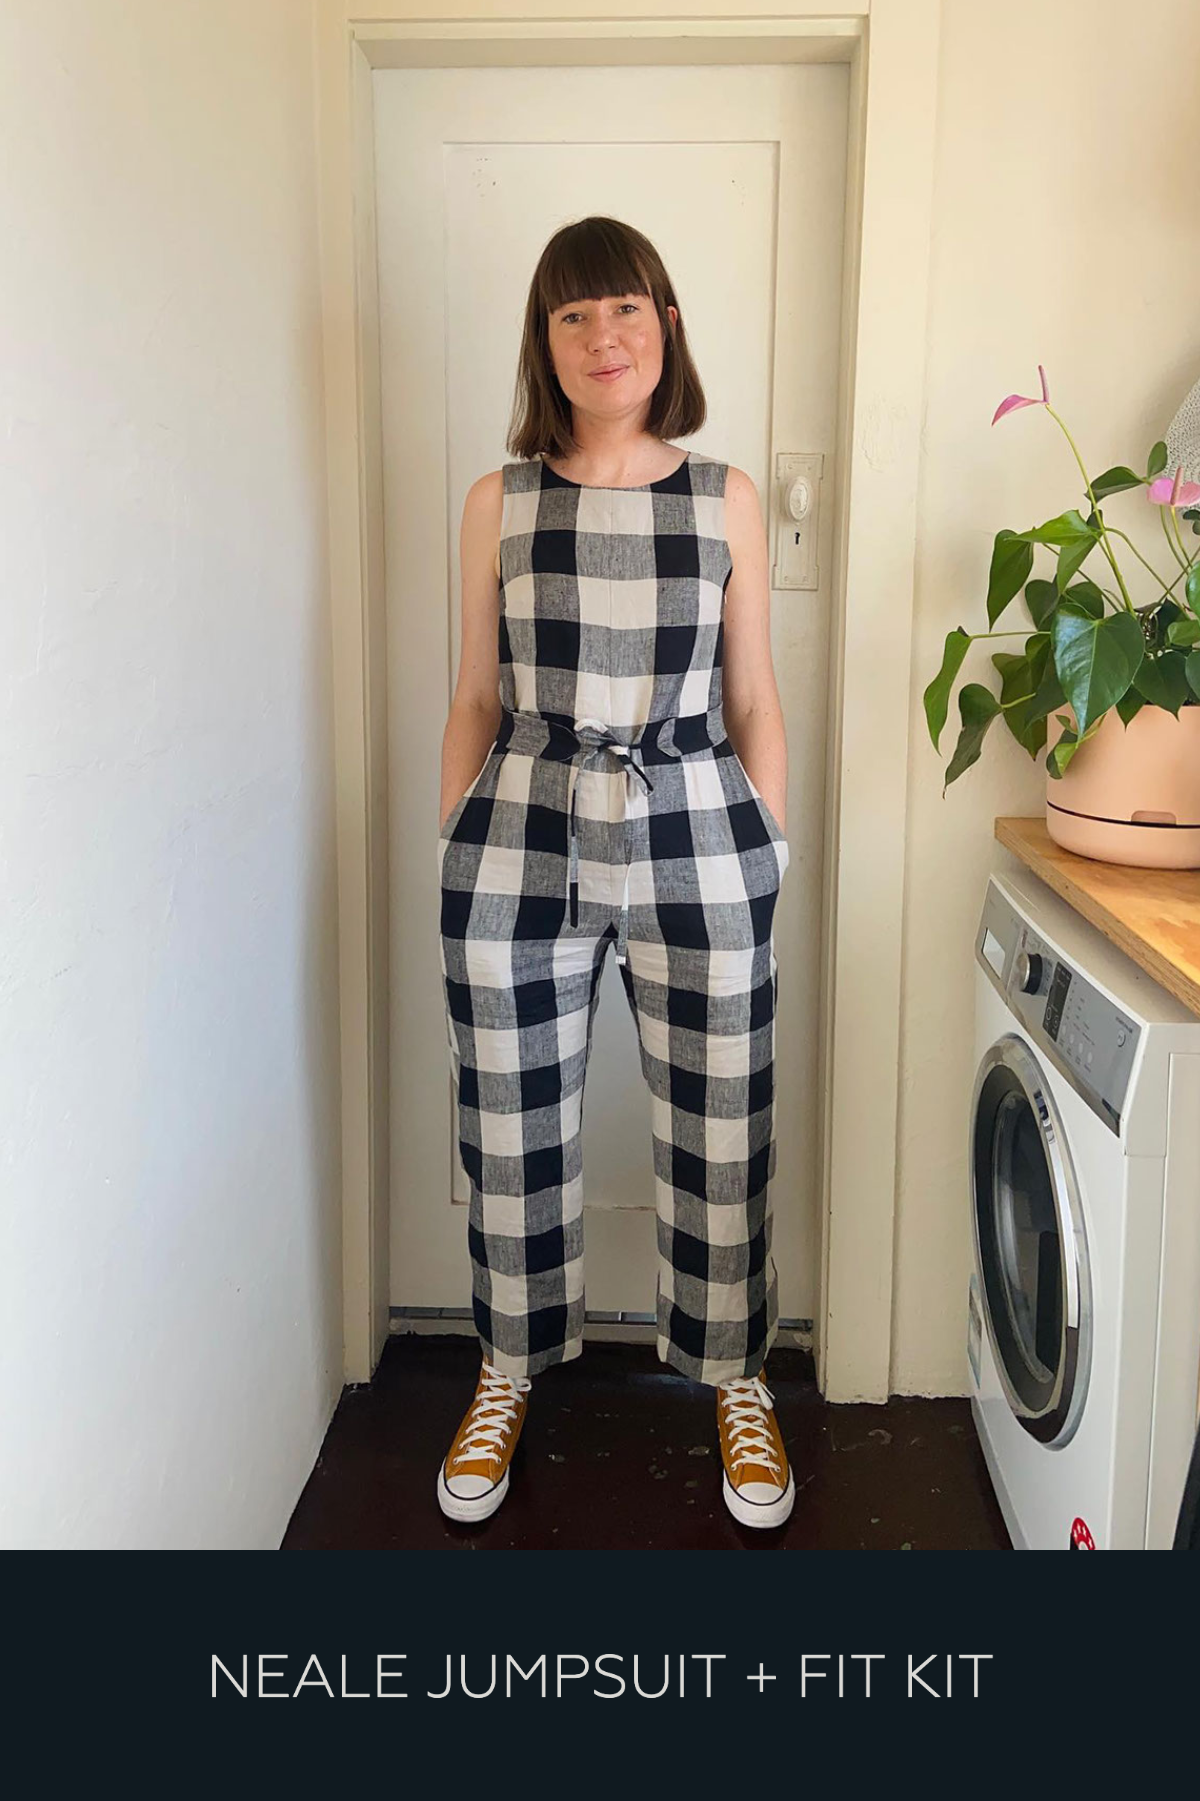
Neale jumpsuit hacked by Curated by ITF member, Rachael.