When I was given my sewing and patternmaking kit in my first year at university, it included all the tools I would need for my patternmaking and construction classes. It had an array of different rulers, a tracing wheel, stiletto (also called an awl), pattern notchers, machine needles, a bobbin and bobbin case, pin cushion, tweezers… and the list goes on.
One of the rulers was a small ruler with markings I didn’t quite understand. On closer inspection I realised it was a third scale ruler. It was marked so that it could be used like a regular ruler, except the markings were in 3rd scale, where 5cm was actually 1.7cm etc.

At university we had huge work tables to do patternmaking, but at home many of us just had a small desk. By working in third scale, we were able to practice our learnings at home in a smaller space, using less materials. It also meant that we could put our work in a binder and see at a glance what the technique was about - rather than folding up a huge full scale pattern that would have to be taken out of a plastic sleeve to see what it was about.

Although I don’t use third scale patterns in my drafting process anymore, I often return to the principle of it. If I need to figure something out, I print the pattern at a small scale and give it a go. For this purpose, it doesn’t need to be exact as I’m just using it to help me figure things out. For example, it’s very helpful for deciding where a design line could go, or understanding how a bust adjustment will work on a particular pattern. It’s also very useful when I receive customer service questions about alterations, because I can give it a go before passing on my advice.
Working in small scale can be used as a fitting tool or a design tool, or a mixture of both.
SMALL SCALE PATTERNS AS A FITTING TOOL

When sewing a pattern, you may decide to do a particular fitting alteration that you’ve never done before. Working in small scale gives you a chance to do a practice run and figure things out. It’s also great to have with you when working in full scale as you can refer back to it.
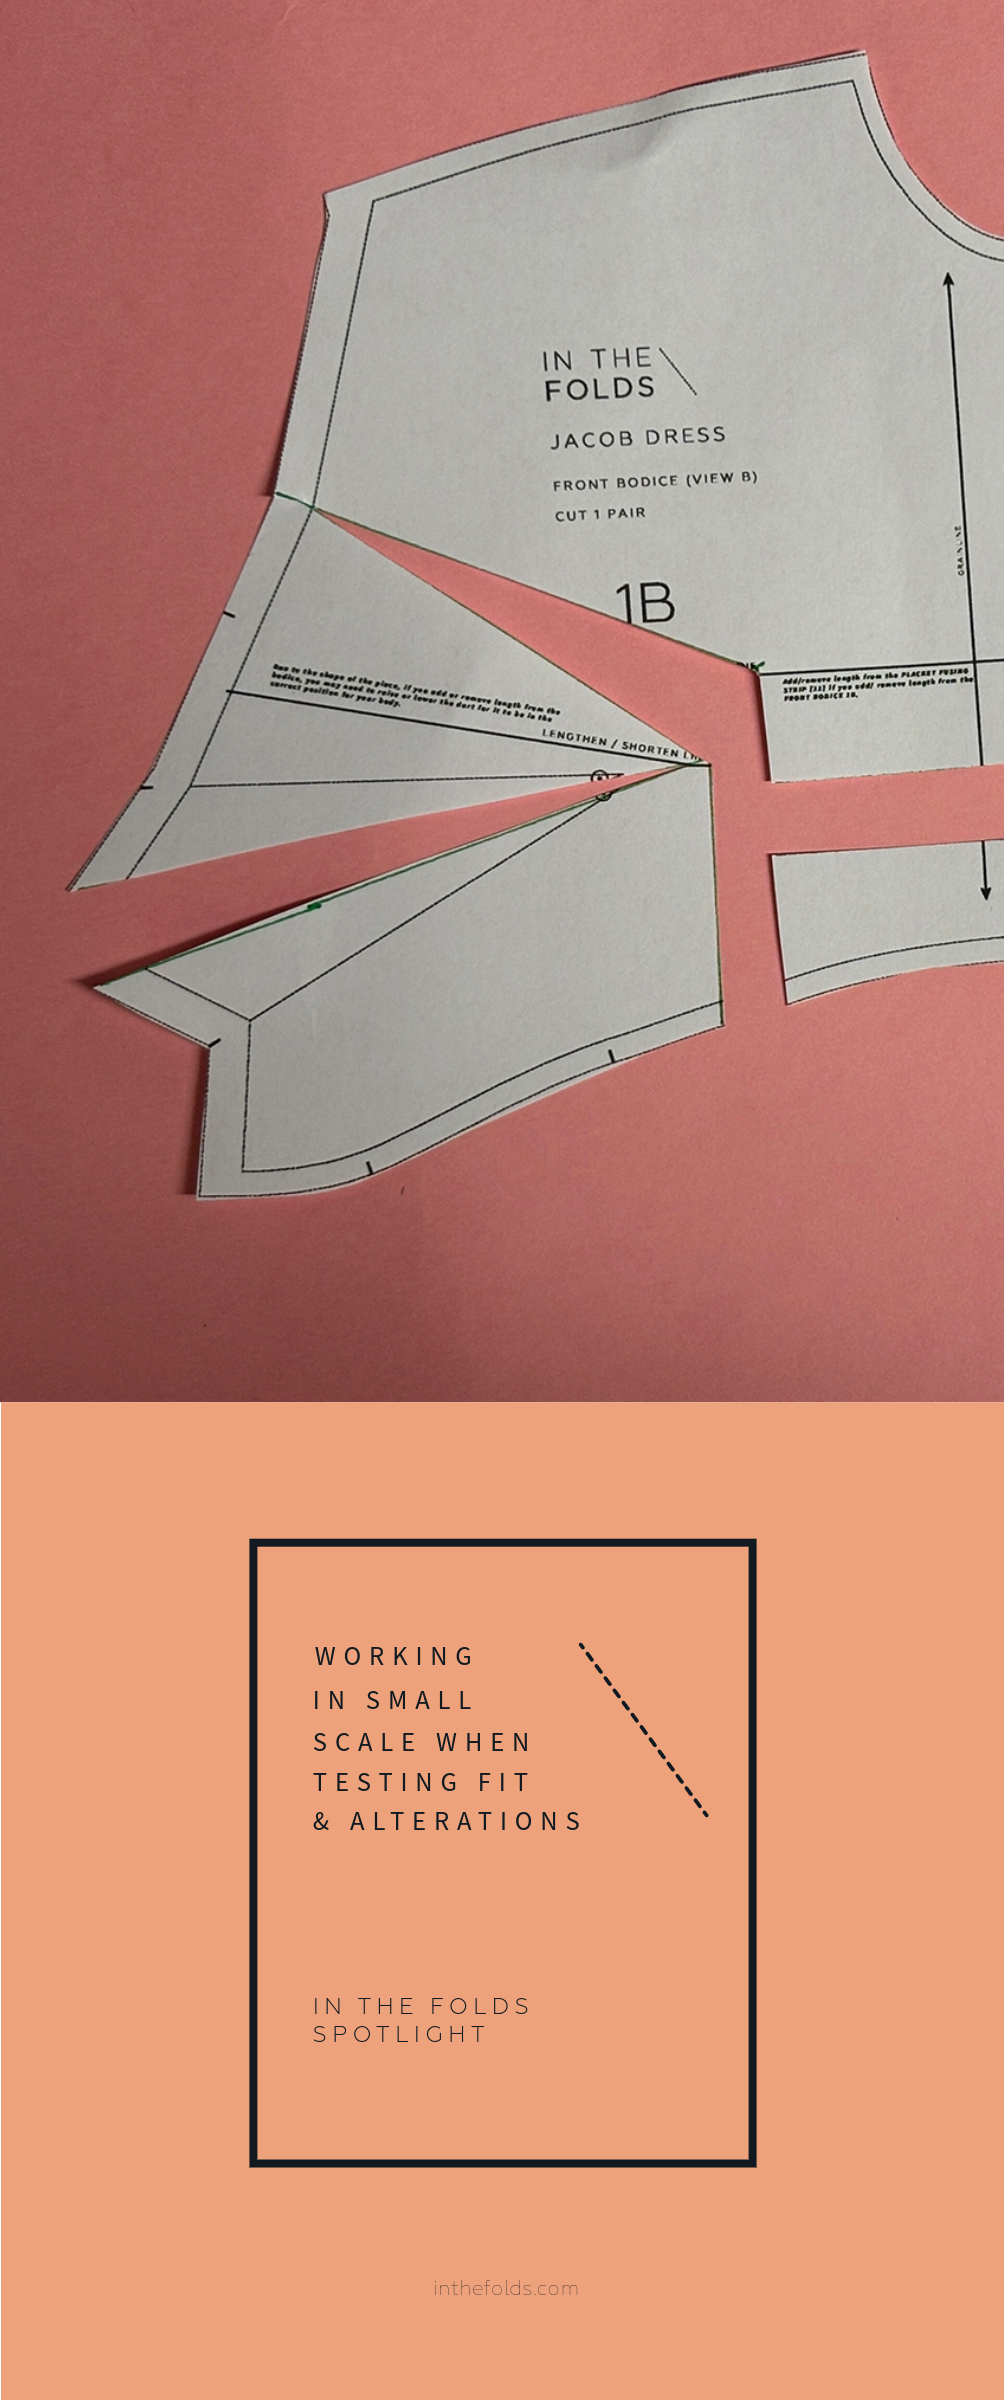
Small scale patterns as a design tool

There’s less at stake when working in small scale. It’s easy to try different approaches - different dart location, different panel line positions etc - because you can always print another copy. You might surprise yourself and come up with something really interesting just by cutting into the pattern!

As I was working on this tutorial I came up with the idea of moving the dart to the neckline and transforming it into a princess seam. This wasn’t my plan when I started but the idea came to me as I was working and suddenly I’m excited at the idea of a princess panel running from the neck, through the bust to the waist.
You can even sew up small scale examples in fabric if you want to! But be mindful that the seam allowance gets very small. You may prefer to add a bit more seam allowance onto your mini patterns to make the sewing process easier.
How to create a small scale pattern
We include small scale patterns in our Hack Kits (like this month’s Jacob dress Hack Kit) so it’s ready to go, but if you are working with a pattern that does not have this, here’s what you need to do:
Open the A0 file, choose a size (it doesn’t really matter which one) and turn off all the other layers. Adjust the size in print settings to ‘fit to page’ and print.
Use a ruler and pencil to draw in the alteration lines as you would in full scale.
Cut into your pattern and experiment.
Take photos as you go so you can refer back to them when working in full scale later on.
The advantages of working in small scale:
Saves resources – Testing on a small scale reduces paper and even fabric waste, especially when experimenting with complex design changes.
Saves time – Making adjustments on a smaller pattern is much faster than working with a full-size version, allowing for quicker and multiple iterations.
Easier to visualise design changes – A scaled-down version helps you see the overall silhouette and proportion before committing to a full-size alteration.
Reduces cost – Since you use less fabric and other materials, small-scale tests are a budget-friendly way to explore new ideas.
Encourages learning and skill-building – You can practice tricky techniques, like bust adjustments or drafting princess panels without having to work in full scale. This can go even further and also be done in fabric to practice new skills like: pleats, gathers, or draping, without the full effort of a life-size garment.
Encourages creativity – Since it’s a lower-stakes process, small-scale prototyping can encourage more creative risk-taking.
Helps with pattern drafting adjustments – If you're making structural changes to a pattern, a small-scale test lets you check proportions and relationships between pattern pieces before committing to a full-size draft.
What do you think? Can you imagine using this technique in your sewing practice?