Zip time! And before some of you run away screaming, please just give it a go with me. I promise they're not that scary.
Invisible zips really are the easiest zips to sew, and if you go nice and slow, you can get a really nice finish that I promise you will be proud of.
Finish the back opening
Try on the dress and adjust the back opening, if necessary.
Finish both sides of the back opening.
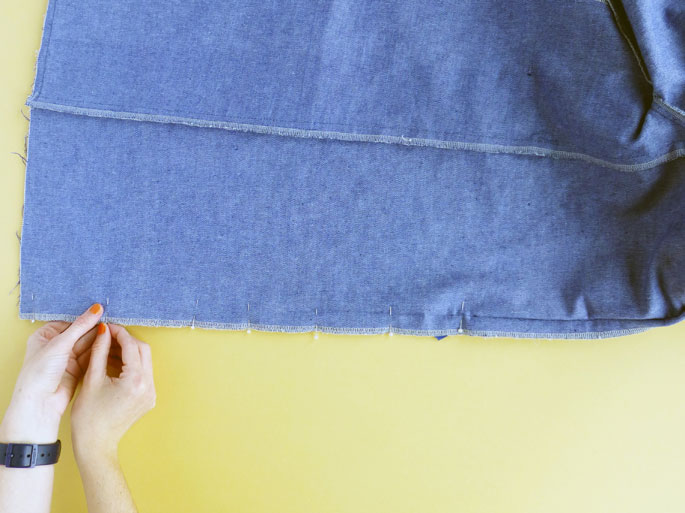
Lay the dress right-side down and fold up the centre back seam allowance on both sides of the opening by 20mm (3/4in) and press flat.
Press the zip
Open the invisible zip, and using a warm dry iron, press the zipper teeth flat. This will help you get nice and close to the teeth when you sew in the zip.
Pin and baste the zip
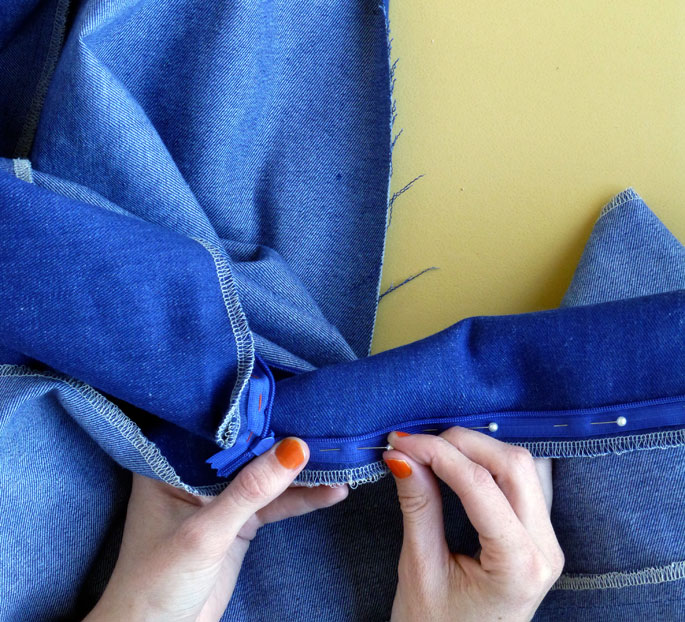
Place the zip face down on the right hand side of the dress. Align the stop at the top of the zip with the neckline and the teeth of the zip with the pressed seam line. Pin in place.
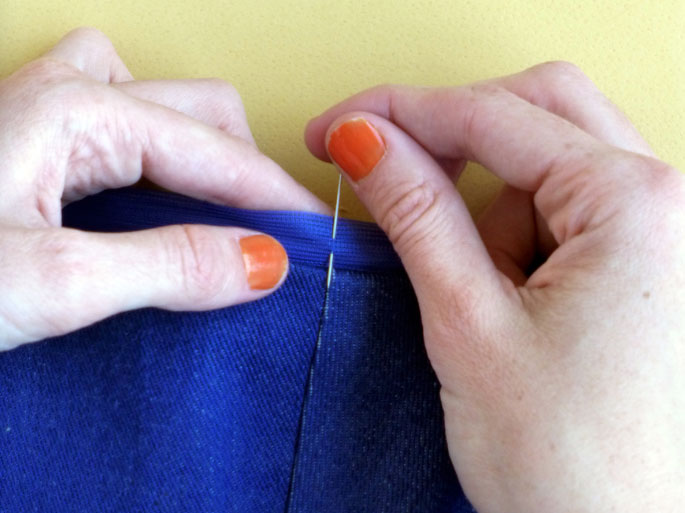
Now this is the step that really makes all the difference. Take a needle and thread (I always use a contrasting thread because it makes it nice and easy to remove the stitches later), and hand baste the zip tape to the dress. It takes a couple of minutes extra to do this, but it will ensure that the zip does not shift while you are sewing it in - and I prefer hand stitching to unpicking any day! When the zip is attached, remove the pins.
Sew one side of the zip
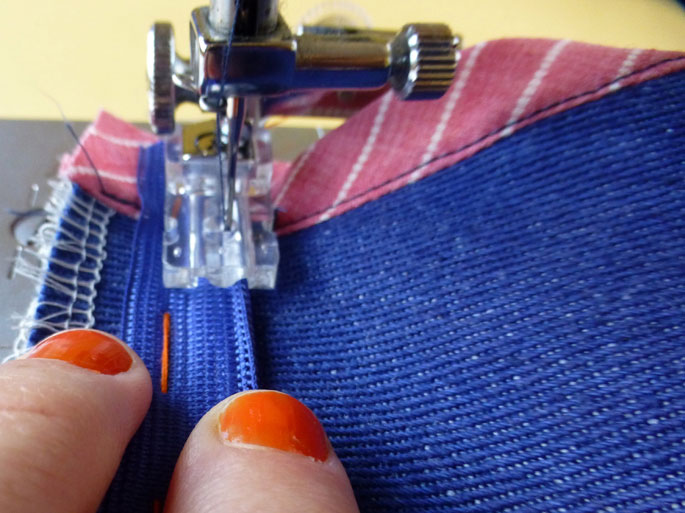
Using an invisible zip foot, insert the teeth of the zip into the right-hand channel of the foot. Using your finger, roll the zip teeth so that the zip lies as flat as possible. Slowly stitch down the length of the zip, stopping just before you hit the zip pull.
Close the zip and turn the seam allowance under, so that the zip lies flat. Press the fold.
Matching the seam line
You will have noticed that the seam that joins the sleeves to the body of the dress, runs directly through the zip. To ensure the seam lines match up on either side of the zip, take a pin and put it through the zip tape (on the side not yet sewed) in line with the horizontal seam line.
Open the zip and place the zip tape face down on the left hand side of the back opening, aligning the pin with seam line.
You can use this same method for matching up waistbands, or waistlines on dresses.
Stitch the second side of the zip
Pin in place and then continue pinning the remainder of the zip tape (once again aligning the zip teeth with the pressed line). Baste the zip in place by hand.
Stitch the second side with your invisible zip foot - this time with the zip teeth in the left channel.
Admire your work
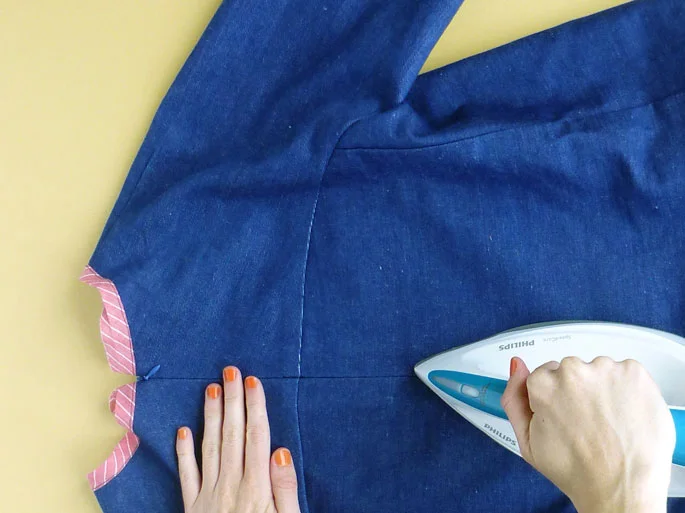
Close the zip and give it a good press. Look at those lovely matching seams! Worth it, right?
Finish the centre back seam
Turn the dress inside out and pin the remainder of the centre back opening closed. Make sure you keep the ends of the zip tape out of the way.
Using an ordinary zip foot, stitch the remainder of the centre back seam closed. Start by putting the needle into the fabric where the row of stitching for the zip ends (or as close to that as you can get) and then lower the foot before continuing down the seam with a 2cm (3/4in) seam allowance.
Remove the basting stitches
With the dress still inside out, press the centre back seam open. At this stage you can remove the basting stitch from the zip tape.
And you're done! Not so bad, right?


