THE Q & A SERIES
HOW TO SEW A reverse WRAP TOP
Hi!
First thank you so much for all your tutorials!
I want to make a Peppermint Wrap top but I would like it to be reversible (worn with the back in the front if I make sense). Do you think the pattern is already reversible as is or should I make some alterations ? (To the neck line maybe?)
Thanks a lot!
Clara
Hi Clara,
This might seem a strange place to start with an answer, but bear with me… In a meeting this week, we were chatting about necklines, and how they are usually lower at the front than they are at the back. This then led to how our kids often put their shirts on back-to-front and how the tell-tale sign is that the neckline at the front sits much too high, but even though it appears to be choking them, they don’t seem to notice or care. (We’re all mums, so these kinds of discussions aren’t unusual. Ha!)
Which brings me to the start of my answer to your question…
Yes, you’re right, one of the problems you’ll run into with reversing the Peppermint Wrap top is that the neckline at the back will be higher. And while you may be able to get away with it, keep in mind that it also has bust darts, which you may not like having on your back.
If you really want a top that has the wrap section at the back, what I’d suggest you do is draft something specifically for this purpose. That way you’ll get your bust darts where you need them and the correct neckline shape.
HOW TO DRAFT & SEW A reverse WRAP TOP
Rather than using the Peppermint Wrap top as the base, I suggest you start with the Peppermint Ruffle sleeve top. The reason for this is that the wrap has altered the shape of the front of the wrap top and it’s difficult to reverse if you haven’t got much patternmaking knowledge (and I like to write these tutorials so that they appeal to makers of all levels). If we start with the Peppermint Ruffle sleeve top, we have a more solid base that requires less tweaking to get started.
Step 1
You will need the Ruffle sleeve top BACK and the Wrap top FRONT. We will be taking the wrap section from the Wrap top and transferring it onto the Ruffle sleeve top. You will need to flip one of the pieces so they line up correctly (i.e. the armholes are on the same side).
Step 2
Place the Ruffle sleeve top BACK onto the Wrap top FRONT, lining up the high shoulder point STITCH LINE (the point where the shoulder line meets the neckline) and making sure the grainlines are parallel. Pin or glue in place.
Step 3
Trace the neckline STITCH LINE and CUT LINE from the Wrap top onto the Ruffle sleeve top.
Step 4
We now need to blend the hems. I decided to keep the length of the Ruffle sleeve top, so I have drawn a curve that blends from the side seam on the Ruffle sleeve top to the tie section of the Wrap top.
Step 5
Add hem allowance. This should be the same amount that is on the Wrap top, which is 1.2cm (1/2in).
Step 6
Cut along the new lines, removing the excess paper. Cut along the Ruffle sleeve top shoulder line, armhole and side seam. We have now created the new BACK pattern pieces.
You could use the FRONT of the pattern as it is, but from your question it sounded like you liked the idea of the round neckline that you would get by turning the Wrap top back-to-front.
Step 7
Stick some paper behind the neckline of the FRONT Ruffle sleeve top. Extend the CENTRE FRONT up onto the paper and redraw the neckline as a smooth curve. The neckline needs to meet the CENTRE FRONT at a right angle.
Step 8
Add 1cm (3/8in) seam allowance to the neckline. You will notice that the neckline on the BACK has a different seam allowance (1.2cm (1/2in)). This is due to the construction method used on the Wrap top neckline and wrap.
Alter the hem line to match the BACK - changing it to 1.2cm (1/2in).
Step 9
Cut off excess paper by cutting through the new CUT LINES at the neckline, hem and CENTRE FRONT.
Step 10
The back neckline on the Wrap top is finished with a facing, so we will need to draft one for our FRONT. It is helpful to refer to the facing piece while drafting the new one.
Place a piece of pattern paper over the neckline of the FRONT. Trace the neckline, CENTRE FRONT and shoulder. Make the facing 5cm (2in) wide. Add seam allowance to correspond with the original piece - 1cm (3/8in) at the neckline and 6mm (1/4in) at the shoulder (this is much smaller than what would be used on a shoulder and is due to the construction method used for the top that is sewn with French seams).
Step 11
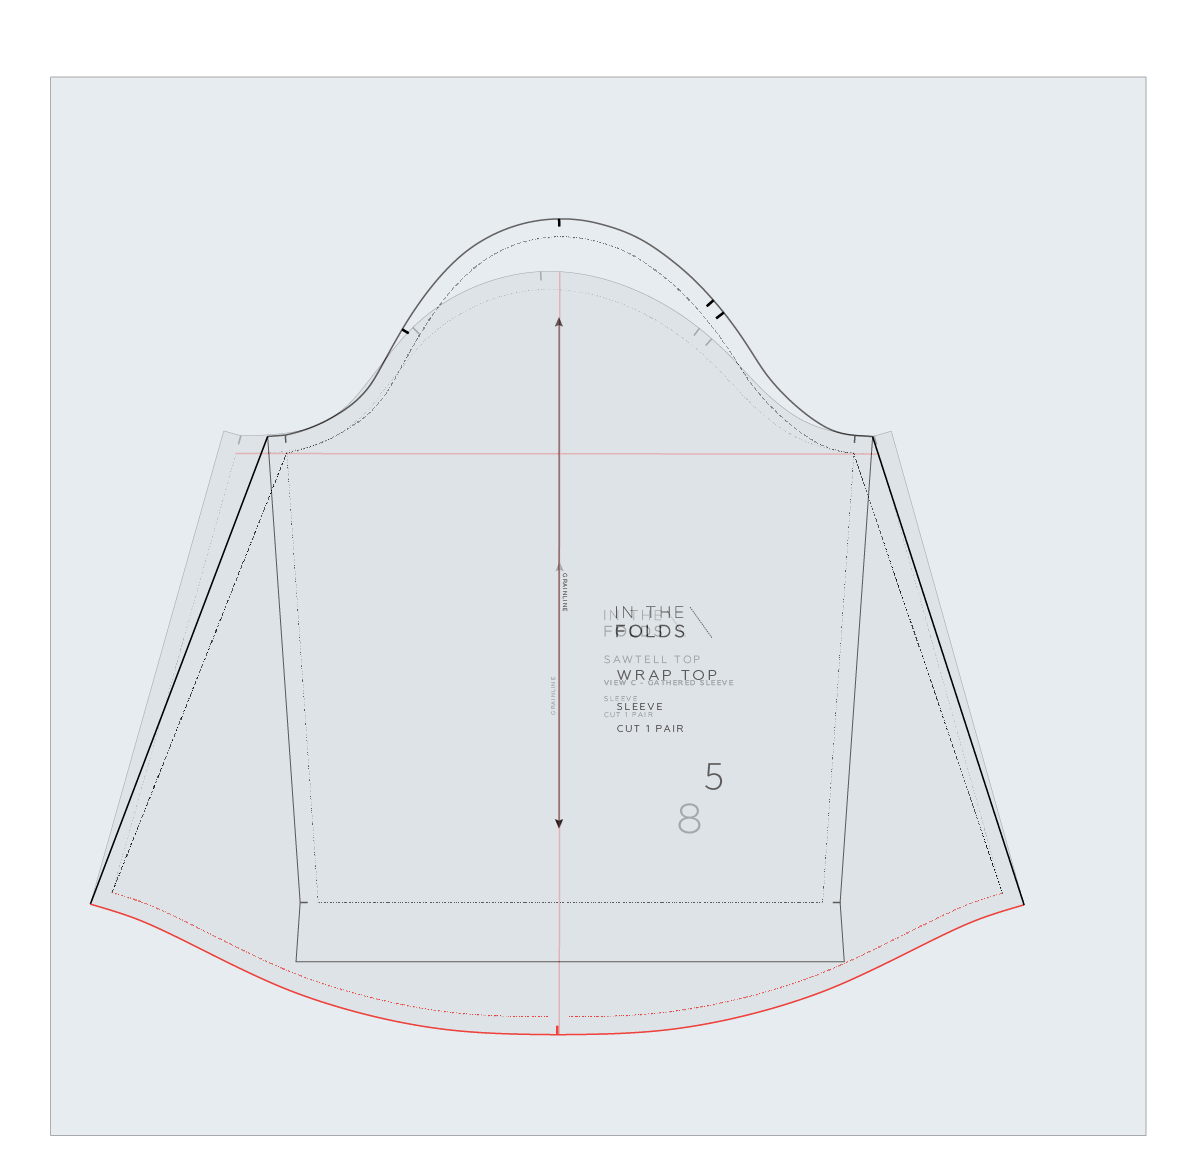
Complete the pattern by taking the WAIST TIE from the Wrap top. You will need to use the SLEEVE from the Ruffle Sleeve top to correspond with the armholes we used. If you would prefer the length / style of the Wrap top SLEEVE, you can transfer this from one to the other by laying the pieces on top of each other.
To construct the top, follow the instructions from the Wrap top, swapping the FRONT and BACK.
I hope you have fun making yourself a back-to-front wrap top!
Happy patternmaking and sewing,
Emily
For more issues of the Q & A series, you can check out the archive here.
WHAT YOU’VE BEEN MAKING
Collins top made by @allysondykhuizen
Peppermint wrap top made by @suzannemade


