THE Q & A SERIES
When you're sewing something reversible, there's an extra challenge to consider: both sides of your project need to look good!
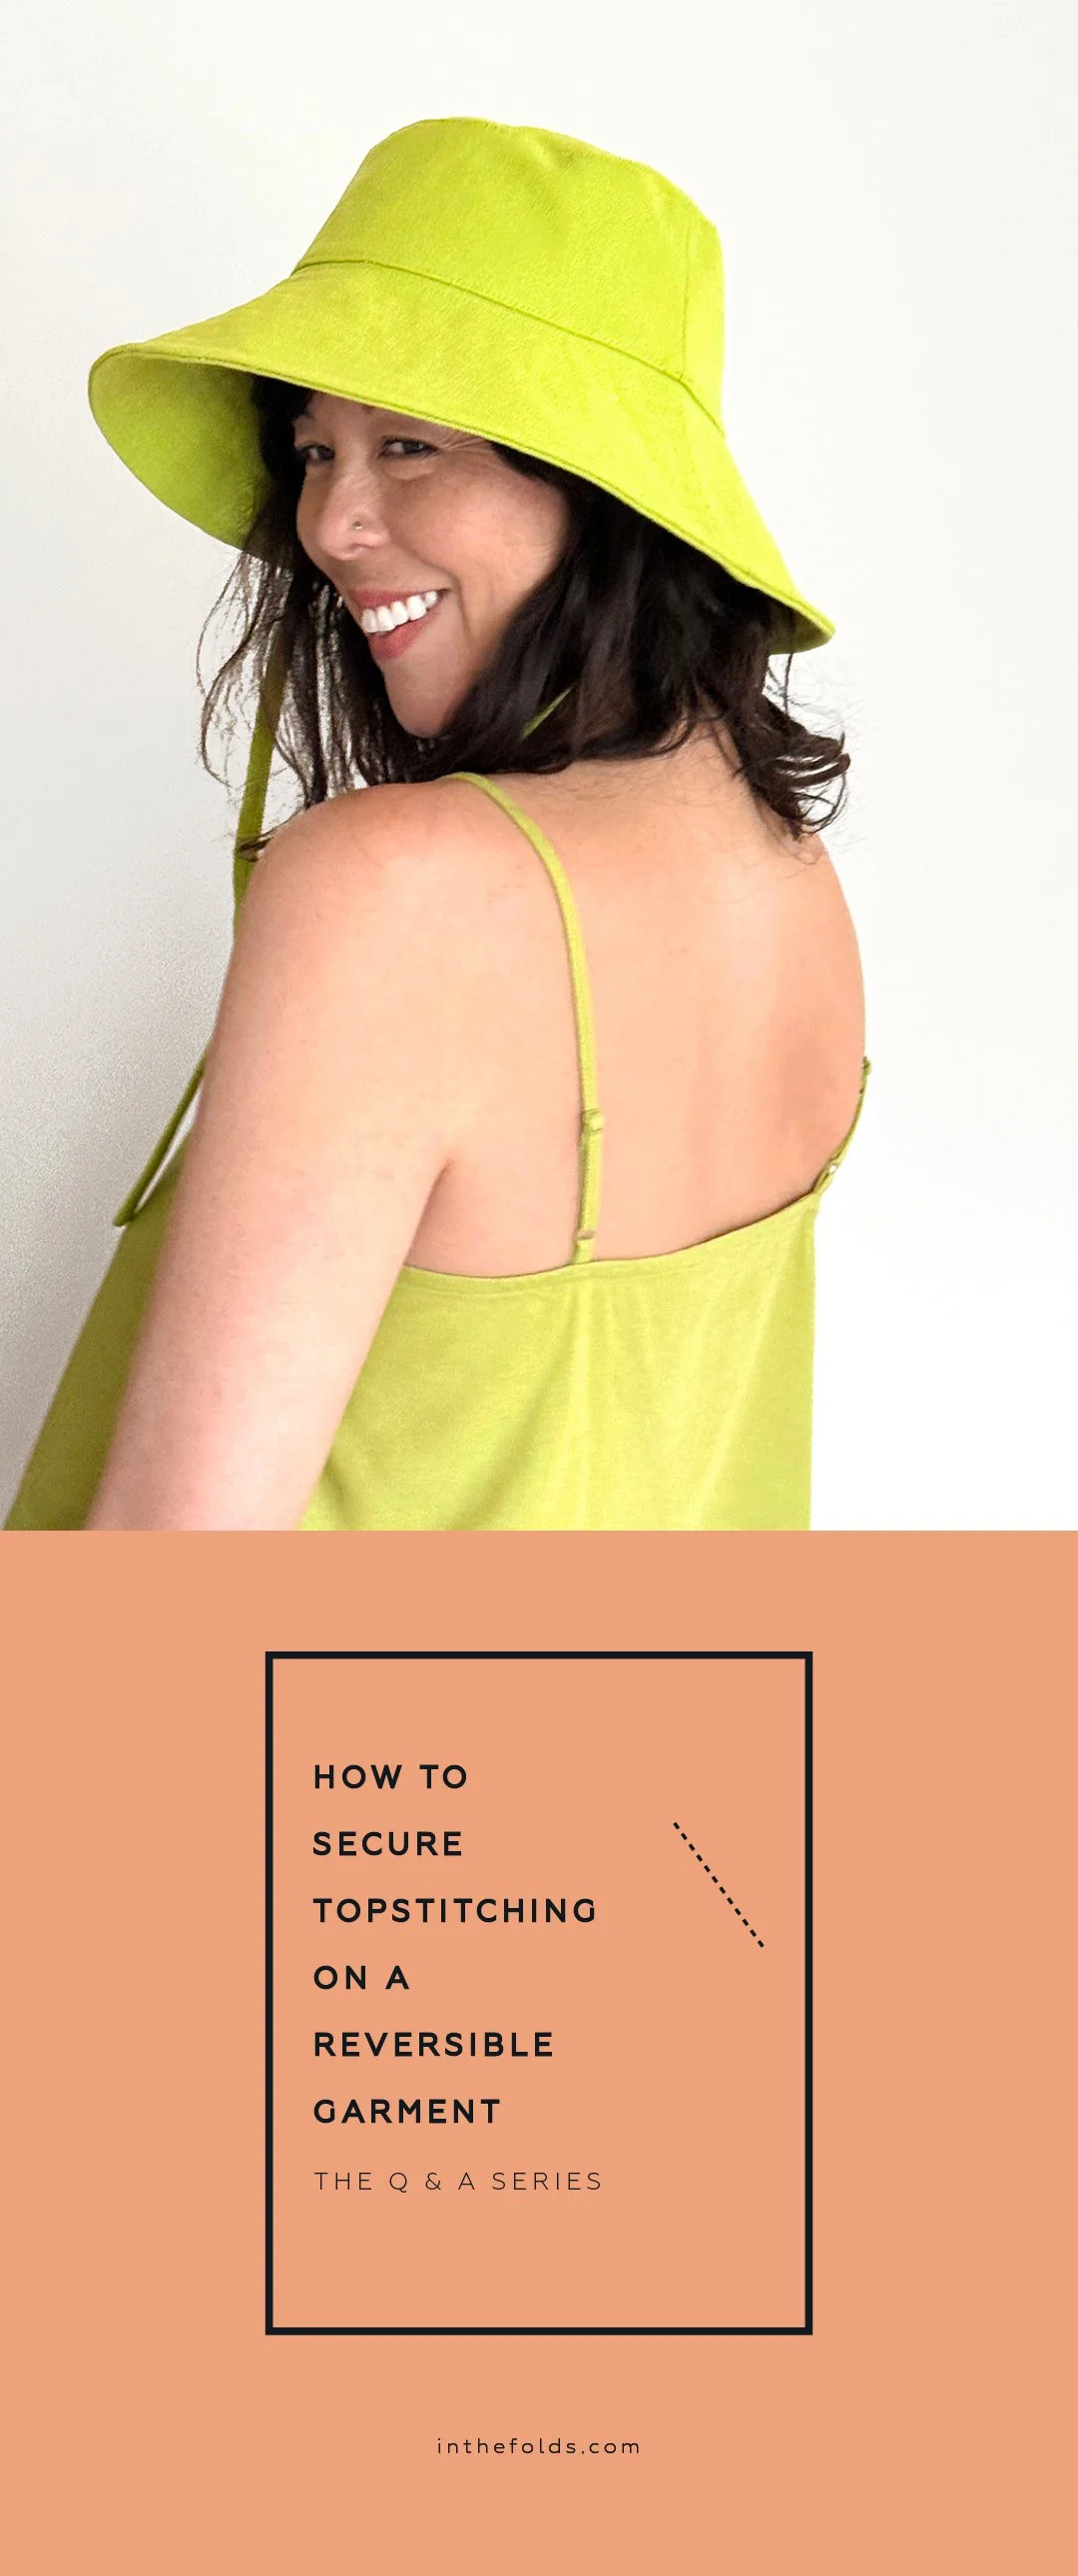
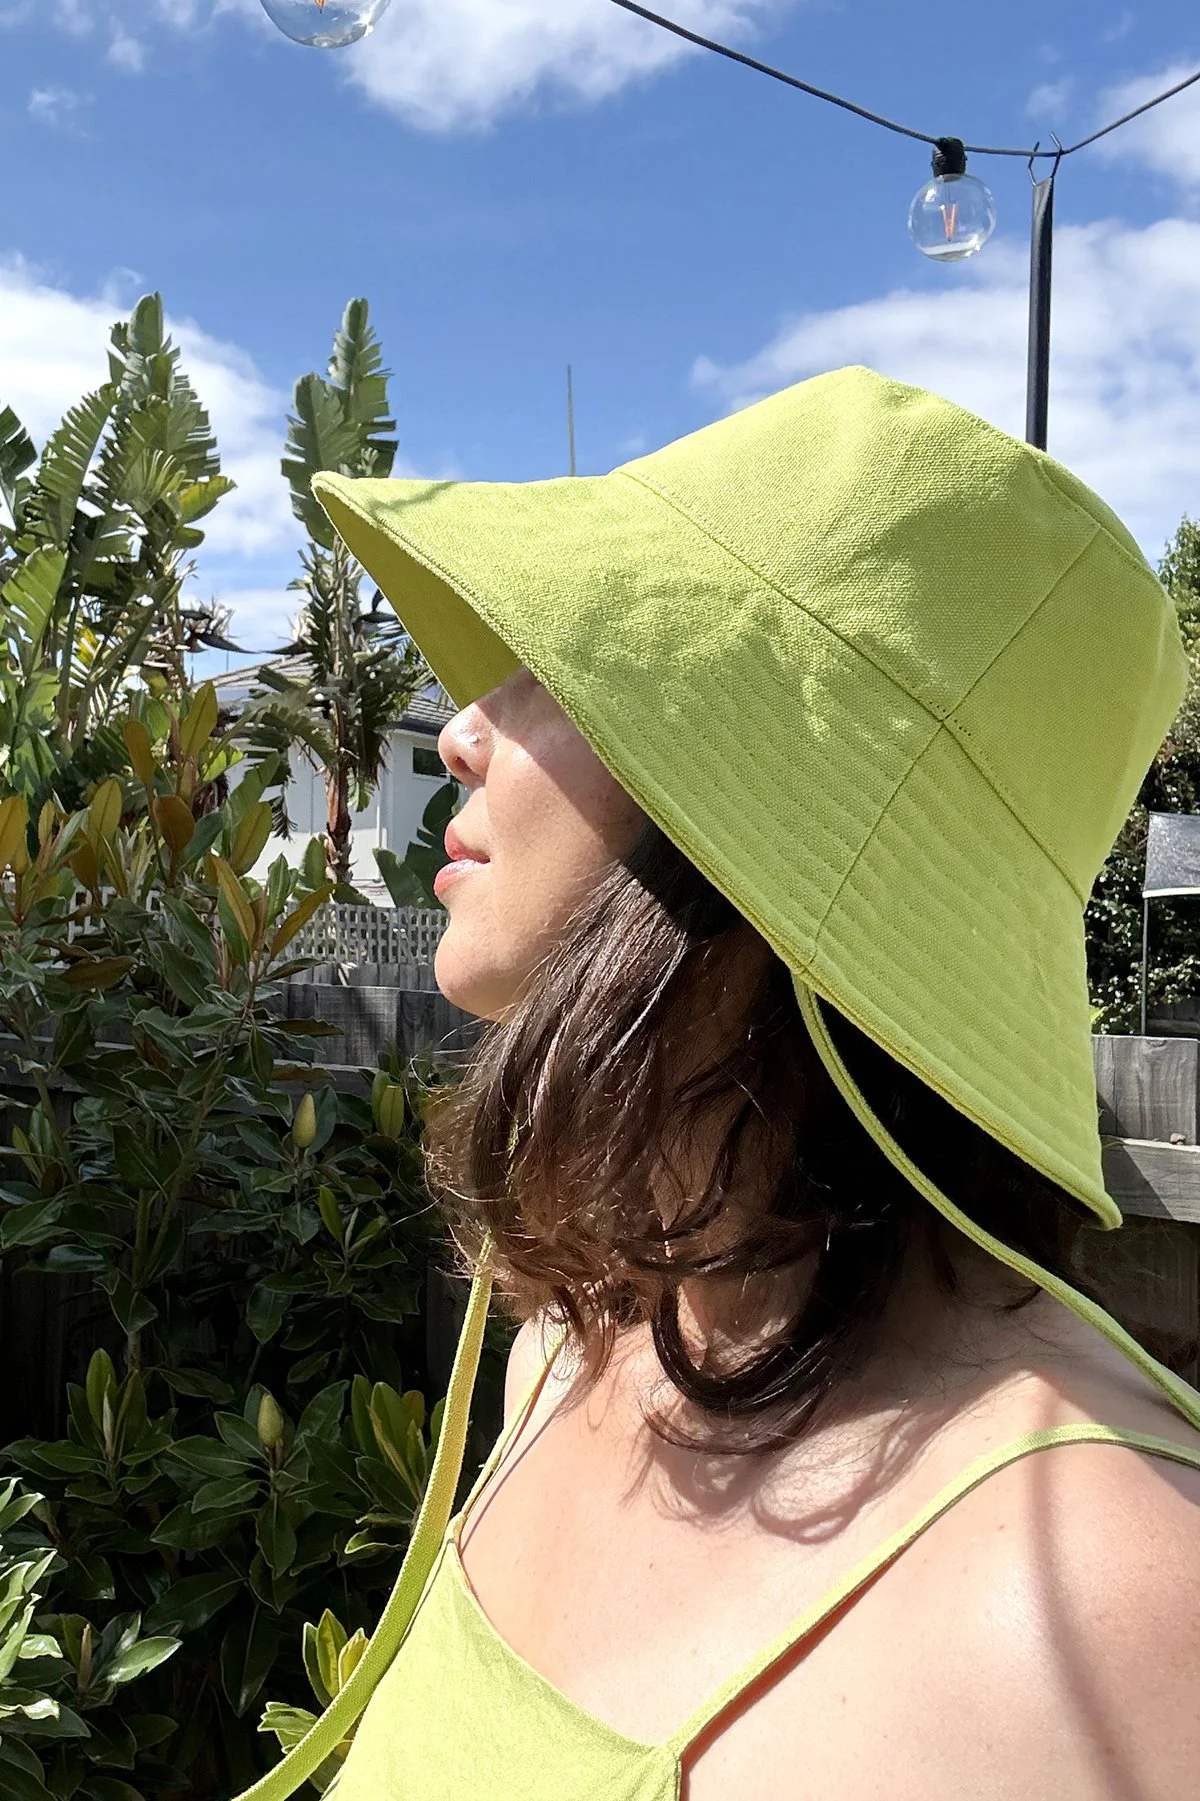
This week, I’m answering a question from Kara, who has been making the Fairbank bucket hat and wants to know how to get a neat finish on both sides.
As I've been talking about recently, something I'm trying to do more of in our tutorials and Q&As is show you the working out. Not just the answer to a sewing question, but how I got there. Because knowing how to approach a sewing problem is a skill in itself, and one that you can take with you into all sorts of future projects and Kara's question is a lovely example of this.
The question
Hi there!
I bought the Fairbank bucket hat pattern to try learning a few new beginner skills like your blog suggested. I just made one for my toddler (he loves it), but ran into a couple questions on the pattern before I attempt it again to make myself a hat.
1. I was curious how you all secured your topstitching on the brim. The instructions didn't indicate how, and my research showed that many people tie off the thread on the wrong side of the fabric rather than backstitching. But with the hat being reversible, that didn't seem to work. How do you all handle that step? And if you used different colour fabrics for the two sides of the hat, did you use topstitch thread in one colour and a different colour in the bobbin?
2. What kind of stitch do you suggest using when closing the hole in the last step? Again, since that is visible on the hat, I was trying to figure out the cleanest finish but admittedly my hand stitching is not the prettiest.
I appreciate any insight you can share!
Thank you!
Kara
PS – I love that you included sizing options for children and adults in this pattern :)
The answer
Hi Kara,
I'm so pleased to hear you've already made a Fairbank bucket hat for your toddler (and that he loves it!) and are now planning to make one for yourself.
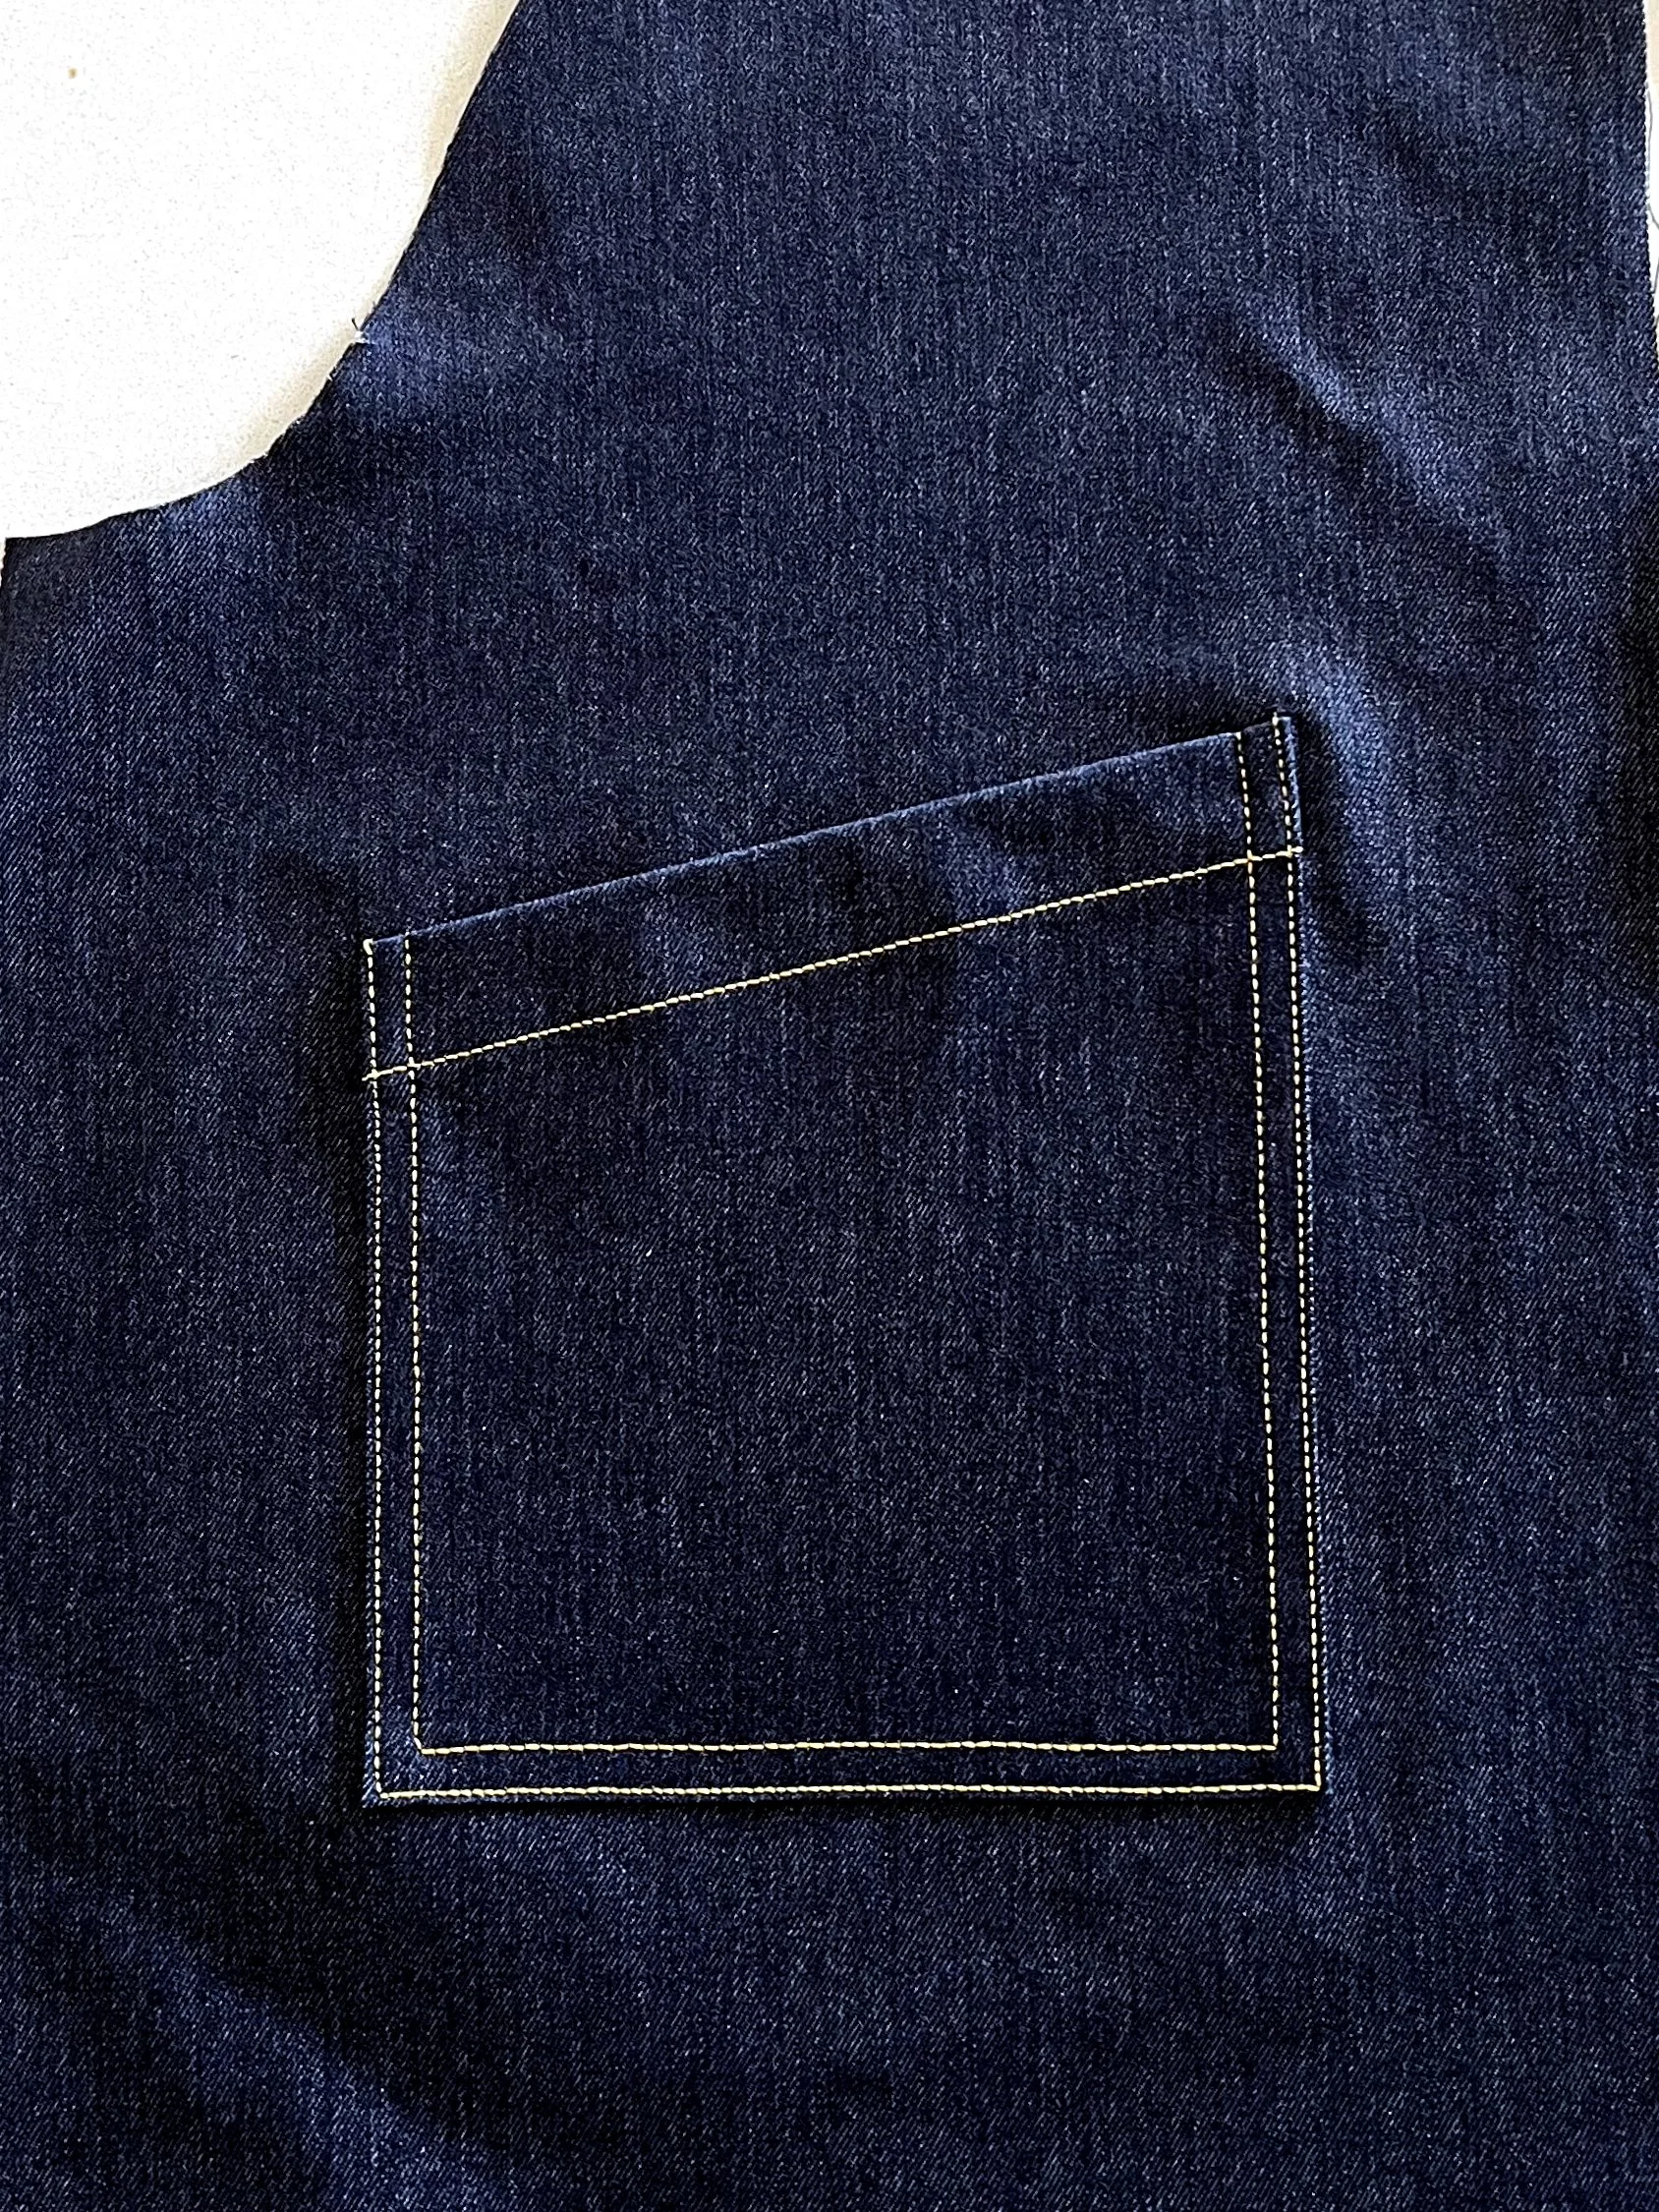
In our previous Q&A about topstitching, we talked about how backstitching can create a bulky or untidy finish, particularly when using thicker topstitching thread.
One way to avoid this is to pull your threads through to the wrong side of the fabric and tie them off.
But what happens when there isn't a wrong side?
Let's work this out…
When I started thinking about Kara's question, I wondered where else in sewing we might come across the same problem. What other projects need to look just as good on the wrong side as they do on the right side? And where might we need to secure visible stitching without having a wrong side to hide the thread ends?
And then I thought of quilts. When you're quilting, your stitching is visible on both the front and back of the quilt. Quilters often have beautiful lines of stitching that they don't want to interrupt with obvious backstitching or knots.
I started watching some quilting videos to see how quilters approach this problem (I am not a quilter myself). And, of course, they've already figured out some clever ways to do it!
This is something I find really useful when I'm trying to work out a sewing problem. Sometimes the answer isn't in the particular type of sewing you're doing. It's in another area of sewing where people have been dealing with the same challenge. In this case, looking at quilting techniques gave me another option for finishing the topstitching on a reversible hat.
Two ways to secure your topstitching
Option 1: Use a very small backstitch
This is probably the simplest option, particularly if you're new to topstitching.
When you reach the end of your stitching, backstitch just one or two stitches, being very careful to stitch directly over your existing stitch line. Once you've finished, trim the threads as close to the fabric as possible.
If you're using regular sewing thread, you might find that this method is almost invisible. If you're using thicker topstitching thread, the overlapping stitches are likely to be more noticeable.
Option 2: Bury your threads between the layers
This is where my little quilting research session came in handy!
Rather than securing the stitching with a backstitch, another option is to bury your thread ends between the two layers of the hat. The general idea is to leave your thread tails long enough to work with, then use a hand sewing needle to draw them into the space between the fabric layers.
Depending on the technique, you can either secure the threads with a small knot that is hidden between the layers or use a method that secures the thread tails without a visible knot. Here are two videos that demonstrate the different approaches:
How to bury threads using a knot – a quilting technique.
How to bury threads without a knot – a garment sewing technique.
The advantage of this method is that you don't need to backstitch, so there's no overlapping stitching visible on the brim. It will take a little more time, but would be worth the effort when your topstitching is a prominent feature of the finished project.
One thing to keep in mind with the Fairbank bucket hat is that the brim has multiple rows of topstitching, and each row is sewn separately. This means you'll need to secure the threads at the beginning and end of every row.
If you choose to bury your threads, this could become quite time-consuming! It's worth considering whether the extra time is worthwhile for the finish you're hoping to achieve, or whether a small, carefully placed backstitch might be a more practical option.
As with many sewing techniques, I'd suggest trying both methods on a scrap of fabric before deciding which works best for your particular fabric, thread and sewing machine (and how much patience you have).
What about using different thread colours on each side?
This is another great question, particularly if you're making your Fairbank bucket hat using two contrasting fabrics.
Topstitching thread is generally thicker than regular sewing thread, which helps the stitches stand out and creates a more defined line of stitching. Because it's thicker, it’s generally recommended that you only use topstitching thread as the top thread (goes through the needle) on your sewing machine, with regular sewing thread in the bobbin. Using thicker thread in the bobbin can cause tension issues.
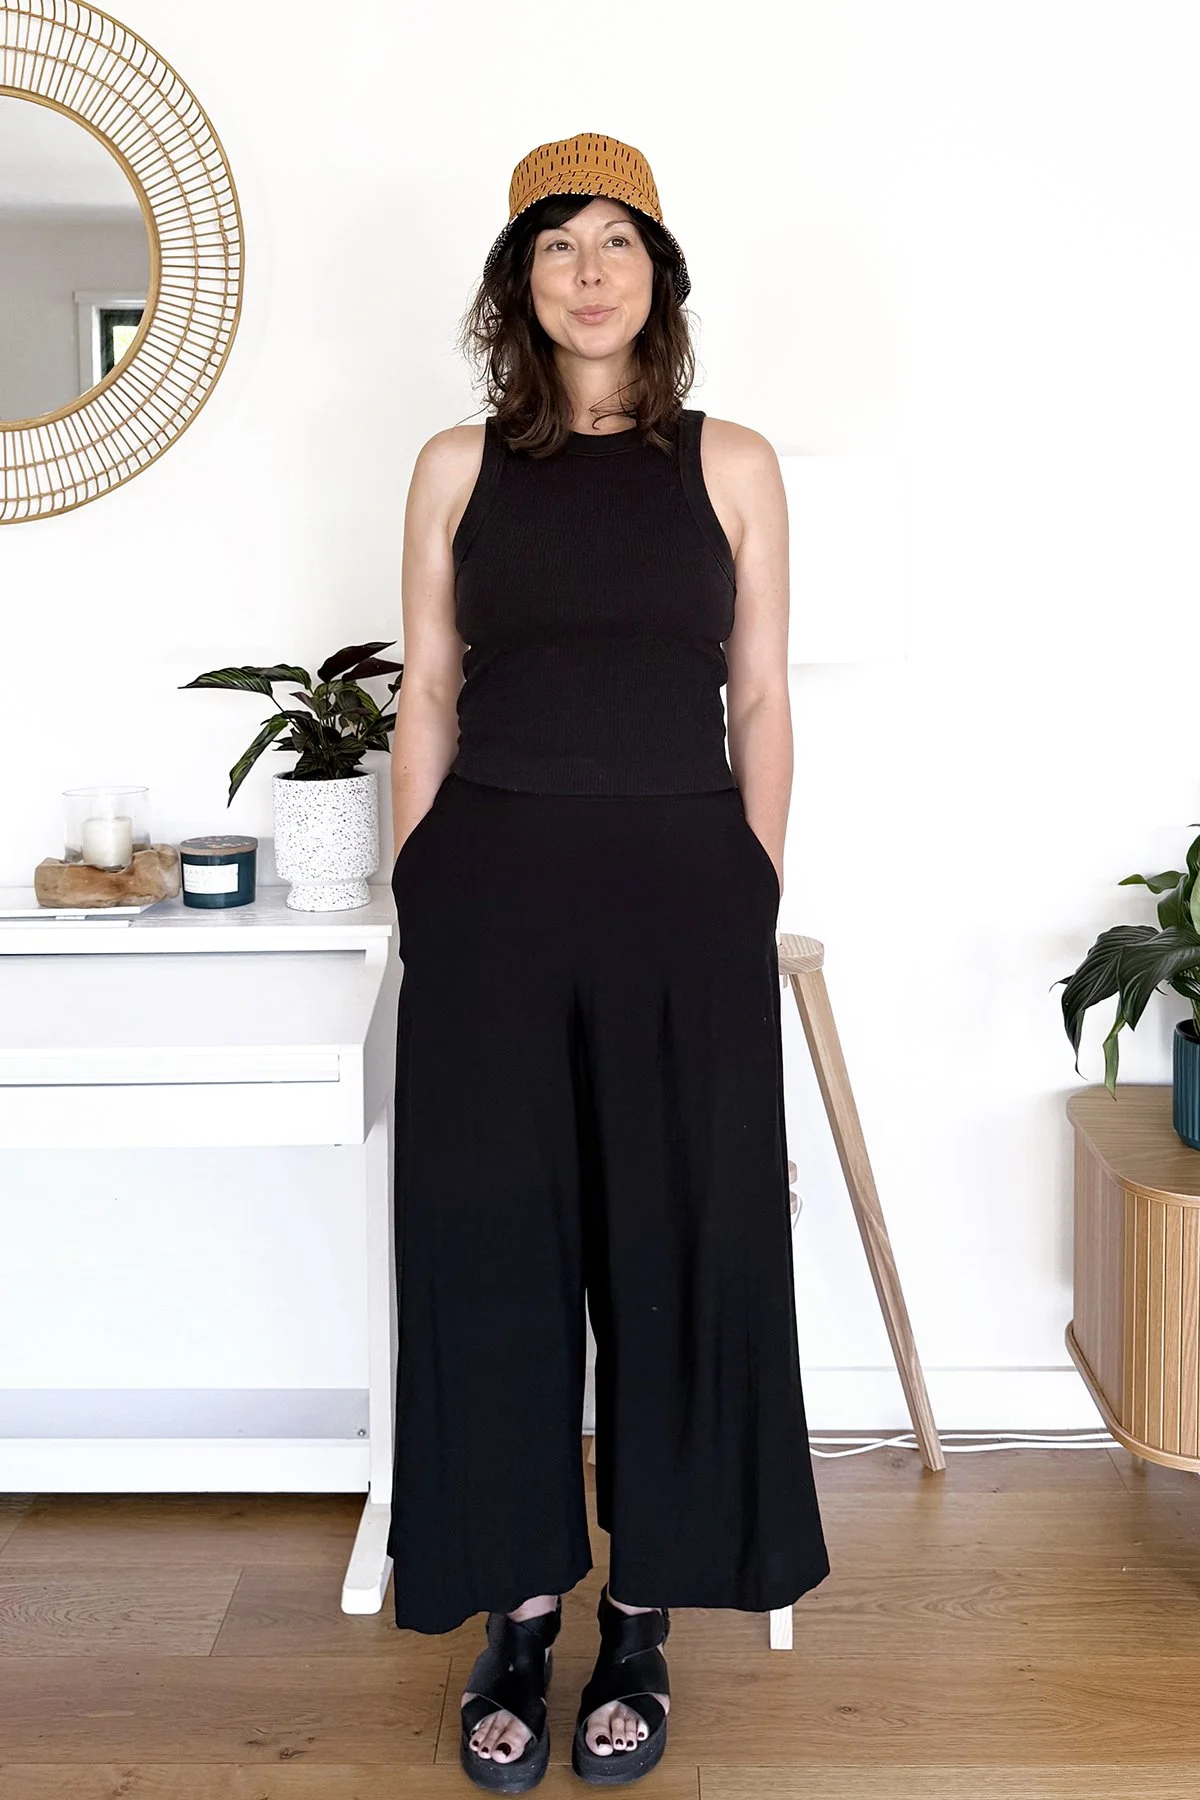
You can choose different colours for your needle and bobbin threads so that the stitching complements the fabric on each side of the hat. Just keep in mind that the stitching may look slightly different on each side because of the difference in thread thickness. If you want a more consistent appearance on both sides, you could also experiment with using regular sewing thread in both the needle and bobbin.
A note about thread tension: When using different thread colours, it's particularly important to check your tension. Ideally, the needle and bobbin threads should meet within the layers of fabric, rather than one thread being pulled through to the opposite side.
Make a sample using the same layers of fabric and thread combinations, then check both sides of your stitching before sewing your hat.
For more advice on getting a neat finish, you can read our Q&A about topstitching, which covers thread choice, stitch length and getting your stitching nice and straight.
A final thought
Something I love about Kara's question is that it reminds us that sewing skills aren't always specific to one type of project. A technique used in quilting might be exactly what we need when sewing a garment. Something we learned while making a bag might help us work out how to construct a tricky detail on a dress.
The more techniques we're exposed to, the more options we have when we come up against a sewing challenge. And we don't need to know all the answers before we begin.
Sometimes it's just a matter of asking ourselves: Where else might someone have encountered this problem? Then following that thread to see where it takes us.
I hope these tips help you feel a little more confident when you make your next Fairbank bucket hat.
Happy sewing,
Emily
P.S. You may have noticed that Kara also asked how to close the opening on her reversible hat without visible hand stitching. I'll be answering that question in an upcoming Q&A, so keep an eye out!
For more issues of the Q & A series, you can check out the archive here.