THE Q & A SERIES
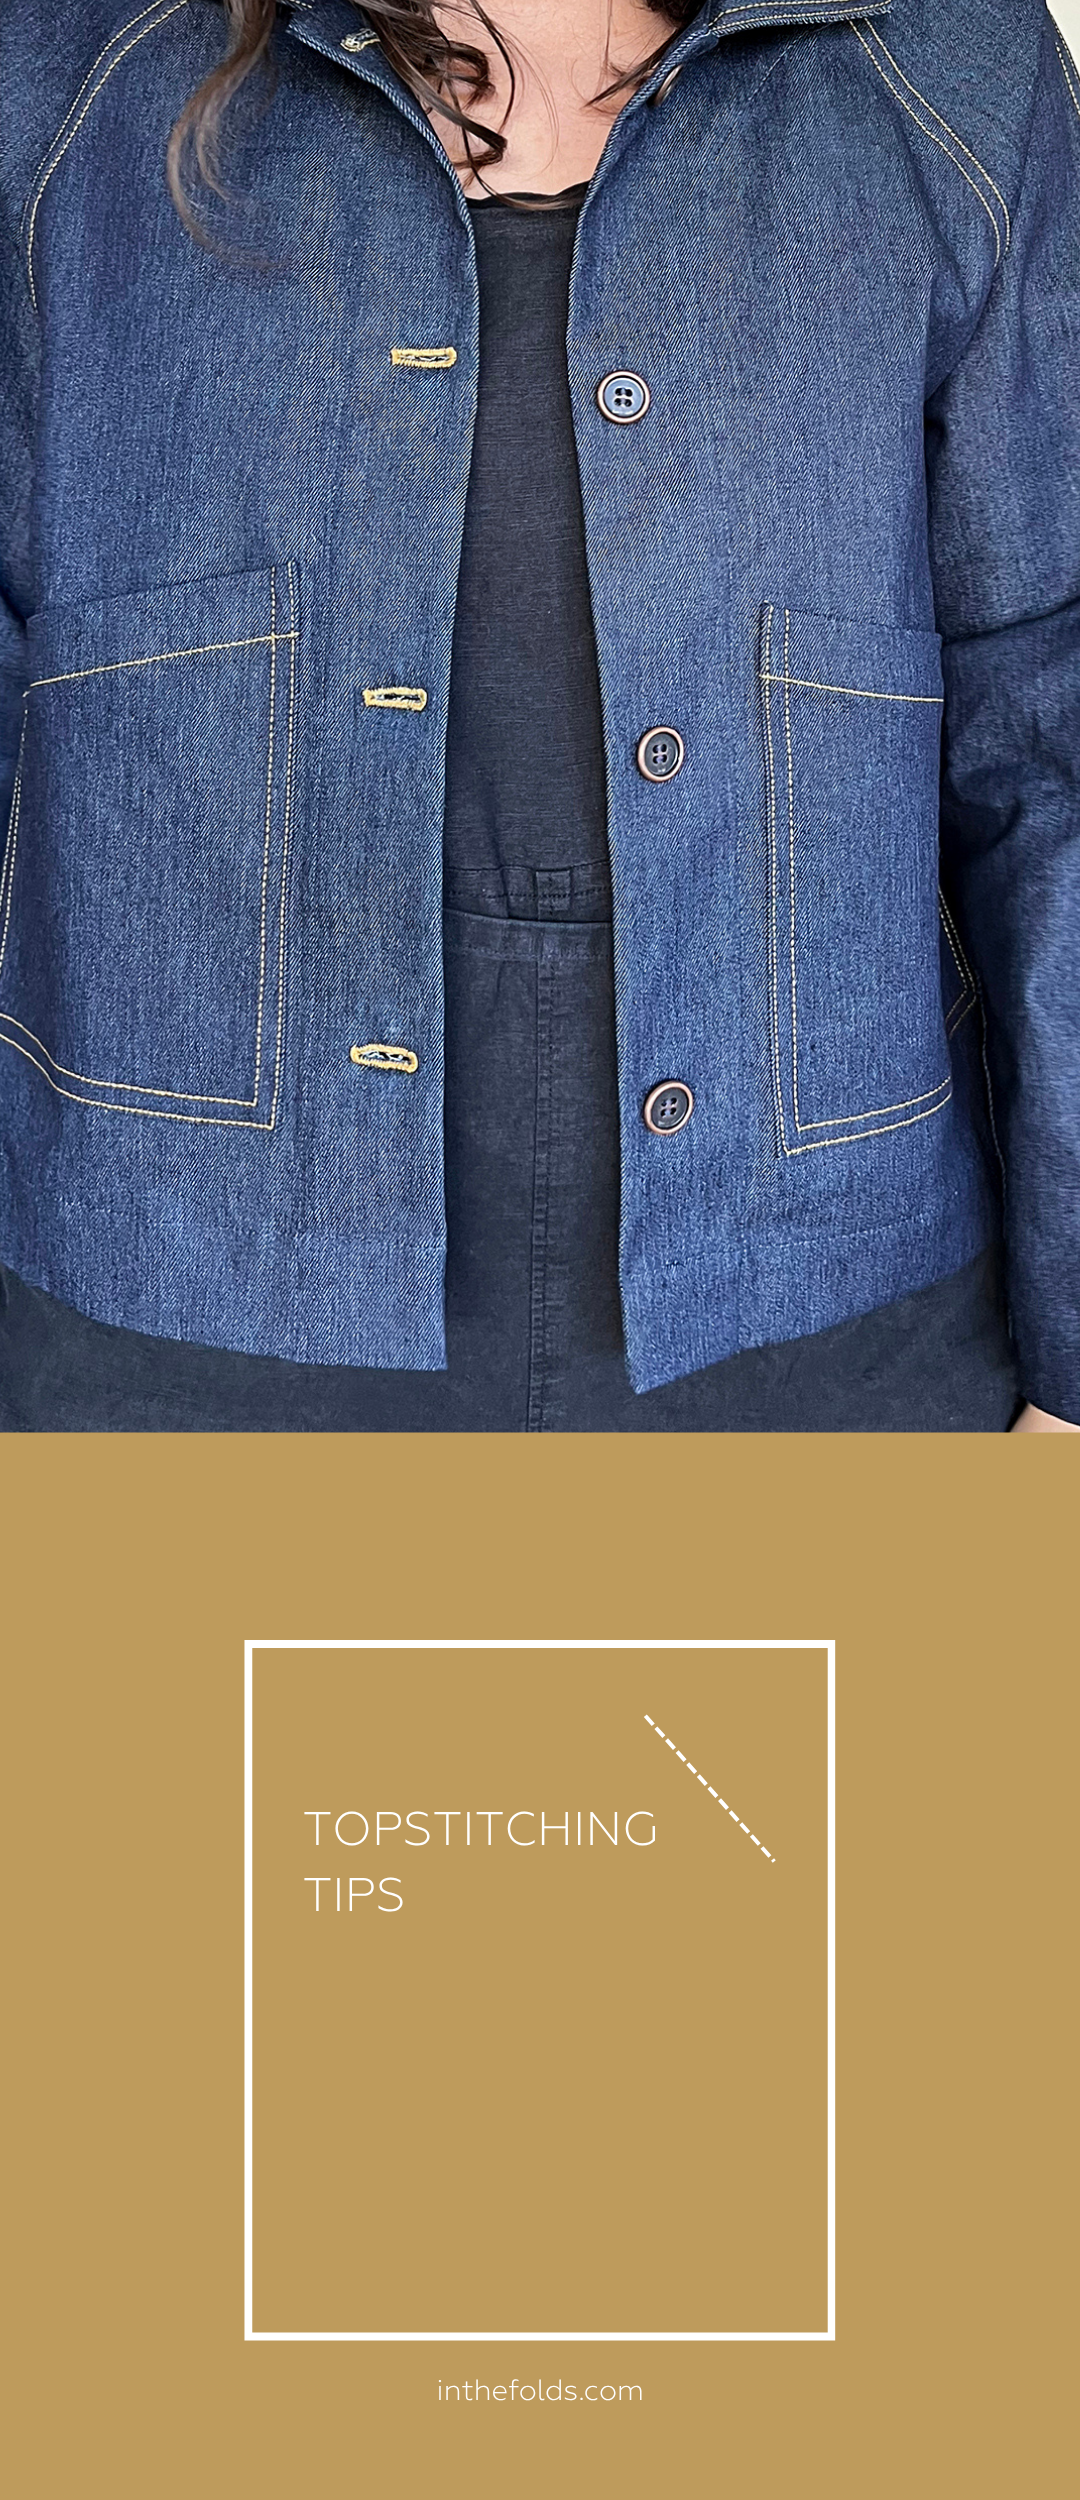
TOPSTITCHING TIPS
Topstitching can scare off even the most experienced sewists. All those visible stitches leave no hiding place for mistakes and imperfections! Practice, testing and going slow can take your topstitching from looking handmade to considered. Neat and professional-looking topstitching makes a big difference in the final look of a garment–it highlights design features and style lines, really giving a #memade that 'wow'-effect.
What actually is topstitching?
Topstitching is any stitching sewn on the right side of a garment that's designed to be seen. It can be purely decorative, adding a design detail or a pop of contrast thread. But it's also functional: it holds facings flat, reinforces seams, tames collar edges, secures pocket openings. In most garments, it's doing both jobs at once. You'll spot it on everything from denim jeans to structured jackets. And once you start noticing it, you'll see it everywhere.
Try a topstitching needle.
These have a longer, wider eye than a standard needle, which allows thicker topstitching thread to feed through cleanly. Without one, thread can shred, skip, or snap, especially on heavier fabrics.
Choose your thread thoughtfully.
Topstitching thread is heavier than all-purpose thread and will give you that bold, clean line. In the bobbin, always use regular all-purpose thread to maintain balanced tension. (This is one of the most common mistakes, and it makes a real difference.)
Lengthen your stitch.
A longer stitch length, around 3 to 3.5mm on medium-weight fabric and up to 4mm on heavier materials, reads as more polished. Shorter stitches can look scratchy and crowded.
Adjust your tension.
Tension often needs a small adjustment when you switch to topstitching thread. Don't be surprised if your usual setting doesn't quite work.
Test on scraps.
Once your machine is set up, test on a scrap of the same fabric (with the same number of layers) before you start. Take notes of each setting for each test line. What you're looking for is a stitch that looks balanced and even on both sides. Every wobbly seam on a scrap piece is one less wobbly seam on your garment!
Press first. Then stitch. Then press again.
Always press your seam before topstitching. A well-pressed seam lies flatter and gives your topstitching something solid to follow. After you've stitched, press again to set the stitches into the fabric. The result is noticeably smoother.
Keep it straight.
Staying consistent is probably the trickiest part. An edgestitch foot (sometimes called a stitch-in-the-ditch foot) is wonderful for topstitching close to an edge or seam line. The central blade guides your fabric and keeps everything even without you having to concentrate quite so hard.
You can also use your needle plate markings as a guide, shifting your needle position left or right to hit exactly the distance you're after.
For anything in a particularly visible area, or where you feel less confident, don't hesitate to mark the line with a removable chalk pen or quilting pencil first. There's nothing wrong with having a guide.
Avoid backstitching
When you finish a line of topstitching, avoid backstitching if you can. It adds bulk and can look messy at either end. Instead, leave long thread tails, bring them to the wrong side, and tie them off neatly.
Slow down.
Sew at a slow, steady pace. This is probably the single most impactful change you can make. Topstitching that wobbles is almost always the result of sewing too quickly. Slow down, keep your eyes ahead of the needle (not on it), and let the machine do the work.
Practise, practise, practise!
The makers who produce beautiful topstitching are not necessarily more talented, they've just spent more time with it. Be patient with yourself, and when something doesn't look quite right, unpick it.
TOPSTITCHING projects & patterns
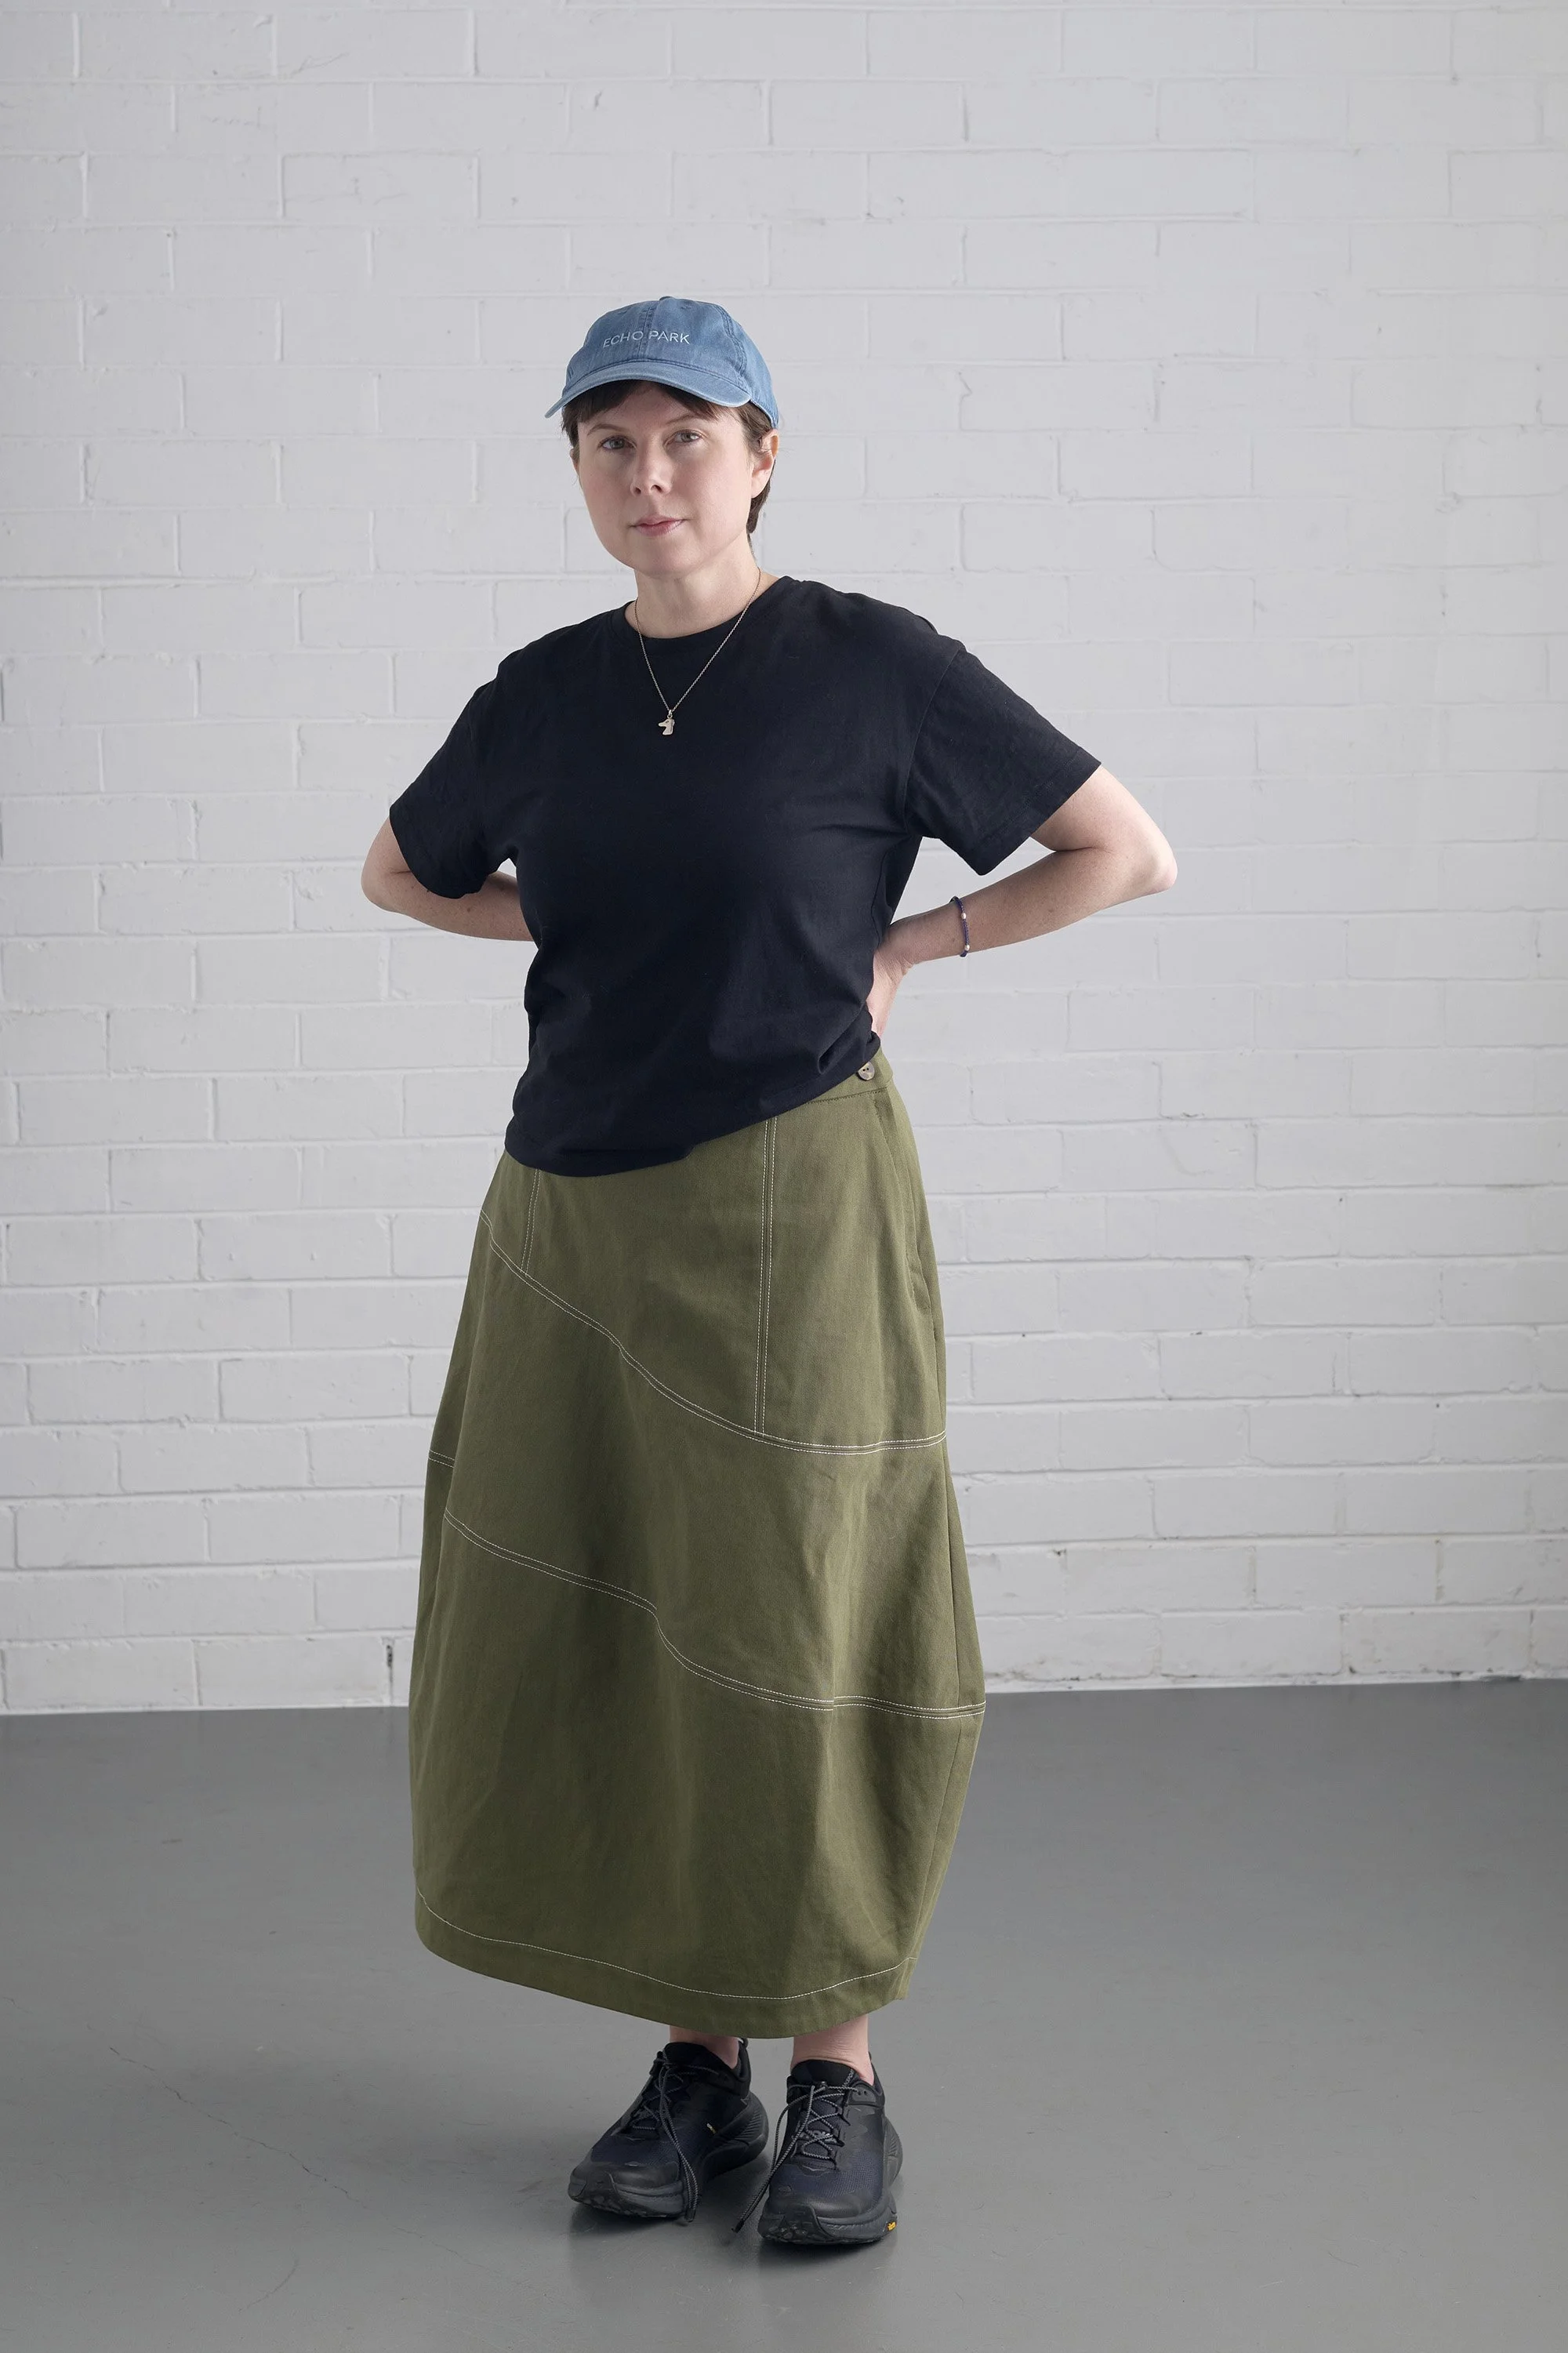
Almost any structured garment benefits from considered topstitching.
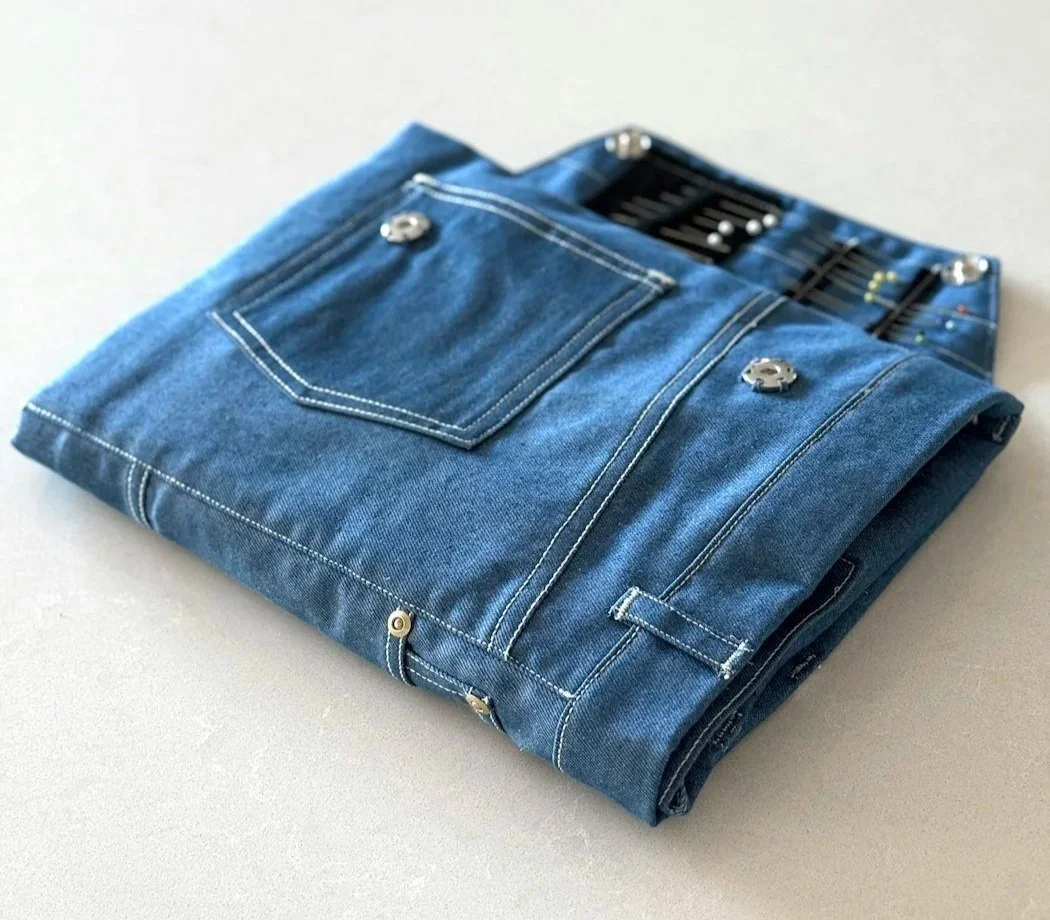
Our recently releaased Burwood Tool Roll jeans sampler project is the perfect opportunity to fine tune your topstitching skills and get ready for making your own jeans ;)
If you’re ready for a garment, check out these In the Folds patterns that let you practice your topstitching:
Remember to test, go slow and the unpicker is always there if needed!
Happy sewing,
Courtney & Emily
For more issues of the Q & A series, you can check out the archive here.


