
If you have been following the Collins Top sew-along you will have seen that over the last couple of posts we have assembled the body of the top. The process of assembling the front and back body of the top is the same for both styles, but once your panels are assembled, we've got to go separate ways.
For today's post, I'll be showing you how to go about sewing and attaching the sleeves (View A).
Sew the side seams

With right sides together, pin the front and back of the top together at the side seams.
Stitch with a 1.5cm (⅝in) seam allowance. Press seam allowances open.
Prepare the sleeves

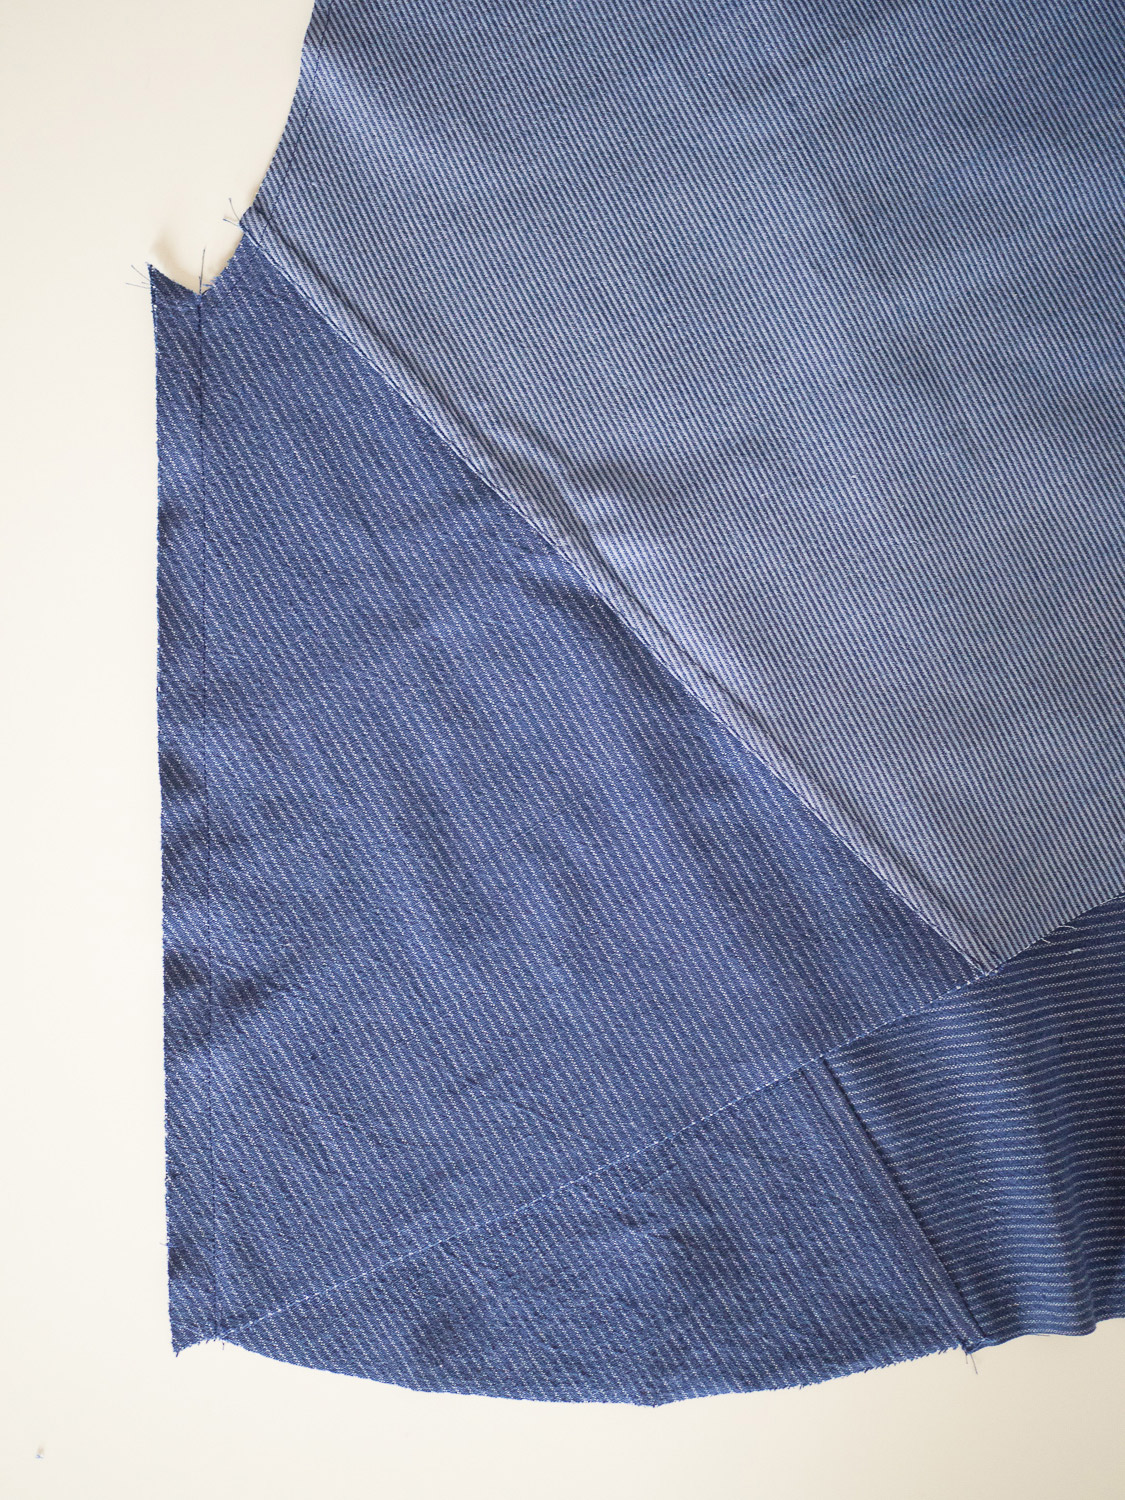
Take the two sleeve pieces and finish the underarm seams of each piece. Place these two pieces, along with the SLEEVE SHOULDER PANEL right-side up. Put the SLEEVE SHOULDER PANEL in the centre and place the BACK and FRONT SLEEVE either side, using the notches to help guide you. Don't worry about the other raw edges just yet, we'll finish them later on in the process.
Repeat for the other sleeve.

Pin the SLEEVE SHOULDER PANEL to the FRONT SLEEVE, using the notches as a guide. Stitch with a 1.2cm (½in) seam allowance. Finish the seam allowance (closed). Don’t worry about pressing the seam just yet - you can do that in a moment. Repeat for the other sleeve.

You will notice that the curves you are pinning are different in shape (this is what gives the top shaping through the shoulder). You will need to ease the SLEEVE SHOULDER PANEL slightly into the curve of the FRONT SLEEVE.

Stitch with a 1.2cm (½in) seam allowance. Finish the seam allowance (closed). Don’t worry about pressing the seam just yet - you can do that in a moment. Repeat for the other sleeve.

Open the pieces you just stitched together and place right side up. Place the BACK SLEEVE right side down on the FRONT (so that the pieces have right sides together). Pinning the pieces together at the underarm seam.

Pin the FRONT and BACK SLEEVE pieces together at the underarm seam.
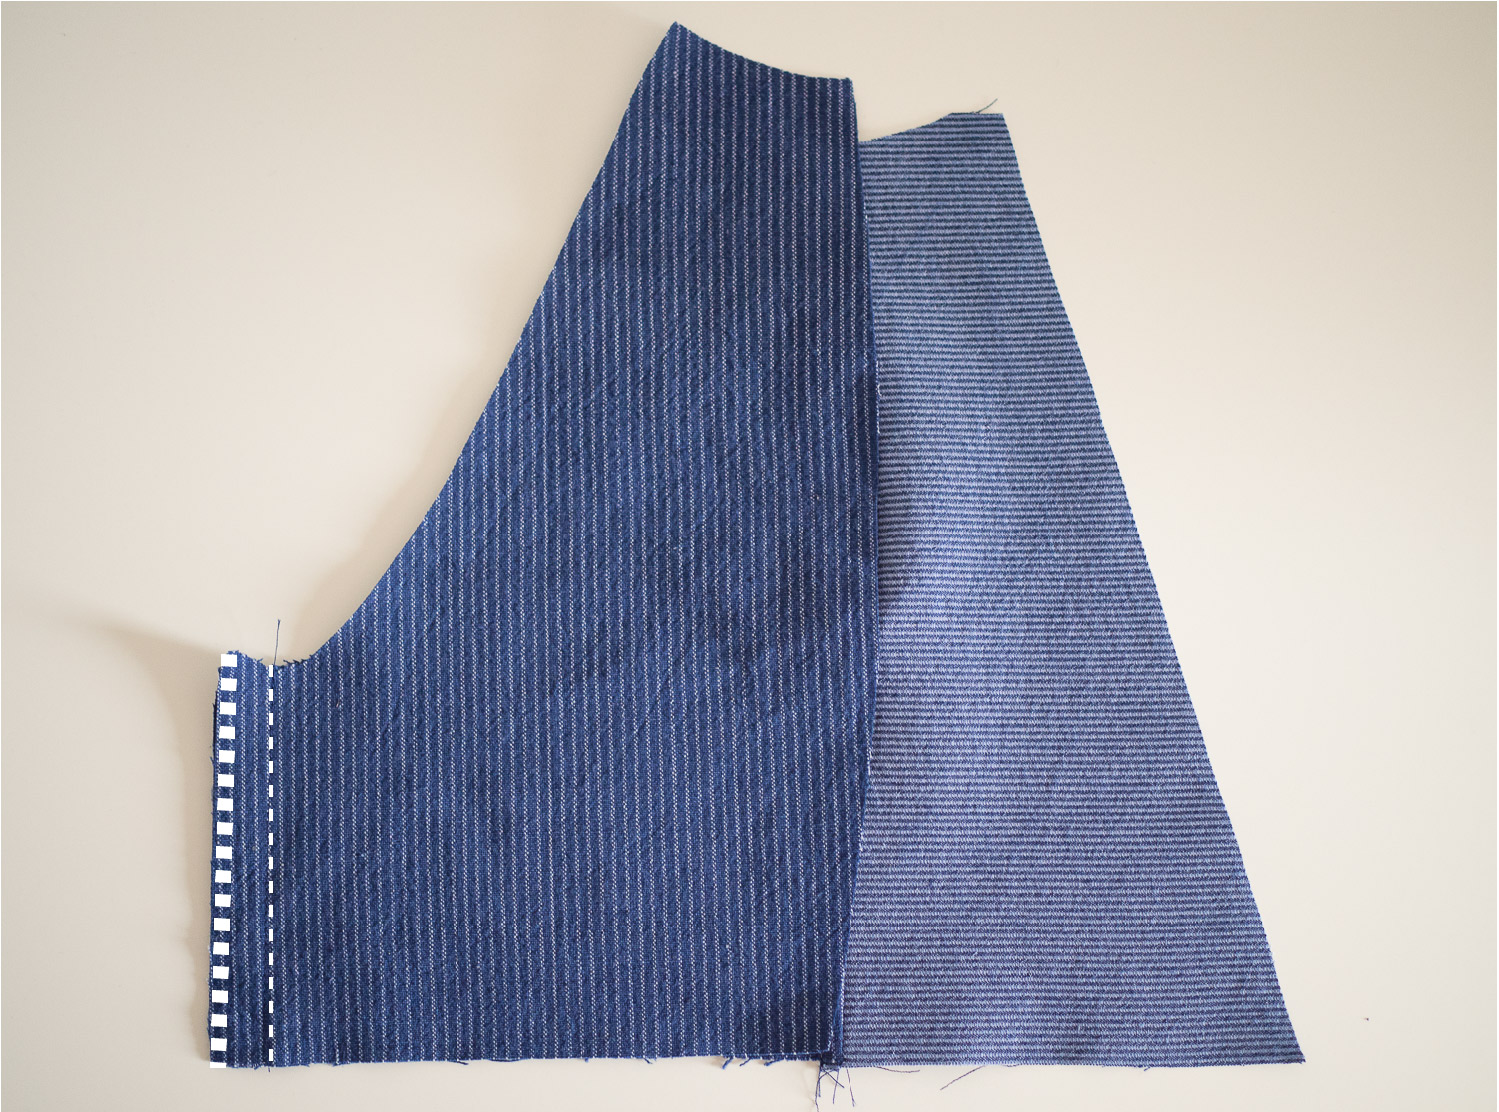
Stitch with a 1.5cm (⅝in) seam allowance. Repeat for other sleeve. Press the underarm seam allowances open and press the front sleeve seam away from the SLEEVE SHOULDER PANEL (pressing this seam over a tailor's ham will help you press the curved seam nicely). You can leave the two remaining raw edges unfinished for the moment. They will be finished later on.
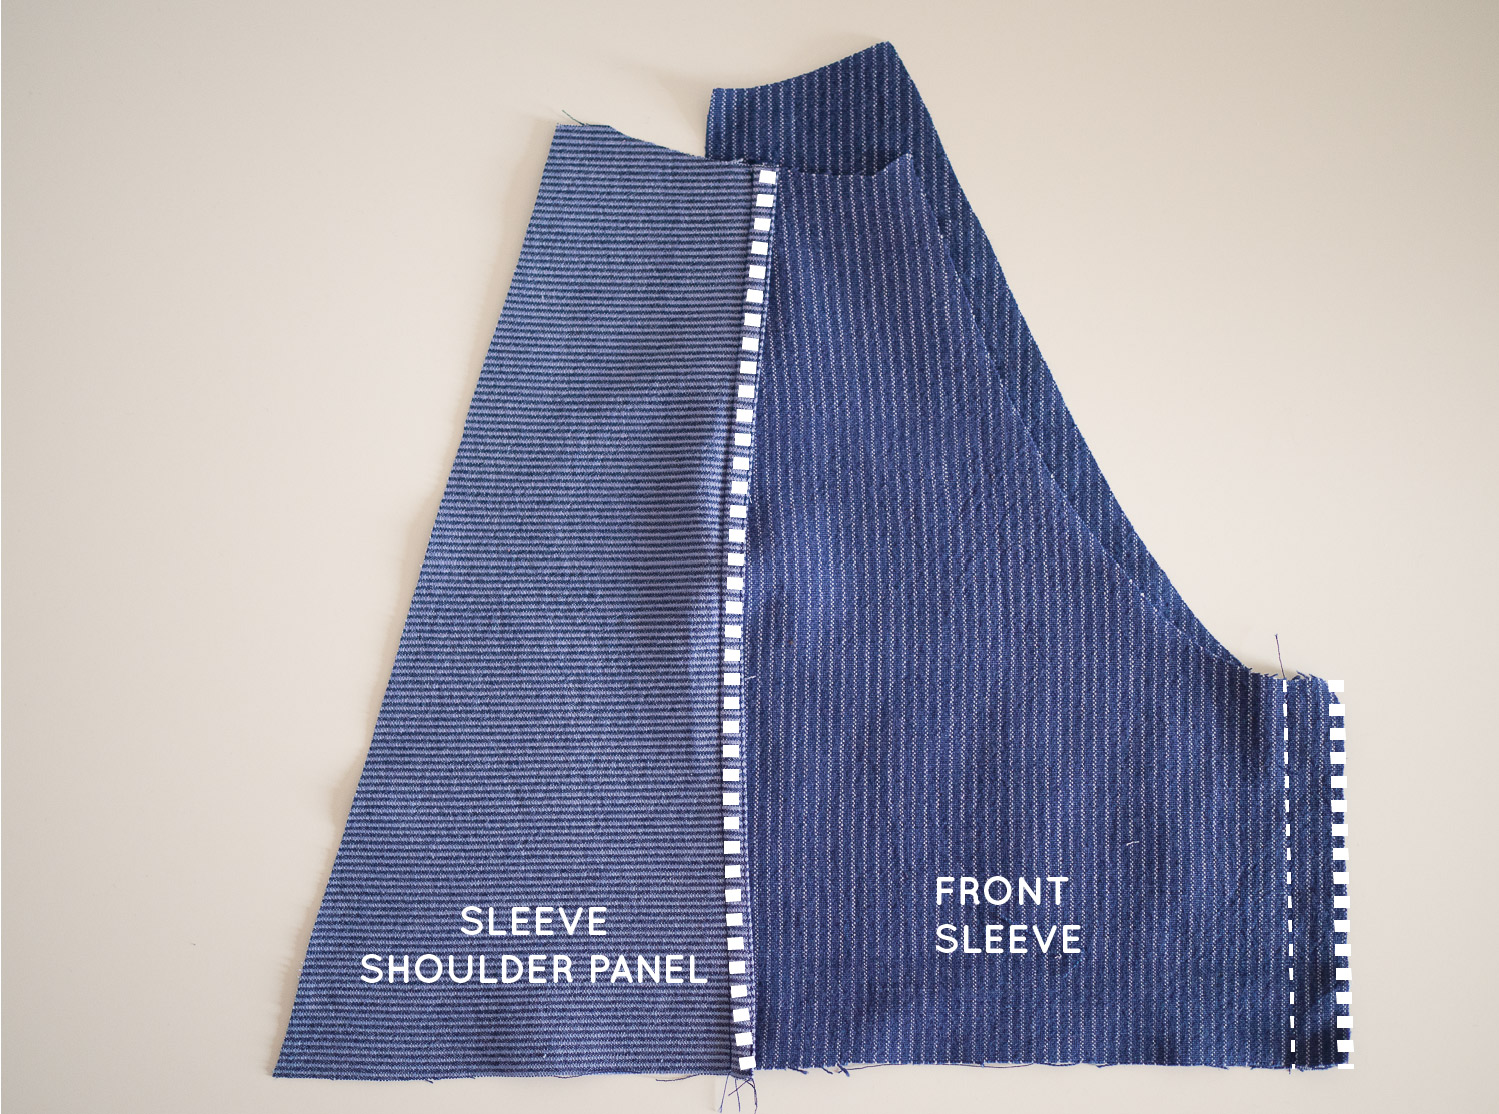
This is how the piece will look from the opposite side.
Attach the sleeve to the top
I must say that this next bit is my favourite bit in the construction of the Collins Top. When I set out desinging the Collins Top, I really wanted something that was an interesting make, whilst also being suitable for beginners. That's why I chose raglan sleeves for the sleeved option. They are super fun to sew as well as being much easier then set-in sleeves (win, win!).

Grab the body of the top and place it face up, with right side out. Take one of your sleeves and pin the FRONT SLEEVE to the front of the top, with right sides together. Use the notches to guide you. Continue pinning until the underarm seam meets the side seam of the top.
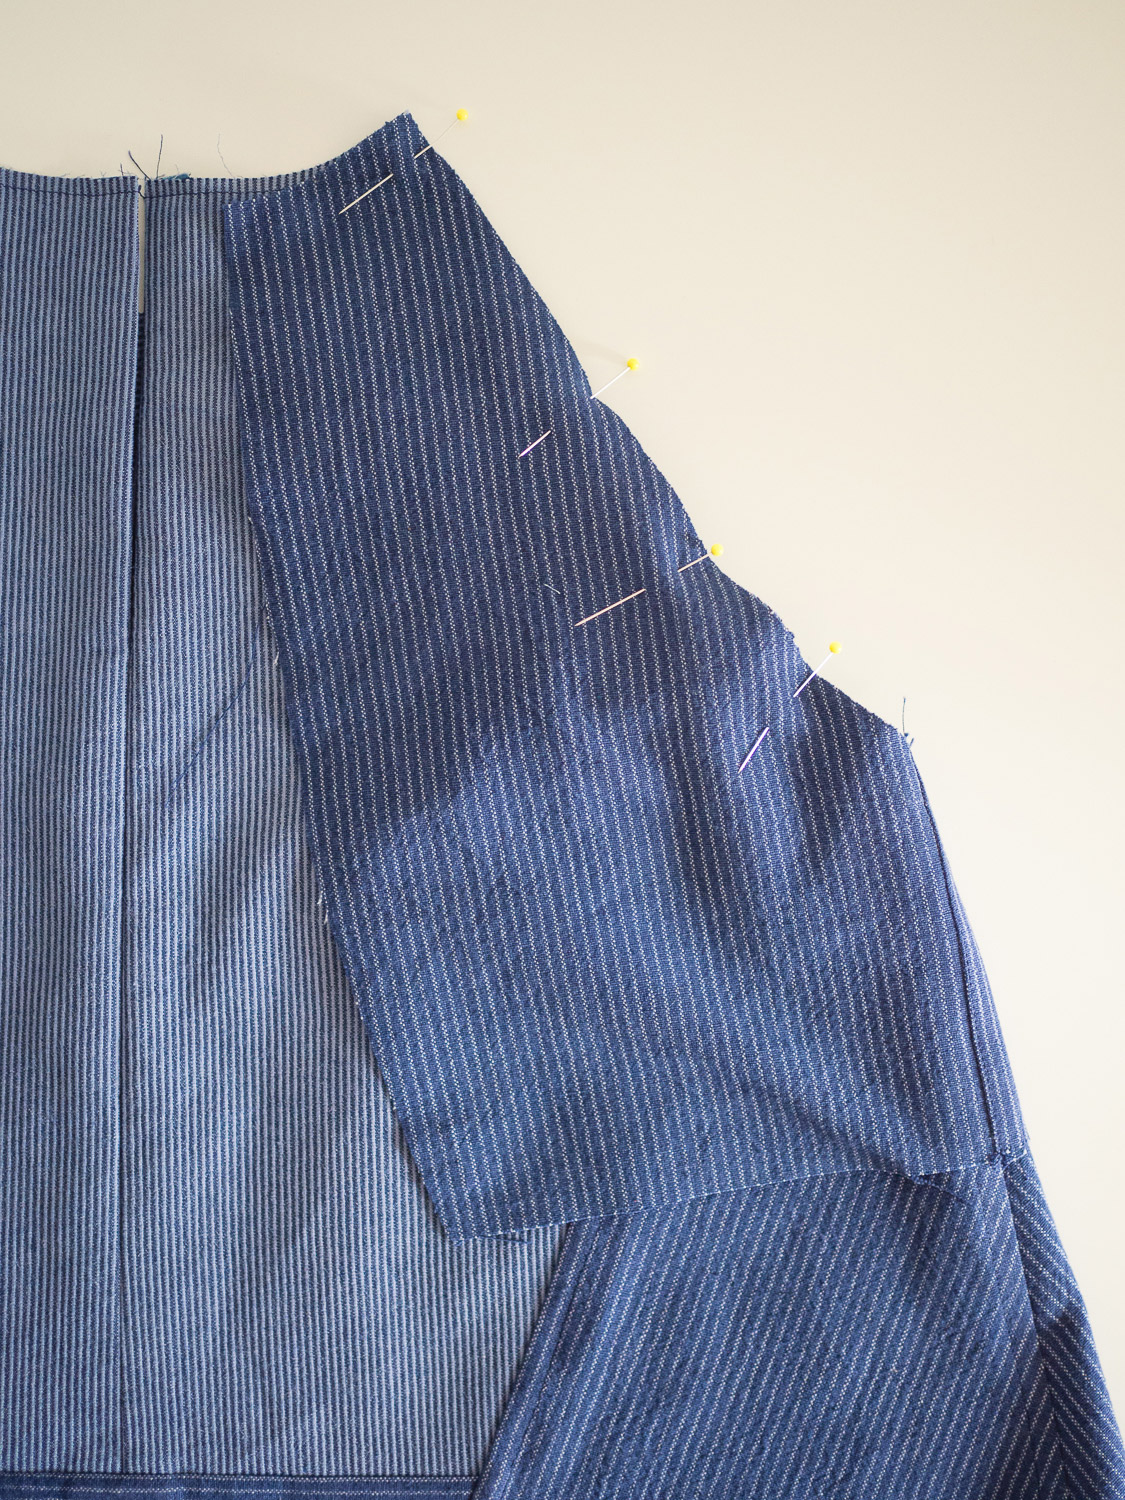
Flip the top over so that the back of the top is now face-up. Continue pinning around the curve of the armhole, attaching the BACK SLEEVE to the back of the top - still using the notches to guide you.

Stitch the seam with a 1.2cm (½in) seam allowance, being careful to check that your seam allowances on the top and sleeve remain pressed in the right direction. Finish the seam allowance and press towards the body of the top. Repeat steps for the other sleeve.
Join the shoulder seams

Turn the top inside out and pin the shoulder seams together, using the notches to guide you.
Sew with a 1.2cm (½in) seam allowance.

Finish the raw edges and press seam allowances away from the SLEEVE SHOULDER PANEL. Turn top right side out. At this stage, you can try on the top and see how it's looking!
That's all for now. Next week we'll get to attaching the bias binding.


