
I'm interrupting the Collins Top sew-along today to show you how to sew a bias bound seam. Why? Because they are beautiful! And the centre back seam in the Collins Top, gives you the perfect opportunity to use bias binding to get a really clean, beautiful and professional looking finish. Bias bound seams can be used in a range of different garment, and work particularly nicely in a garment that you are likely to see the inside of.
For the sake of the Collins Top where you are guided to use lightweight fabric, a bias bound seam will work well. I'd suggest though, that if you were making a garment from a thicker or bulkier fabric, using a traditional Hong Kong bind (in the case of a Hong Kong bind, the underside of the binding is not folded and enclosed, but left raw to minimise bulk).
To get started there are two ways you can go about sewing a bias bound seam. You can bind the raw edges of the pieces you are joining before you sew the seam together, or you can sew the seam and then bind the raw edges. It really is a matter of preference and by the end, both options will look the same. It is easier to bind the raw edges before sewing the seam, but if you are sewing a really long seam (if you are using this tutorial for a pattern that is not the Collins Top), you may join the seams first to prevent any stretching or pulling.
Getting started
For this tutorial you can use store bough bias binding, or you make your own from your choice of fabric. Cut some bias binding 32mm wide (1 1/4in) wide. If you would like some help with how to go about making your own bias binding, you can check out this tutorial which will guide you through the (very easy) process.
Technique 1
(Binding the raw edge before joining the seam)
Cut a piece of binding that is a little longer than the edge you are binding.
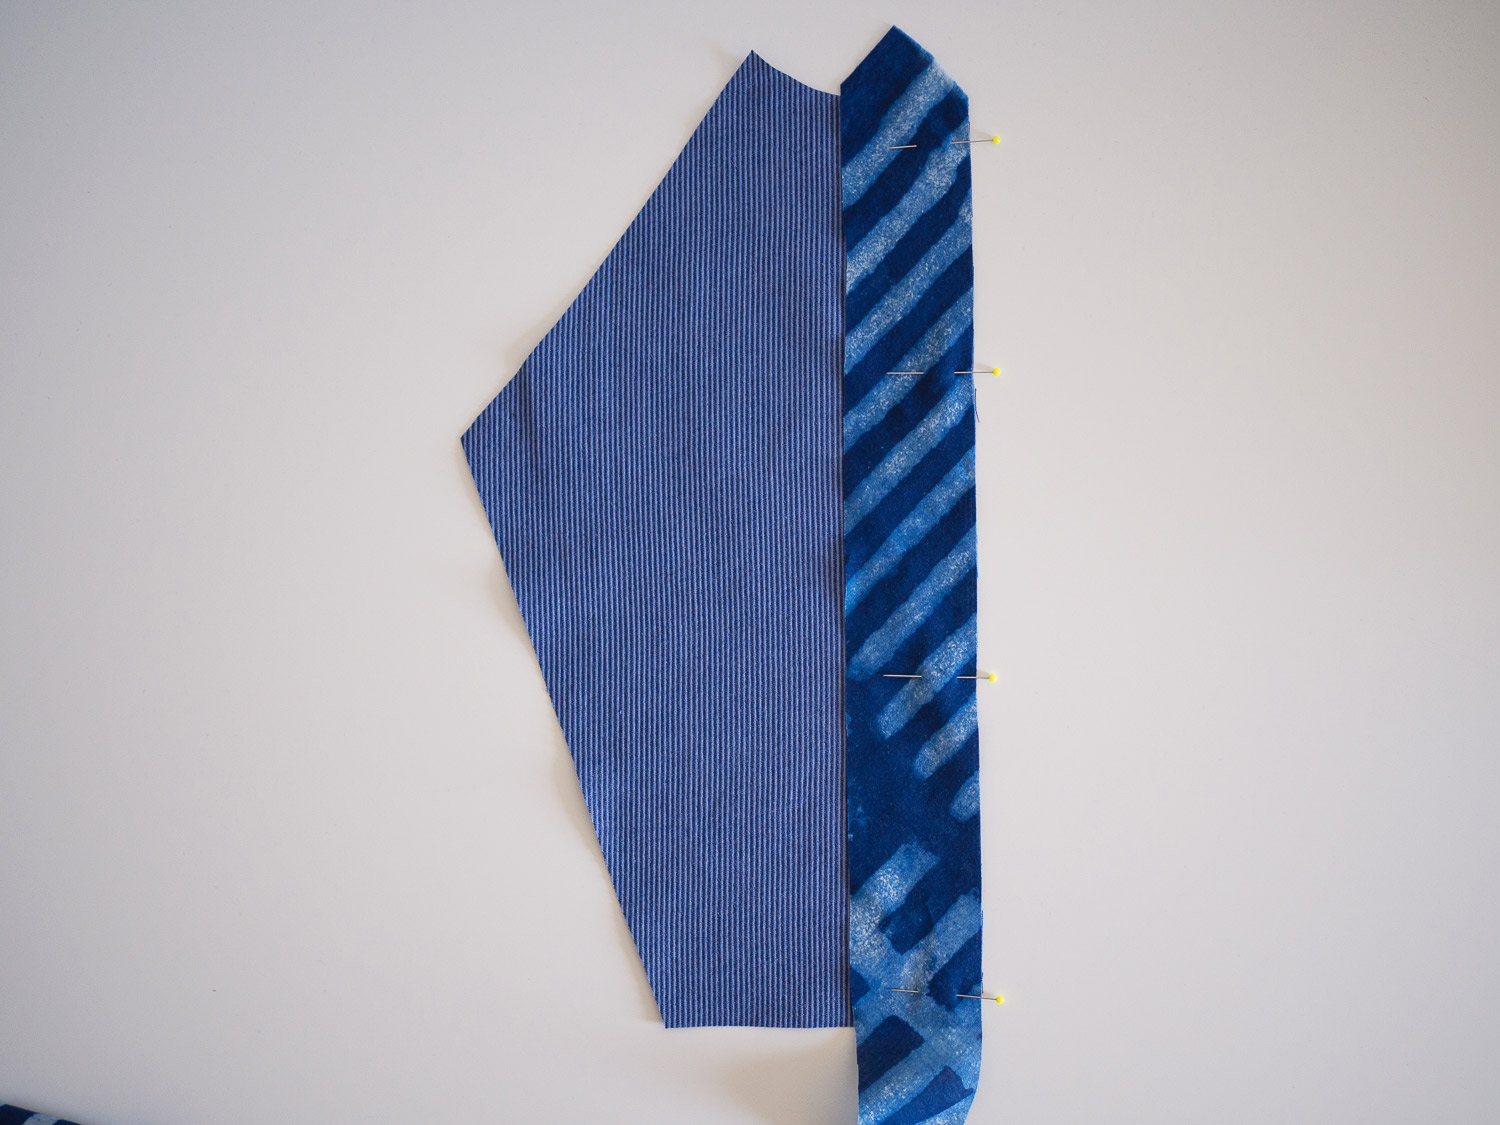
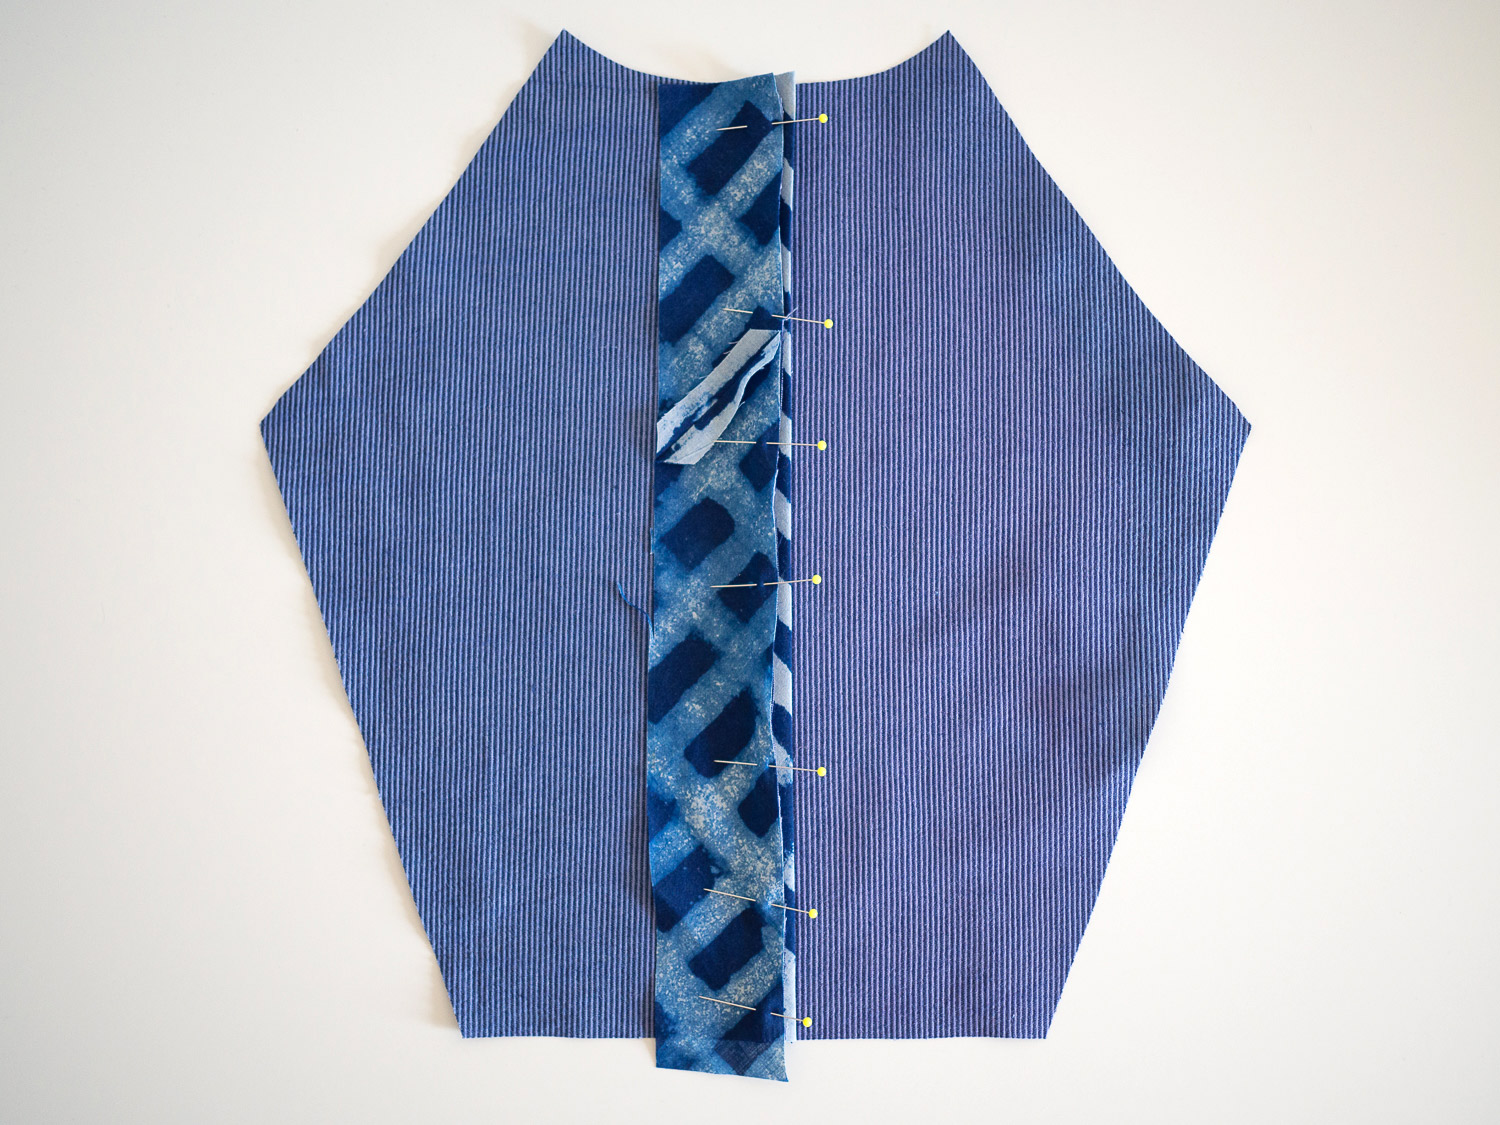
With right sides together, pin the binding to the seam you are binding (in the case of the Collins Top, it is the centre back seam).

Stitch the binding in place, sewing with a 1cm (3/8in) seam allowance.
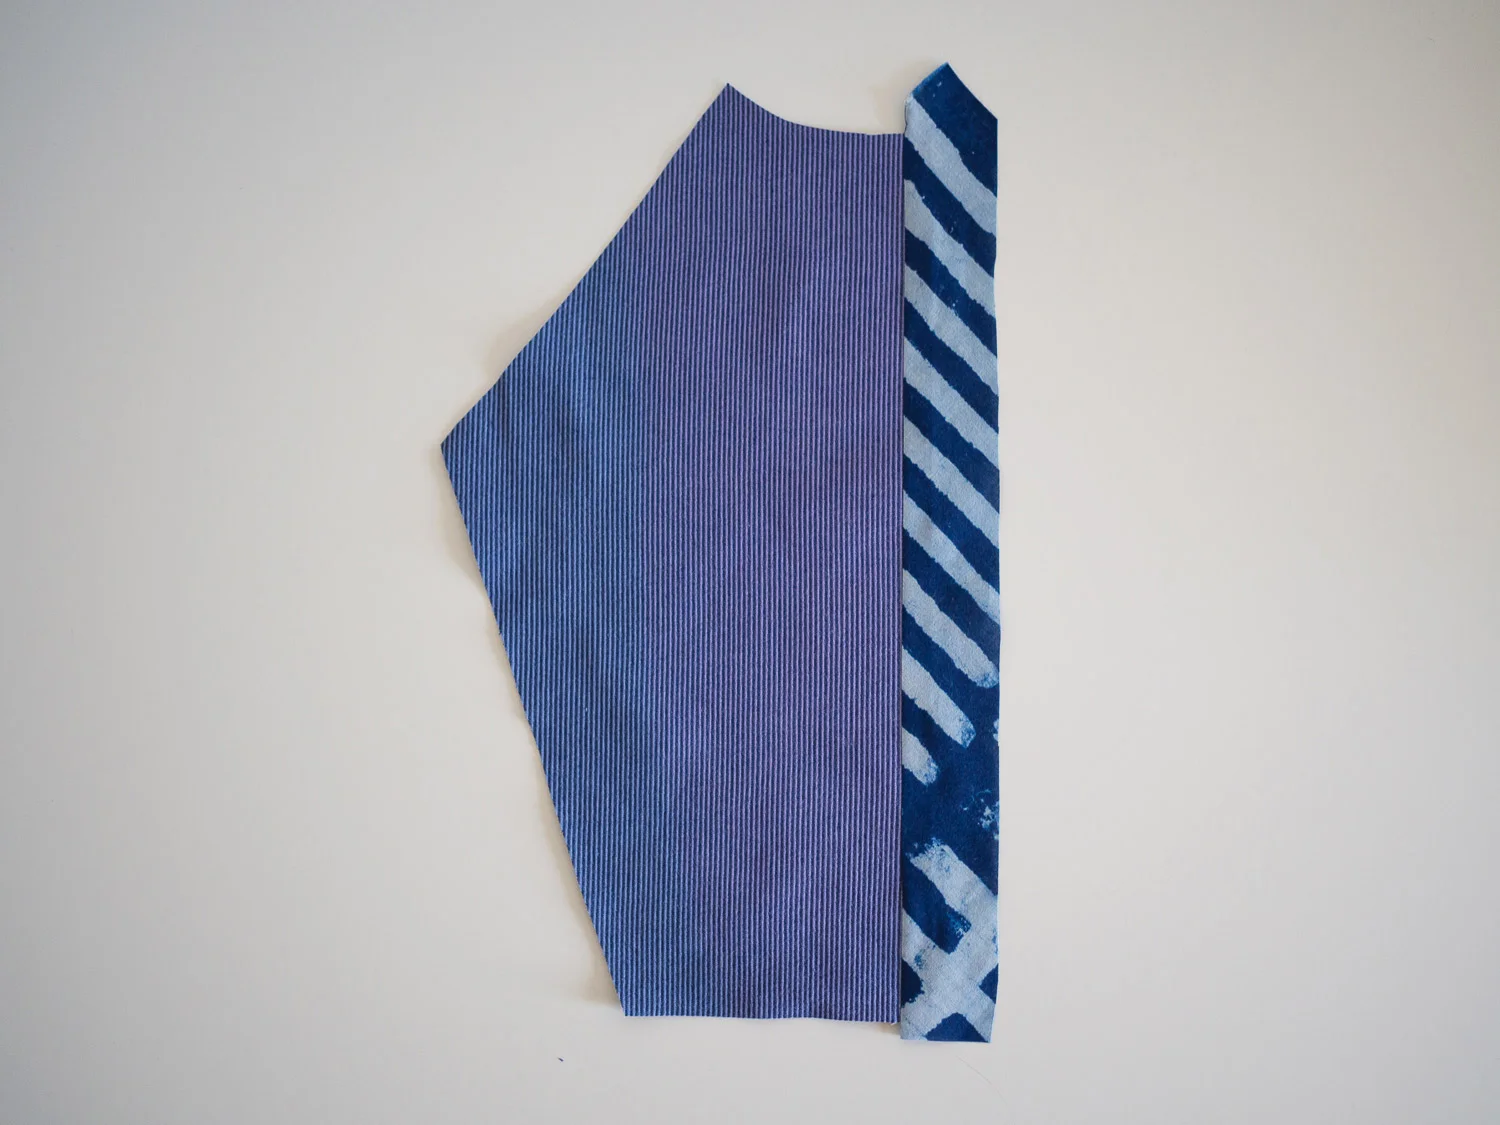
Press the seam open, with the seam allowance pressed towards the bias binding.
Flip the panel so it is right side down and carefully trim down the seam allowance by about 3-4mm (1/16in).
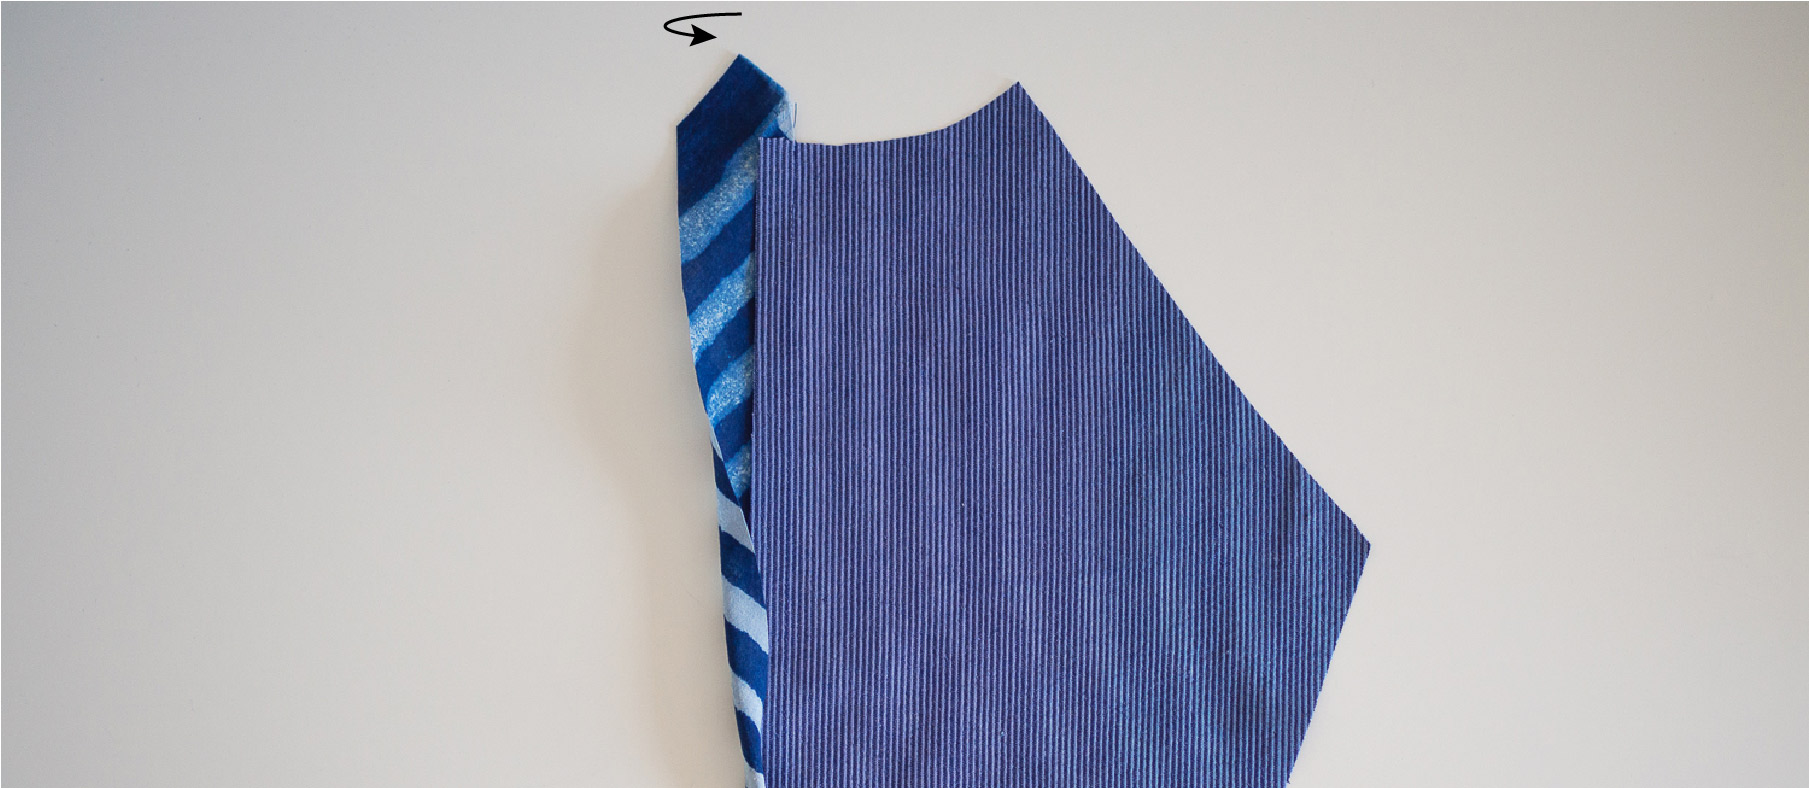
Press the other long raw edge of the binding under by about 1cm (3/8).
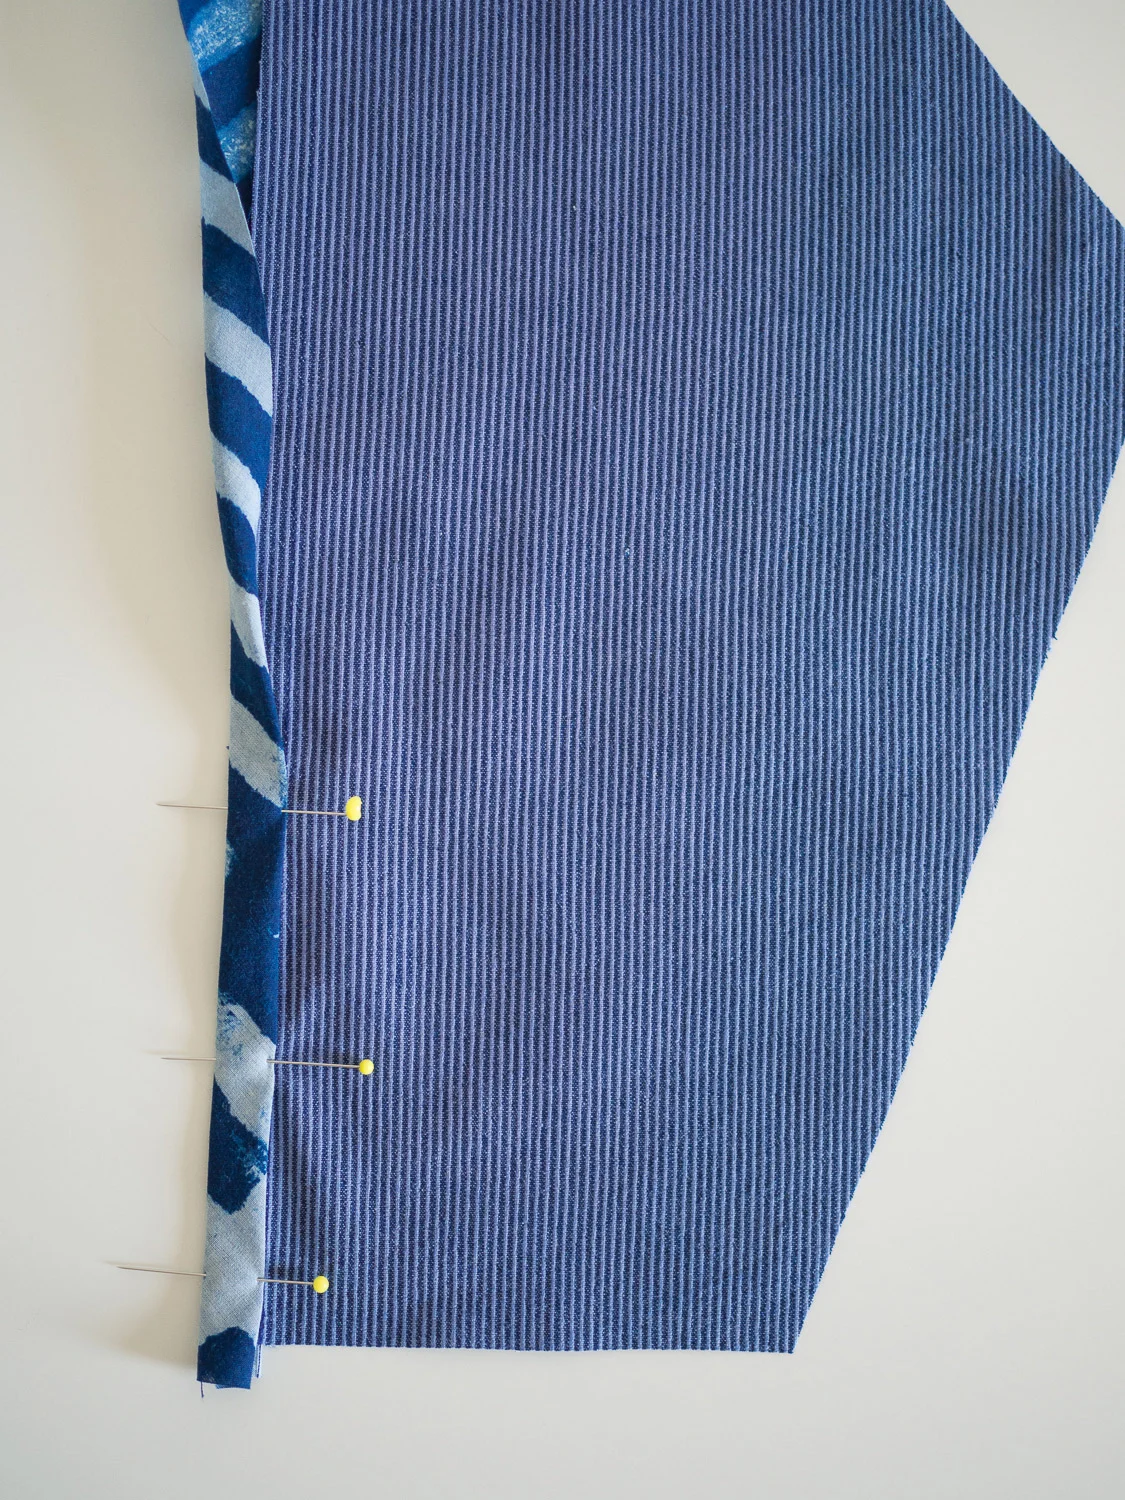
Fold the binding in half so that the binding wraps around the raw edge, the fold of the binding just overlapping the original stitch line. Carefully press and pin in place.

Carefully stitch the binding in place by stitching a pin width away (about 1-2mm) from the folded edge. If you have an edge stitch foot for your machine, this is a good time to use it!

Give the binding a good press and admire your handiwork!
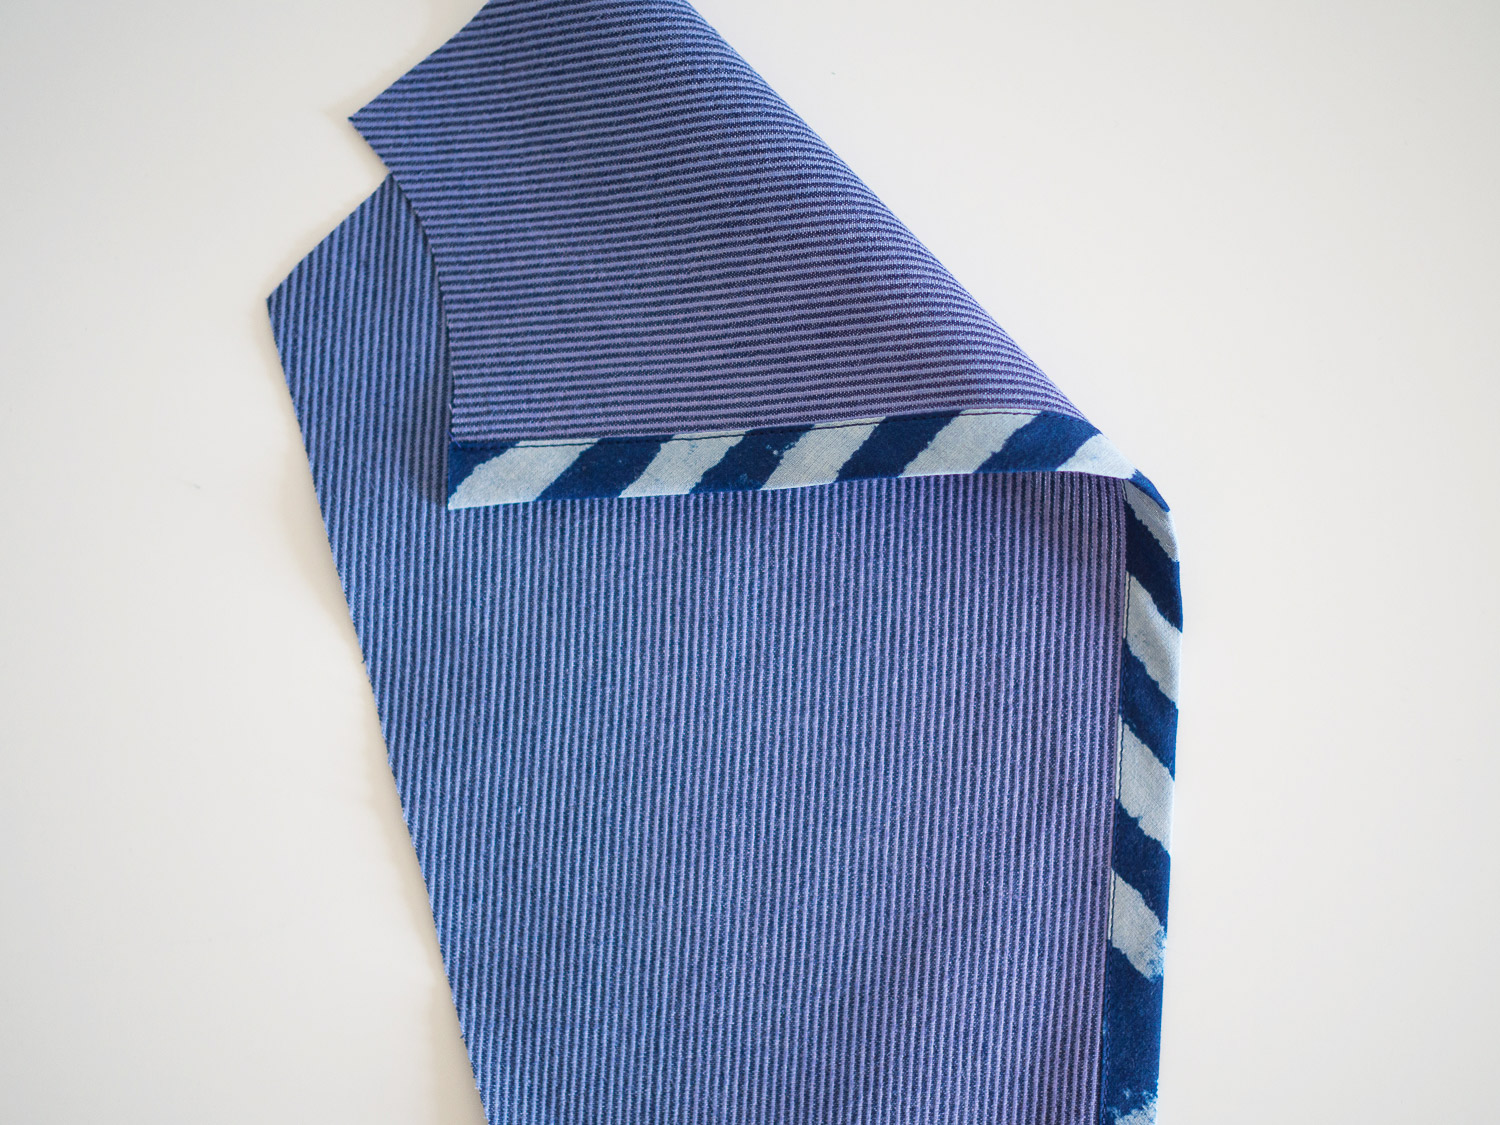
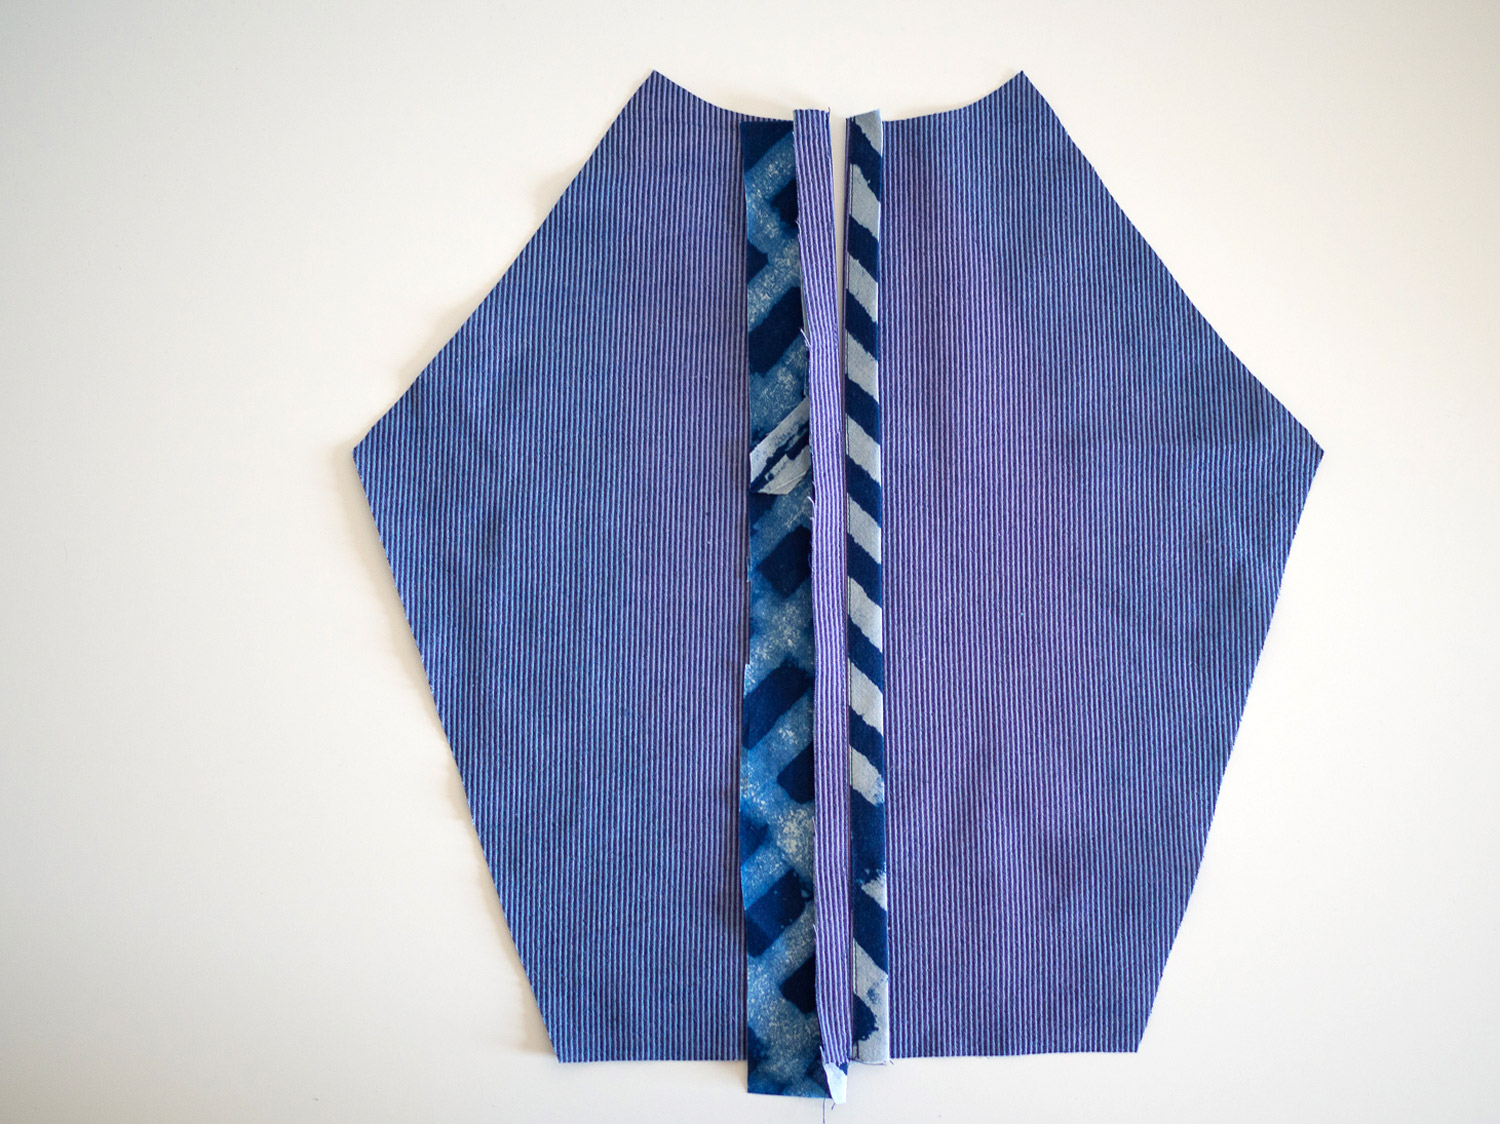
You can see that your seam looks beautiful and clean from both sides.
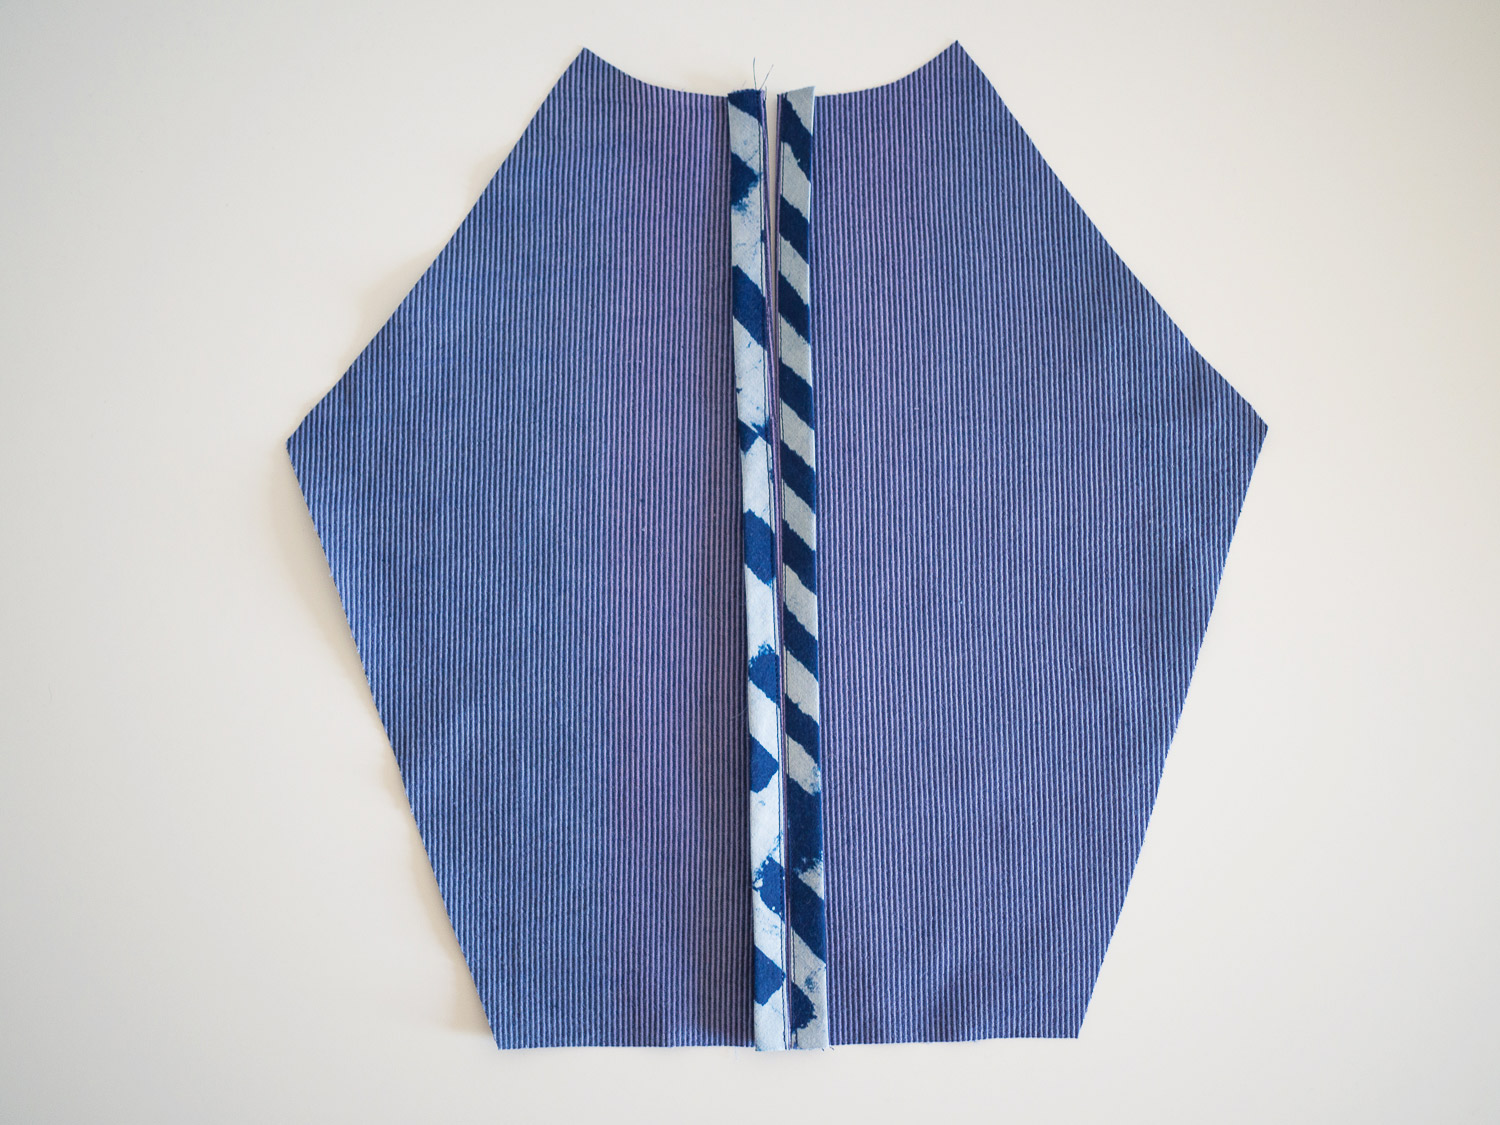
You can repeat the process for the other side of the back, and then stitch the seam as normal. When you press the seam open you will see your beautiful bound edges!
Technique 2
(joining the seam and then binding the raw edge)
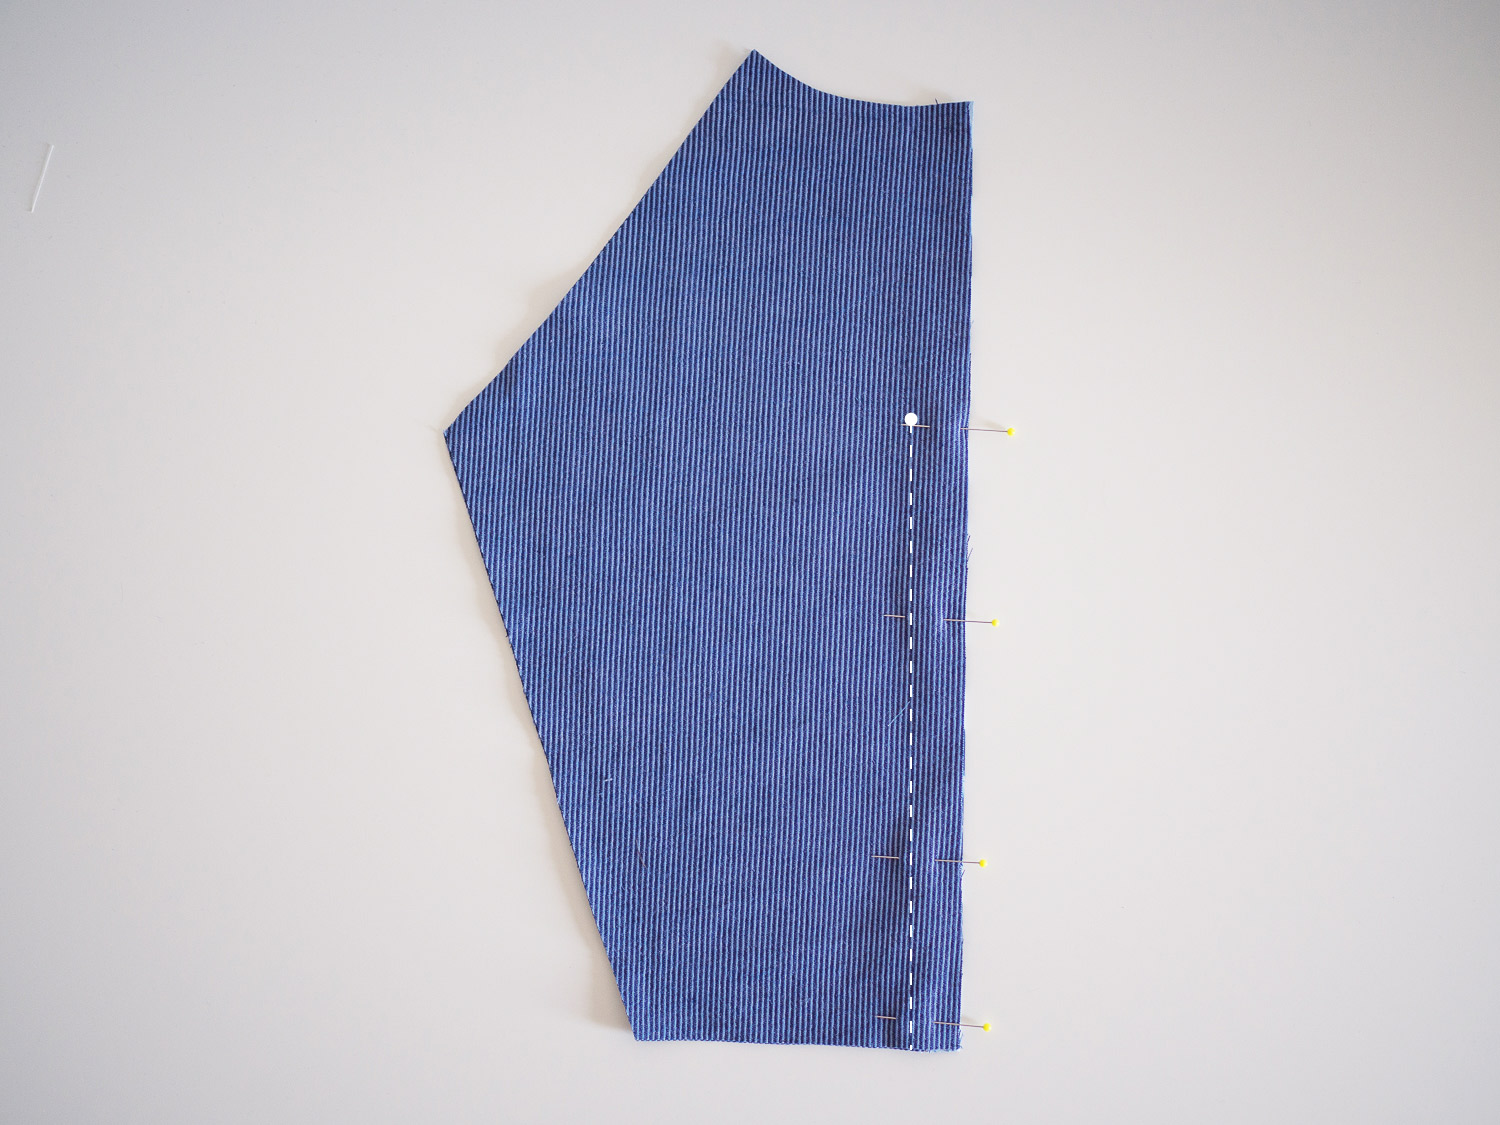
Pin and stitch the centre back seam allowance according to the instructions.
Pin from the upper notch (13cm / 5in down from the top edge) to the bottom edge. The upper part of the seam will be left open, as later on we will be adding a button and loop closure to make this section the opening on the top. Stitch the seam with a 2cm (¾in) seam allowance, being sure to backstitch at the notch. This will ensure the centre back opening stays nice and secure.
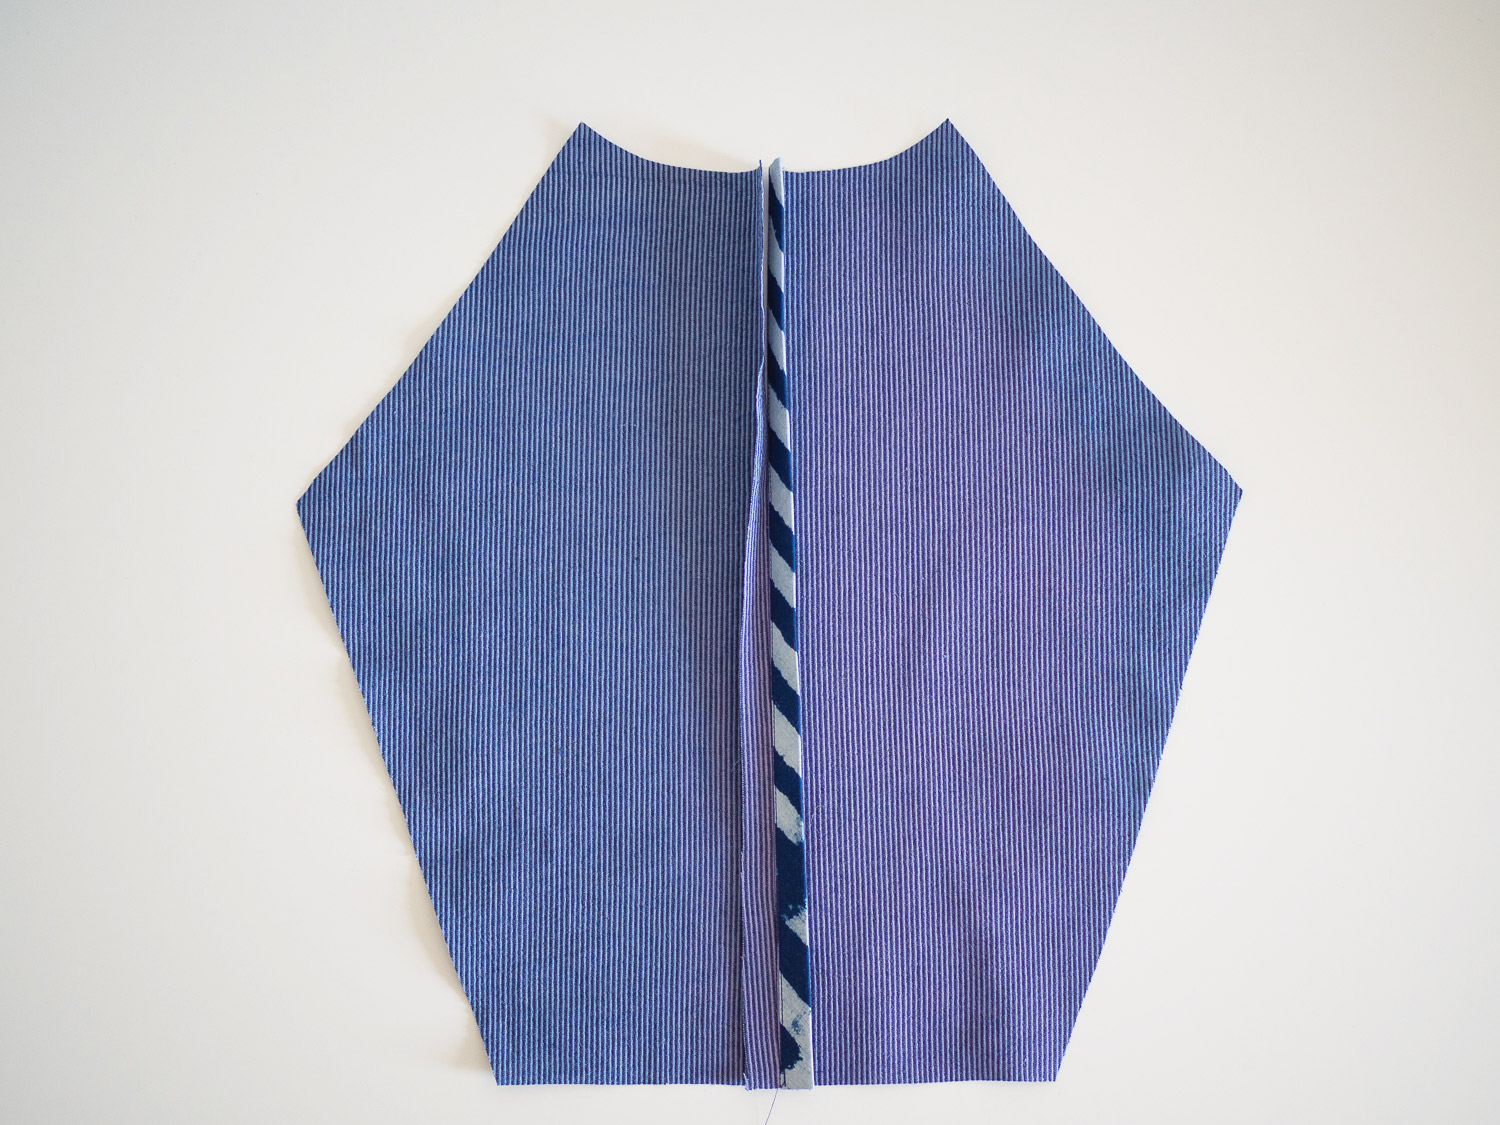
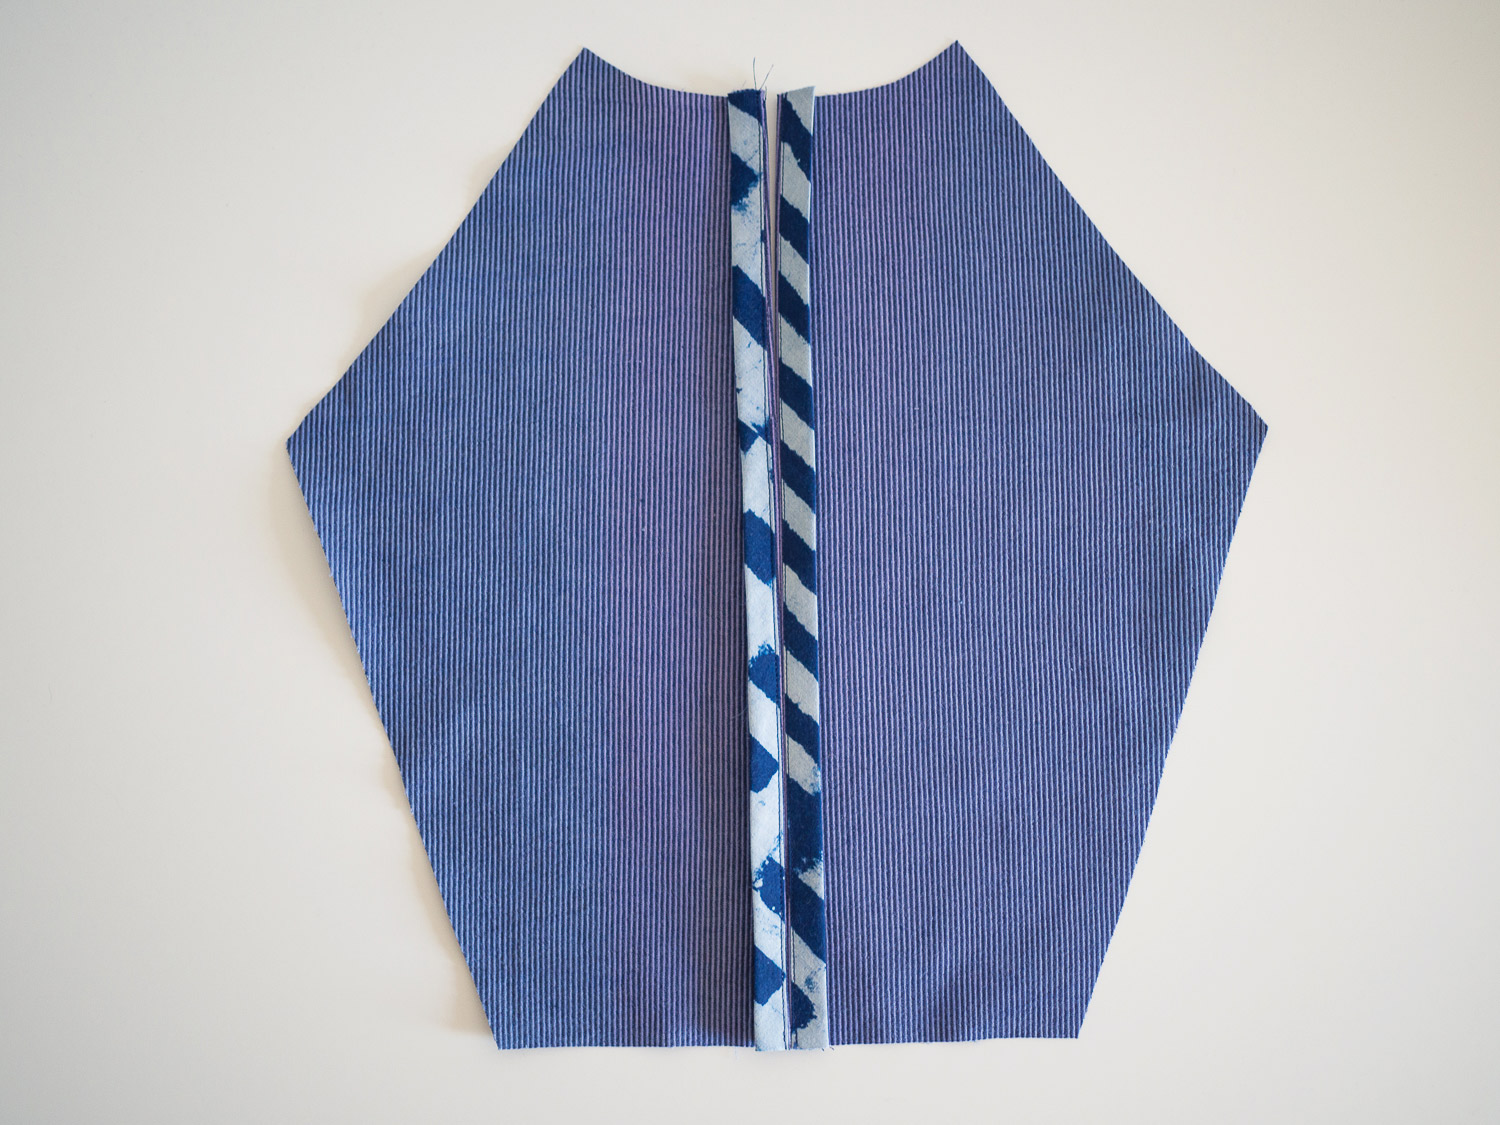
Press the seam allowance open.
Please note: in the photos one side of the seam has already been bound. Disregard and follow the instructions for one side of the seam and then repeat for the other.
Press (just with your hands) the seam allowance on the left side of the opening towards the seam allowance on the right side of the opening.
Take a length of bias binding approximately the length of the seam. Pin one edge of the binding to the raw edge of the seam.

Flip back the seam allowance to check that you have only pinned through the two layers and haven't printed through any of the layers underneath.

Stitch the binding in place, sewing with a 1cm (3/8in) seam allowance. Before stitching, make sure the other layers of fabric are out of the way.
Press the seam allowance towards the binding.
Trim down the seam allowance by about 3-4mm (1/16in)

Press the raw edge of the binding in towards the raw seam by about 1cm (3/8).

Wrap the bias binding around the raw edge, bringing the fold so that it overlaps the original stitch line. Press and pin in place.
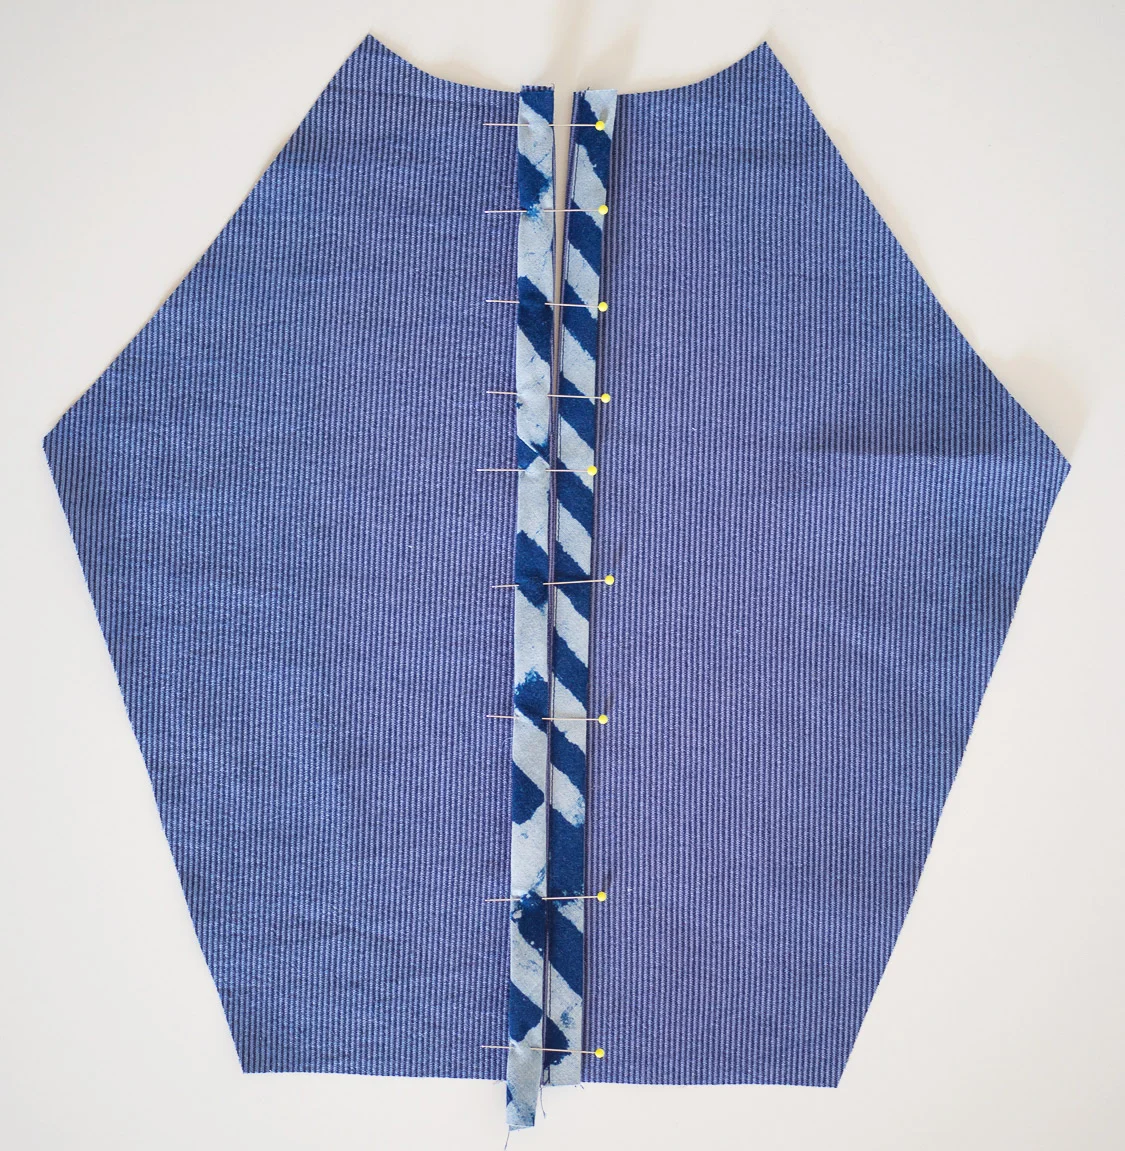
Continue pressing and pinning until the binding is in place on the whole seam.
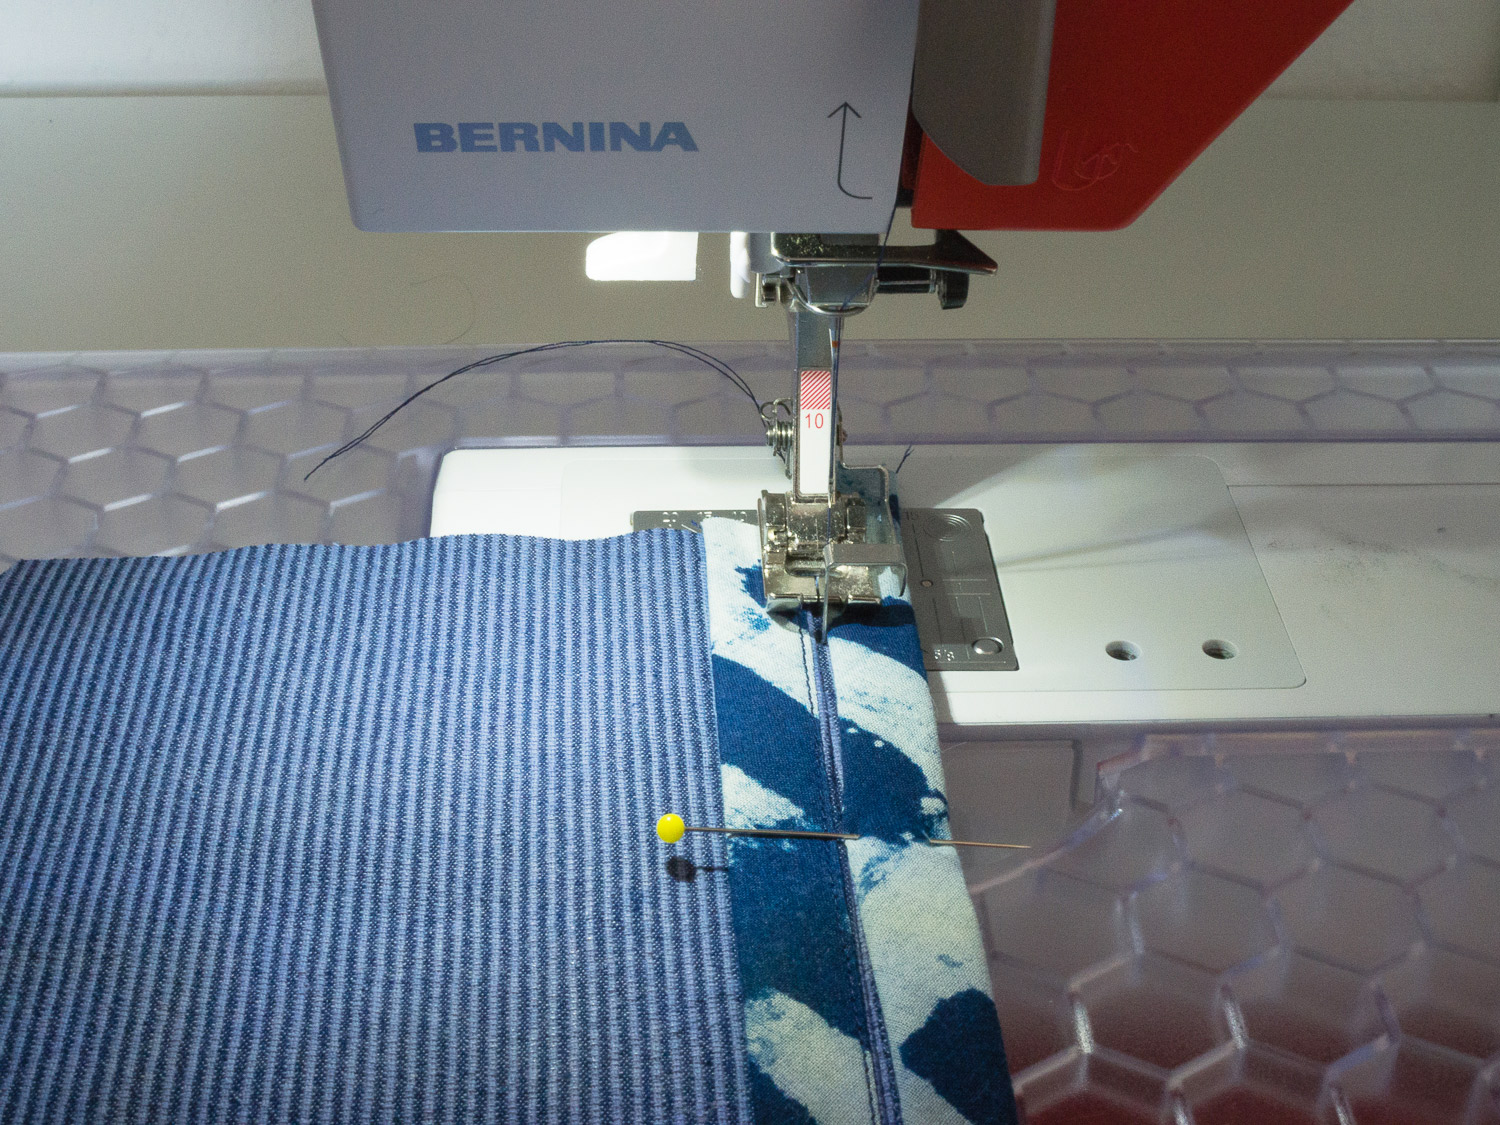
Flip the seam allowance open so that it is sitting flat (and there are no other layers of fabric underneath) and stitch the bias binding in place by stitching close to the folded edge.
Press the seam allowance open and there you have it. You will see that the finish looks the same now as technique 1.
There you have it... A beautiful way to finish your centre back seams!


