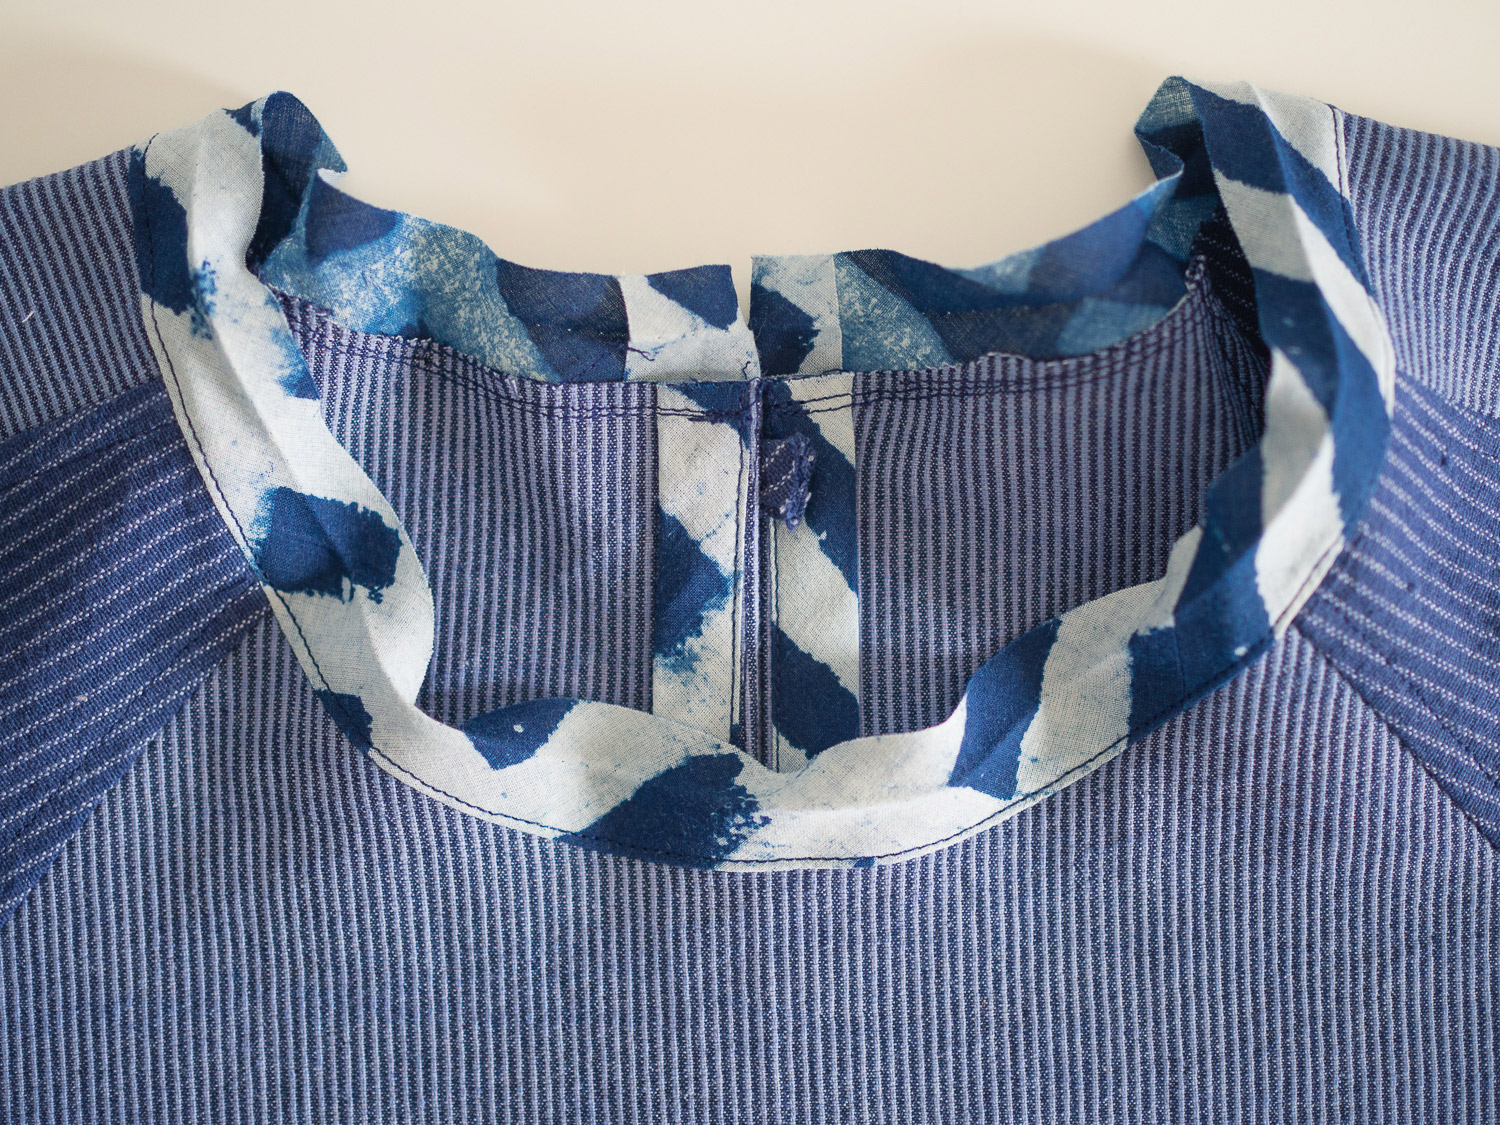
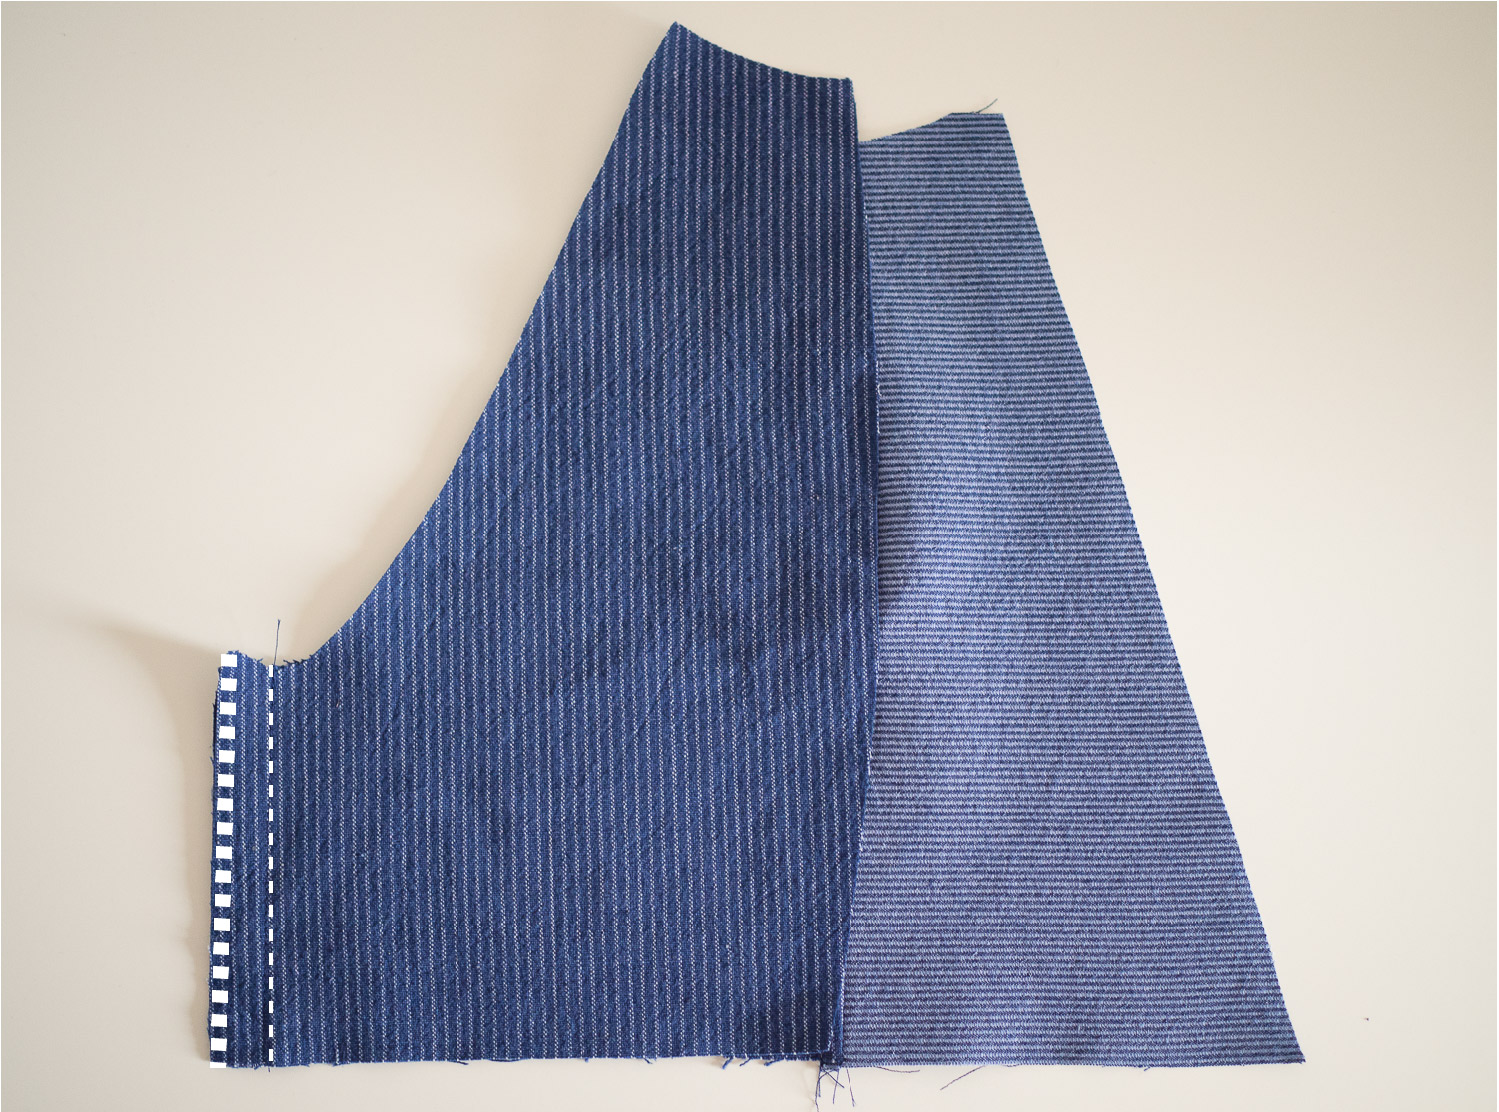
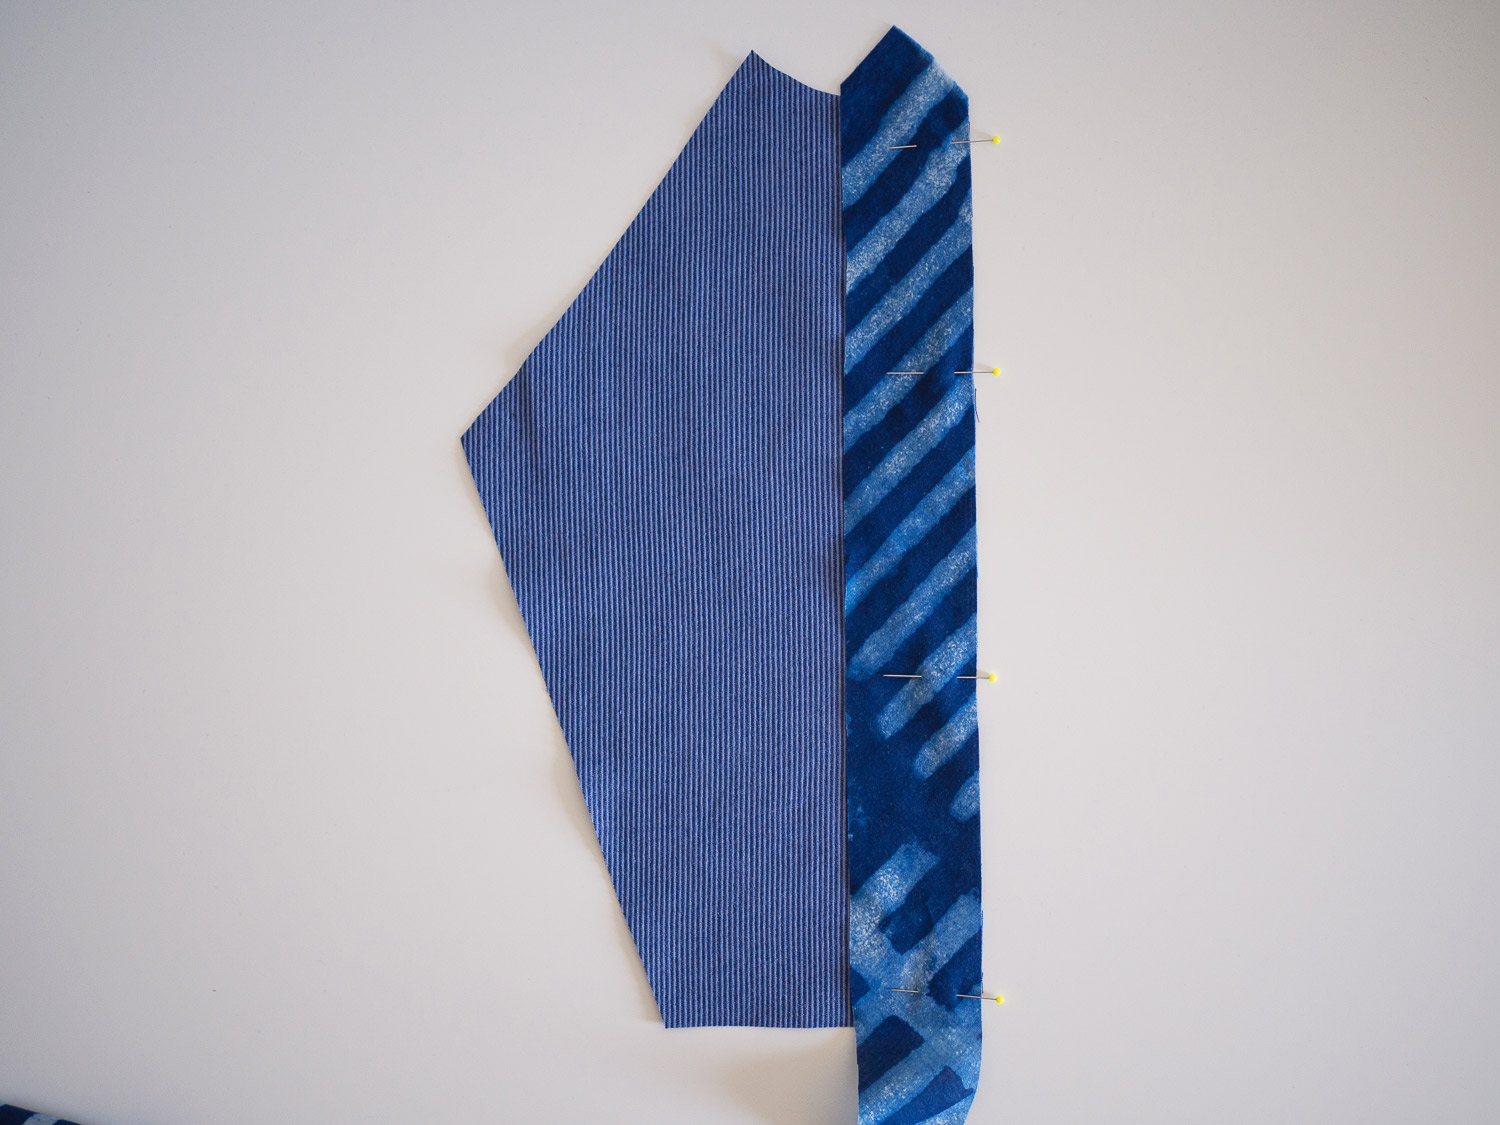
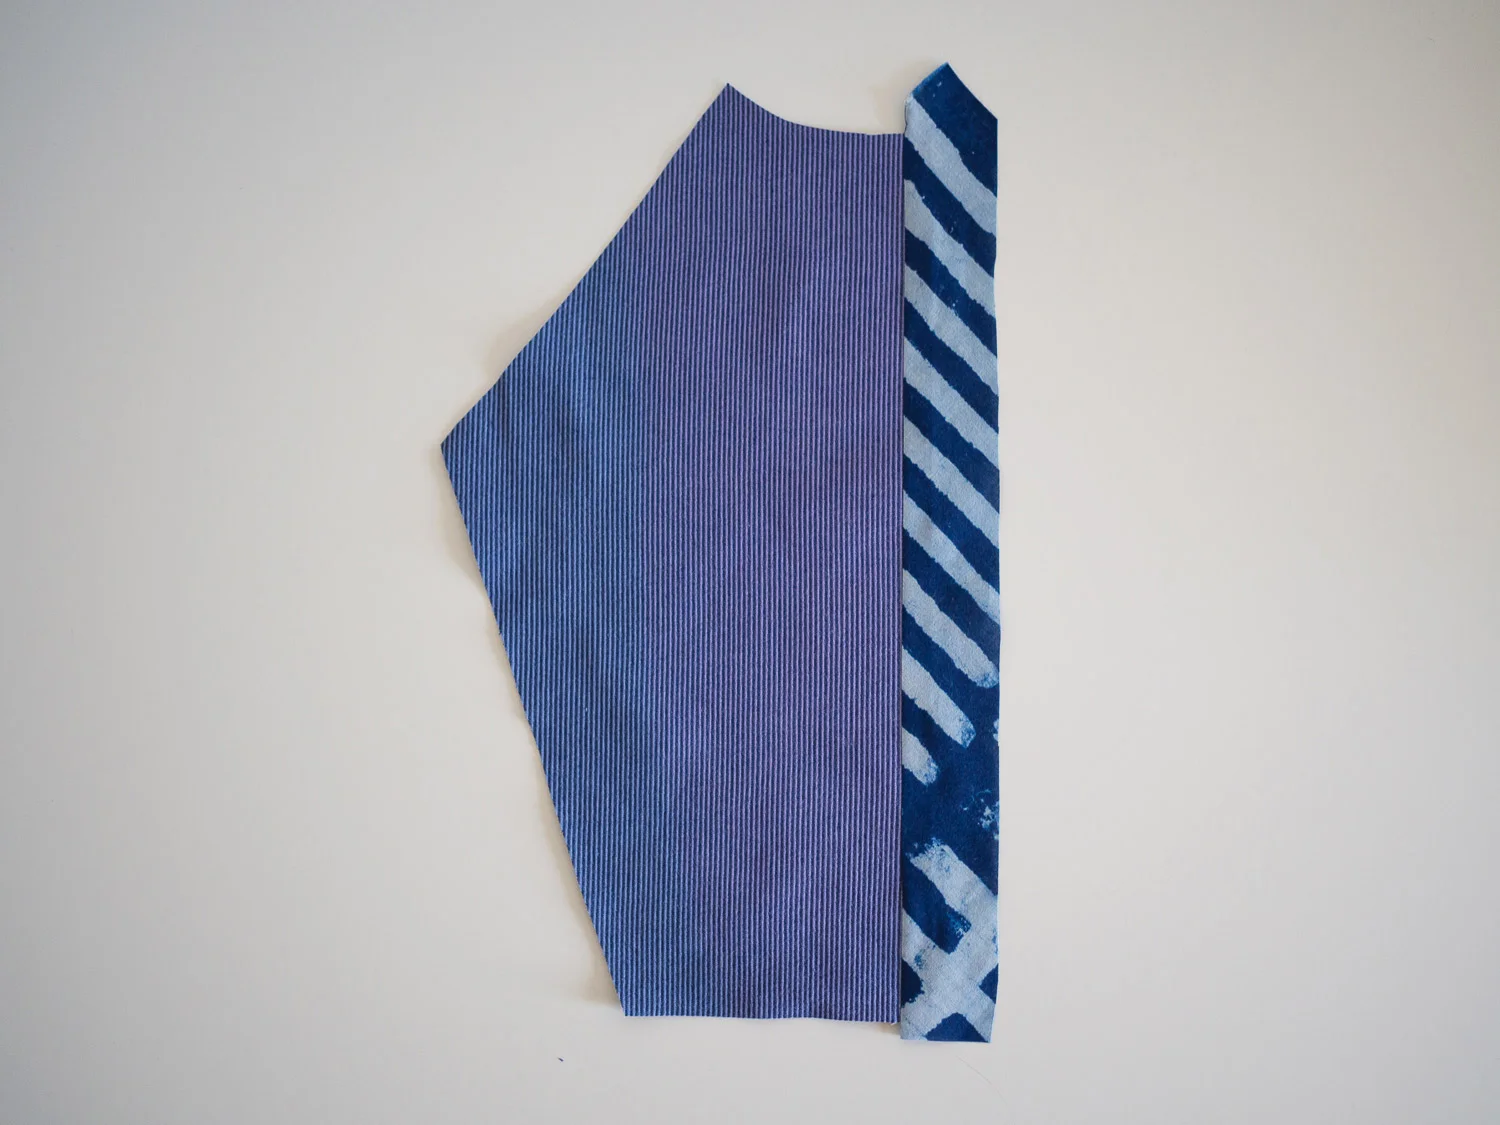
Today we have made it to the final post in the Collins Top Sew-along! For a full round-up of all the posts in the series, you can have a look here. I must say it is a huge relief to be done. Although this time I received a lot of help with it, by having someone take the photos for me (fin out more about that here), it is still a huge amount of work to put a sew-along together.
In today's post, we'll be finishing of View B (the sleeveless version) by sewing the button in place and hand tacking the all-in-one facing in place (in my opinion, when it comes to clothing there is nothing more annoying than a facing that keeps flipping up from the inside of the garment).
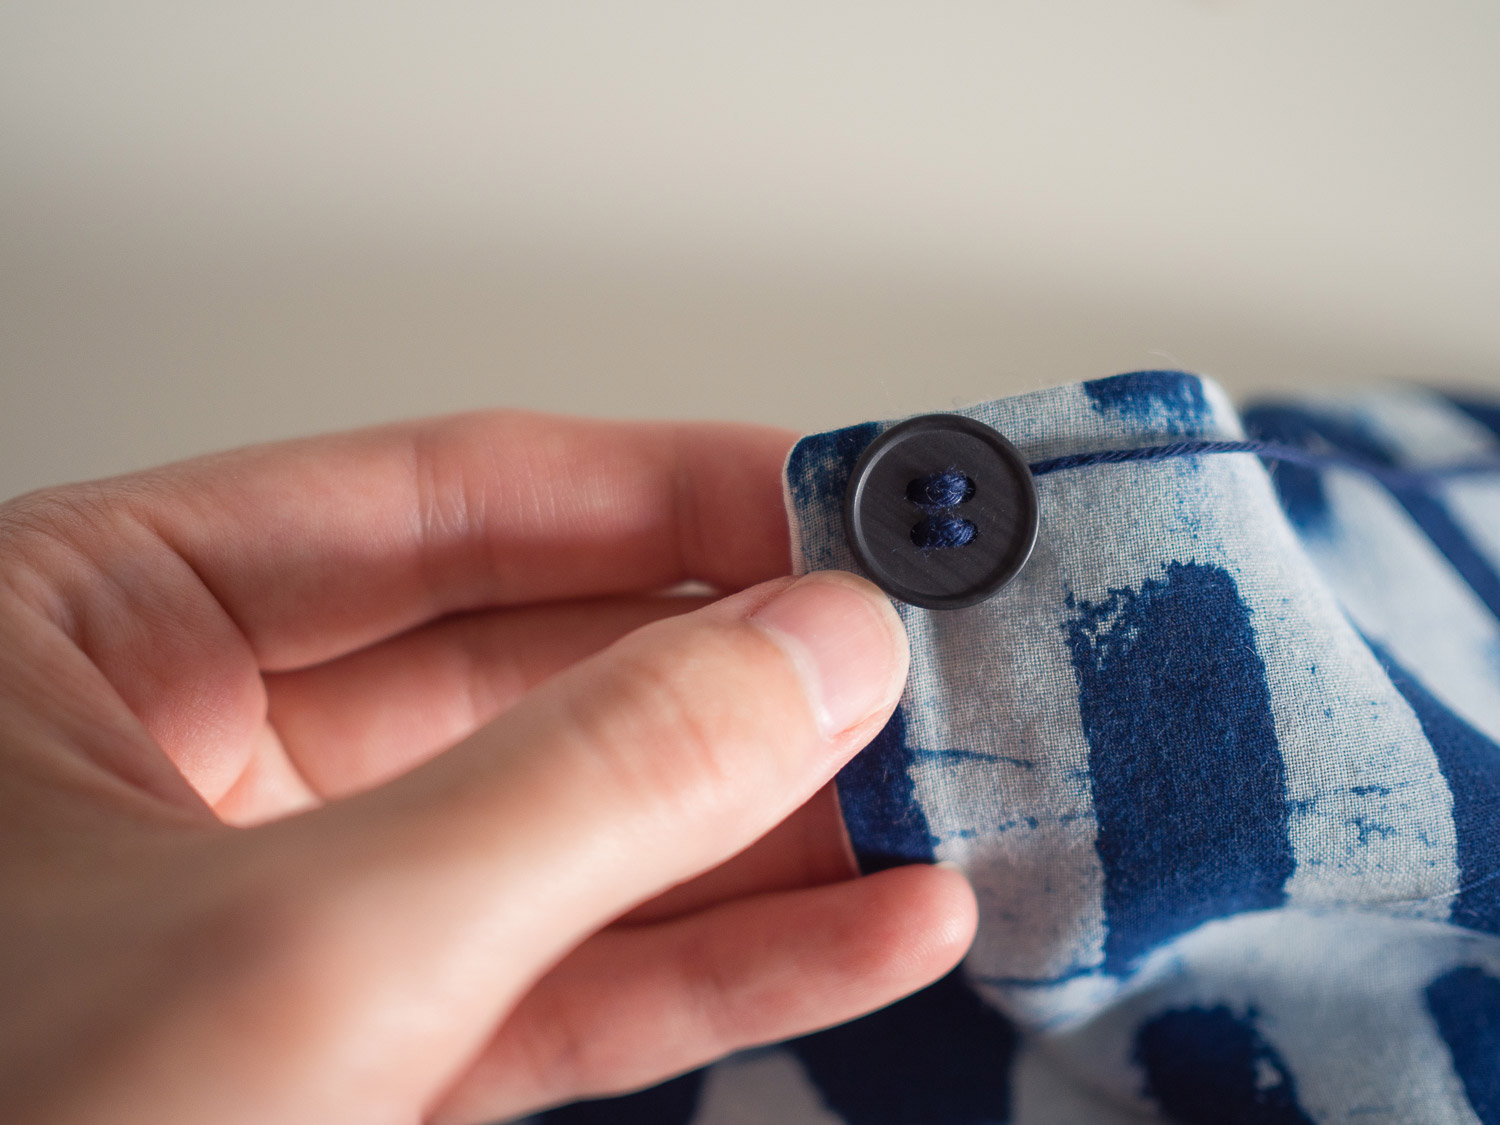
Position button
After giving the back of your top a really good press, lay the top flat with the back facing up. Close the centre back opening and position your button so that the button loop will go around it comfortably without pulling, being sure to check the top corners of the opening are in line.
Use a pin to mark the position of the button on the top.
Use tailor's chalk or an erasable fabric marker to mark the position so that you can remove the pin.
Sew button
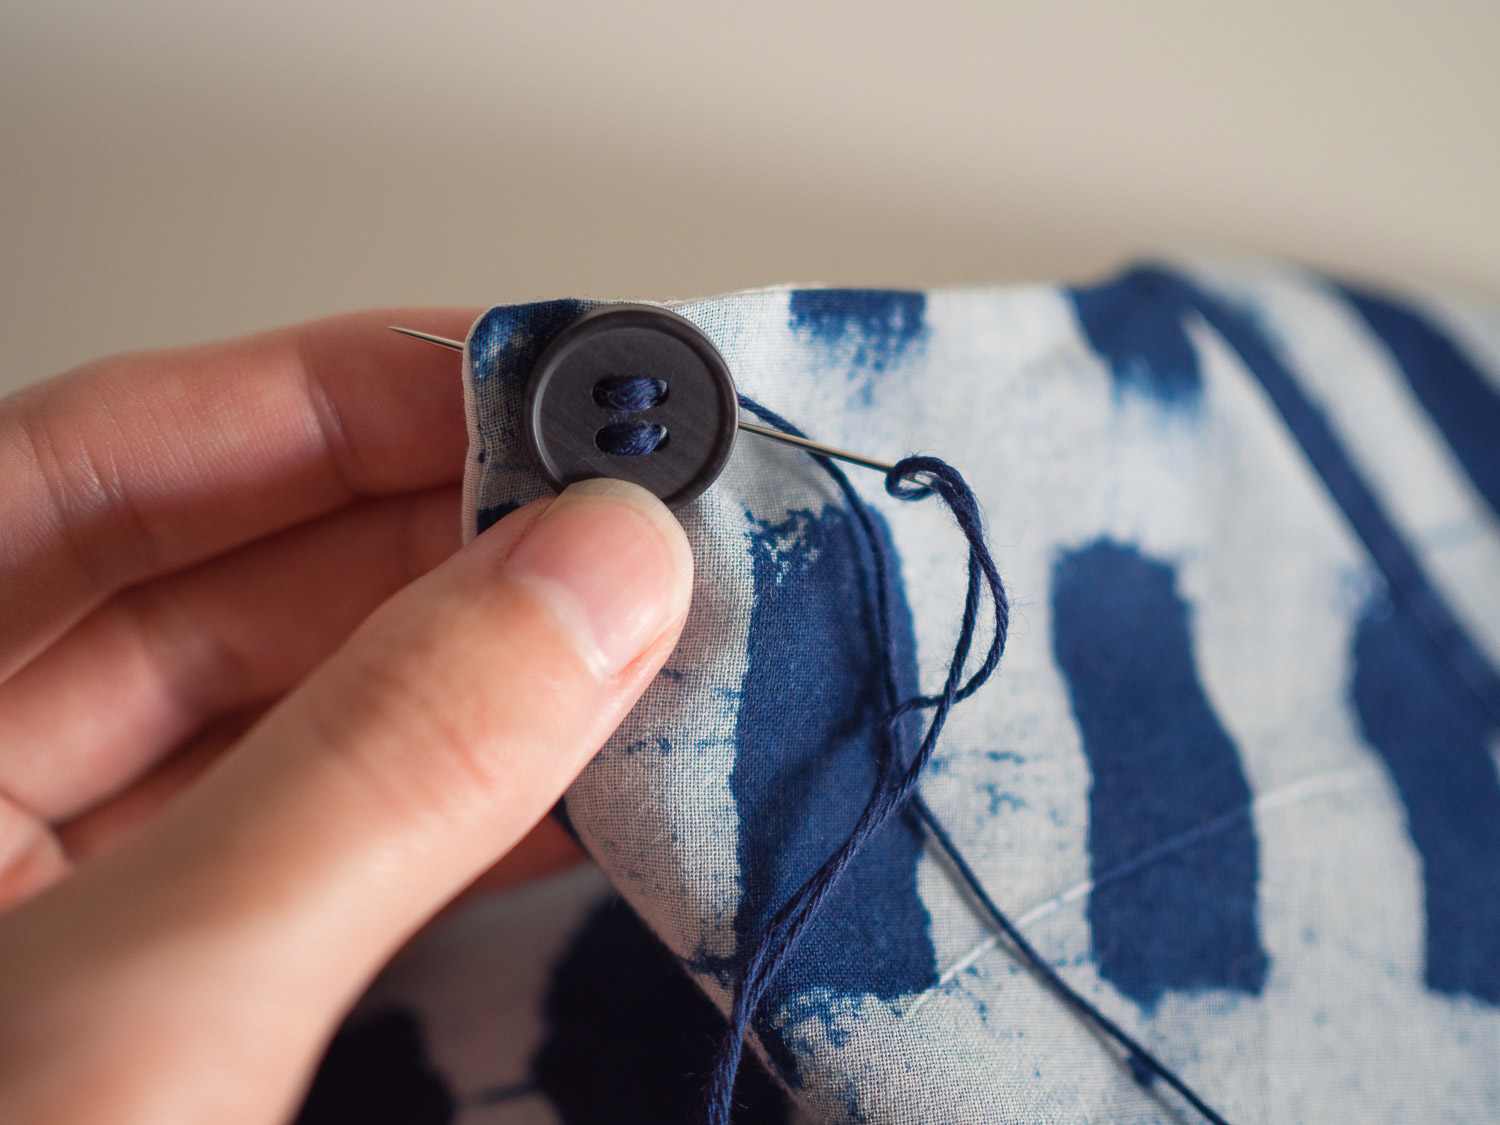
Take some thread and tie a knot in the end. I like to use a thick thread (like the one in the photo) or a normal thread doubled. Place your chosen button onto a tooth pick (or similar) and sew the first stitch to secure it. We are using a toothpick under the button so that the button will be slightly raised off the fabric, which will mean it is easier to secure the button loop around it, and the loop won't slip off the button.
Making sure the button is straight, secure the bottom of the button with another stitch.
Continue stitching the button in place, keeping your stitches nice and close together on the back so that it remains neat on the inside as well as the outside.
Once your button is secure, remove the toothpick from underneath the button.
Take the needle to the inside of the top, by putting the needle through the fabric underneath the button.
Bring the thread up through the wrong side of the top, underneath the button.
Make a small knot in the thread by making a few small stitches and putting the needle and thread through the stitches.
To secure the end, put the needle into the fabric under the button and bring it up about 2-3cm (1in) under the button on the centre back of the top.
Pull the thread through.
Cut the thread so that it drops back inside the top (between the top and the facing) so that you cannot see the end.
And admire your work! Your button is in position.
Secure all-in-one facing
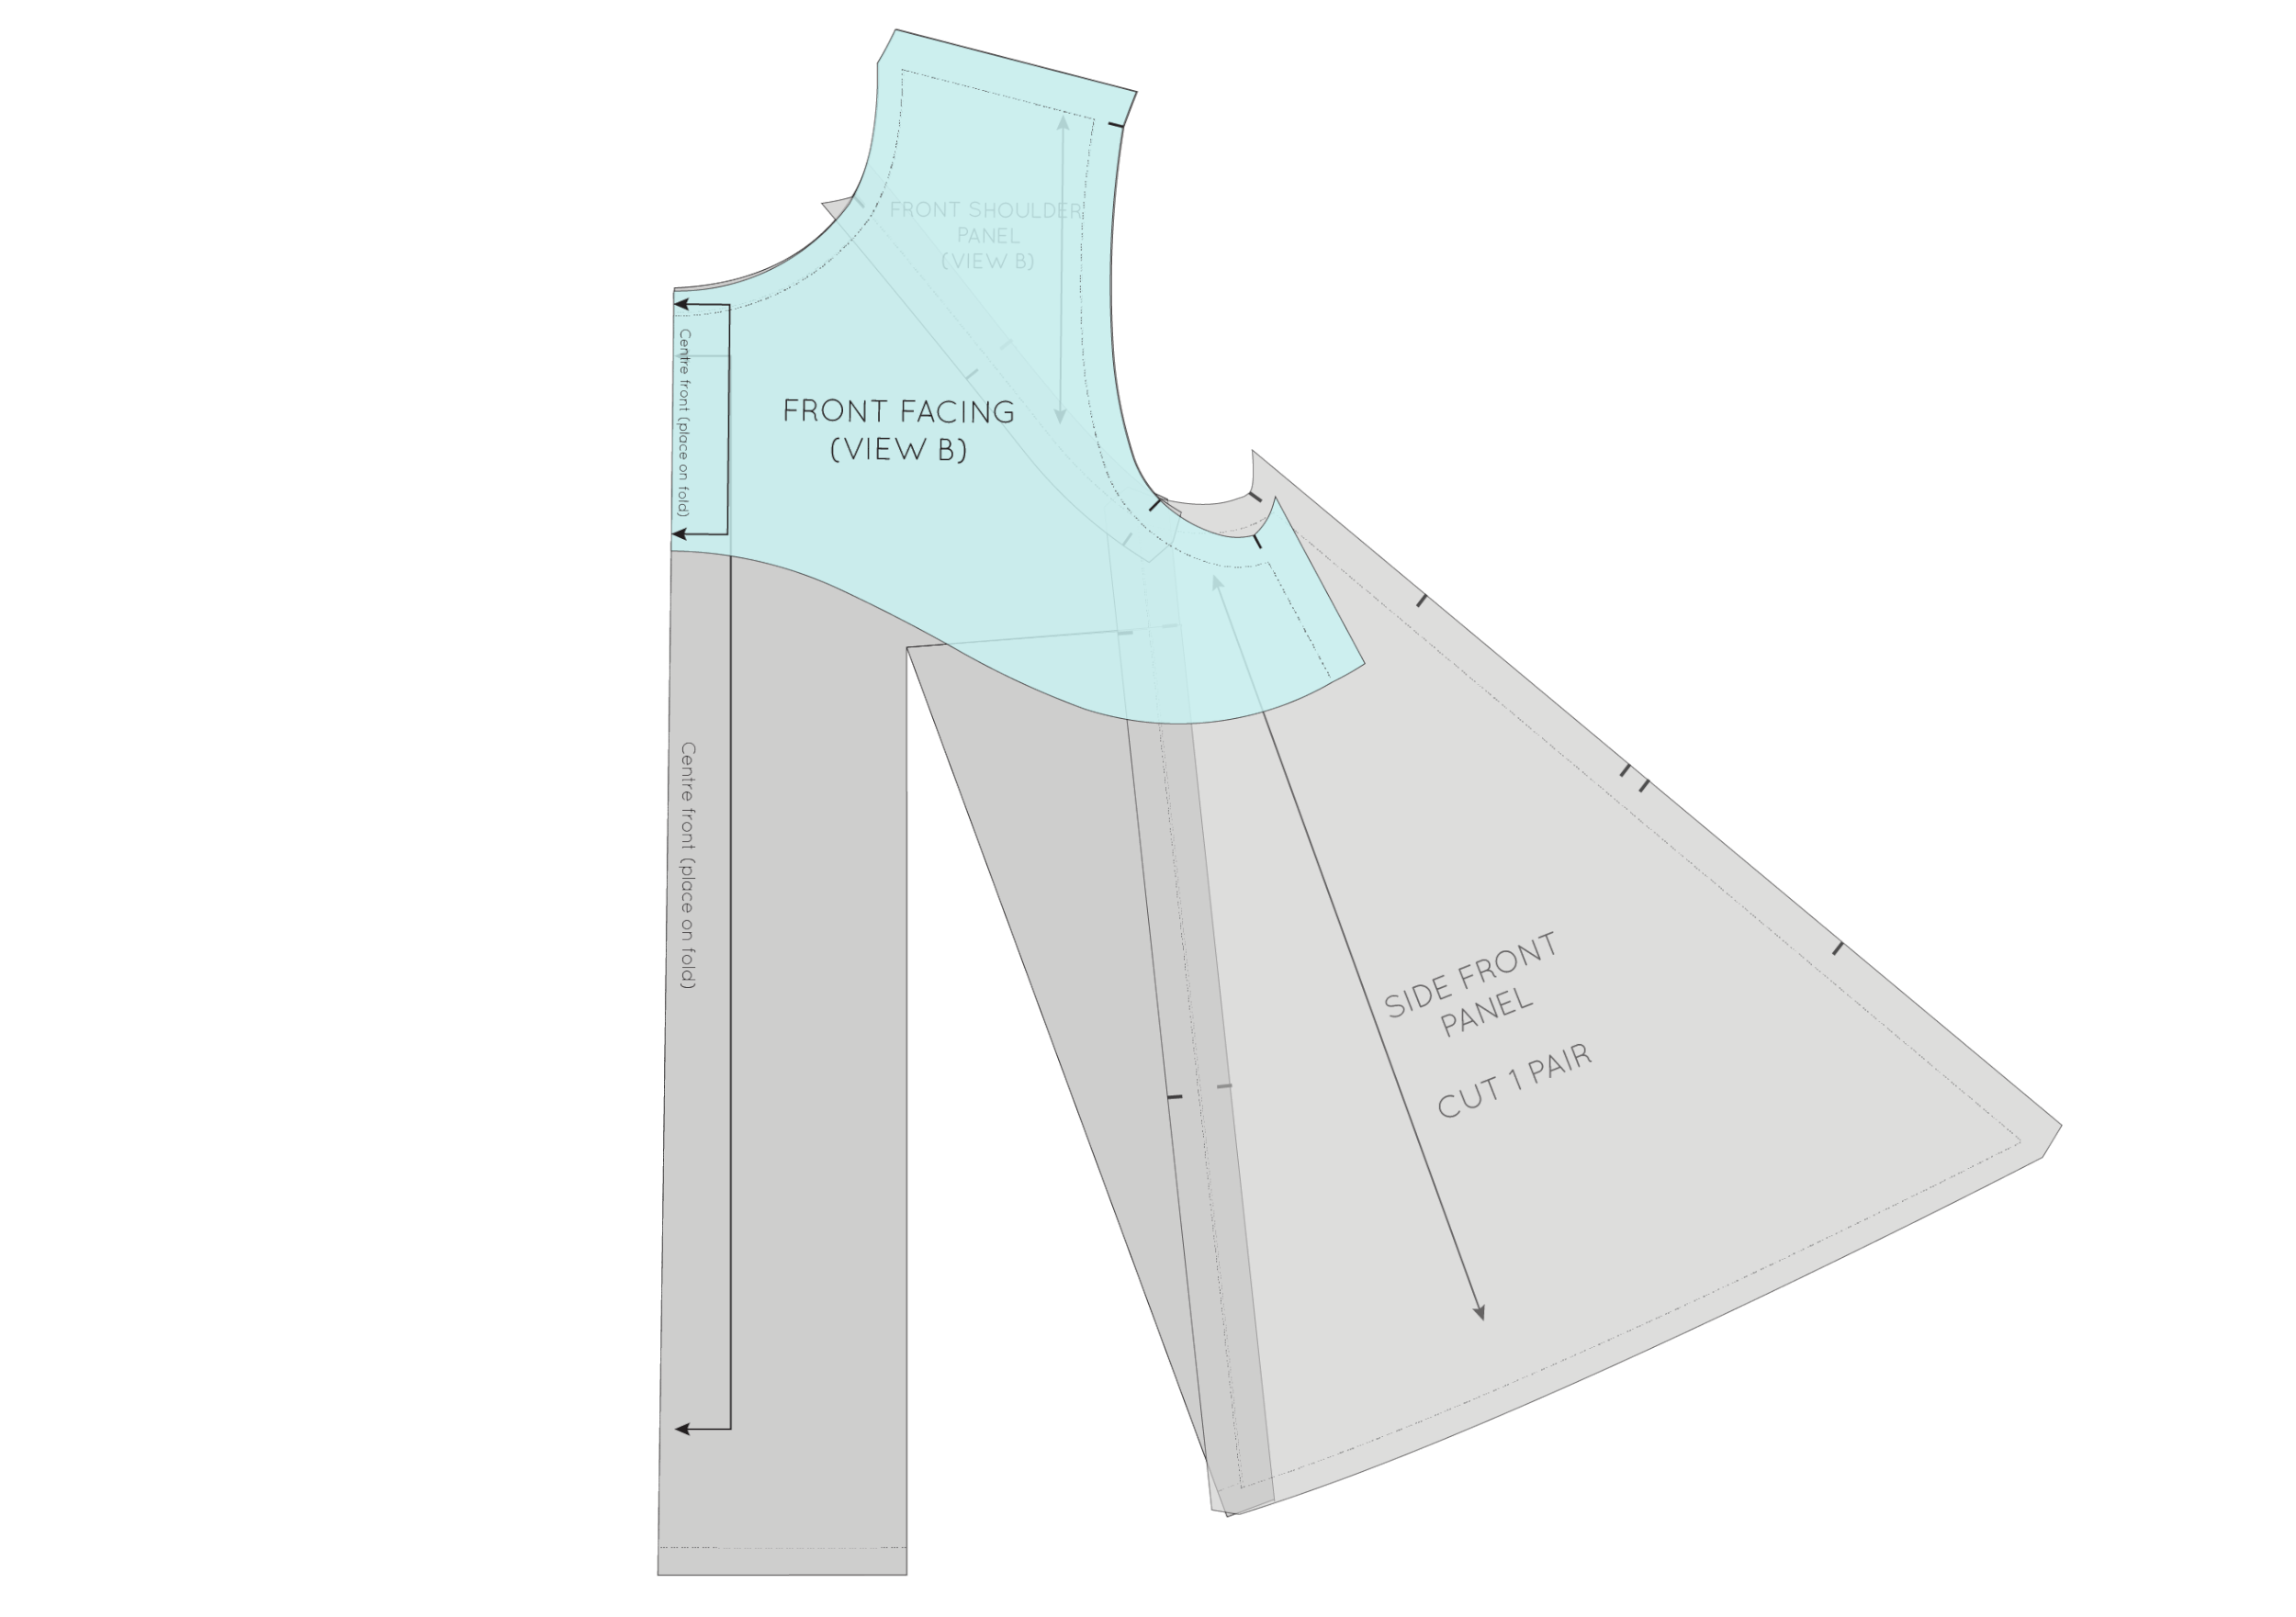
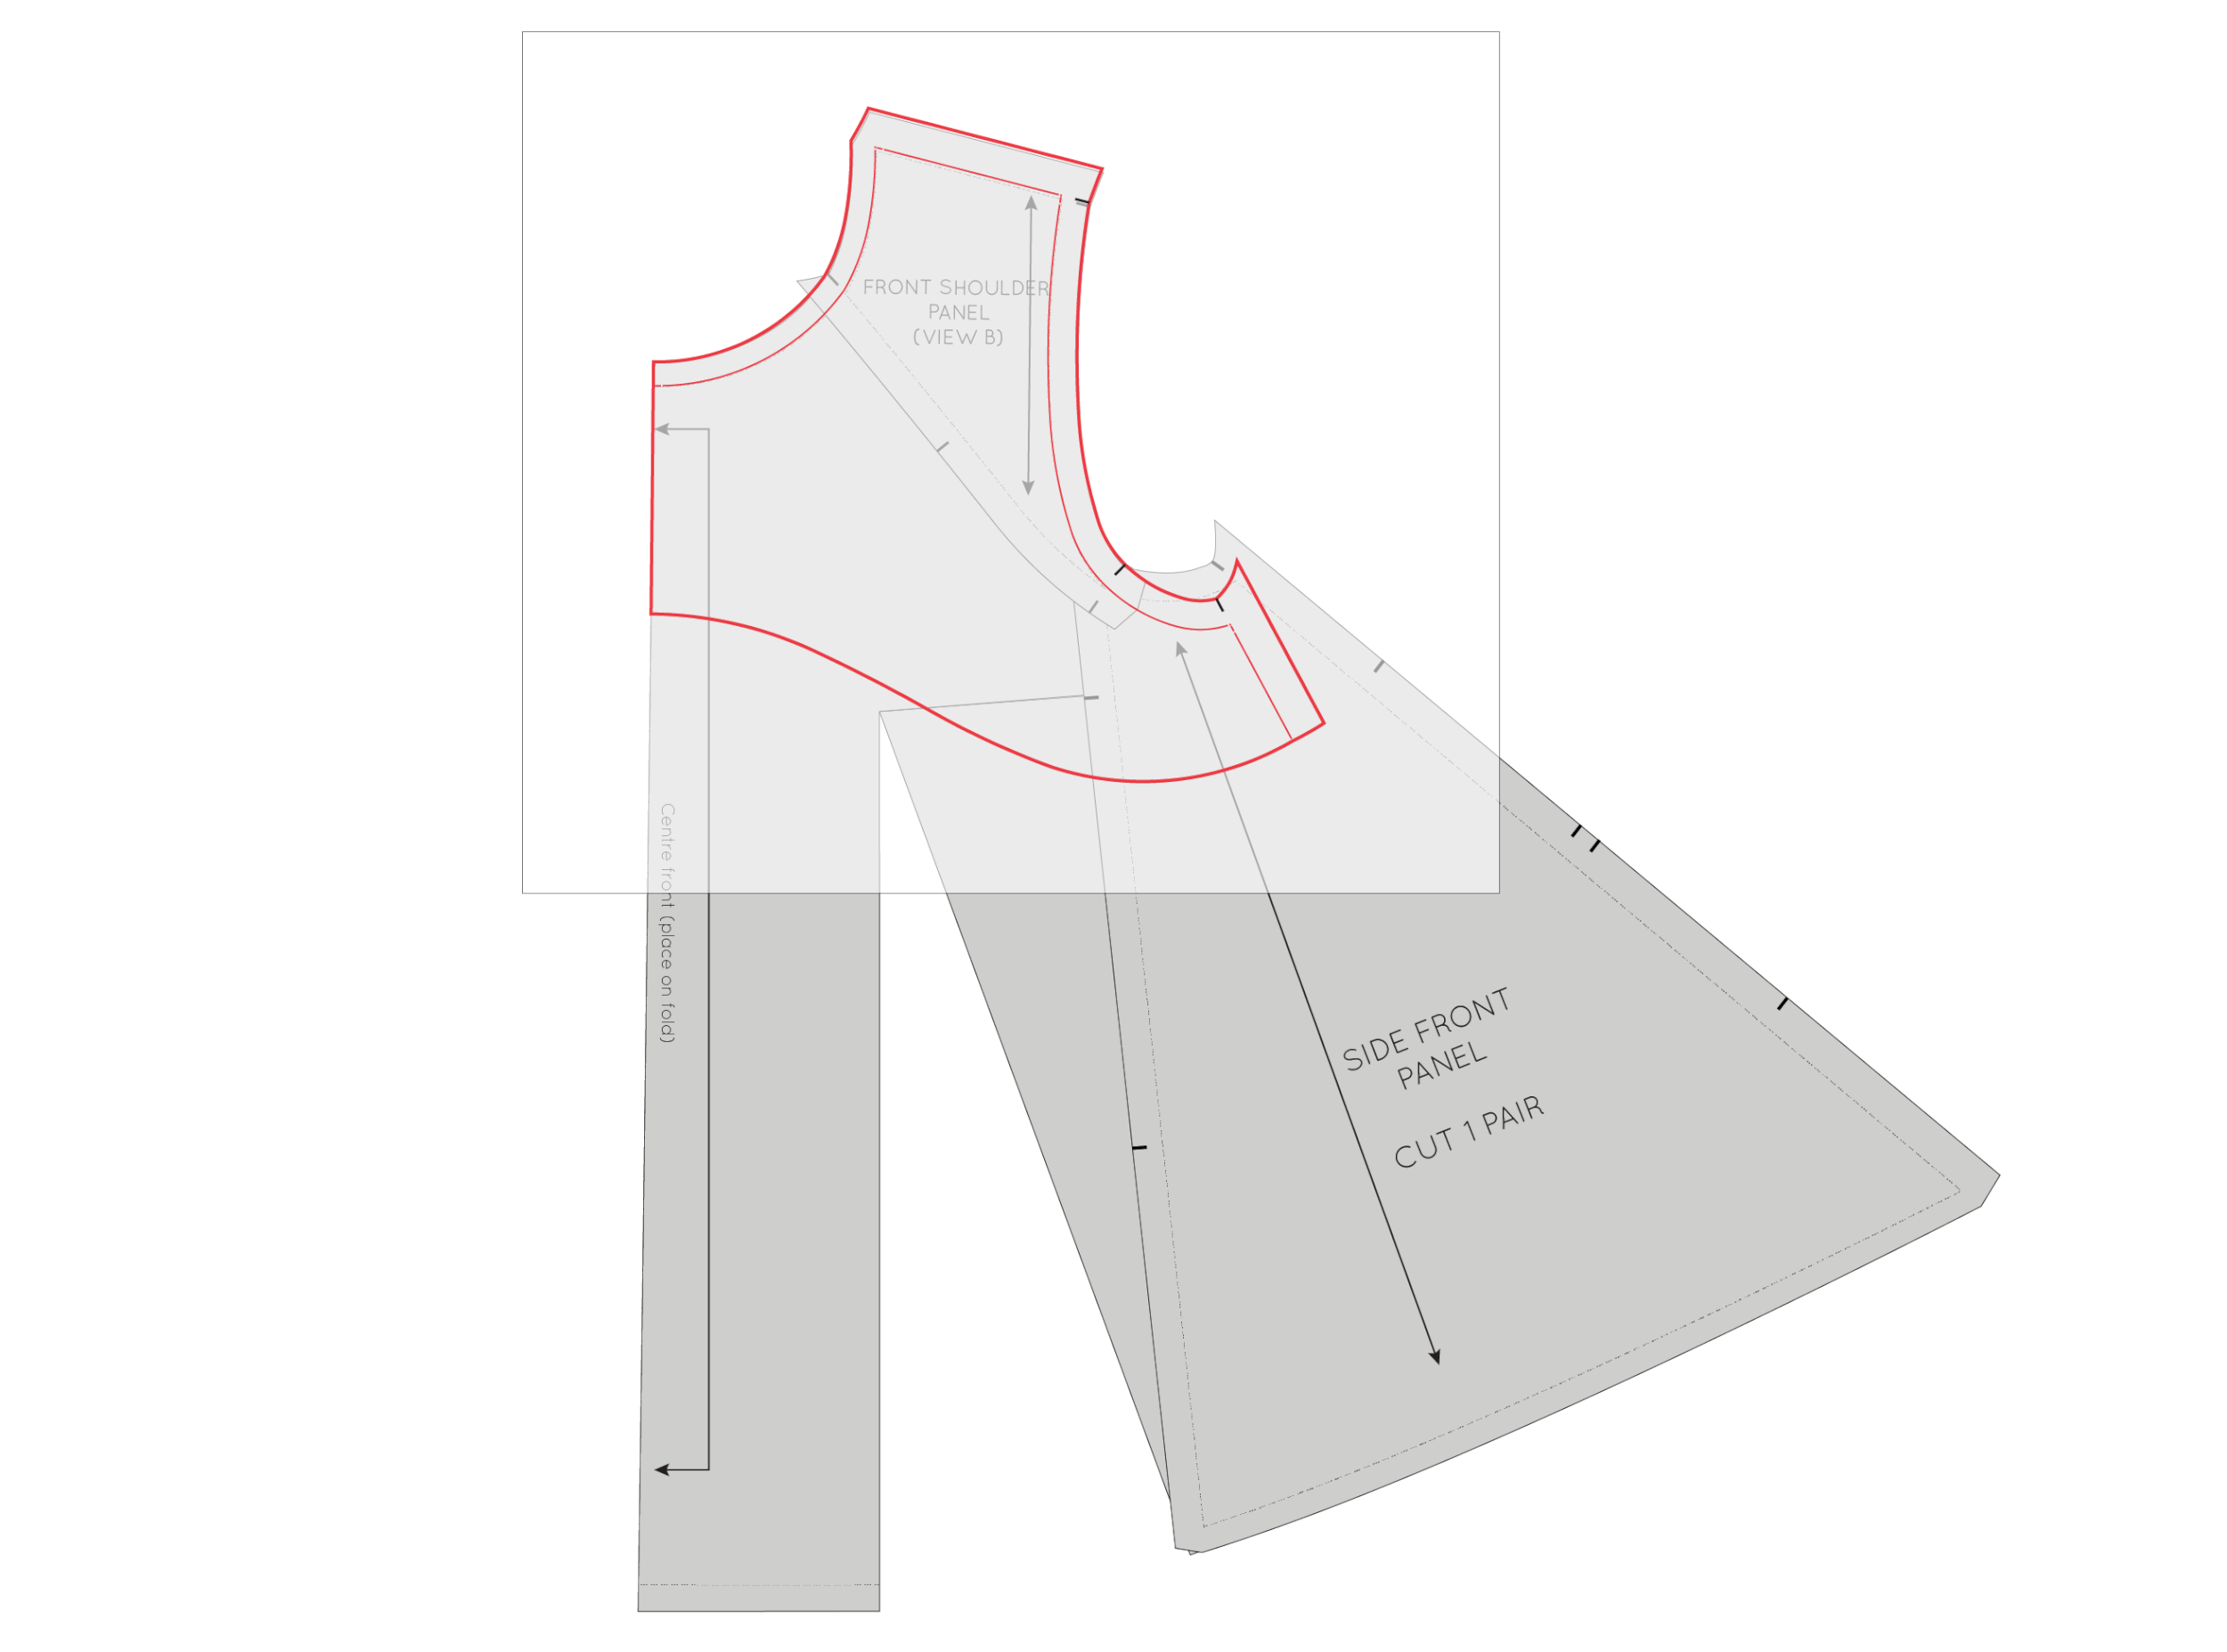
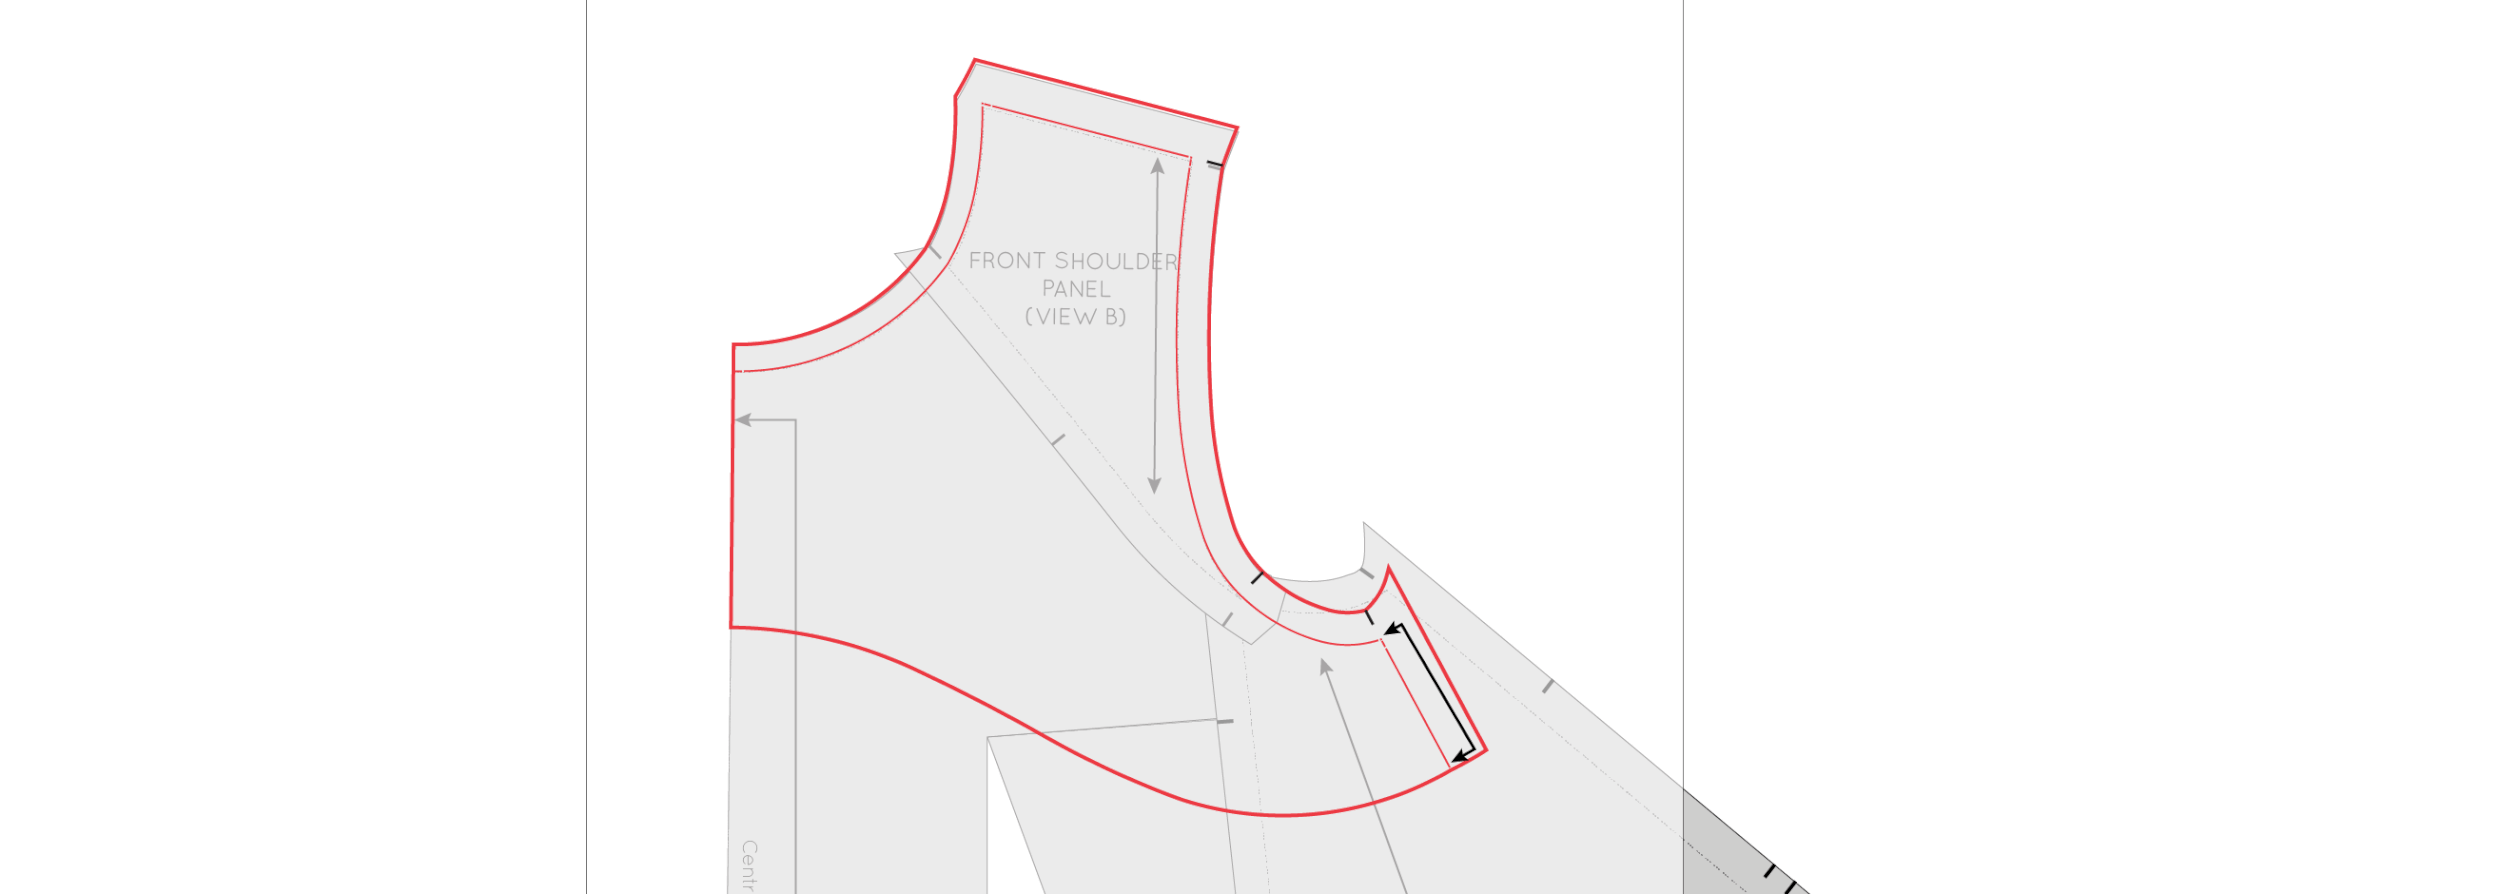
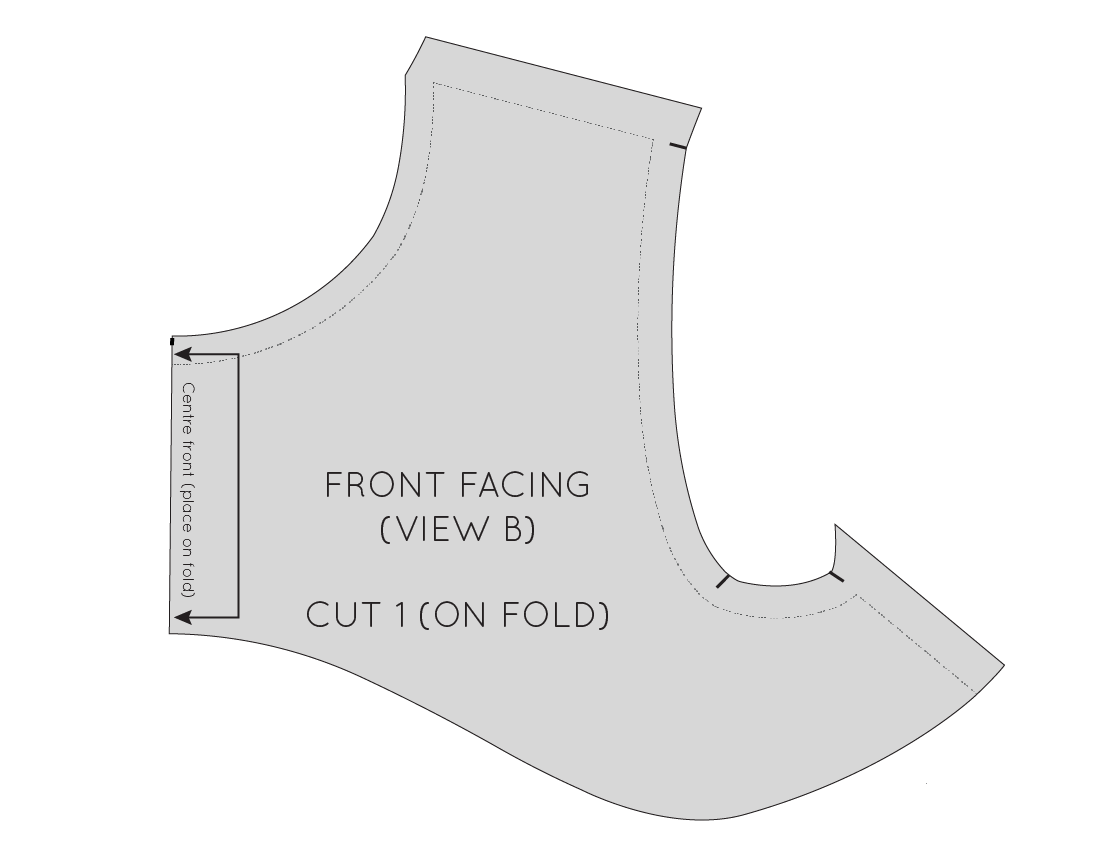
The final step you need to do to complete your Collins Top, is to stitch down the all-in-one facing. I showed you in this tutorial how to attach the facing, but at this point it can still be flipped up from the neckline and armholes.
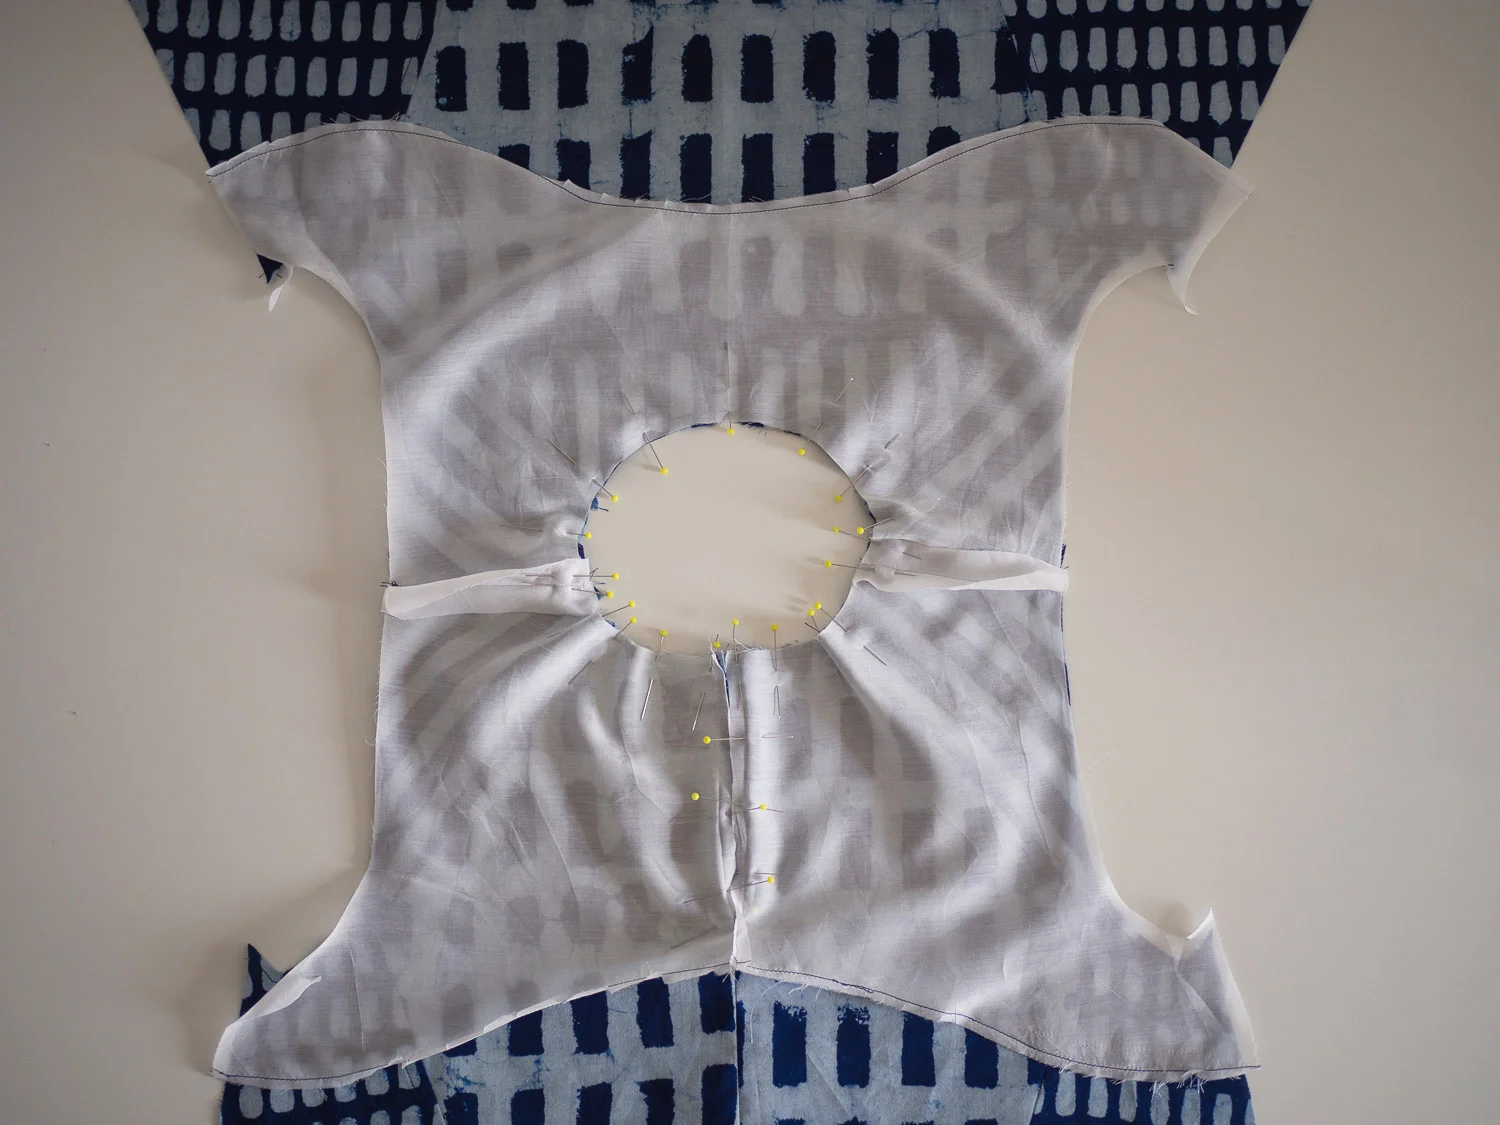
With the top inside out, give the facing a good press. You want to slightly roll the neckline and armhole seams in, so that are on the inside of the top (the understitching will help with this).
Pin the front facing in place on the two panel seams.
Do the same on the back, as well as at the side seams.
Working your way around the top, stitch the facing to the seam allowance at each point pinned.
Make your stitches slightly above the bottom of the facing, so that when the facing is turned down, the stitches are hidden underneath it.
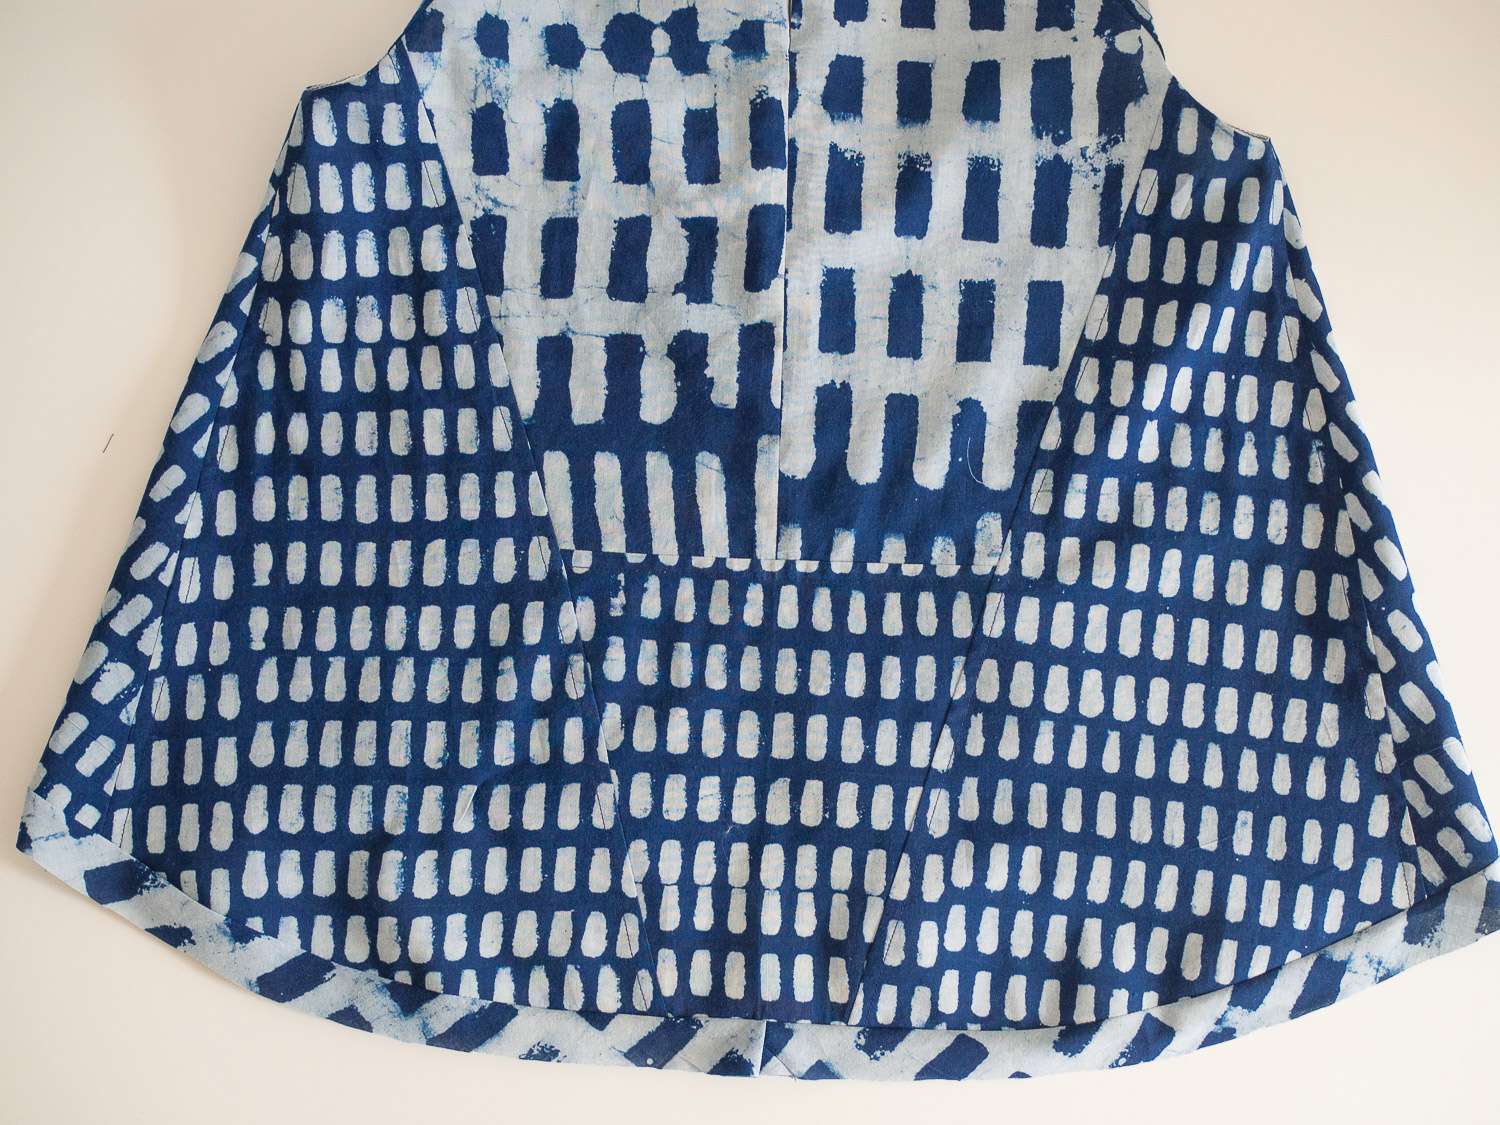
And that's it. Your Collins Top is finished! I hope you have enjoyed following along with these posts and have learned a new skill or two!


