One of the first tutorials I created for this site was about how to add seam allowance to a pattern. If you are going to draft your own patterns, this is really something you are going to need to know how to do (and it's also a greta place to start if you want to learn some basic pattern making principles). In today's tutorial, I'd like to expand on the basics a little. I'd suggest checking out the previous tutorial first if you are unsure how to add seam allowance, and then come back to this tutorial.
I did work experience with a local fashion designer while I was at university. One day a week I would go to her studio and help out with whatever tasks she needed help with. I learned a lot about things like how to cut fabric, how to trace patterns etc. (which have all really come in handy), but I'd say the best lesson I learned was about marking seam allowances. I remember being asked to add seam allowance to a particularly strange shaped pattern and realising I didn't know what to do when the pattern came to a point at one side. The designer I was working for told me to think about how the piece needs to sit once the seam is sewn and pressed and that should help me work it out. This now seems very obvious, but at the time it was a real 'wow' moment. From that moment on I never struggled, and it is a way of doing seam allowances that I have brought into my patterns. Over time, I have learned this is not always the way it is done and users of my pattern always get really excited about it and see it as a nice little detail in the process, that helps you achieve a really beautiful and professional finish in your hand-made wares. So I thought I'd share it with you today!
An example
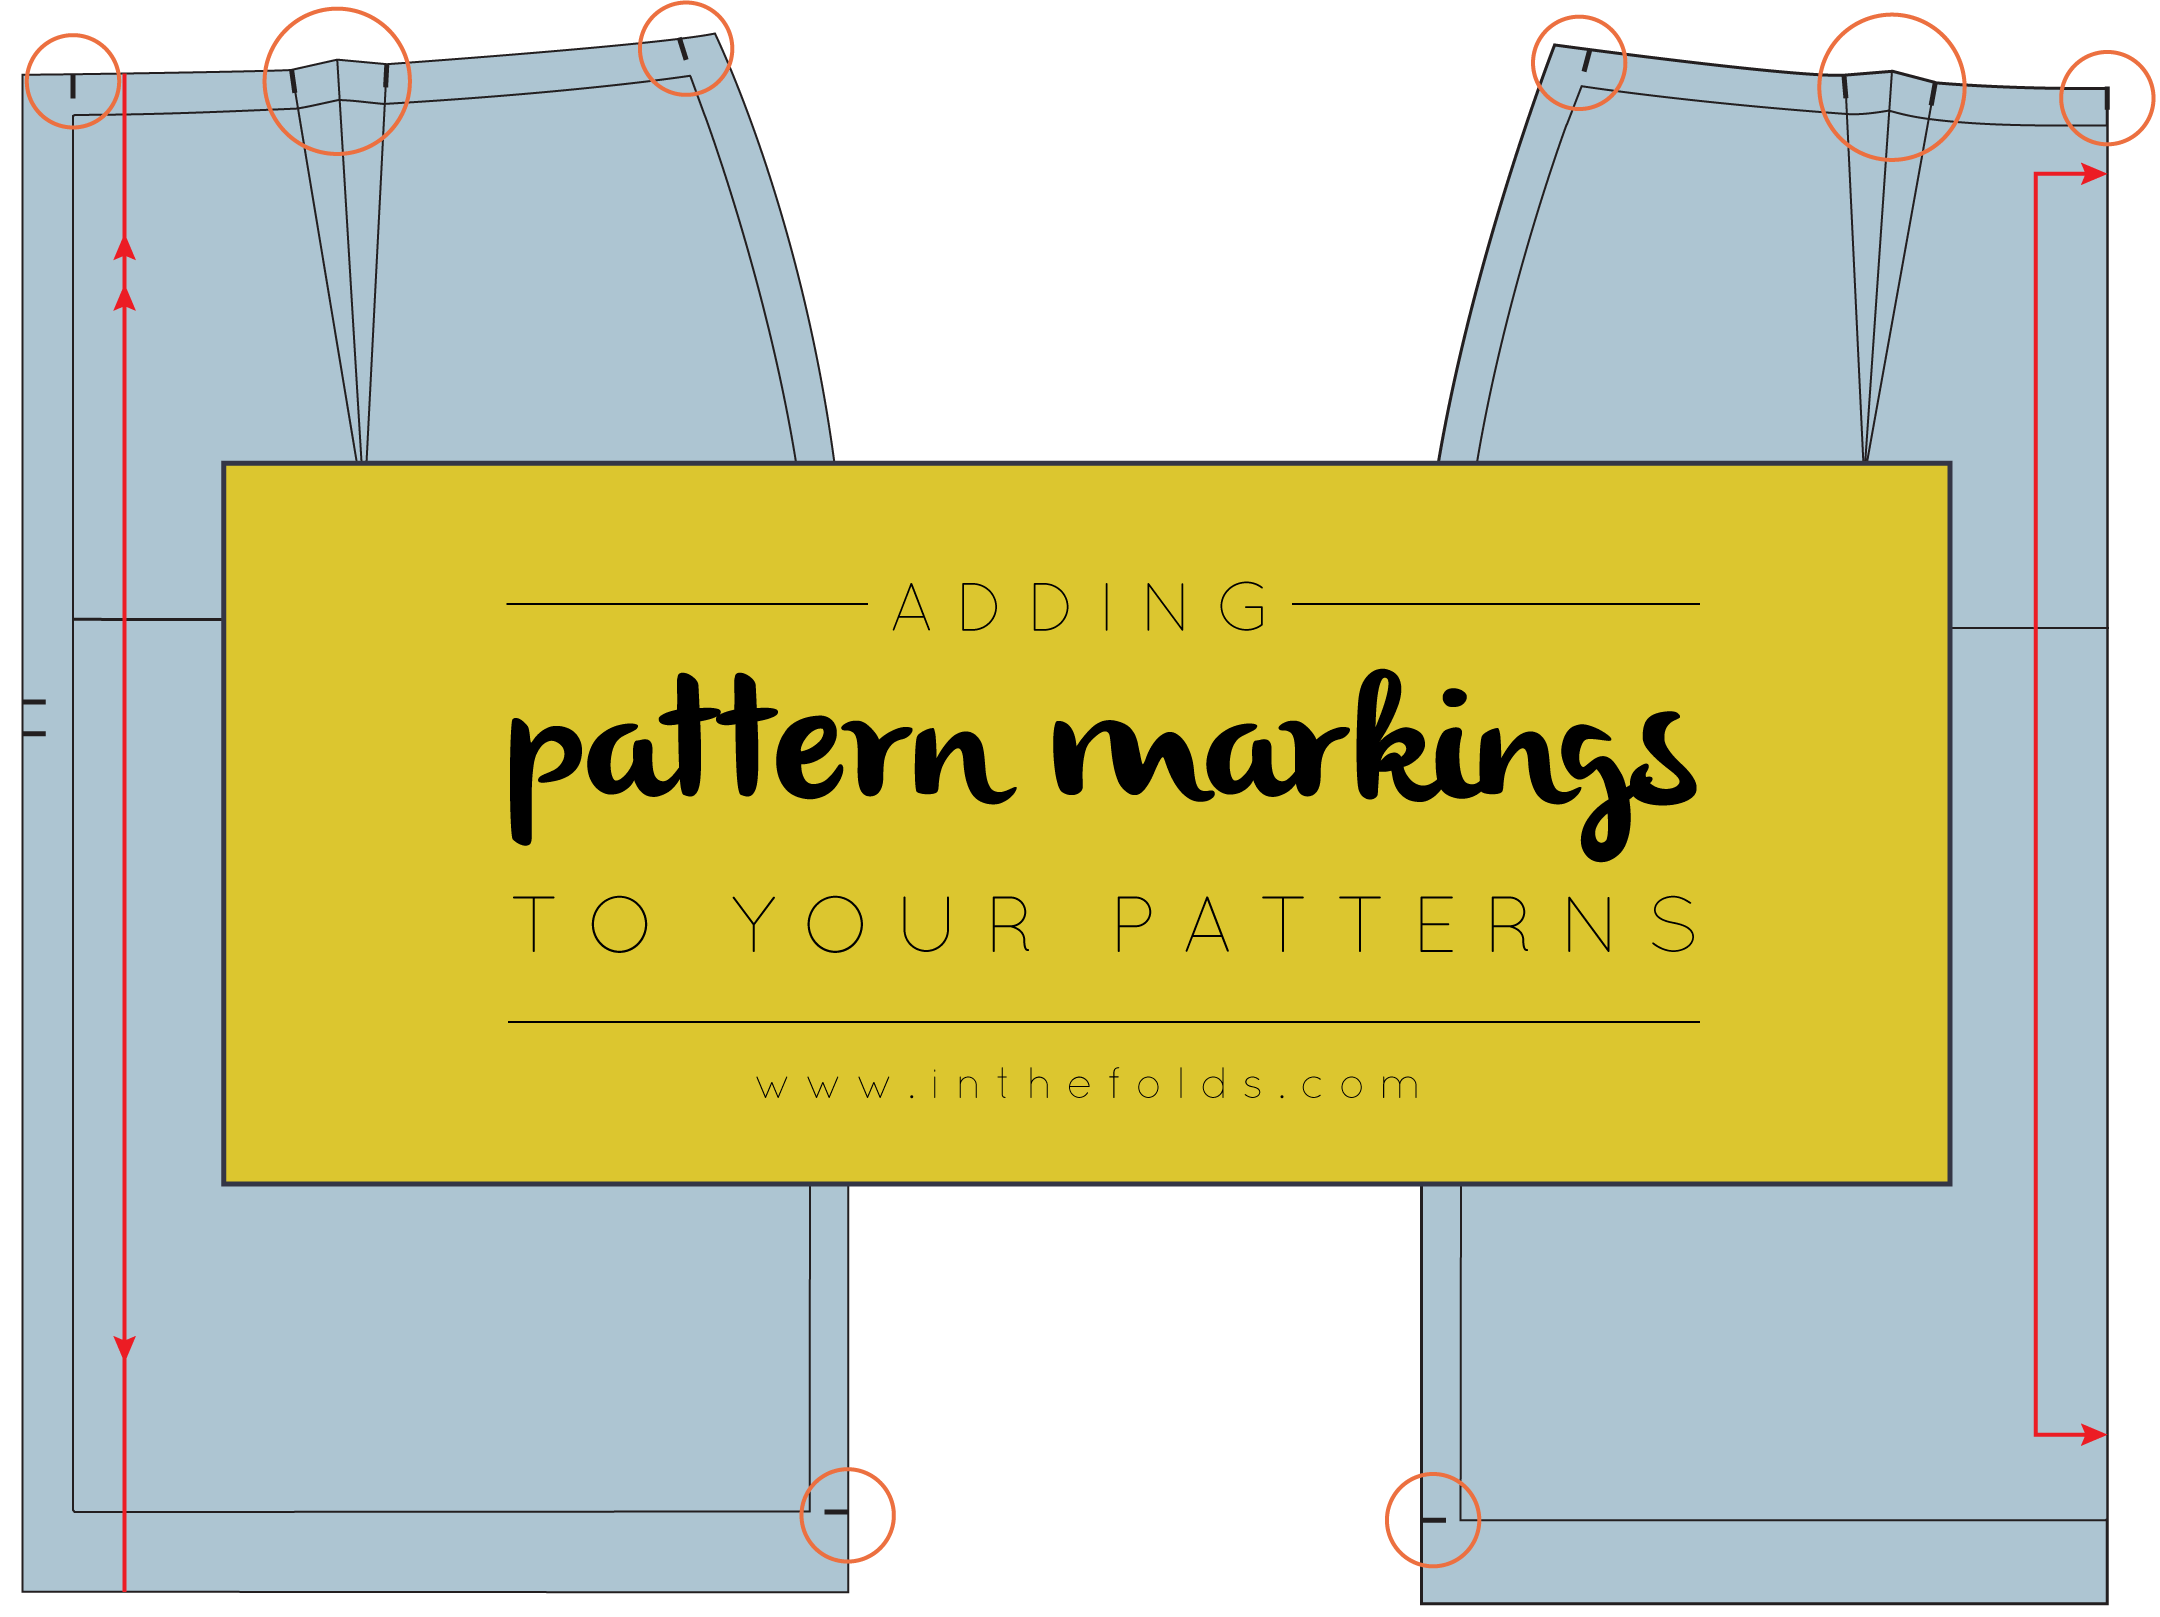
Here is an example of what I am talking about from the Rushcutter sewing pattern (as the old saying goes, a picture really is worth a thousand words). This is the pattern piece for the raglan sleeve, and you will notice that at the seam where the sleeve joins to the centre front panel the seam allowance comes to a strange looking point.
The reason for this is that, after this seam is stitched and then pressed open, with the seam allowance cut like this, it will be able to sit flush with the edge of the sleeve. This will help you get a lovely clean finish when you attach the sleeve to the armhole of the dress.
How to do it
Take the pattern you are adding seam allowance to. For the sake of the example, I have just used the front pattern piece from a sleeveless top pattern. (which I showed you how to make last week).
Start by adding seam allowance to the straight seams. I'd suggest between 1.2cm (1/2in) and 1.5cm (5/8in).
Add seam allowance to the curves. Curved seams require a slightly smaller than standard seam allowance (as this helps when you are sewing them) so I'd suggest 6mm - 1cm (1/8in - 3/8in). If you're not sure how to add seam allowance to curves, there is information about it in my previous tutorial on adding seam allowances.
What I didn't go into in the last tutorial was what to do at intersection points. It's not a problem if your pattern piece is made up of straight seams on all sides, but if, like in the example, your pattern has a mixture of straight and curved seams, you will have to add one extra step to the process.
Focus on one particular area to start. I will start with the shoulder seam. Fold along the shoulder line. This is the original shoulder line, not the seam allowance line. By folding along the shoulder line you are able to see what will happen when the seam is stitched and pressed open (which is normally the case with shoulder seams).
Take a tracing wheel (or awl) and trace over the lines that indicate the seam allowance on either side of the shoulder seam (the armhole and the neckline) for approximately 2-3cm (1in).
Unfold the pattern and you will see that you have transferred the shaping to the shoulder seam.
Use a ruler and pencil to join the dots created by the tracing wheel.
You will see that when you fold back the seam allowance on the shoulder seam, it now sits flush with the armhole and neckline.
Next, we'll move onto the side seam.
Again, fold along the stitch line.
Use a tracing wheel to trace along the armhole and hem line (the seam allowance line, not the stitch line) for approximately 2-3cm (1in).
Unfold to see the lines that have been transferred to the side seam and mark with a ruler and pencil.
Repeat process form all pattern pieces, and that's it, you're done!


