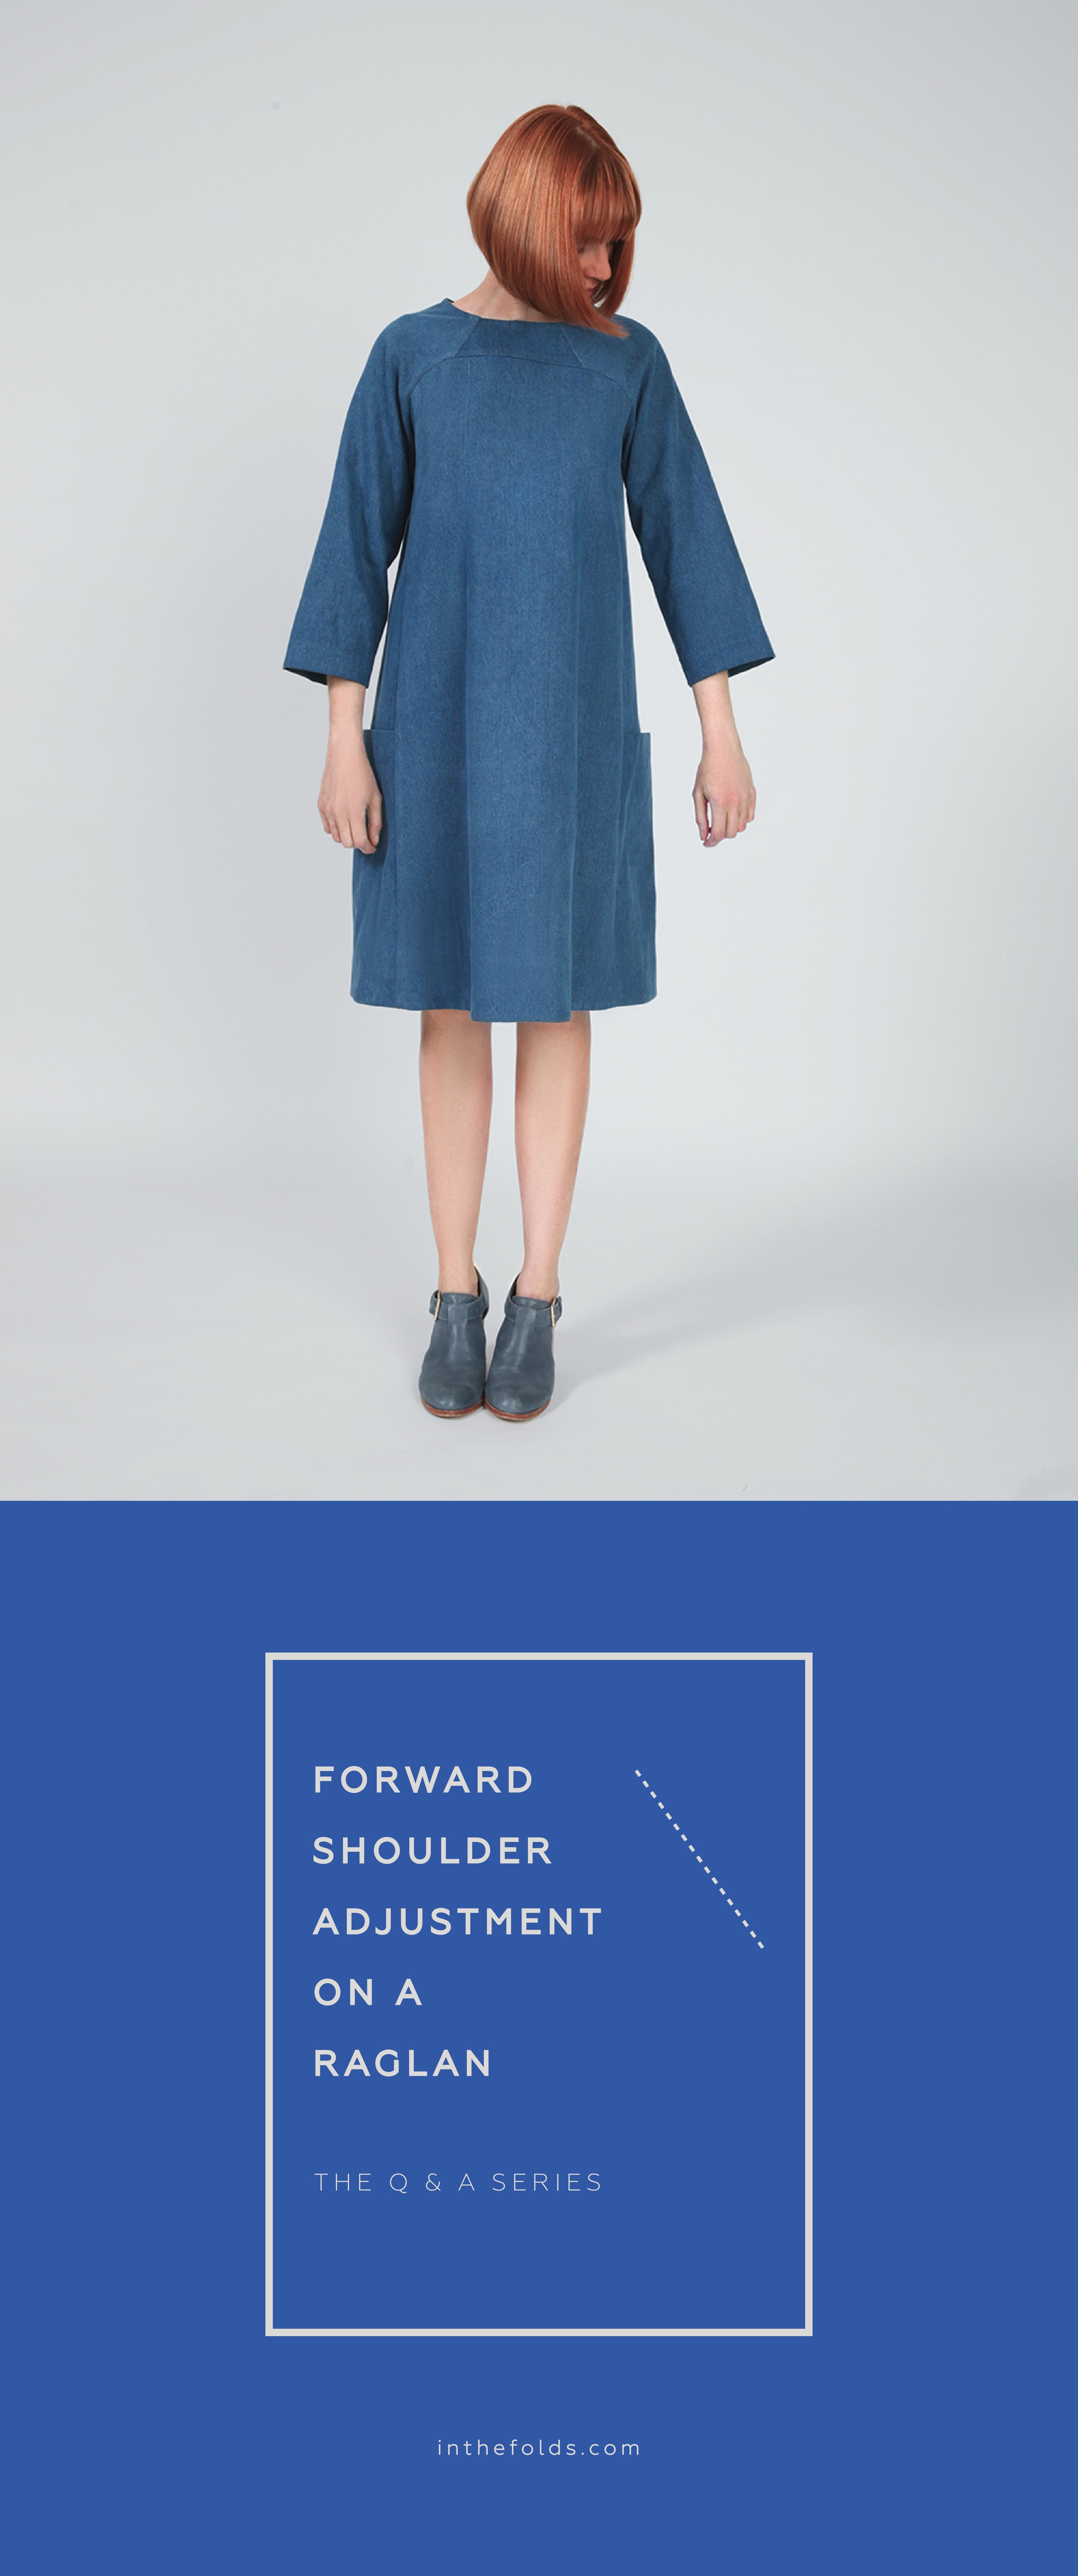
THE Q & A SERIES
Forward shoulder adjustment on the Rushcutter dress
Dear Emily,
I would like to know how to make a forward shoulder adjustment on the Rushcutter dress. The neckline always slips back, which can be a bit annoying. My Rushcutter is one of my all-time favourite makes, and I'd still rather wear a me-made dress from a pattern and fabric I chose than a rtw one, even with its flaws!
Thanks in advance,
Anna
Hi Anna,
Thank you for getting in touch. I'd be happy to help you with this so that you don't have this problem with your next Rushcutter dress.
The process is a little different on a raglan sleeve, than how you go about it on a regular set-in sleeve, due to the dart.
Step 1
What I'd suggest you do first, is put that Rushcutter dress on and see where the dart is sitting. If the top of the dart (the part of the dart at the neckline) is sitting on your shoulder line, you may only need to move the dart tip forward to suit your shoulder shape. Use a pin to mark your shoulder tip on your sleeve and then transfer this point onto your pattern.
If you don't have a toile made, but a forward shoulder adjustment is a regular adjustment for you, you can hold the sleeve pattern piece on your shoulder to check the dart position.
Re-draw the dart, using the new point as the dart tip. You will need to alter the dart shaping on the neckline to reflect the change of the angle - you can check out STEP 6 for how to do this.
If the entire dart is sitting back from your shoulder line, measure how far forward you would like to move the dart by looking at your toile. Take note of this measurement and move to STEP 2.

Step 2
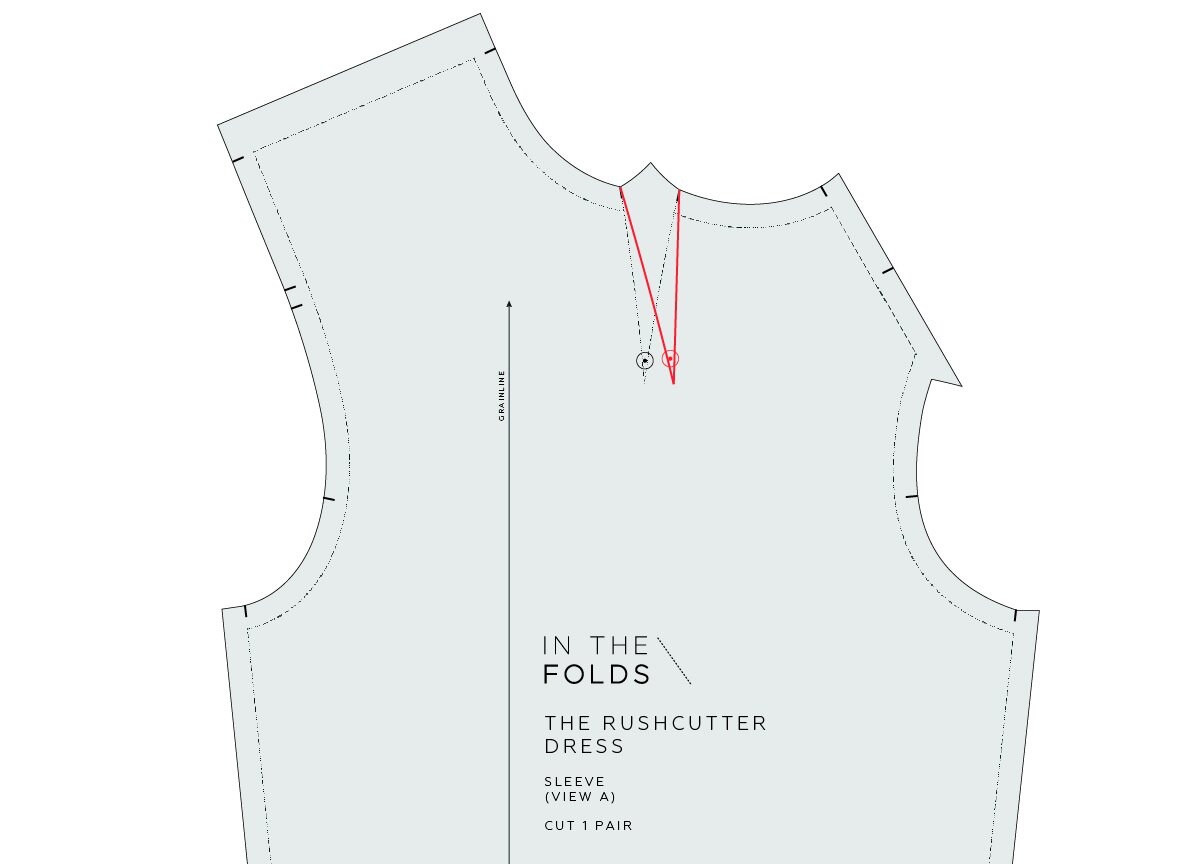
Trace a copy of the SLEEVE [5] if you think you might like to go back to the original pattern. When tracing, be sure to trace the dart, drill hole and notches.
Draw a box around the dart. The sides of the box should be parallel to the grainline and the bottom of the box should be perpendicular to the grainline. You need these lines to be close to the dart, but not cutting through it at any point.

Step 3
Cut out the box.
Mark the amount by which you need to move the dart, by measuring from the right side of the cut-out box. Mark distance with a line that is parallel to the side of the box / grainline.

Step 4
Take the box with the dart on it and line up the edge of the box with the cut line marked in the previous step. Tape or glue in place.

Step 5
Fill the gap in the pattern with some pattern paper, using tape or glue to hold in place.
As you can see, the dart is now in the correct position for your shoulder line.
We now need to re-draw the neckline and fill the gap in the neckline.

Step 6
Fold the dart as if it has been sewn. To do this, fold along the dart arm closest to the back and fold towards the front dart arm. As you are trying to make the two dimensional paper into a three dimensional shape, the easiest way of doing this is to place the tip of the dart onto the corner of a table or large book. More detail about this technique can be found here.
Re-draw the neck line STITCH LINE using a French curve or by pivoting a straight ruler. The line needs to start and finish at the original stitch line and be as close to the original line as possible.

Step 7
Take a tracing wheel and trace the new neckline STITCH LINE so that the line is transferred onto the folded section of the dart.

Step 8
Unfold the dart and trace over the markings created by the tracing wheel.
Add seam allowance on to the new neckline STITCH LINE.
Move the dart notches to the new neckline CUT LINE.

Step 9
Cut along new neck CUT LINE to remove any excess paper.
You are now ready to sew your new Rushcutter sleeve!
Happy sewing,
Emily
For more issues of the Q & A series, you can check out the archive here.
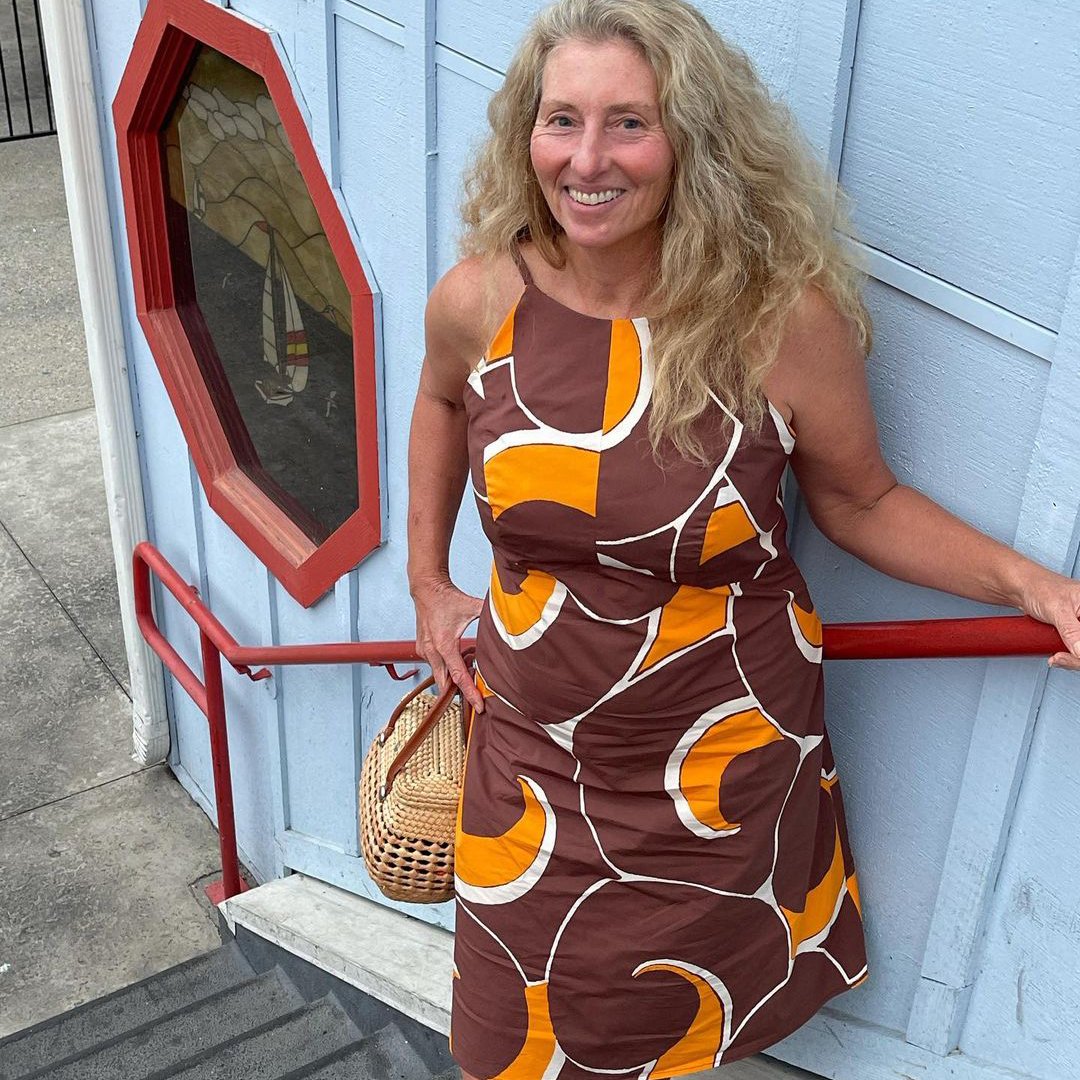
What you’ve been making

Acton dress made by @missalishagrace

Peppemint jumpsuit made by @nicolekligerman
Acton dress made by @seagyrl

Rushcutter dress made by @apple_franca


