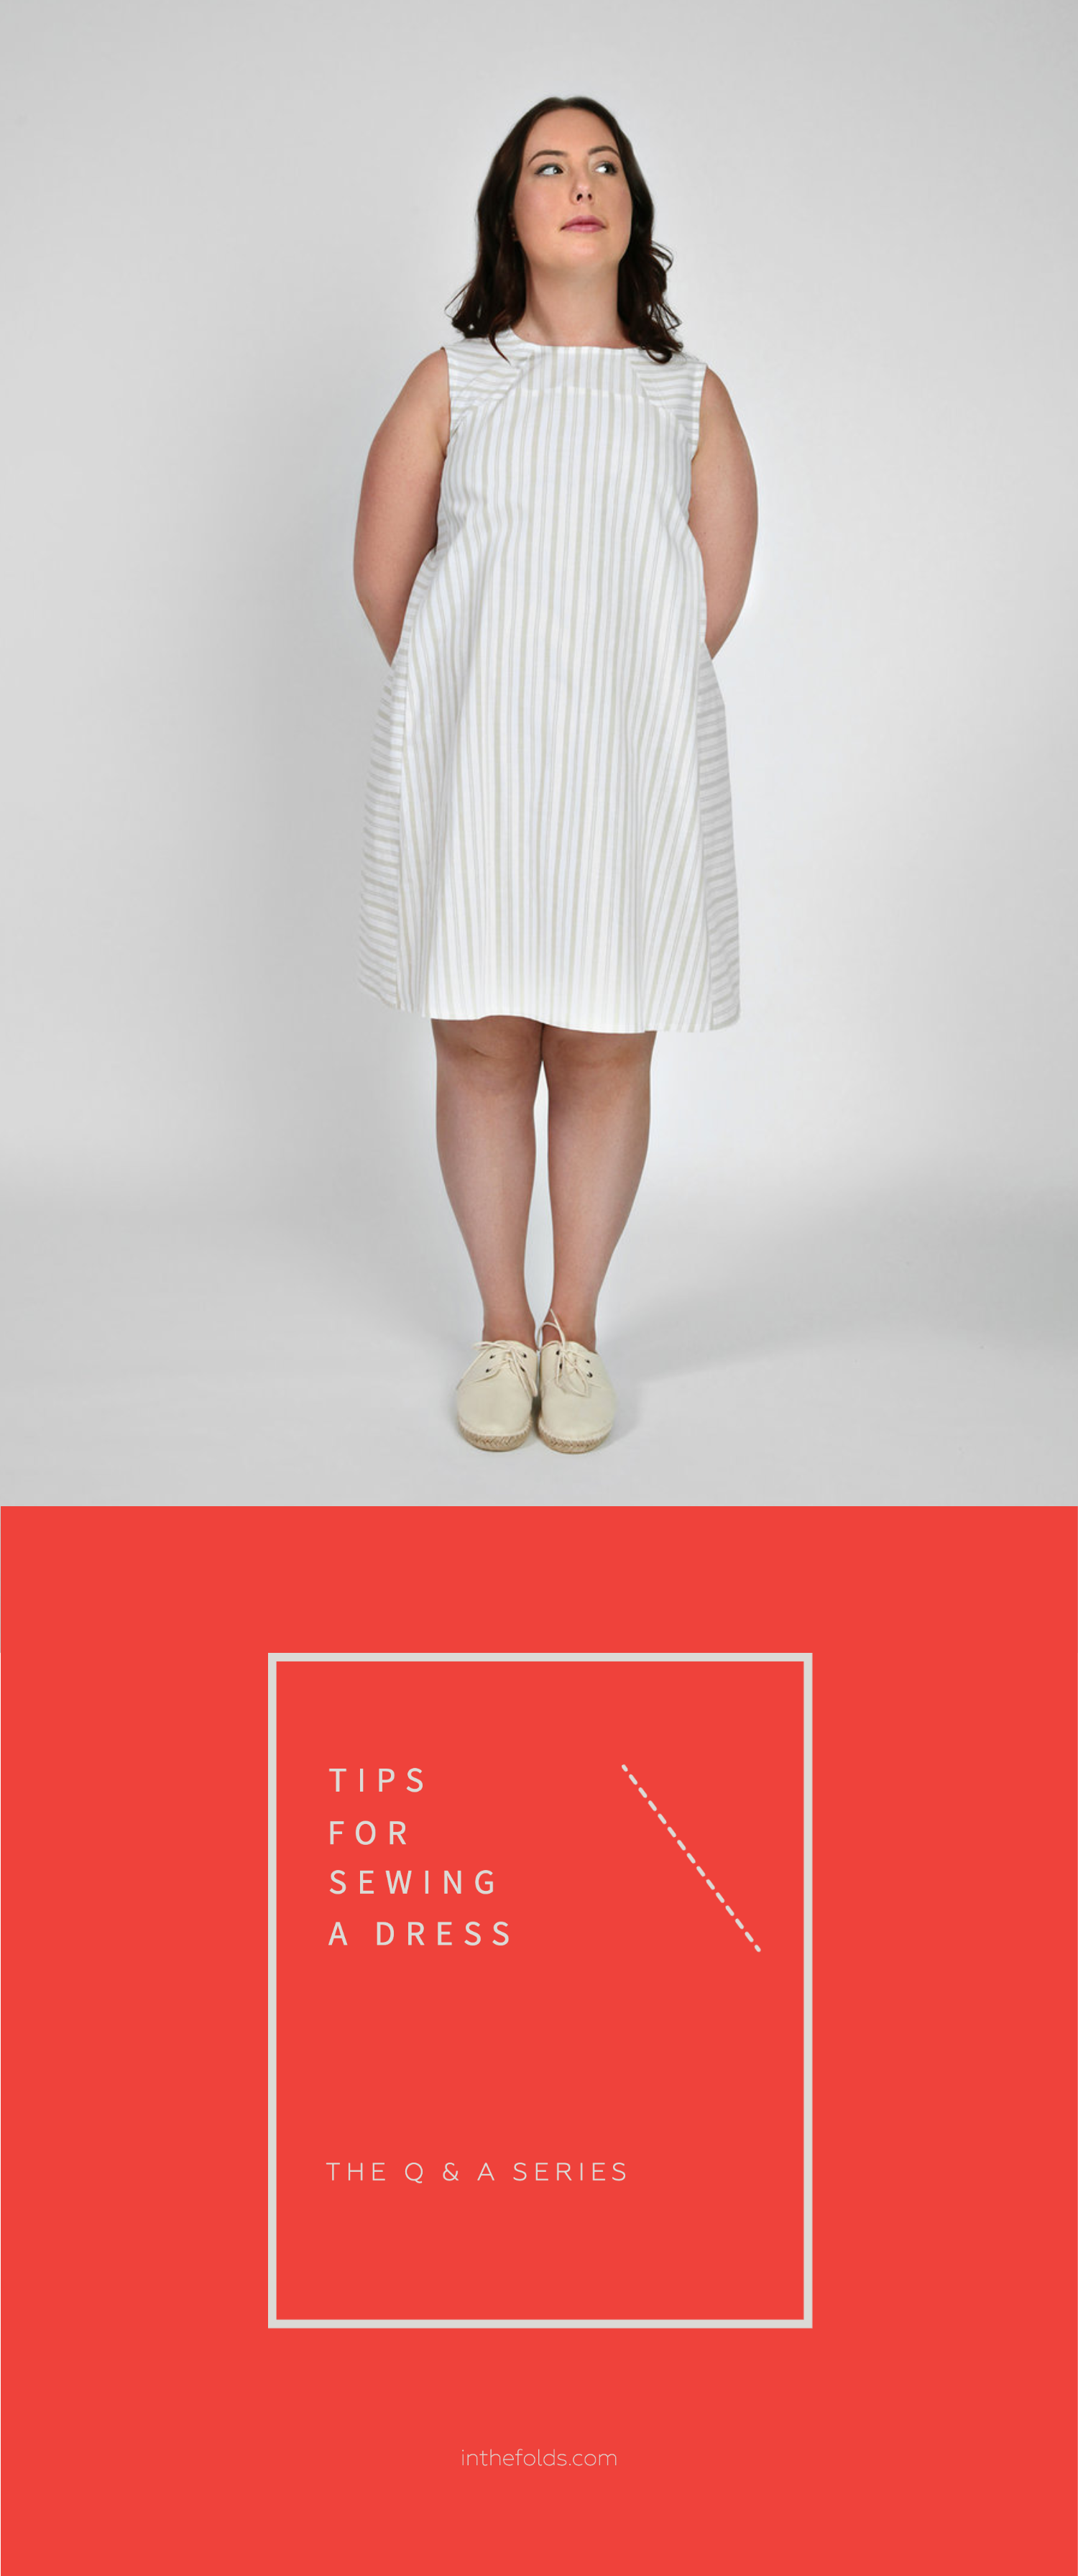
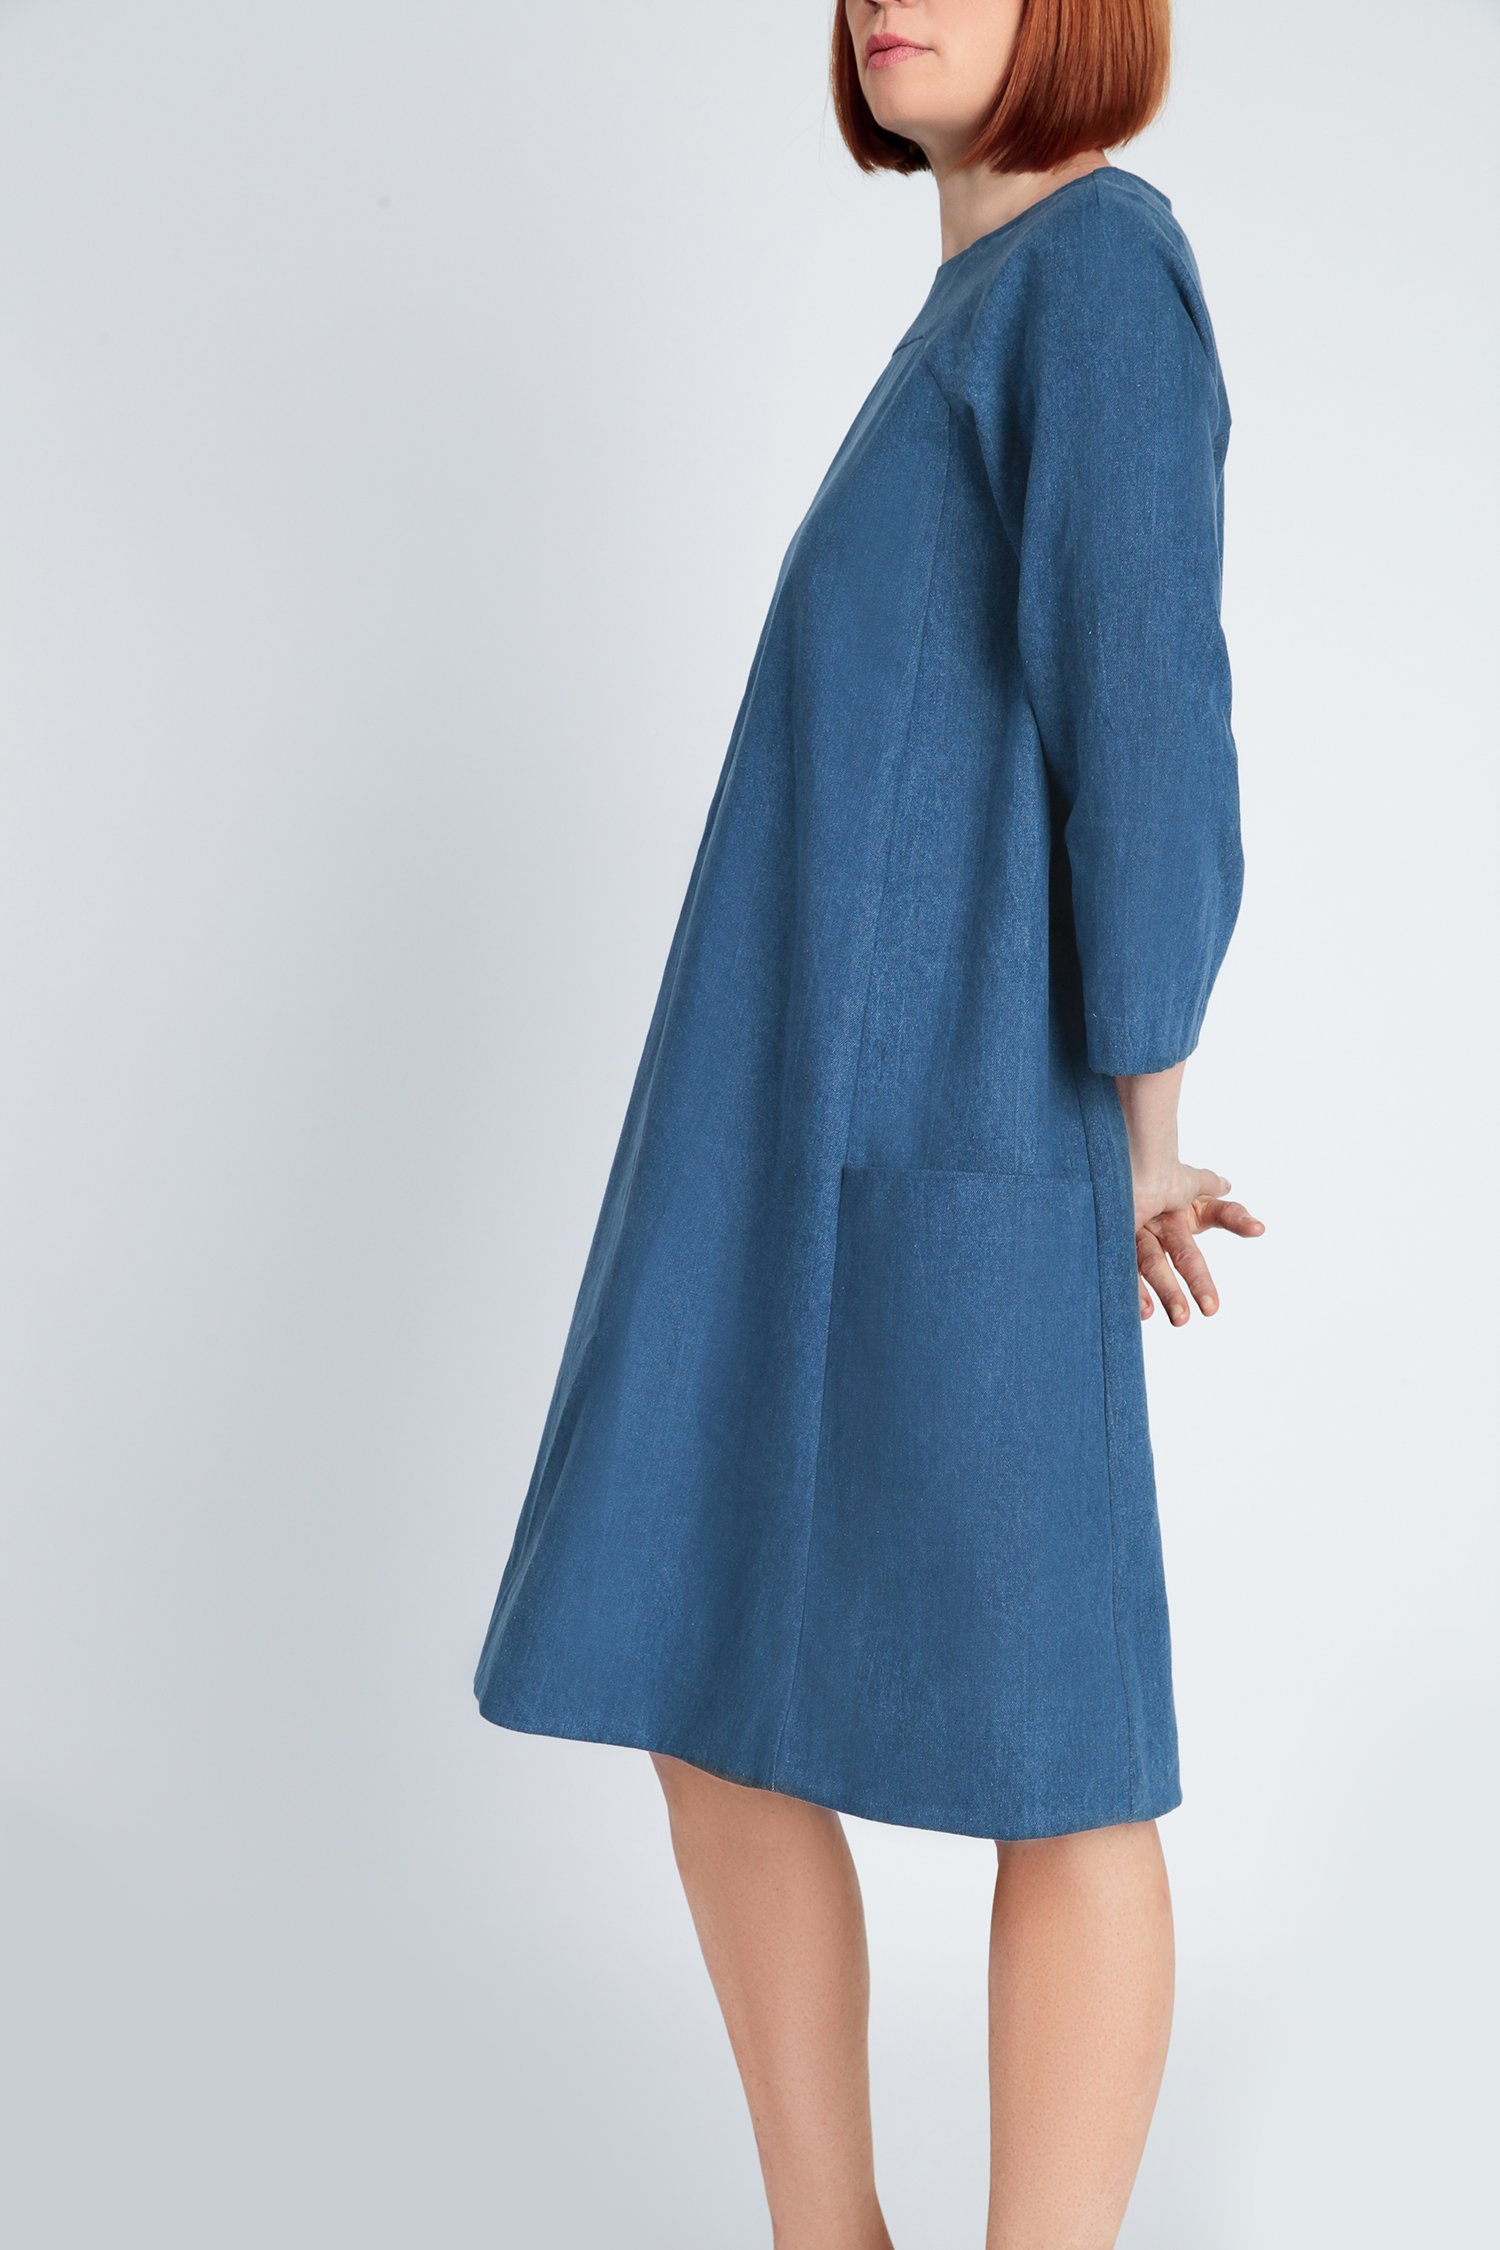
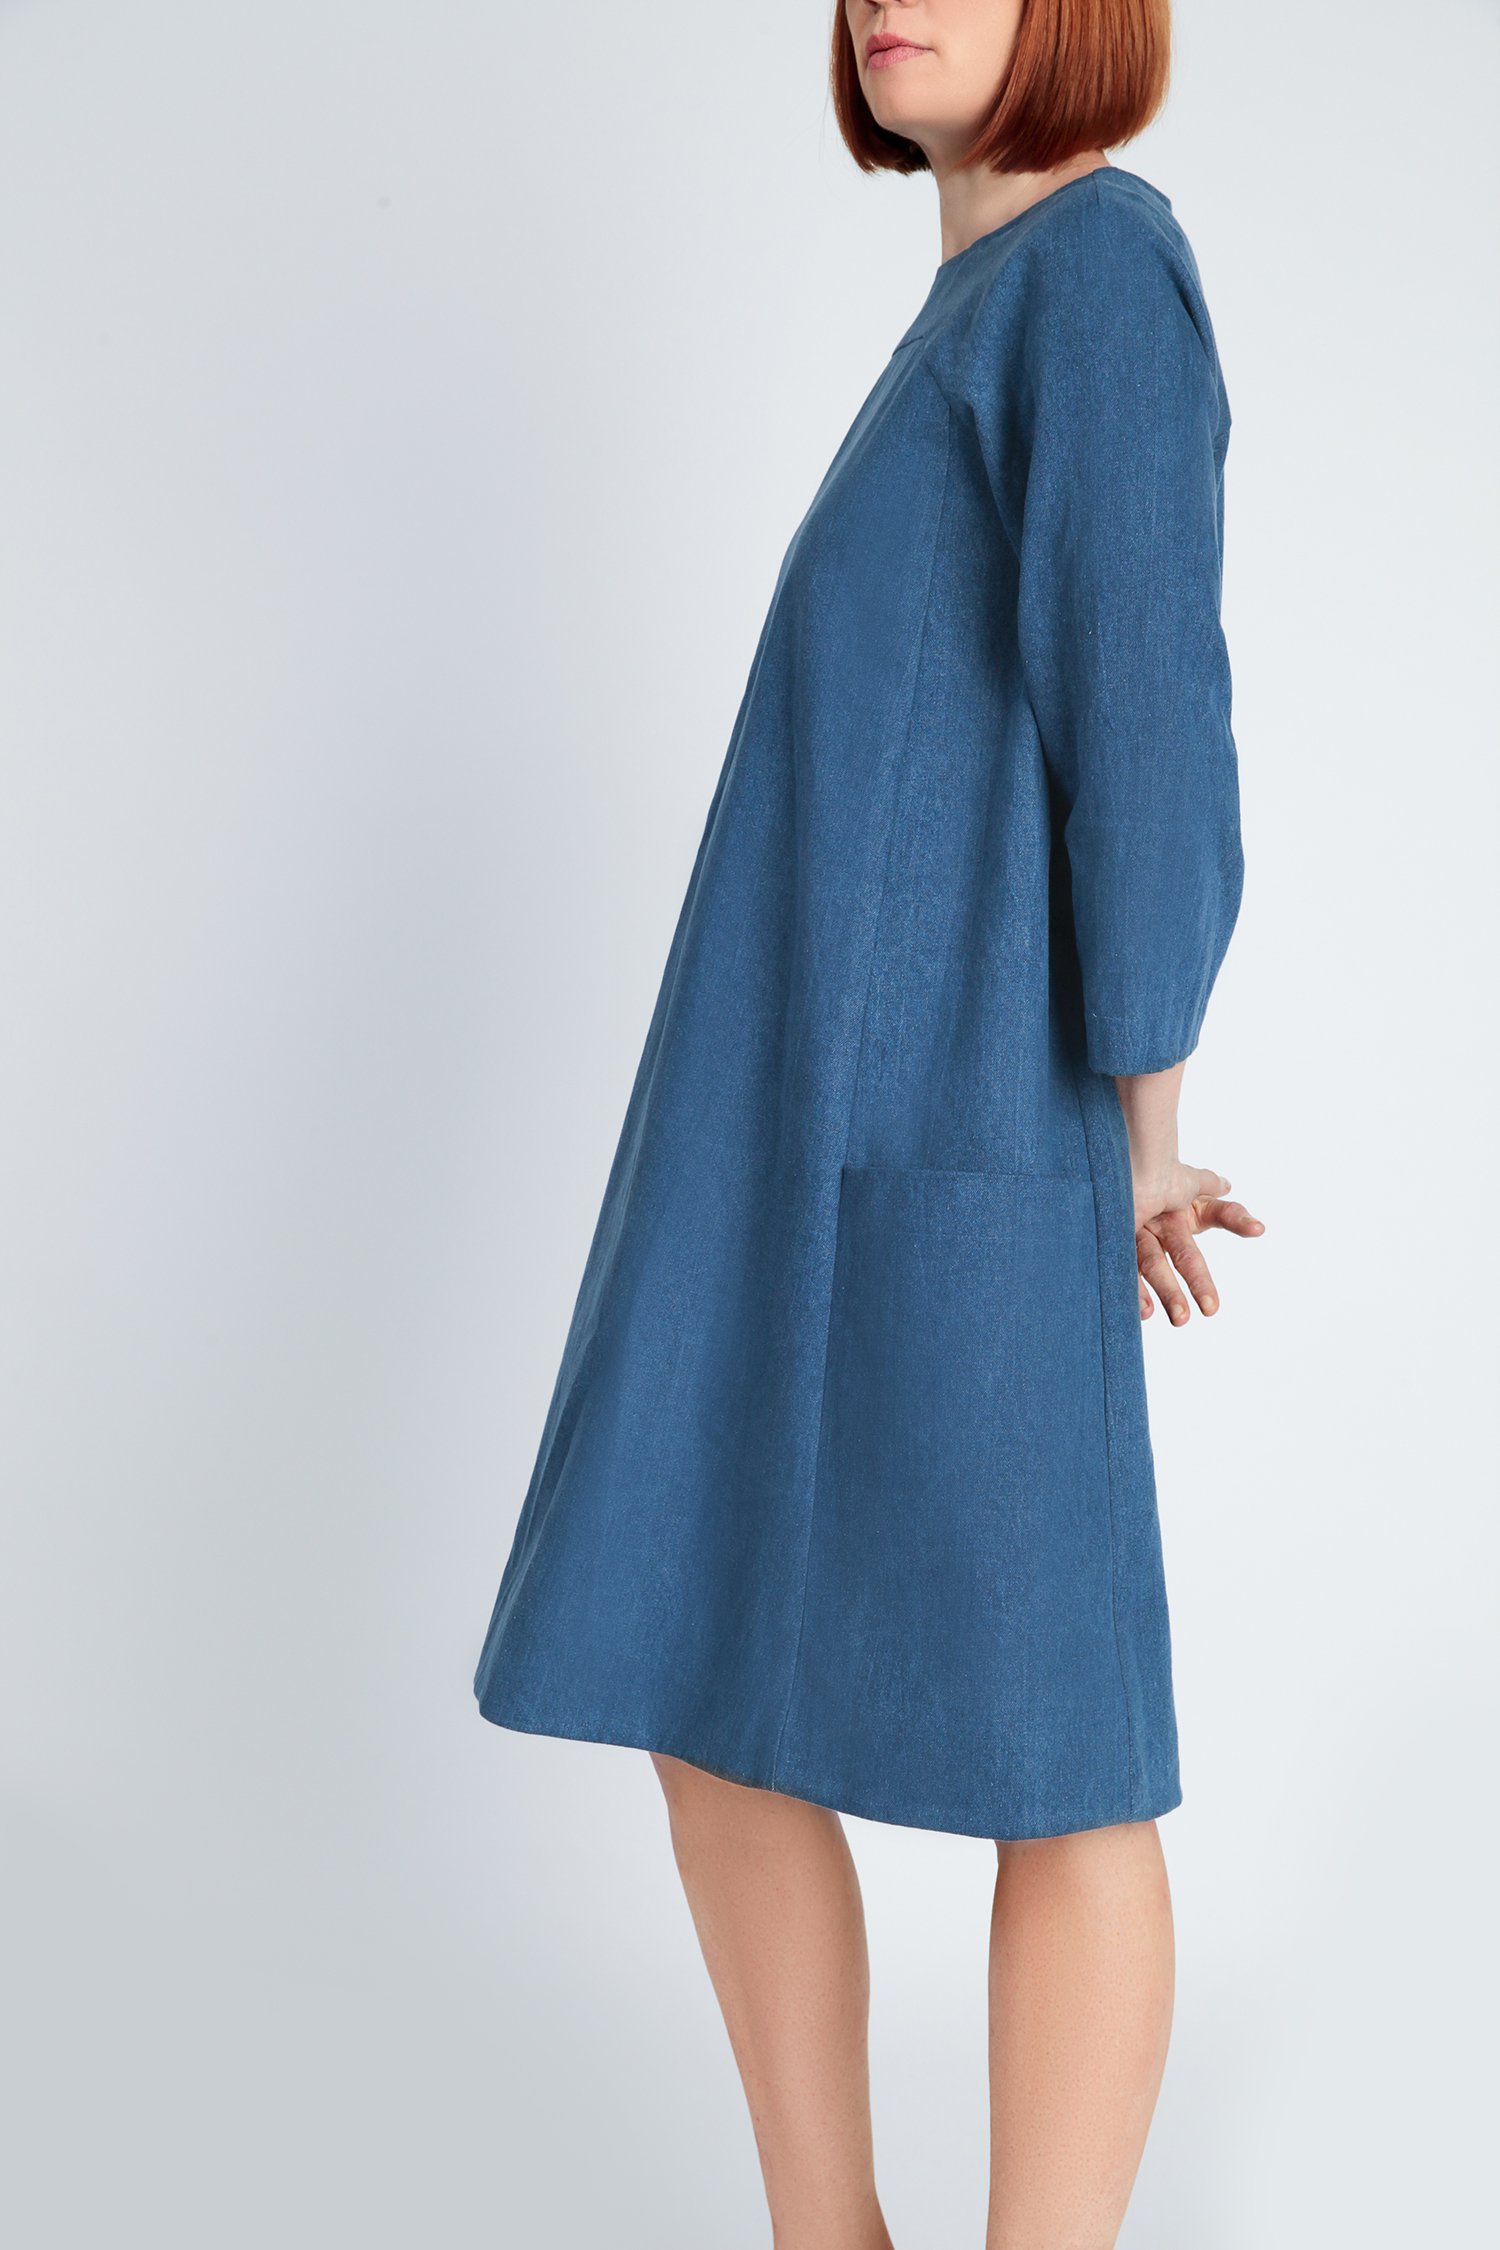
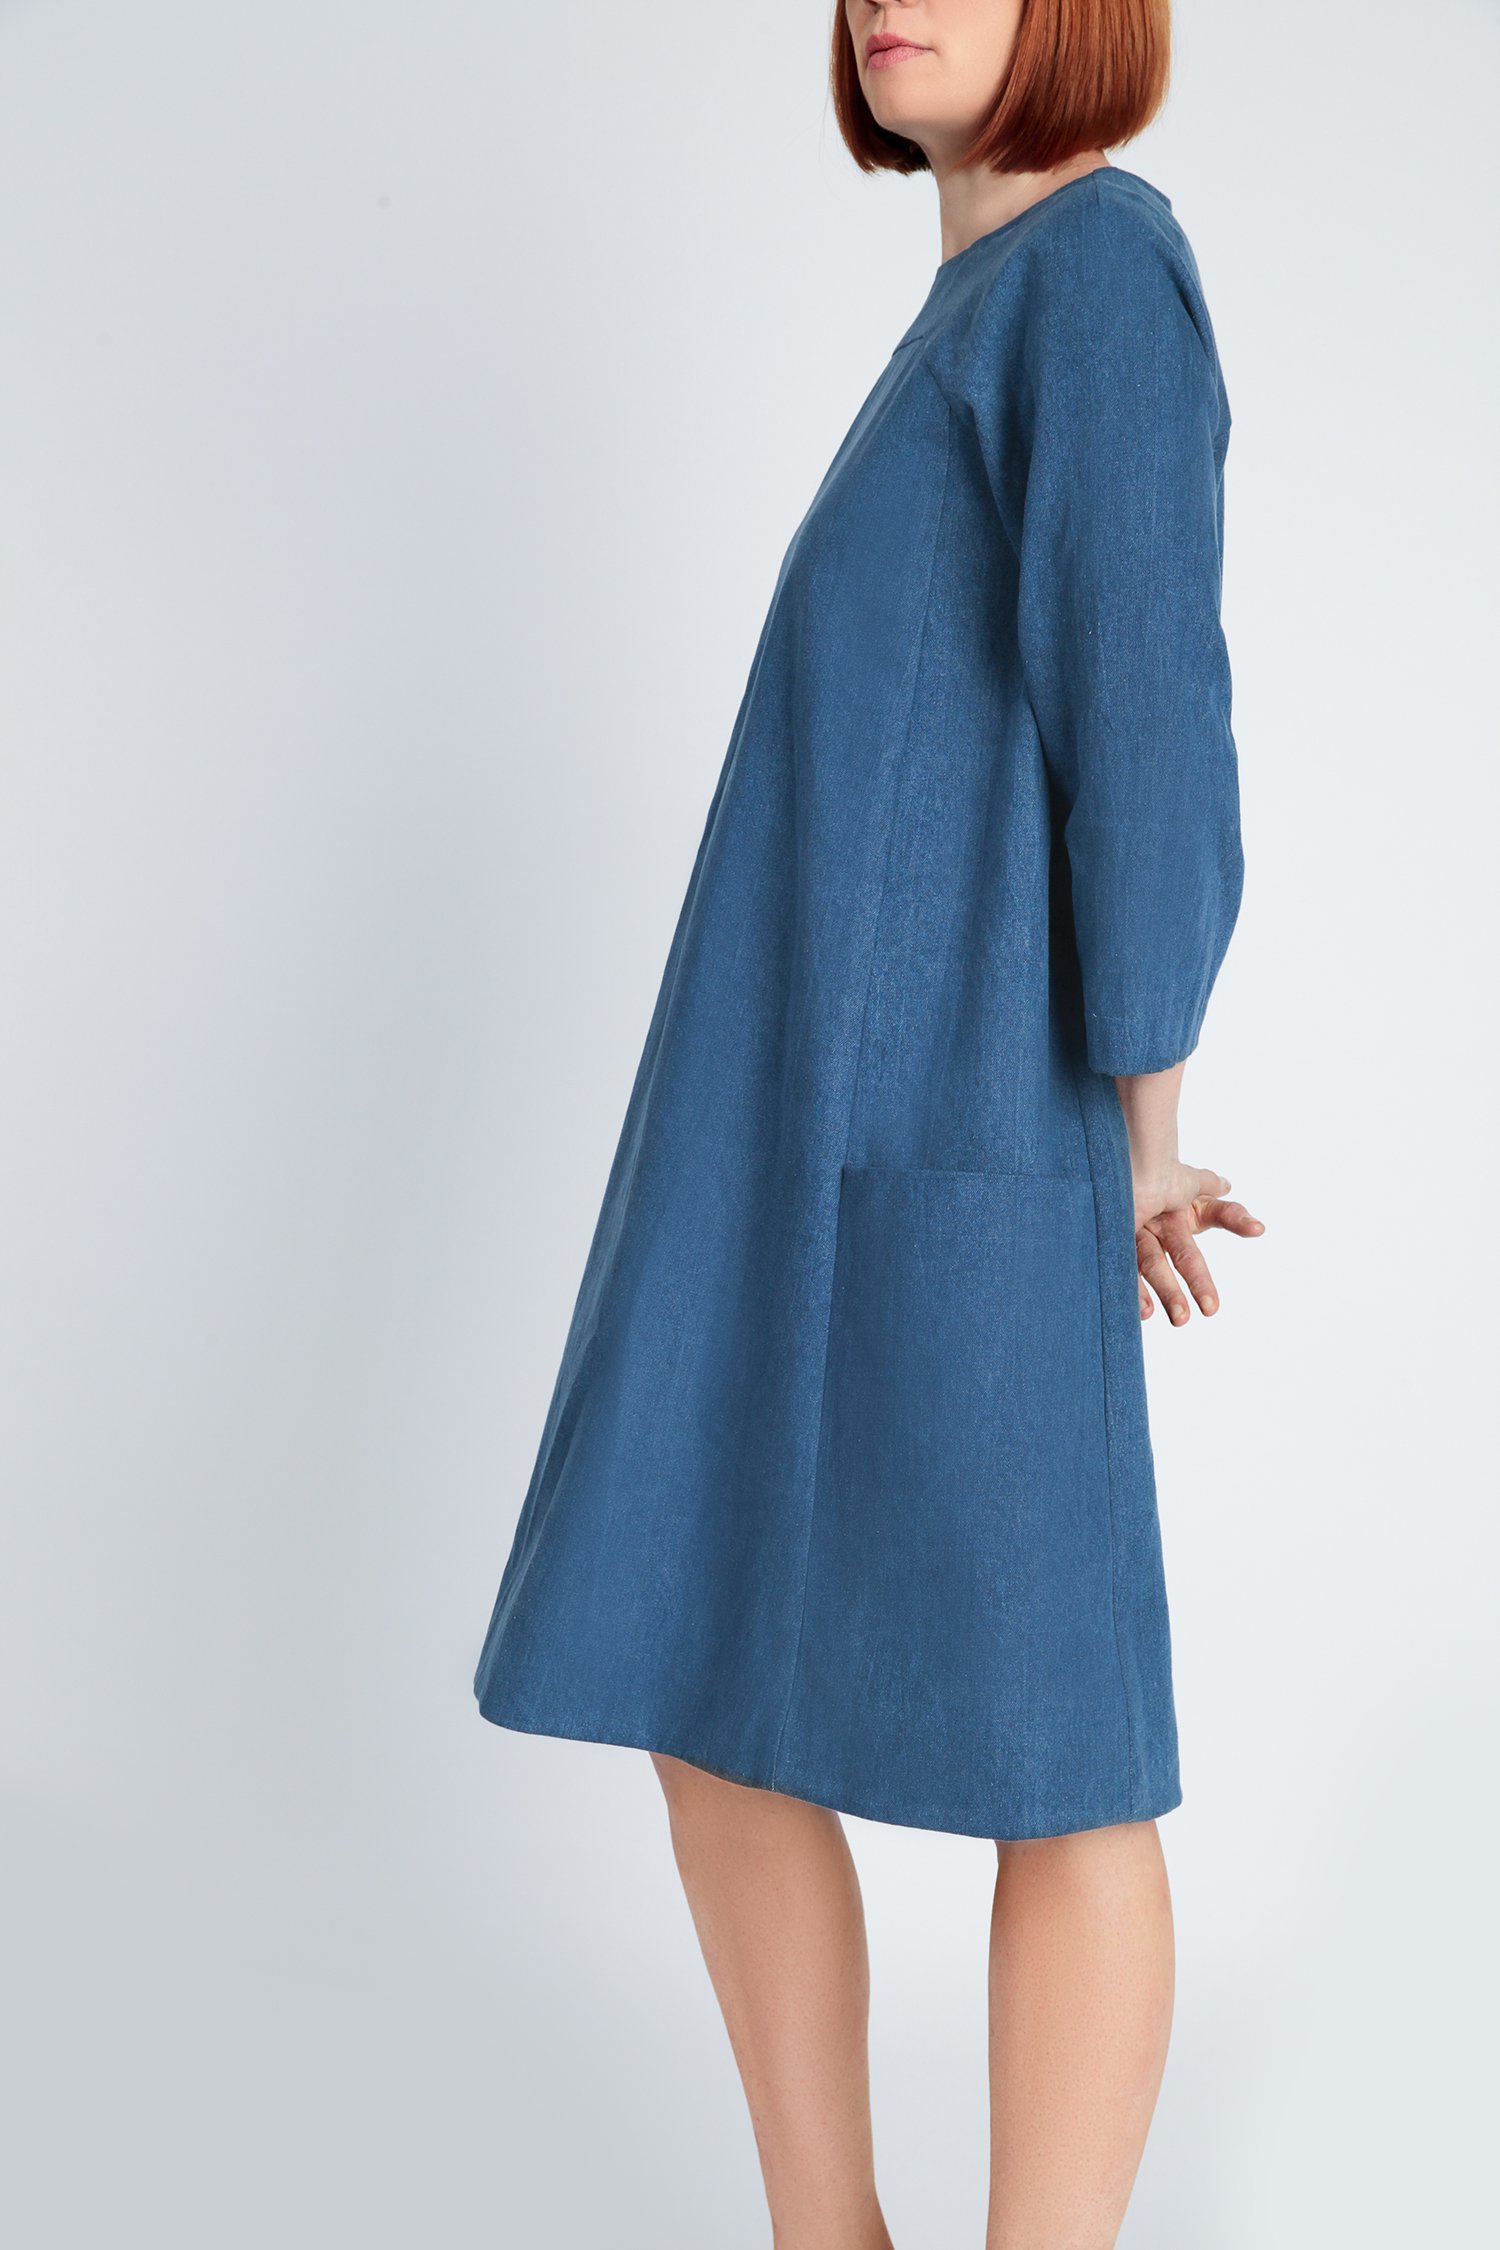
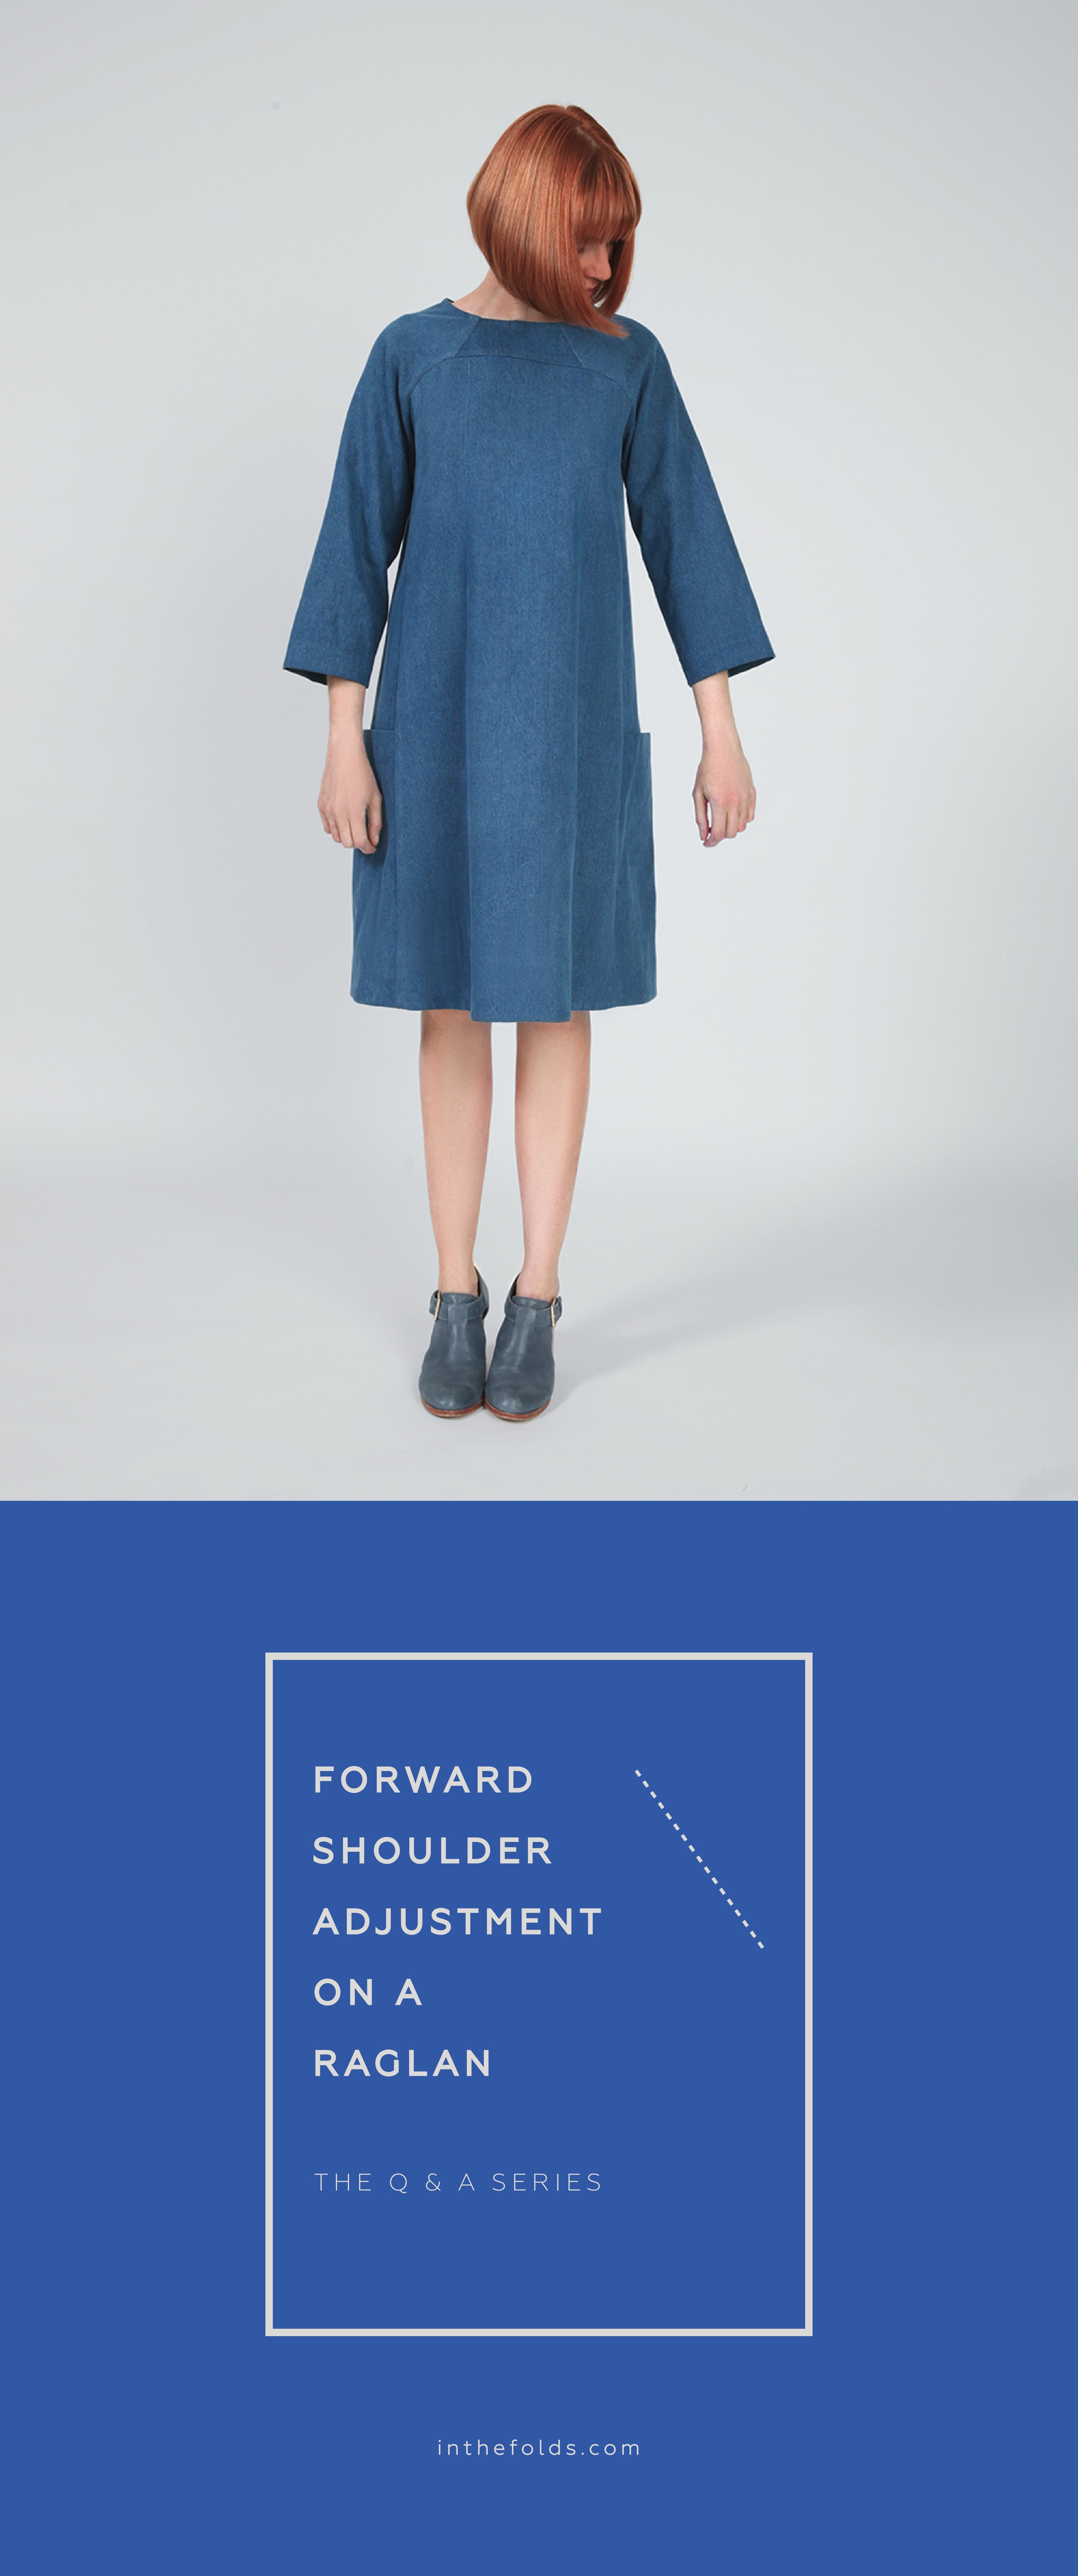
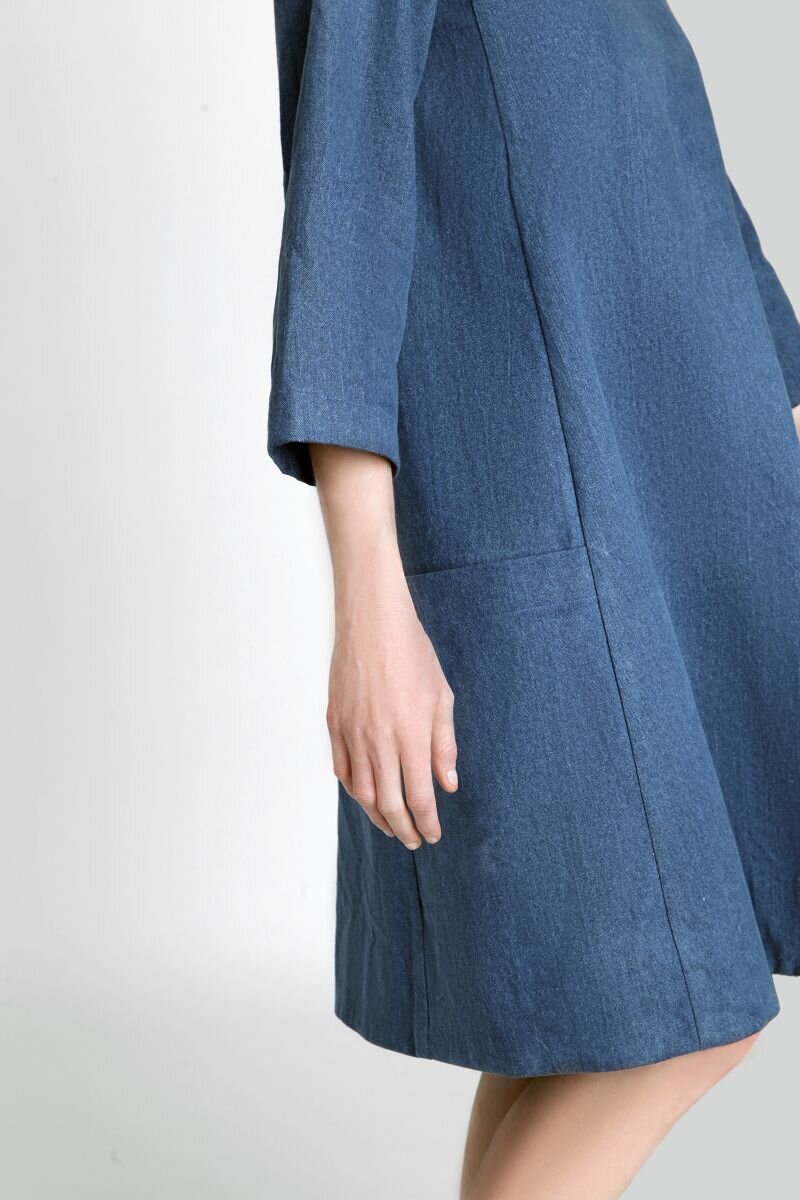
Rushcutter dress

Issue 151 - Tips for sewing a dress

Tips for sewing a dress.

THE Q & A SERIES

TIPS FOR SEWING A DRESS

Hi Emily,

I’m making the Rushcutter dress. Have you any tips? It’s my first dress.

Sonya


Hi Sonya,

Great to hear you’re giving the Rushcutter dress pattern a go! This was the very first pattern we released and has become an all-time favourite since then.

We’ve got dresses on our minds this month as we just released the Cartwright dress and top pattern in our Curated by ITF membership, and we think they’re a super fun project to make. 

Dresses make great additions to a wardrobe because they’re a complete outfit - no need to think about what other garments go with them! Which definitely makes getting dressed in the morning much easier. I think a dress is also a great opportunity to be a bit daring with your fabric choice through fun prints and bright and bold colours.

My top tips for what to do before making a dress (or any project really!), would be:

READ THROUGH THE INSTRUCTIONS BEFORE YOU START

This will help you prepare and familiarise yourself with the techniques used in the pattern, so that once you get started you have a rough idea of the construction process of the dress will play out. 

The Rushcutter is a good example of the importance of doing this, because it has a particularly fun way of coming together, so even just seeing the illustrations will be helpful. 

Any journey is a little easier when you know where you’re heading, so don’t skip this step!

CHECK OUT THE RELATED HASHTAG ON INSTAGRAM

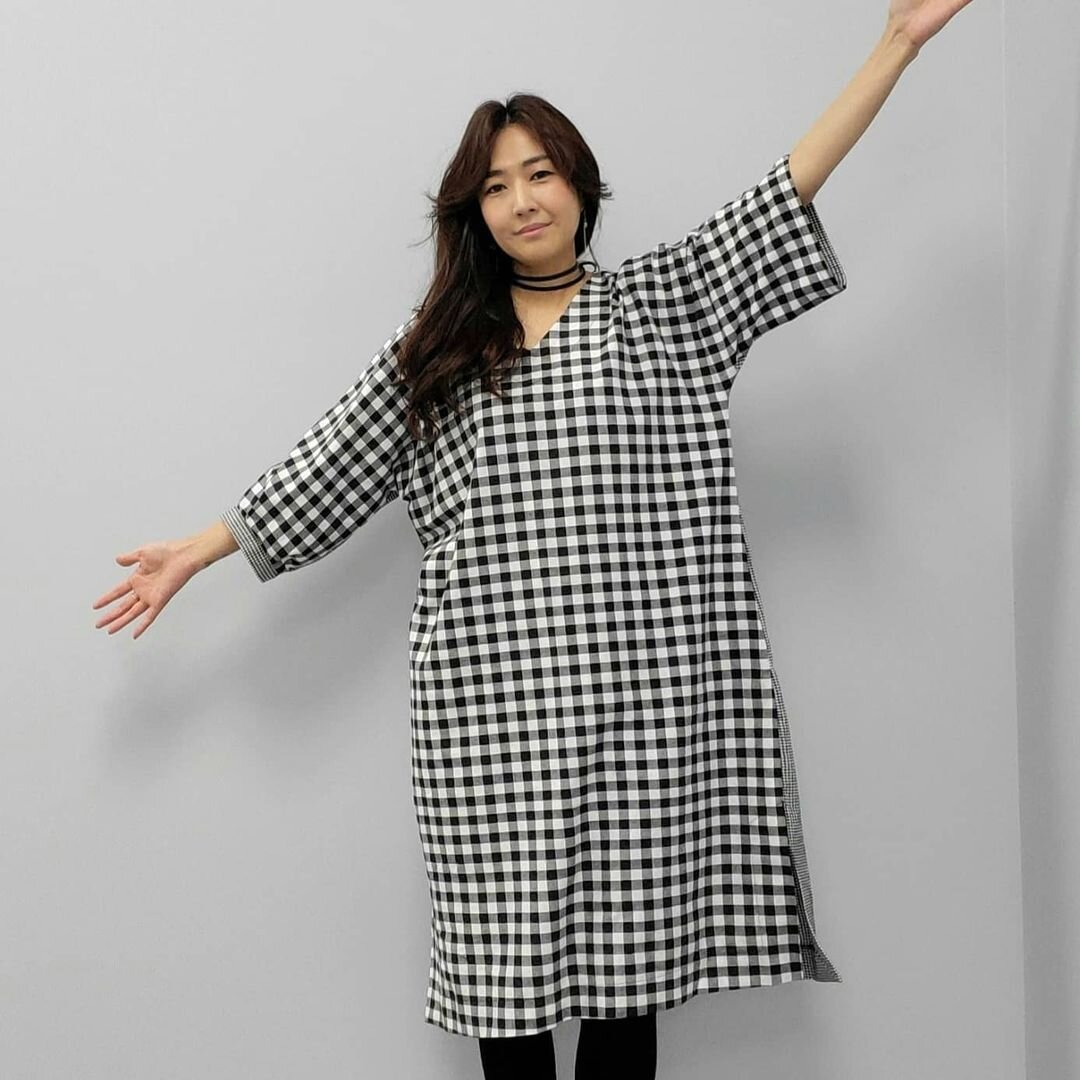
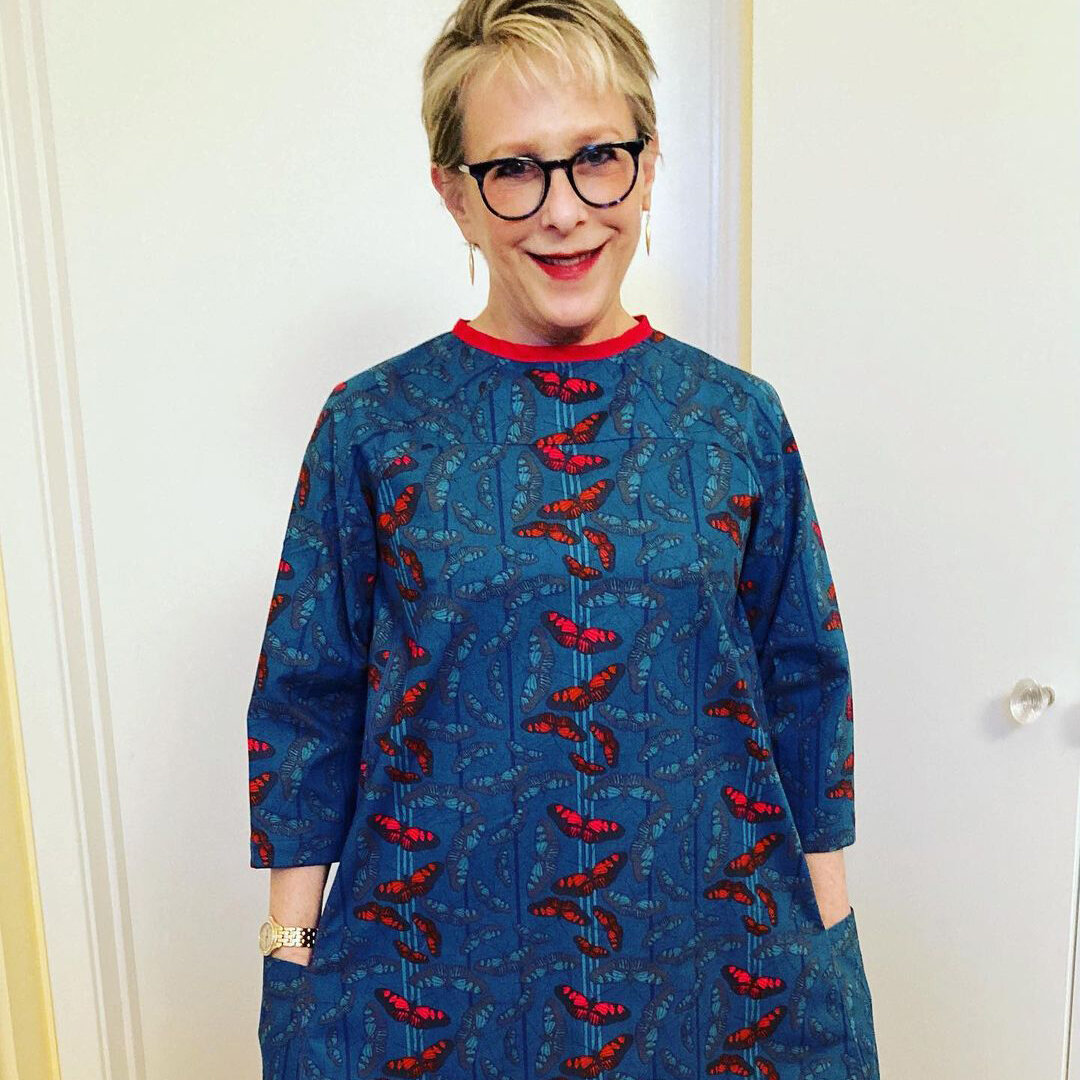
It’s really helpful to see a design on a range of different bodies, and also to see what fabrics work well for the pattern. Selecting the right fabric for the project is one of the challenges when making your own clothing, so seeing how the pattern looks made up in a particular fabric is always helpful. You can scroll through the Rushcutter dress hashtag on Instagram here.

Also, have a read through this post where we talk about choosing fabric for the Rushcutter dress pattern.

TAKE YOUR MEASUREMENTS FIRST

You should do this before starting any new project so that you can select the correct size/s. We have a blog post that will help you with that process here. 

If you’re looking to take a deep dive into garment fitting, our Curated by ITF membership has a very supportive community with lots of additional resources to help you do this. This month we’re working on the Cartwright dress + top pattern

In our Curated by ITF membership our new release patterns are accompanied by a supporting Fit Kit resource that covers how to measure yourself, choose a size and the order of operation for alterations for the pattern it relates to. The Fit Kit also covers a range of alterations with step-by-step instructions and illustrations, as well as patternmaking tutorials that show you handy techniques like adding seam allowance and what you need to do to check your patterns after making alterations.

When we release our designs as standalone patterns (usually 6-12 months after releasing them in our Curated by ITF membership), we make the Fit Kits available for purchase for an additional cost. You can see this with our Sawtell dress pattern which was recently released as a standalone pattern in our extended size range.

MAKE THE MOST OF PATTERN LAYERS

If using the PDF version of the pattern, we suggest taking advantage of the layers in the pattern so that you only print the size/s that you need. If using the paper pattern version, we suggest tracing a copy of the size/s you need so that you can come back to the pattern in the future (this isn't as important with the PDF version as you can always re-print it).

MAKE A TOILE

Also known as a muslin, a toile is basically a draft version of a pattern. The name comes from the fabric often used to make them - muslin (the American name) or toile (the French name). You can read more about it here

At In the Folds, we believe making a toile is a really important part of sewing a garment and it’s another step that we don’t recommend skipping. By making a toile you can check the fit and have a practice run of new techniques. It means when you sew the real thing, you can enjoy the process and relax into some mindful slow sewing, instead of worrying about making mistakes and wasting money and fabric.

FOCUS ON WHAT YOU’D LIKE TO LEARN

Making clothes is such a fun hobby and there is so much room for growth and experimentation. It can, however, be frustrating when things don't go to plan, so we suggest focusing on the skills you would like to learn from the project, rather than just the end result of a finished dress. This way you will enjoy the process and have some great new skills under your belt when you're done! 

The skills you’ll learn when making the Rushcutter dress  include sewing: curved seams, pockets (inset or in-seam, depending on the view you choose), buttons or an invisible zip, and bias binding. 

CHECK OUT THE RUSHCUTTER SEWALONG

Our pattern instruction booklets are an exhaustive reference for constructing our patterns, but to help you even more we also have a sewalong for the Rushcutter which includes photos of the construction process rather than illustrations.

We hope you enjoy using the Rushcutter dress pattern and making your first dress!

Happy sewing,

Emily


RESOURCES MENTIONED IN THIS ISSUE

  • The Rushcutter dress pattern can be found here.

  • The Sawtell dress pattern can be found here.

  • Check out our Rushcutter dress sewalong here.

  • More information about our monthly sewing subscription, Curated by ITF, can be found here.

  • Choosing fabric for the Rushcutter dress - read the post here.

  • How to print and assemble your PDF sewing pattern - read the post here.

  • How to (and why) make a toile - read the post here.


For more issues of the Q & A series, you can check out the archive here.


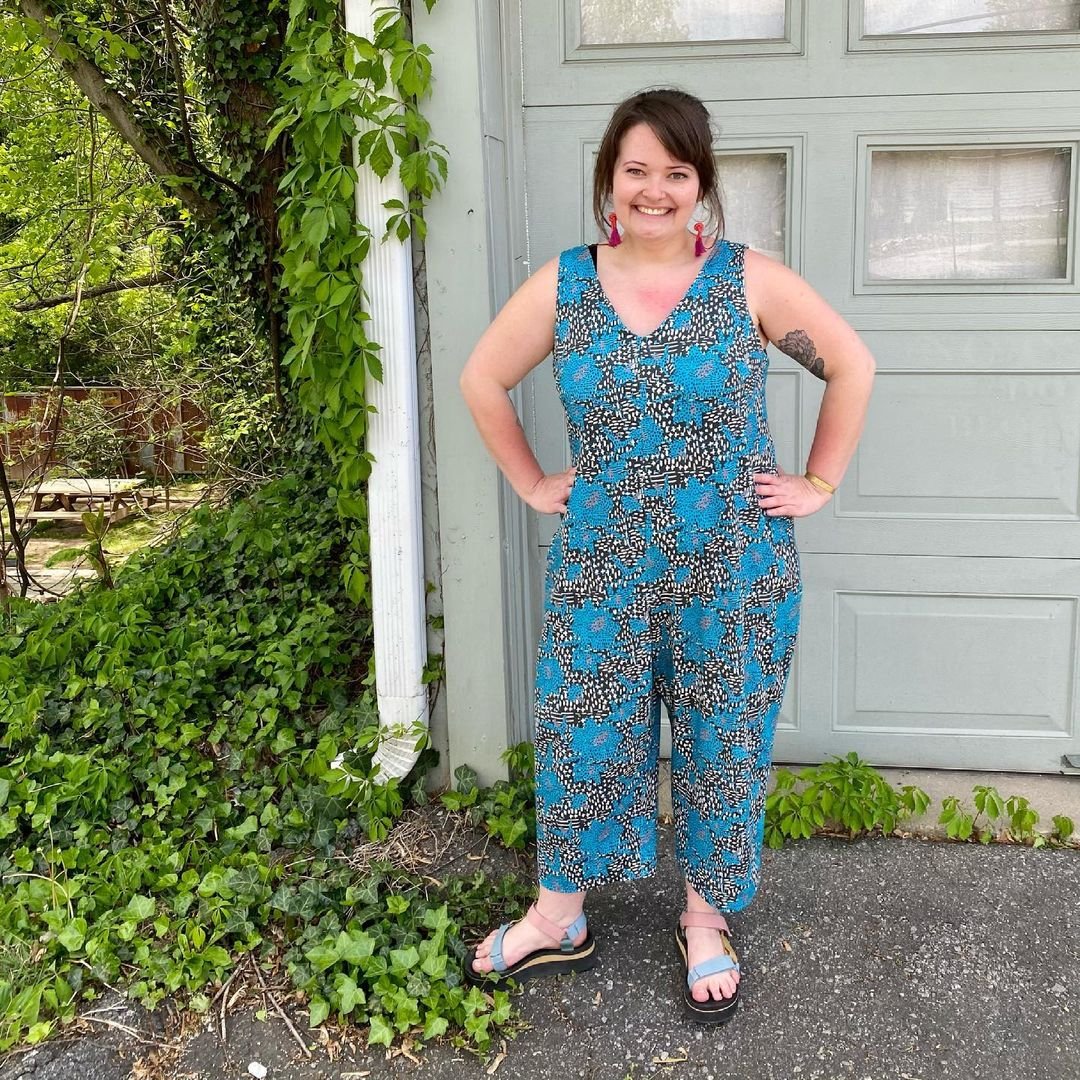
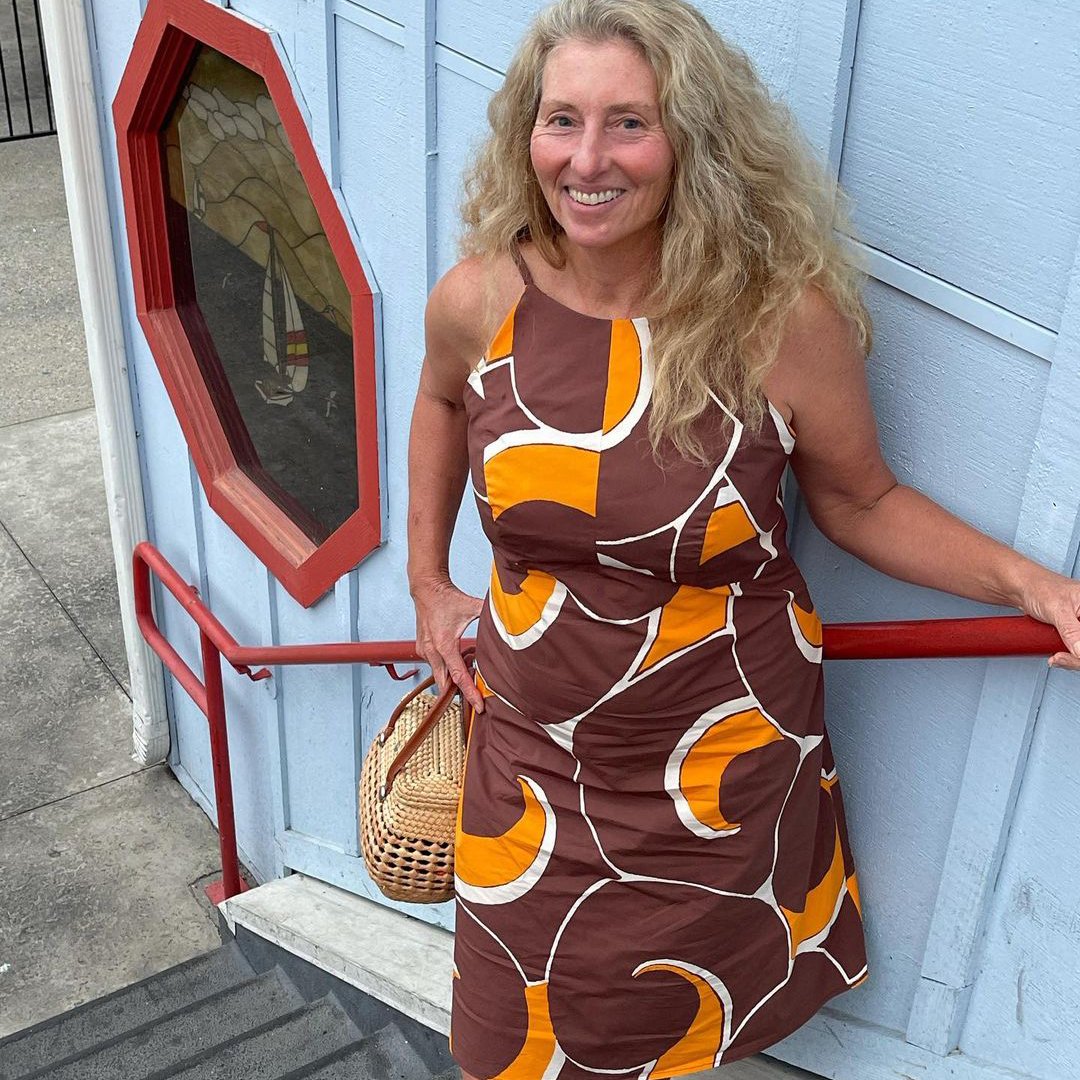
WHAT YOU’VE BEEN MAKING


MORE POSTS IN THE SERIES

ISSUE 150 - CHOOSING FABRIC FOR THE RUSHCUTTER DRESS

THE Q & A SERIES

CHOOSING FABRIC FOR THE RUSHCUTTER DRESS

Hello In the Folds!

Would you say the Rushcutter dress could be made in a fine cotton corduroy? I’m thinking of running the corduroy horizontally for the side panels. And I’d make it sleeveless to wear turtlenecks under it in the autumn and winter.

Being a “confident beginner” in sewing, but not so confident in fabric selection I’d appreciate your thoughts on if this would be a good fabric choice.

By the way, your patterns are beautiful, and I’m equally impressed with your print materials and the design of your website. Such a beautiful, and elegant approach to design, all the way around.

Thank you!

Amy


Hi Amy,

Wow! Firstly, thanks so much for your lovely compliments. It’s very nice to receive feedback like this and know that all our hard work doesn’t go unnoticed. The entire In the Folds team really appreciates it!

You’re not alone in struggling to match fabrics to sewing projects. 

It can be tricky, especially when you’re just starting out, but I’m pleased to say that it definitely gets easier over time. Like most things, it just takes practice, and unfortunately a few mistakes! The good thing is that we can learn just as much from the failures as the successes.

Since we’d all prefer not to have to learn the hard way, I’ll share some tips that can help you gain confidence in selecting the right fabric for the project.

Use your wardrobe as a resource

Look at the garments you already have in your wardrobe and think about how they hang, drape and sit on the body. Check the fibre content of the fabric, and think about how they feel. If there is a piece you really love, take it with you next time you are fabric shopping and use it as inspiration!

Of course the above option doesn't work if you shop for fabric online. If this is the case, many independent online fabric retailers will send out samples for a small fee. Order some samples and compare them to the fabrics in your wardrobe.

Our Slow Sewing Planner is a great resource to help you understand your wardrobe choices so that you can then apply the information to the garments you are making. Check it out here!

Shop for fabric at op shops (thrift stores)

This will give you a chance to work with a variety of fabrics whilst also not breaking the bank. It might also encourage you to step out of your comfort zone with your choices.

Follow makers with a similar style / aesthetic to you 

Lots of makers include fabric details with their photos on social media so you can see how the fabric works for a particular pattern and how it looks on the body. Create a folder on Instagram so you can save fabrics and pattern combinations you like.

Search social media hashtags

If there is a particular pattern you like, use the hashtag function to see what fabrics other makers have made it in. If you see a version you like and the maker hasn’t included the details, ask them! As you probably already know, makers love to talk about anything sewing and fabric related. I’m sure they’ll be flattered to hear that you love their make and would like to make one of your own.

You can follow us on Instagram here, and check out the Rushcutter dress hashtag here.

Be willing to make mistakes 

This is a big (and sometimes painful…) one! But, often our best lessons are learned through making mistakes. 

Let yourself explore different options and ideas so you can learn what fabrics work for different patterns. Accept that you’re still going to get surprises sometimes. I have been sewing for about 25 years and still get a surprise every now and again.

Selecting fabric for the RuShcutter dress

We recommend light to mid-weight fabrics such as: cotton shirting, poplin, sateen, linen, silk, light to mid-weight wool, chambray or light to mid-weight denim. 

Your fabric choice will have a big impact on the silhouette you will achieve. For a more structured, boxy look, consider mid-weight denim, twill or jacquard. Or, for a more relaxed, draped look, consider a viscose blend or silk crepe de chine.

Fine cotton corduroy would be a great choice and would be lovely to wear turtlenecks underneath. 

My only other tip would be to select a size that gives you a bit of extra wiggle room in the top area so the underarms don't feel tight with a shirt underneath. Good luck!

Happy sewing,

Emily


RESOURCES MENTIONED IN THIS ISSUE

  • The Rushcutter dress pattern can be found here.

  • The Slow Sewing Planner can be found here.

  • Check out our Rushcutter dress sewing tutorials here.


For more issues of the Q & A series, you can check out the archive here.


WHAT YOU’VE BEEN MAKING


MORE POSTS IN THE SERIES

ISSUE 105 - Move the pockets on the Rushcutter dress

THE Q & A SERIES

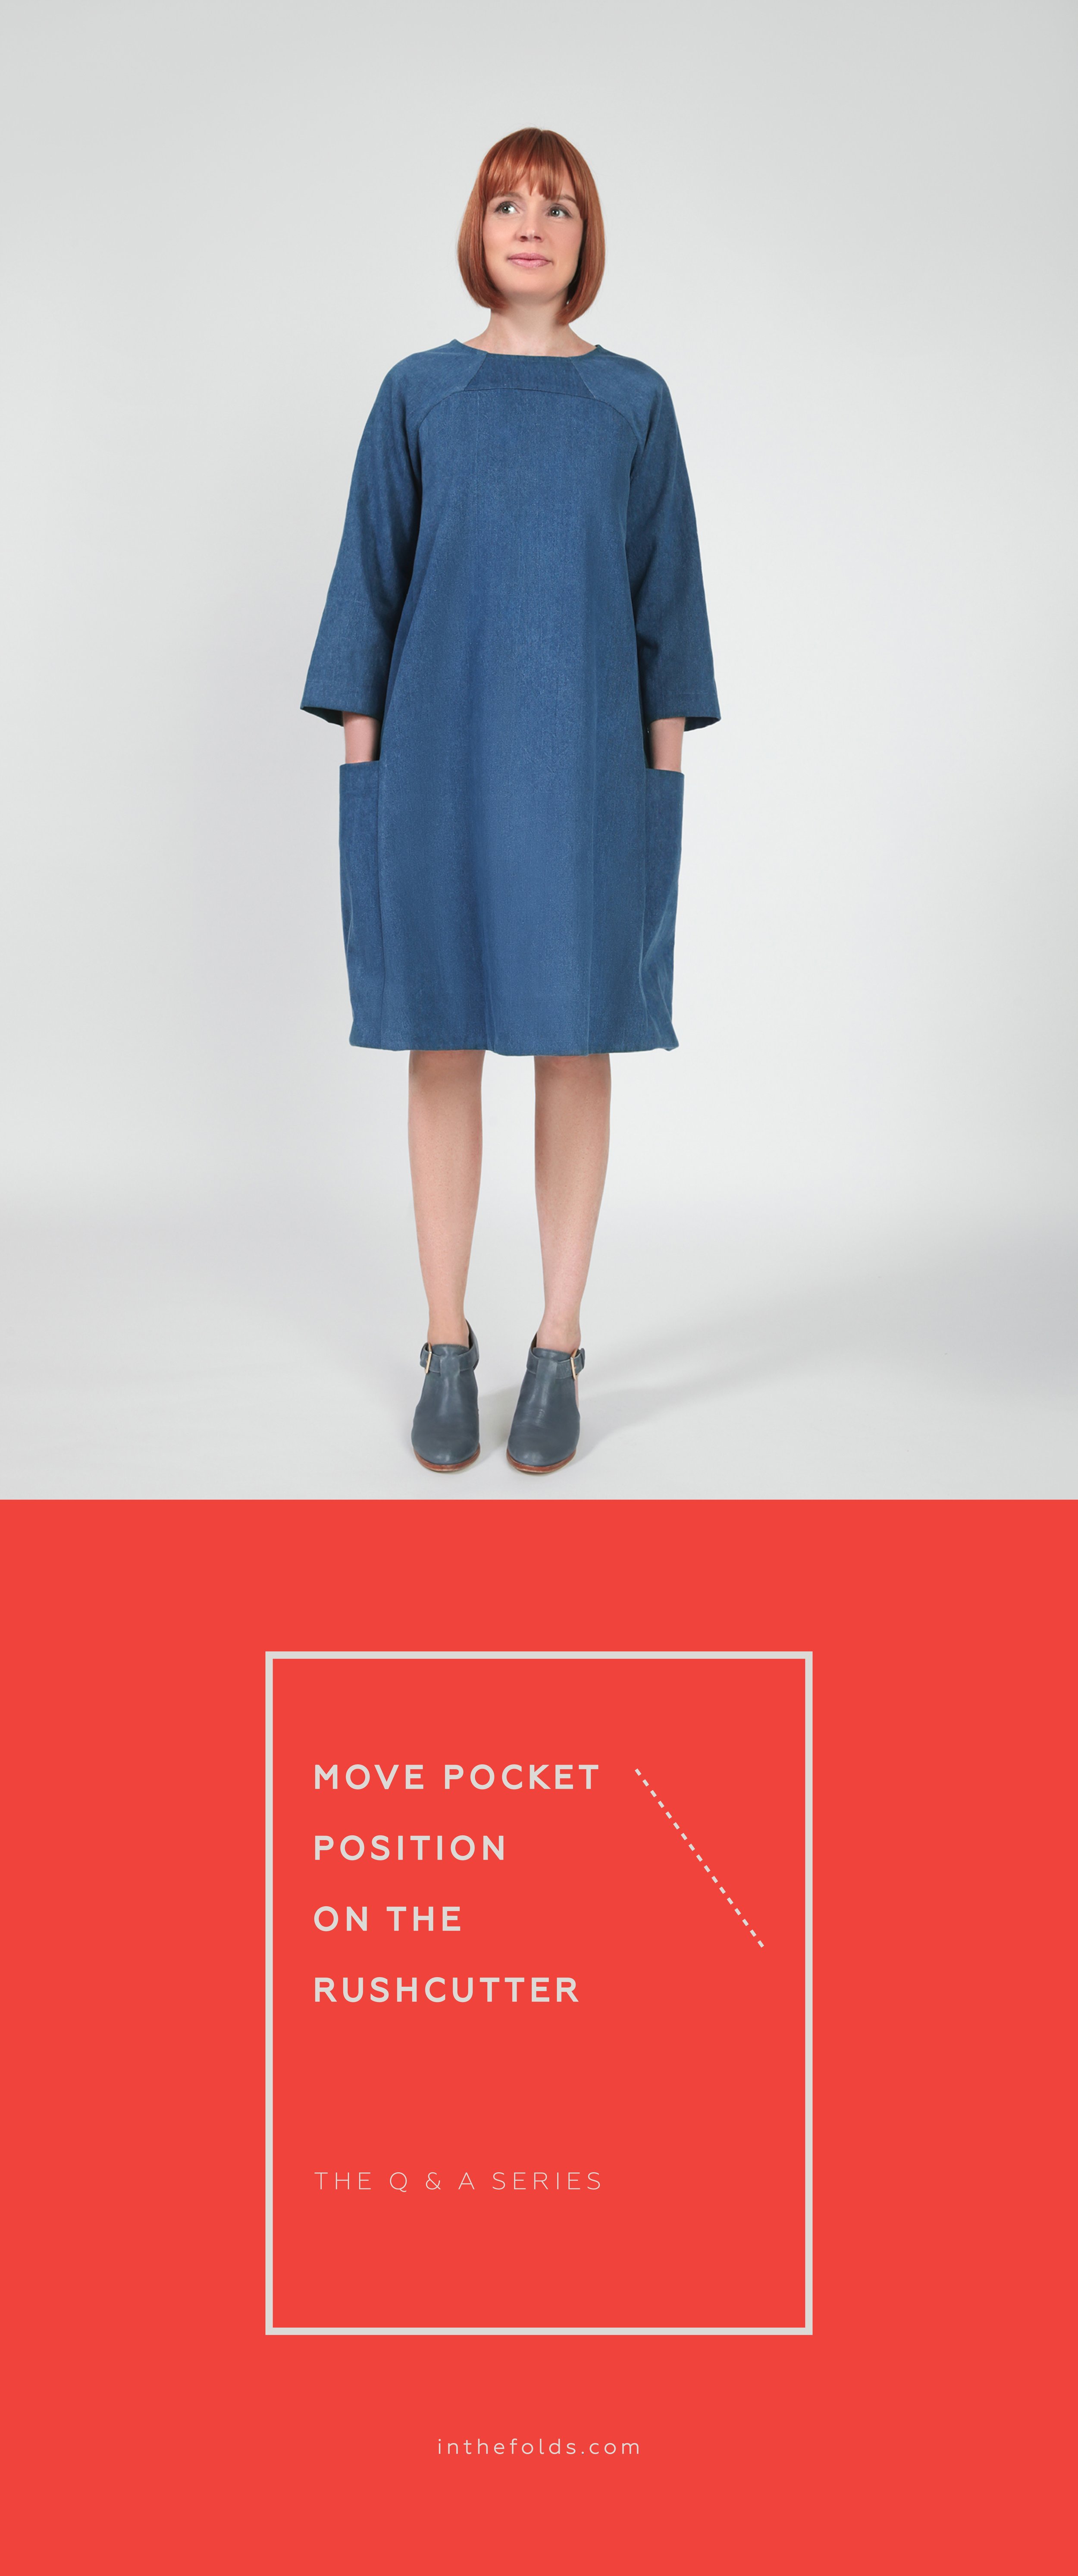
How to move the position of the pockets on the Rushcutter dress

Hi there,

I have just made a test of the Rushcutter dress. I had to take about 10cm off the length. The dress fits great but the pockets are too low down... my hands jus reach the top couple of inches. What is a good way to raise the position of the pockets on this pattern?

Thank you.

Sue

- Ajijic, Mexico


Hi Sue,

I'm excited to hear you're making the Rushcutter dress! The pockets are my favourite thing about this pattern, so you definitely want to make sure you can use them!

How to alter the pocket will depend on how you have shortened the pattern. There are two ways to alter the length of most patterns - you can remove length from inside the piece using LENGTHEN / SHORTEN line on the pattern (this means the hem circumference will remain the same as it was) or remove from the hem. I'll show you how to alter the pocket for both cases.

Remove length from the LENGTHEN / SHORTEN line

Step 1
I'll just show you this process of shortening the side panel of the dress, as this is the one that impacts the pocket. If altering the length of this pattern, you also need to alter the front and back pieces in the same way.

Cut along the LENGTHEN / SHORTEN line on the pattern.

Step 2
Mark the amount you would like to shorten the pattern by on the upper section of the pattern piece with a line parallel to the cut line. In the case of the example, this is 10cm.

Step 3
Slide the lower section up to meet the line marked in the previous step. Use the grainline to ensure you are lining things up correctly. Tape / glue in place.

Step 4
Re-draw the seam lines by drawing a straight line across the alteration. This will mean shaving off a small amount on the lower section and adding a small amount to the upper section. I normally use masking tape to extend the sides of a pattern by a small amount or to fill gaps - rather than using larger pieces of paper.

Alter the pocket piece

Before altering the pocket piece, it's a good idea to see how the pocket pattern was originally drafted so you can use the same method of altering your pocket piece.

In the illustration I have placed the pocket on top of the side panel - the top edge of the pocket has been folded back as it is when it is sewn. The sides of the pocket extend past the side panel by 0.5cm on each side. This is so that when the pocket is attached to the side panel it has a bit of volume in the top section, rather than sitting completely flat.

Step 5
Take the pocket pattern piece and fold along the top stitch line - using the notches to guide you. This is the top hem allowance which needs to be out of the way while checking how the pockets sits on the altered side panel piece.

Step 6
Place the pocket piece onto the side panel - lining up the hemline and the hemline notch. If you would like to check you are happy with the pocket position, pin the pocket onto the side panel and hold the panel up to your body to check.

When you are happy with the pocket position, hold pocket in position with a pattern weight (or a tin of food) and mark two points on the top edge of the pocket - 5mm from the side panel edge on each side.

Step 7
Re-draw the sides of the pocket by joining the points marked in the previous step to the bottom corners.

Step 8
Mark notches on the side panel at the top edge of the pocket on both sides of the panel.

Step 9
Remove the pocket piece from the side panel. With the top edge still folded, cut along the new seam lines. 

Shortening from the hem

The process is very similar if you have removed length from the hem like in the illustration above.

Step 1
Take the pocket piece - with the top edge folded down like we did earlier - and place on the side panel piece. If you would like to check you are happy with the pocket position, pin the pocket onto the side panel and hold the panel up to your body to check.

When you are happy with the pocket position, hold pocket in position with a pattern weight (or a tin of food) and mark two points on the top of the pocket - 5mm from the side panel edge on each side. 

Step 2
Re-draw the sides of the pocket by joining the points marked in the previous step to the bottom corners of the side panel piece. If you can't see the bottom corners of the side panel through your pocket, try holding the pieces up against a window.

Step 3
Due to removing length from the side panel from the bottom, the notches on the side no longer match up. Transfer the notches from the side panel onto the pocket.

Mark notches on the side panel piece at the top edge of the pocket on both sides of the panel.

Step 4

Remove the pocket piece from the side panel. With the top edge still folded, cut along the new seam lines.

Happy sewing,

Emily


resources mentioned in this issue

  • Rushcutter dress pattern can be found here.


For more issues of the Q & A series, you can check out the archive here.


WHAT YOU’VE BEEN MAKING


More posts in the series

ISSUE 88 - How to do a Full Bust Adjustment (FBA) on the Rushcutter dress

THE Q & A SERIES

How to do a Full Bust Adjustment (FBA) on the Rushcutter dress

Hi Emily. 

I would like to make the Rushcutter dress, but I'm fairly sure I'll need a full bust adjustment (I have a 3.5" difference between high and full bust).

I'm not sure how I'd do it on the Rushcutter, and I couldn't find a tutorial on your site. Is there a tutorial available?

Thanks!
Cindy

- Port Townsend, WA | USA


Hi Cindy,

I am happy to hear you would like to make the Rushcutter dress!

It's up to you about the Full Bust Adjustment (FBA). I think you may be able to get away with not doing it as there is a fair amount of ease at the bust (14cm / 5 1/2in). If you would like to make the alteration though, I have created a tutorial on how to do it. 

This same method could be used for doing a SBA (small bust adjustment) - you would just be taking out volume rather than adding it in.

Getting started

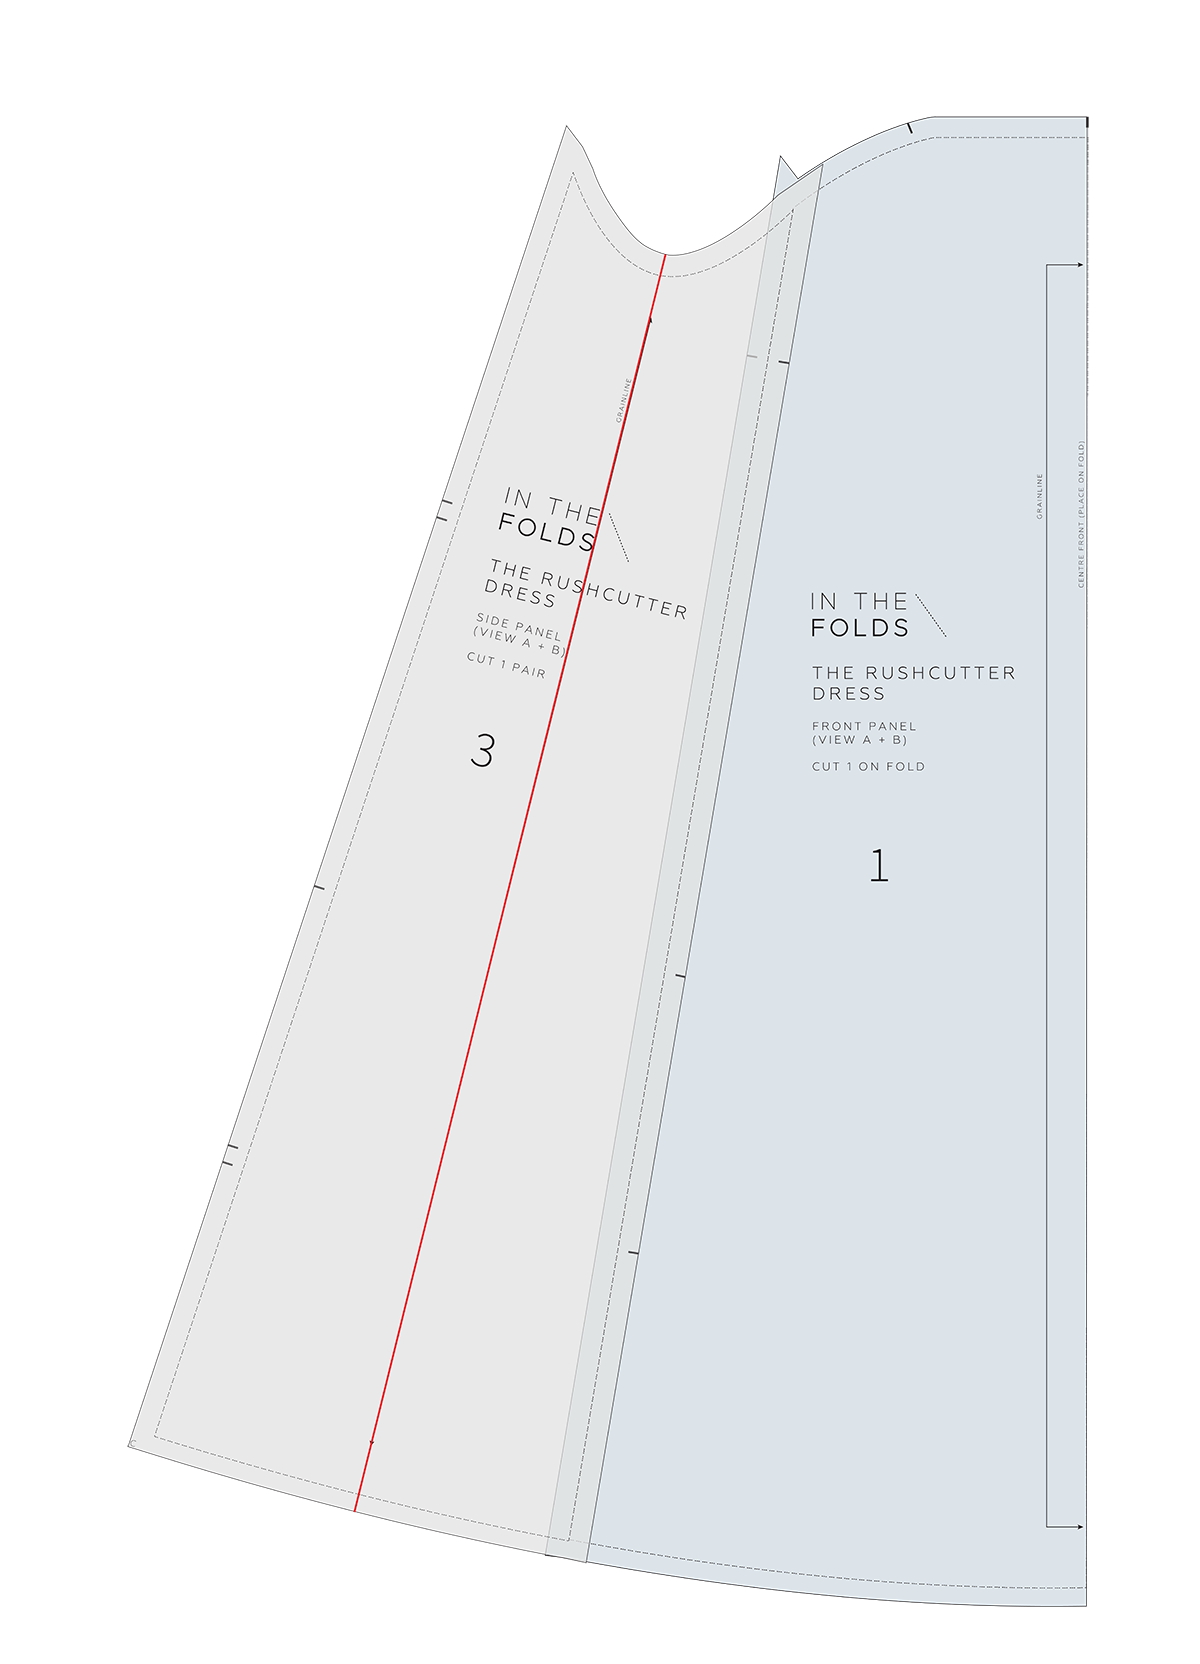
When it comes to the Rushcutter dress, the thing that makes it a little bit different when it comes to doing a FBA is that it doesn't have a dart, armhole or side seams on the FRONT PANEL [1]. The first thing we need to do is find a few reference points that will help us make the alteration.

Step 1
Take the FRONT PANEL [1] and SIDE PANEL [3] and line up STITCH LINE on STITCH LINE as if the two panels have been sewn together. Tape / pin in place.

Step 2
Mark in the side seam by extending the grainline on the SIDE PANEL [3] to the top and bottom of the piece.

Step 3
Take the YOKE [11]* and line it up as if it has been sewn. Use the side seam line as a guide and the side seam notch on the yoke. As you can see, there is shaping in this seam so you won’t be able to match it all the way along. You can also add the CENTRE FRONT PANEL [4] if it helps you visualise, but it isn’t required for the alteration. Tape / pin in place.

*This tutorial will also work for the sleeve version. If making the sleeve version, still use the YOKE to create the modification lines. This is just helping you get all the points of reference in place for the alteration.

Step 4
Extend the side seam line up to the YOKE. We have marked our armhole, shoulder, neckline and centre front in red so that the shape of the piece becomes clear. As you can see, the pattern now looks like a more regular dress shape and in a moment you will be able to a FBA as you normally would on a pattern without a dart.

Step 5
Mark in the regular SBA / FBA modification lines as illustrated (find your apex point by holding the pattern up to your body or referring to your toile if you have made one).

If making the sleeve version, remove the YOKE piece so that the armhole modification line only goes to the corner of the piece (point marked in illustration).

Step 6
Once you have the alteration lines marked on the pattern, you can then use our FBA tutorial for the Collins top for the rest of the process. You can find that tutorial here

In this tutorial you can see that you have the option to add a dart to the dress or you can add the dart and then remove it by relocating the fullness.

I hope this tutorial helps you make a dress that you will wear and love!

Happy sewing,

Emily


resources mentioned in this issue

  • Rushcutter dress pattern can be found here.

  • Full Bust Adjustment for a dartless bodice - tutorial can be found here.


For more issues of the Q & A series, you can check out the archive here.


What you’ve been making


More posts in the series

ISSUE 74 - Forward shoulder adjustment on the Rushcutter dress

THE Q & A SERIES

Forward shoulder adjustment on the Rushcutter dress

Dear Emily,

I would like to know how to make a forward shoulder adjustment on the Rushcutter dress. The neckline always slips back, which can be a bit annoying. My Rushcutter is one of my all-time favourite makes, and I'd still rather wear a me-made dress from a pattern and fabric I chose than a rtw one, even with its flaws!

Thanks in advance,

Anna


Hi Anna,

Thank you for getting in touch. I'd be happy to help you with this so that you don't have this problem with your next Rushcutter dress.

The process is a little different on a raglan sleeve, than how you go about it on a regular set-in sleeve, due to the dart.

Step 1

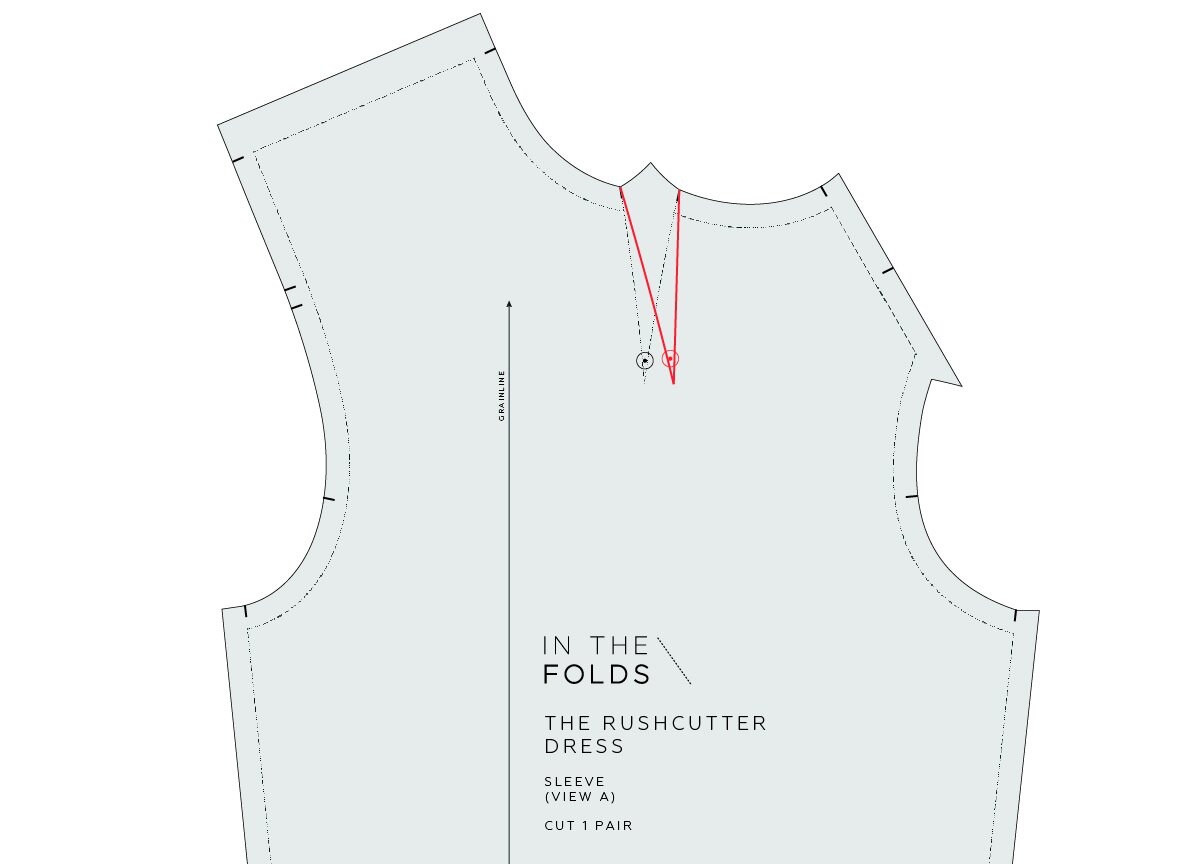
What I'd suggest you do first, is put that Rushcutter dress on and see where the dart is sitting. If the top of the dart (the part of the dart at the neckline) is sitting on your shoulder line, you may only need to move the dart tip forward to suit your shoulder shape. Use a pin to mark your shoulder tip on your sleeve and then transfer this point onto your pattern.

If you don't have a toile made, but a forward shoulder adjustment is a regular adjustment for you, you can hold the sleeve pattern piece on your shoulder to check the dart position.

Re-draw the dart, using the new point as the dart tip. You will need to alter the dart shaping on the neckline to reflect the change of the angle - you can check out STEP 6 for how to do this.

If the entire dart is sitting back from your shoulder line, measure how far forward you would like to move the dart by looking at your toile. Take note of this measurement and move to STEP 2.

Step 2
Trace a copy of the SLEEVE [5] if you think you might like to go back to the original pattern. When tracing, be sure to trace the dart, drill hole and notches.

Draw a box around the dart. The sides of the box should be parallel to the grainline and the bottom of the box should be perpendicular to the grainline. You need these lines to be close to the dart, but not cutting through it at any point.

Step 3
Cut out the box.

Mark the amount by which you need to move the dart, by measuring from the right side of the cut-out box. Mark distance with a line that is parallel to the side of the box / grainline.

Step 4
Take the box with the dart on it and line up the edge of the box with the cut line marked in the previous step. Tape or glue in place.

Step 5
Fill the gap in the pattern with some pattern paper, using tape or glue to hold in place.

As you can see, the dart is now in the correct position for your shoulder line. 

We now need to re-draw the neckline and fill the gap in the neckline.

Step 6
Fold the dart as if it has been sewn. To do this, fold along the dart arm closest to the back and fold towards the front dart arm. As you are trying to make the two dimensional paper into a three dimensional shape, the easiest way of doing this is to place the tip of the dart onto the corner of a table or large book. More detail about this technique can be found here.

Re-draw the neck line STITCH LINE using a French curve or by pivoting a straight ruler. The line needs to start and finish at the original stitch line and be as close to the original line as possible. 

Step 7
Take a tracing wheel and trace the new neckline STITCH LINE so that the line is transferred onto the folded section of the dart.

Step 8
Unfold the dart and trace over the markings created by the tracing wheel.

Add seam allowance on to the new neckline STITCH LINE.

Move the dart notches to the new neckline CUT LINE.

Step 9
Cut along new neck CUT LINE to remove any excess paper.

You are now ready to sew your new Rushcutter sleeve!

Happy sewing,

Emily


resources mentioned in this issue

  • The Rushcutter dress pattern - can be found here.

  • How to add dart shaping - tutorial can be found here.


For more issues of the Q & A series, you can check out the archive here.


What you’ve been making


More posts in the series

ISSUE 69 - Reducing volume - The Rushcutter dress

REDUCING VOLUME THE RUSHCUTTER.jpg
HEADING - V1.jpg

Hello,

I have wanted to make Rushcutter for a long time but hesitate because of my narrow hips. In US sizes I am a 4 - 6, in UK sizes a 10 hips 35" / 88.9 cm. How could I lessen the fullness below the waist especially at the front? Too much fullness below doesn't convey the look of the design.

Thank you,

Mary


- Bend, United States


Hi Mary,

I am so pleased you would like to give the Rushcutter pattern a go!

To get started, take the FRONT [1], BACK [2] and SIDE PANEL [3] pieces. Remember to trace a copy of the pattern if you would like to return to the original. You will also need to alter the SIDE POCKET [6] as this attaches to the SIDE PANEL [3].

REDUCE VOLUME

Artboard 1.jpg

STEP 1
Mark the hip position on the pattern pieces with a horizontal line (perpendicular to the grainline). This doesn't need to be exact. You can find this point by holding the pattern up to your body and marking it. Start with the SIDE PANEL [3] as that will be the easiest to position on your body. Use this hip line to mark onto the FRONT [1] and BACK [2] pieces.

Consider how much volume you would like to remove from each panel piece. As you said in your question, you may choose to remove more volume from the front than the back. As you can see on the pattern pieces, there is more volume at the hem of the front piece.

When you know how much you would like to remove at the hem point on each seam, mark the amount on the hem. Join this point to the original stitch line. Join with a gentle curve so that you don't end up with a point in your seam. As you can see, this is above the hip line. The pattern has a lot of ease at the waist, so you can afford to lose some fullness above the hip line, and allows for a nice smooth transition from the original stitch line to the new stitch line.

Artboard 1 copy.jpg

STEP 2
You could just smooth out the lines (more on that below), add seam allowance back on and cut off the excess paper, but I'd suggest using the slash and spread technique so that you don't lose your notches. This is also a handy technique that may help you in the future, if reducing volume is a common alteration for you.

For the example, I have made the alteration to the SIDE PANEL [3], as that's the one we'll need for altering the pocket. The method will be the same for the FRONT [1] and BACK [2].

a Cut up the lines marked in STEP 1, until you reach the stitch line. Stop 1-2mm from the stitch line.

b Cut into the seam allowance towards the points you stopped cutting. Stop 1-2mm from the end of the cut line. This will create a small hinge of paper.

Artboard 3.jpg

STEP 3
a Reduce the volume in the lower section of the piece by rotating the cut sections to overlap the main part of the pattern. Have a play with how much you would like to remove. I'd suggest not going beyond a straight shape (you don't want the piece to become tapered). If you would like to remove exactly the amount you marked in STEP 1, swing the side pieces until the stitch line meets the cut line underneath. Once you are happy with the shape of the new piece, tape in place.

b You can mark in new smooth lines on the pattern piece, or trace onto a new piece of paper - whichever you prefer. If tracing, remember to transfer all notches and pattern markings. Where the hinge of paper is, mark the line as a nice smooth and gradual curve.

Repeat process for the FRONT [1] and BACK [2]. Check that the notches line up by walking the patterns together (more on that here).

ALTER POCKET

Artboard 2.jpg

STEP 4
a Place the SIDE POCKET [6] on the SIDE PANEL [3]. The pocket is 5mm (1/4in) wider at either end on the original pattern - this gives it some shape at the top of the pocket. Mark two points 5mm (1/4in) from the stitch line at the top of the pocket (not the folded section - that is the hem).

b Draw in the new stitch line on the SIDE POCKET [6] by tracing the stitch line from the pattern underneath and joining to the points marked in part a.

c Add seam allowance to the new pocket seams (1.2cm / 1/2in). Transfer notches from the pattern underneath to the new SIDE POCKET [6].

Artboard 2 copy.jpg

STEP 5
a Fold down the top hem allowance on the SIDE POCKET [6], as if it has been sewn.

b With the hem allowance still folded back, cut along the new pocket edge on each side. This will create the shaping required on the top hem allowance.

c Unfold hem and mark notches at the fold line

And that's it!

Happy sewing,

Emily


resources mentioned in this issue

  • Checking patterns - curved seams - can be found here.


P.S. Would you like to know what the Q & A series is all about? This page tells you a little bit more about the motive behind the series. Past issues from the Q & A series can be found here.

Don't have a question, but found this newsletter helpful? I'd love to hear from you! Get in touch and say hi. 


What you’ve been making


More posts in the series

ISSUE 63 - Changing the Rushcutter zip to patterns

PINTEREST HEADERS TEMPLATE_LATEST5.jpg
HEADING - V1.png

Hi Emily

A question about the Rushcutter dress pattern: I like the idea of long sleeves, button-up yoke and in-seam pockets, which is essentially a mash-up of views A and B. I haven't yet purchased the pattern and, before I do, would like to know whether these adjustments are achievable. I am comfortable at level 4 degrees of difficulty.

Many thanks,

Denise


Hi Denise,

Thank you very much for getting in touch.

I love the idea of a pattern mash up between the two versions of The Rushcutter.

A LITTLE BIT ABOUT IN THE FOLDS PATTERNS

If you have used the Rushcutter pattern, you will know that both stitching line and cutting lines are marked on the pattern.

WHY IS THE STITCHING LINE MARKED?

When I first decided to start creating sewing patterns for home sewers, one of the first decisions I made, before I even started sketching, was that I wanted to create patterns that would help sewers develop their skills, in both sewing and pattern making.

By including the stitching lines on each pattern piece, it makes it much easier to understand how the pattern was originally made, but also allows for easy adjustments and 'hacking' to the pattern (as all pattern alterations should be done without seam allowance added to the pattern).

Rushcutter_hack_buttons_4.gif

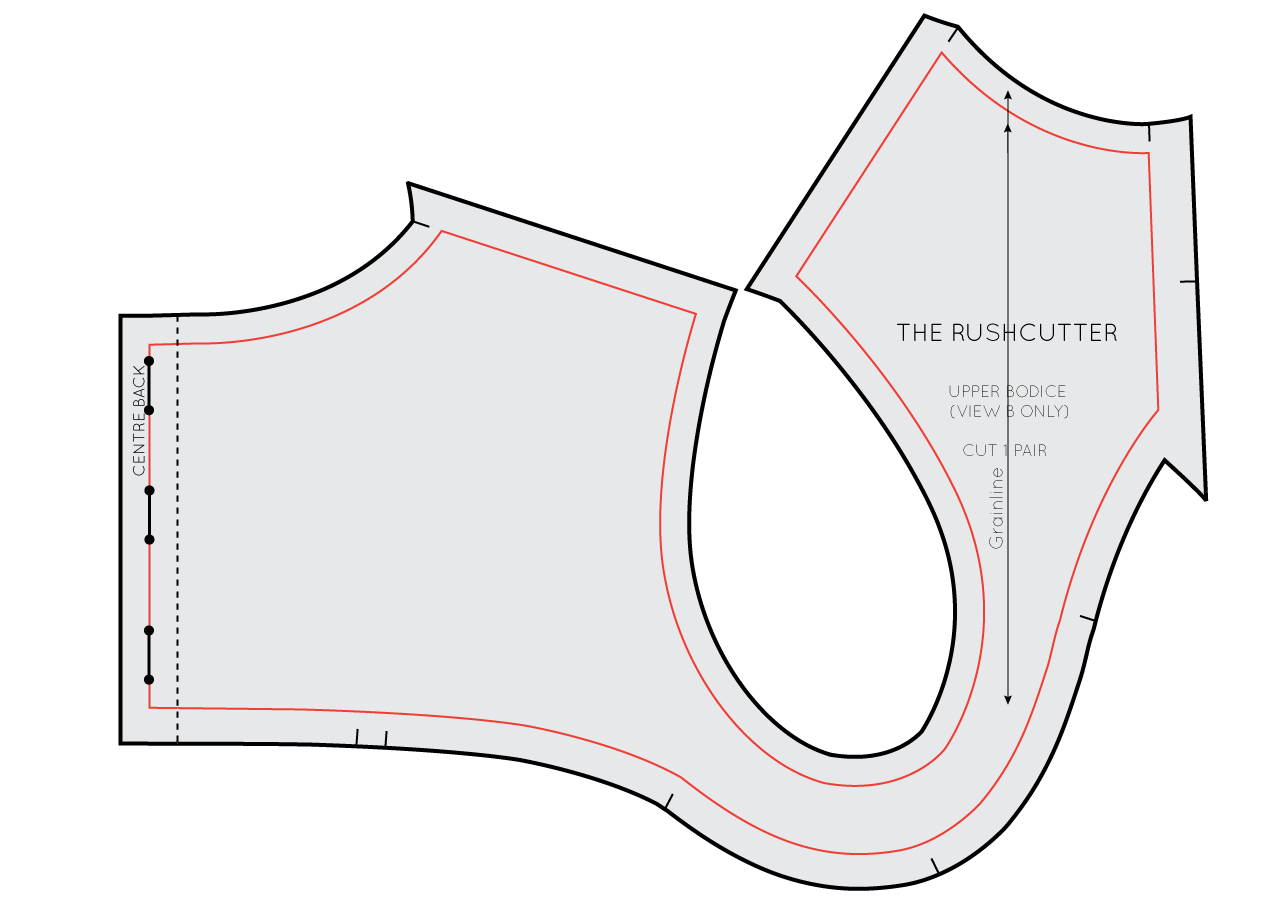
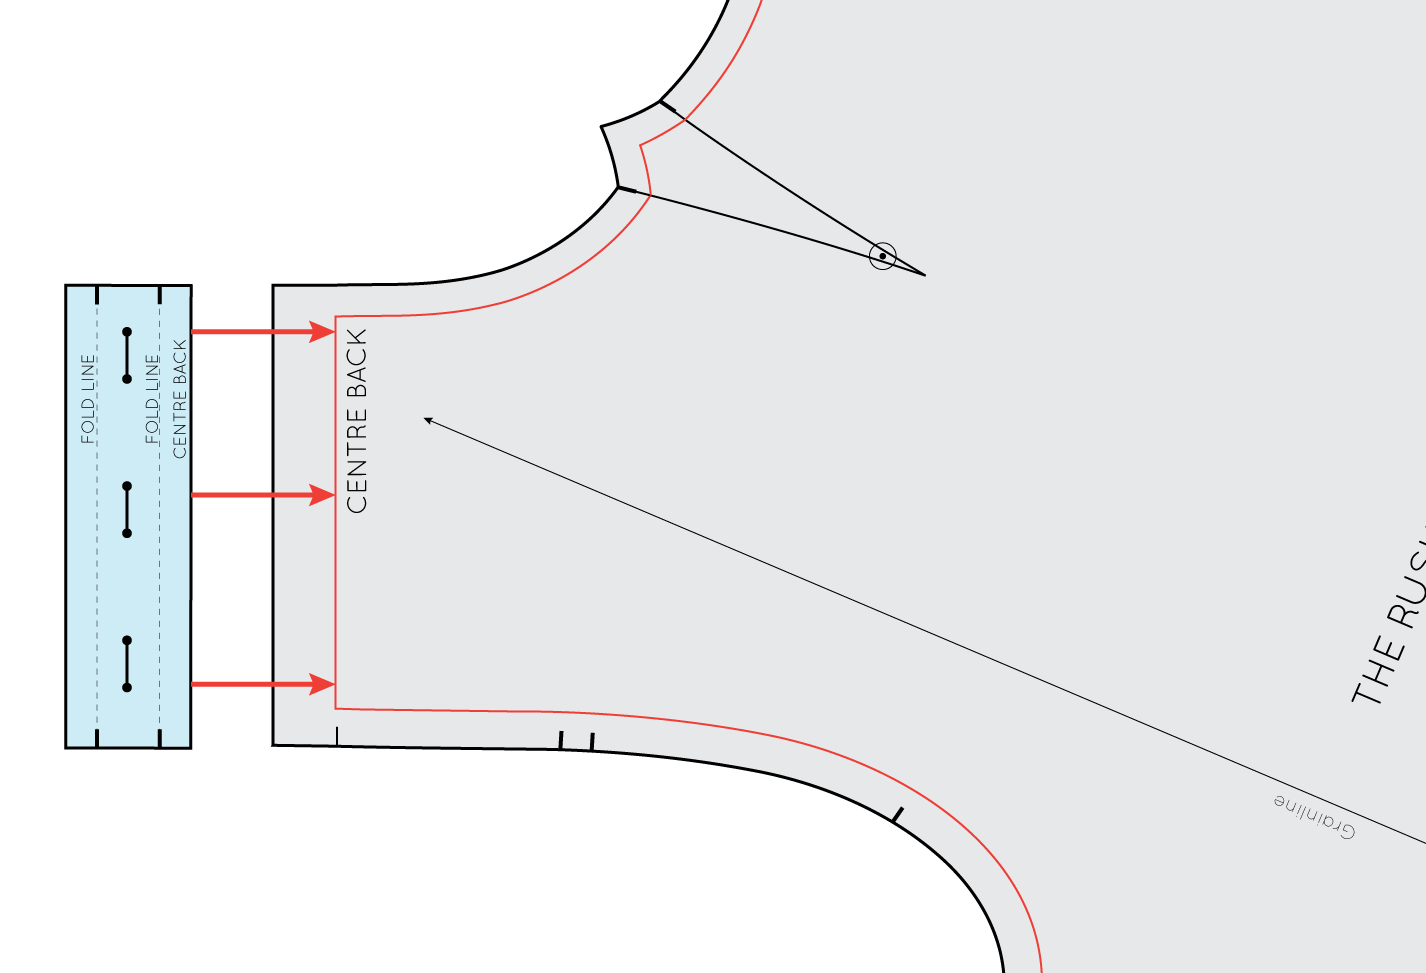
In the image you can see that the stitching line is marked with a red line, while the cutting line (outside edge of the pattern) is marked with a thick black line. If you wanted to make changes to this particular pattern piece, you could simply cut along the stitch line to remove the seam allowance, and the piece would be ready to be altered.

UNDERSTAND YOUR PATTERN

Before making any adjustments to a pattern, I always suggest having a good idea of how the pattern works and fits in its original design.

For this example, have a look at how the button placket works on View B, before adding it to View A. This is a photo of how it looks when it is finished, and below you can see how the pattern piece works.

THE BUTTON PLACKET

Rushcutter_hack_buttons_5.gif

As you can see, the button placket is made up of three sections that fold to create the button placket. The first (closest to the centre back) is 1cm (⅜in) from the centre back. This is the first fold line. The next line is 2cm (¾in) from the first fold line and is the second fold line (the buttons and buttonholes will be placed between these two lines). The third line is 1cm (⅜in) from the second fold line and is the edge of the pattern piece.

Rushcutter_hack_buttons_6.gif

When the piece is cut, the first fold line is folded and pressed towards the centre back.

Rushcutter_hack_buttons_7.gif

The second fold line is folded and pressed, enclosing the raw edge inside, creating a button placket.

Rushcutter_hack_buttons_8.gif

To finish, the buttons and button holes are placed on the centre back line.

MAKE THE ADJUSTMENT

Rushcutter_hack_buttons_8 (1).gif

To make the change on your pattern:

STEP 1
Take the 'UPPER BODICE' pattern piece from View B, and cut along the centre back line, removing the placket from the pattern.

If you would like to keep the pattern intact, simply trace a copy of the placket section onto a seperate piece of paper.

Rushcutter_hack_buttons_9.gif

STEP 2
Now that you have removed the placket, you can get your sleeve pattern (from View A) ready.

ATTACH PLACKET TO SLEEVE

You will be placing the right edge of the placket onto the centre back of the sleeve pattern (the stitch line).

STEP 3
Line the placket up with the centre back of the sleeve pattern and tape or glue in place.

You will cut the seam allowance off the back piece so that you can cut the lower back piece on the fold (you no longer need the seam allowance required for the zip).

And that's it... Your Rushcutter is ready for buttons instead of a zip!

IF YOU DON’T HAVE THE PLACKET PIECE FROM VIEW B

If you have already printed your pattern, and then decided to change from zip to buttons, and don't have the pattern pieces from View B, do not worry! It is super simple to create the placket piece, with the help of a pencil and a ruler.

REMOVE THE SEAM ALLOWANCE

STEP 1
Take your sleeve pattern and remove the seam allowance from the centre back seam (by cutting along the stitch line marked on the pattern).

Rushcutter_hack_buttons_13.gif

STEP 2
Take a small piece of pattern paper, and tape it to the centre back of the pattern, creating space for your placket.

CREATE THE PLACKET

Rushcutter_hack_buttons_14.gif

STEP 3
a Draw a line 1cm (in) from the centre back, running parallel to the centre back.

b Drawing a second line, 2cm (¾in) from the first.

c The final line will be drawn 1cm (in) from the second line.

COMPLETE THE PLACKET SHAPE

STEP 4
Extend the top and bottom edges of the sleeve pattern to complete the placket shape.

Cut off any excess paper.

ADD PATTERN MARKINGS

Complete the placket by adding button / buttonhole placement markings.

And you are ready to sew!

Happy sewing!

Emily


resources mentioned in this issue

  • The Rushcutter dress pattern - can be found here.


P.S. Would you like to know what the Q & A series is all about? This page tells you a little bit more about the motive behind the series. Past issues from the Q & A series can be found here.

Don't have a question, but found this newsletter helpful? I'd love to hear from you! Get in touch and say hi. 


What you’ve been making


More posts in the series

ISSUE 60 - Printed fabric + The Rushcutter dress

HEADING - V1.jpg

Hi Emily,

I ordered some fabric for the Rushcutter dress - a pepita jacquard. Do you think it is feasible to match the pattern ('the squares') in this fabric nicely when making this dress? If so, do you have any advice how to do that?

Thank you very much in advance!

Kind regards,

Marjon


Hi Marjon,

I'm excited to hear you are planning to make a Rushcutter dress! Unfortunately it's difficult / not possible to match prints like this on A-line dresses, due to the diagonal panel lines in the side section of the dress.

Artboard 1.jpg

I had a play in Illustrator with a print like the one you would like to use, to see how it would look with the various grainlines, and I quite like the look of what it does, due to the nature of the print and the different directions of the pieces.

Artboard 1.jpg

Above is an example of what the pieces might look like when sewn together. I played with the grain on the centre front panel to add a bit of interest - but if your fabric is likely to stretch due to this (it's almost on the bias), I'd suggest interfacing that piece to give it more stability.

In saying this, I would say that if you have your heart set on matching this print, I'd suggest choosing a pattern that has straight side seams / is more boxy in shape.

Happy sewing,

Emily


resources mentioned in this issue

  • Rushcutter dress pattern can be found here.


P.S. Would you like to know what the Q & A series is all about? This page tells you a little bit more about the motive behind the series. Past issues from the Q & A series can be found here.

Don't have a question, but found this newsletter helpful? I'd love to hear from you! Get in touch and say hi. 


What you’ve been making


More posts in the series

ISSUE 15 - Why use a hem facing?

ISSUE 15 - WHY-USE-A-HEM-FACING.jpg

THE Q & A SERIES - WHY USE A HEM FACING?

Hello,

I bought the Rushcutter dress pattern and I'm planning on making View A in a medium weight denim, thick but soft. I was wondering, since the fabric already has so much structure, are the hem facings necessary? Are they supposed to give extra form to the dress shape or is it more of an aesthetic detail?

Thanks for any help, I'm still a beginner but I'm looking forward to developing lots of new skills with this pattern :)

Mariana


Hi Mariana,

I am pleased to hear you will making the Rushcutter dress! It's a great pattern to use to step up your skills.

Denim is a perfect fabric choice for the Rushcutter!

Hem facings work really well with mid to heavy weight fabric as it will add a bit of extra weight to the hemline, which helps the garment and the hem sit nicely. Also, hem facings are the cleanest way to finish a curved hemline.

View B of the Rushcutter uses a turned up hem as it's designed for lightweight fabrics, which are more suitable for this kind of hem finish - but I would be hesitant to recommend this hem finish on a midweight fabric. Without having the fabric in my hand, it's hard to suggest another hem treatment you could use - if you decide to give the hem facings a miss.

I have a denim Rushcutter myself and I think it would have been quite difficult to turn up the hem without the hem facing as there ends up being quite a bit of bulk in the seams where the pockets attach.

I hope you enjoy using the pattern!

SEWING A HEM FACING 4.jpg

For those of you reading along at home, that would like to know more about hem facings, you can take a look at this post about drafting your own hem facing. If you would like to see how you go about attaching a hem facing, you can check out this post in the Rushcutter dress sew-along.

Happy sewing,

Emily


RESOURCES MENTIONED IN THIS ISSUE

  • The Rushcutter dress sewing pattern. Pattern can be found here.

  • How to draft a hem facing. Tutorial can be found here.

  • Sewing a hem facing. Sew-along post can be found here.


P.S. Would you like to know what the Q & A series is all about? This page tells you a little bit more about the motive behind the series. Past issues from the Q & A series can be found here.

Don't have a question, but found this newsletter helpful? I'd love to hear from you! Get in touch and say hi.


More posts in the series