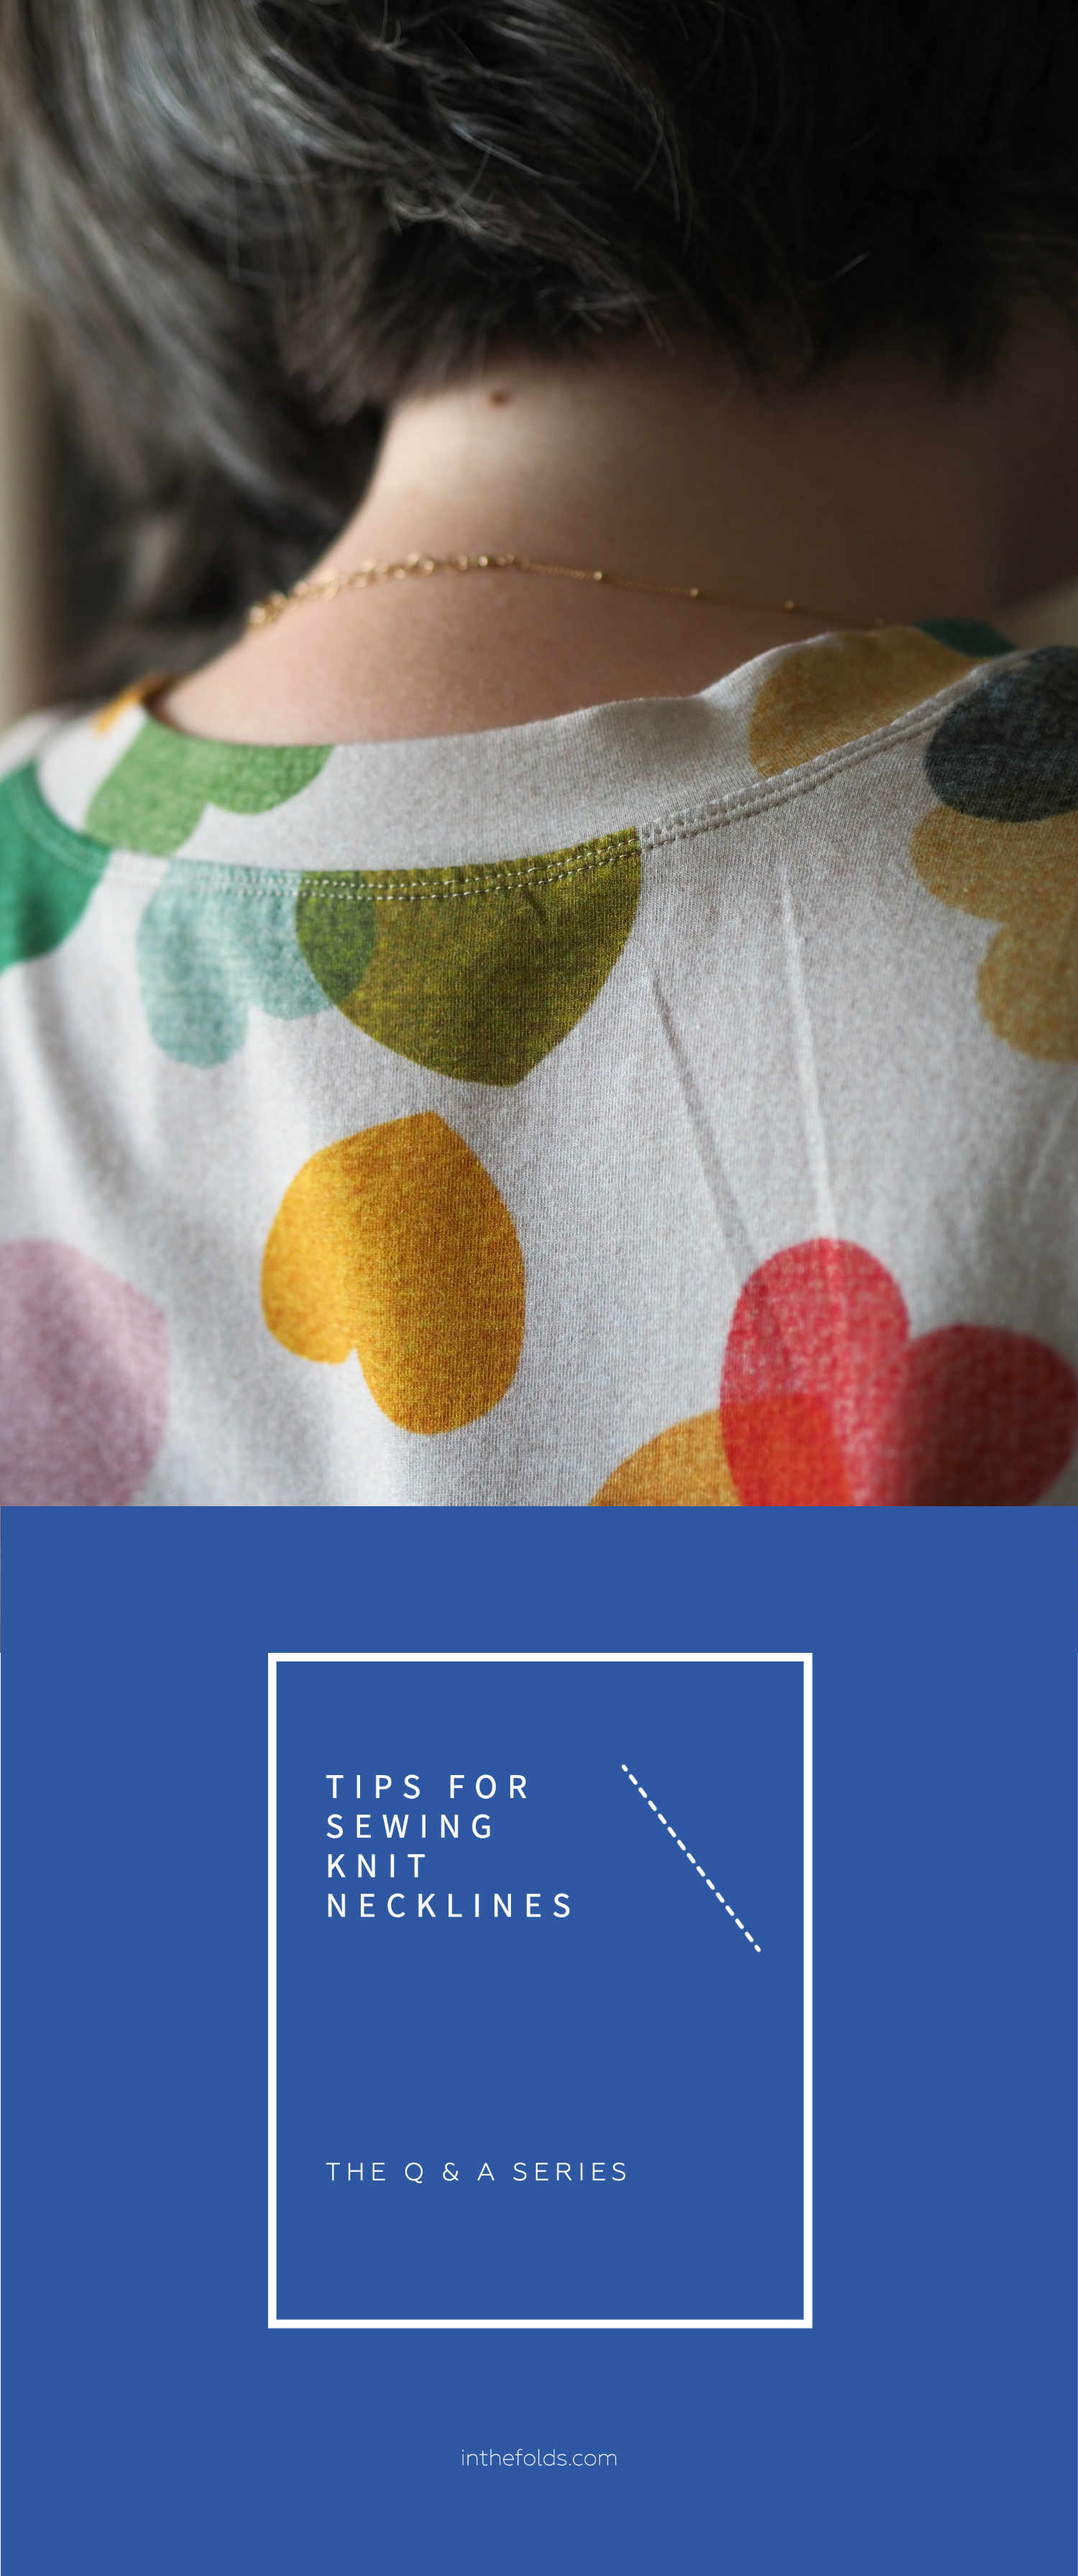
THE Q & A SERIES
TIPS FOR SEWING KNIT NECKLINES
I am having trouble getting a nice smooth neckband when sewing knit tops. In my first attempt, I cut the neck band the recommended length, but found I could not avoid some puckering at the front of the top. The next time, I cut the band longer. This mostly avoided the puckering, but my neckband stood up instead of lying flat. In both cases I used a fairly firm knit and cut the neckband from the same fabric, but on the bias, as per the pattern instructions.
Any tips most gratefully received!
Karen
Melbourne, Australia
Hi Karen,
These days, so much of our wardrobe contains garments made from stretch fabric so, sewing with knits is a skill that we’d all love to add to our kit, but many are afraid to try. We were keen to knock this fear on the head with our two-part Sewing Knits series as part of our Curated by ITF subscription, and from the feedback we’ve been getting, I think we’ve succeeded!
Samplers are a great way to learn a new skill and this is the approach we’ve used in part one of the series, the Sewing Knits Skills Kit. Not only does it provide a low-pressure method of tackling a new technique (you can happily practice and make mistakes because you’re not going to wear it!), it’s also low-cost because you can just use fabric scraps you already have in your stash.
The second part of the series, the Kealy T-shirt, is a the perfect next-step pattern. It’s a classic design that allows you to start applying the new skills you’ve learnt, but doesn’t require you to combine them with tricky techniques. Plus, it’s a quick sew, and you can make a few shirts in one sitting which gives you even more opportunity to practice!
But, moving on to your question…
To start with, I am curious about the pattern suggesting you cut the neckband on the bias.
CUT NECKLINES ON THE STRAIGHT GRAIN, NOT BIAS
When it comes to knits, we normally cut the neckband on the straight grain. When sewing woven fabrics and finishing a neckline with bias binding, we cut on the bias. This gives the woven fabric a slight stretch and helps it fit around curves and press nice and flat.
So to start, I’d suggest confirming this aspect of the instructions and consider cutting the neckband on the straight grain instead.
USE A NECKLINE RATIO
Often patterns call for you to ‘quarter the neckband’ on a stretch pattern for ease of explaining the instructions.
However, because the front neckline is longer than the back, this means the front is stretched more, making the neckband uneven. In the Folds patterns always have notches to distribute the stretch evenly, but if you don't have these notches you can calculate the ratio following these instructions.
Measure your pattern
Record the following measurements of your pattern. Remember to double any measurements which are cut on the fold, and measure the STITCH LINE (the pattern without seam allowance), not the CUT EDGE.
A - Front neckline =
B - Back neckline =
C - Total neckline measurement (A+B) =
D - Total neck ribbing / neckband measurement =
Divide the total neck ribbing (D) by the total neckline measurement (C) to find the ratio.
E - D/C = ratio of neckline =
E.g. 44/54 = 0.81 ratio.
Then use the ratio (E) and apply it to the front and back neckline (A and B). Once you have these measurements you can mark the notches onto the pattern. Remember to halve the measurements to find the CENTRE FRONT and CENTRE BACK of the neckband / ribbing.
Front ribbing / neckband - Front neckline (A) x ratio (E) =
Back ribbing / neckband - Back neckline (B) x ratio (E) =

Tips for making neck ribbing
If you're creating your own neck ribbing pattern or you need to adapt a pattern to suit your fabric, you can choose the ratio that works best for you. Here are some tips to get you started:
Always toile the new neck ribbing pattern in the right fabric before sewing the final garment.
You'll notice when using a self fabric (the same jersey as the body of the T-shirt) as a neck band that it has less stretch than a separate ribbing fabric. Ribbing fabric has raised vertical lines.
The more stretch the ribbing has, the shorter the neckband should be.
A good place to start for a regular crew neck T-shirt and self fabric is to make the neckband pattern around 80% of the neckline measurement. Self fabric won't stretch as much and won't lie as flat as a separate ribbing fabric.
It is often a balancing act between getting the neckband to sit flat to the body and not stretching too much that it causes the neckline to gather. Sew a test and tweak the ratio by a few % if necessary until you're happy with the fit.
A good place to start for a regular crew neck T-shirt and ribbing fabric is to make the neckband pattern around 70-75% of the neckline measurement.
Stretchier ribbing may go below 70%, but if it is stretched out too much, it may create gathers around the neckline.
The narrower the neckband, the more likely it is to lie flat. We recommend using 2cm (3/4in) width for self fabric and 2.5cm (1in) for ribbing fabric. These are finished widths, so don't forget to double them and add seam allowance when making your pattern.
PRESS, PRESS, PRESS!
The final thing we want to say is, don’t underestimate the power of steaming (with an iron) when you are sewing a neckband (or anything else for that matter)!
Don't worry if the neckline looks wrinkled after attaching the neckband/ribbing, as long as there are no pleats or puckering. You can see in our example how it completely transformed after pressing.


Using a pressing ham helps a lot when pressing curves like this.


I hope this tutorial helps you achieve a neckband you are happy with!
If you’d like to learn more skills related to sewing knits, we suggest you checkout this month’s issue of Curated - the Kealy T-shirt, along with last month’s issue - Sewing Knits Skills Kit, which you can purchase separately after you sign up.
Happy sewing,
Alys
RESOURCES MENTIONED IN THIS ISSUE
The two-part Sewing Knits series includes the Sewing Knits Skills Kit and the Kealy T-shirt pattern, which are available with a Curated by ITF subscription. The Kealy T-shirt pattern is the April project and can be purchased here. The Sewing Knits Skills Kit can be purchased here by current subscribers only. More information about the subscription can be found here.
For more issues of the Q & A series, you can check out the archive here.
WHAT YOU’VE BEEN MAKING

Peppermint Wrap skirt made by @whatkatmakes

Acton dress made by @jsmacey