
THE Q & A SERIES
HOW TO LENGTHEN AN A-LINE PATTERN
Hi there,
I'm writing regarding the lengthening of the Rushcutter dress. I'd like to make it at least 10" longer than it is, however I see that there is a flare to all of the panels in the dress, and I wanted your advice regarding this alternation. I know that the side panel is likely to be a bit heavy due to the pocket added on top. I see the lengthening line on the panel pieces, so that's where I would add the extra length. Best advice on this please?
Thanks,
Dawn
Hi Dawn,
Great to hear you’re planning to make the Rushcutter dress. It is the very first pattern we released, so it holds a special place in our hearts!
Over the years, we’ve seen makers have a LOT of fun with this pattern. If you’d like to find some inspiration you should definitely check out the Instagram hashtag #rushcutterdress.
We love it when makers want to make changes to our patterns, and whenever we can we are happy to help! Adding length to the Rushcutter dress has been done before (check out this one by Oak Fabrics!), but you’re right, the pockets are definitely a consideration.
Here’s what you need to do.
How to lengthen the Rushcutter dress

To lengthen the pattern, definitely use the LENGTHEN / SHORTEN lines that are on the pattern. Use the CENTRE BACK and CENTRE FRONT lines to ensure you’re lining the lower section up correctly and the grainline on the SIDE PANEL.

Normally when you add or remove length from a pattern using the LENGTHEN / SHORTEN line, you draw a line of best fit over the alteration. In the case of the Ruschutter, which has straight seam lines, this means ruling a straight line over the alteration. If the pattern you’re adding length to has curved seams then you need to mark in the new seam line as a curve.

As you can see, to draw a straight line to the lower sections we need to cut a little bit of the width off (I’ve made these yellow in the illustration).
In a pattern with quite a lot of ease in this area, like the Rushcutter dress, this may not be a problem, but it will depend on your measurements in relation to the finished garment measurements. In this case we will be losing about 10cm (4in) ease in this area if we go ahead with this pattern alteration, so be sure to check your measurements before you make the cut!


If you would prefer to not lose this width, the alternative is to follow the lines on the upper section when adding length (a) and then joining the new line to the original hem line (b). As you can see, this adds some width to the hem circumference.

If you’re making View A (with the patch pocket), once you’ve added length, you then need to decide what to do with the pocket. The way the pocket is constructed on the Rushcutter is that it becomes part of the side panel.

By adding length to this panel, the pocket will end up sitting very low and you wouldn’t be able to reach it. Alternatively, you can lengthen the pocket in the same way we lengthened the pattern which will keep the design integrity intact, but then you have a very long pocket. You’d be able to put things in it, but may not be able to reach in to get it back out!

You have two options here. The first is to keep the pocket in its original size and keep it in its original position. This means that you will need to fold up the bottom edge of the pocket and attach it to the SIDE PANEL. This approach means you will see a line of stitching and the bottom of the pocket.
The other option is to lengthen the pocket so it goes all the way to the hem, and then make a lining to attach to the inside of the pocket. This way from the outside it will look like the pocket goes all the way to the hem, but on the inside, you will have a shorter pocket bag to catch things so they don’t go all the way to the hem too.
Which option you choose is really a matter of design preference. It’s up to you!

To do this:
A Lengthen the pocket so the top of the pocket sits in the original position.
B Make the pocket lining piece by removing the hem allowance from the top of the original pocket piece.
C When constructing the pocket, slide the pocket lining under the hem of the new pocket so that when you stitch the hem you catch the pocket lining.
D Attach the pocket to the SIDE PANEL, sewing the bottom of the pocket lining in place first, then attaching the edges of the pocket lining and pocket to the SIDE PANEL. You can then construct the dress as normal.
Hope this helps your Rushcutter sewing adventure, Dawn. And if you have any other questions about the Rushcutter sewing process, we recommend you check out our Rushcutter sew-along here.
Make sure you share your finished make with us too - it’s one of our favourite parts!
Happy sewing,
Emily
For more issues of the Q & A series, you can check out the archive here.
WHAT YOU’VE BEEN MAKING
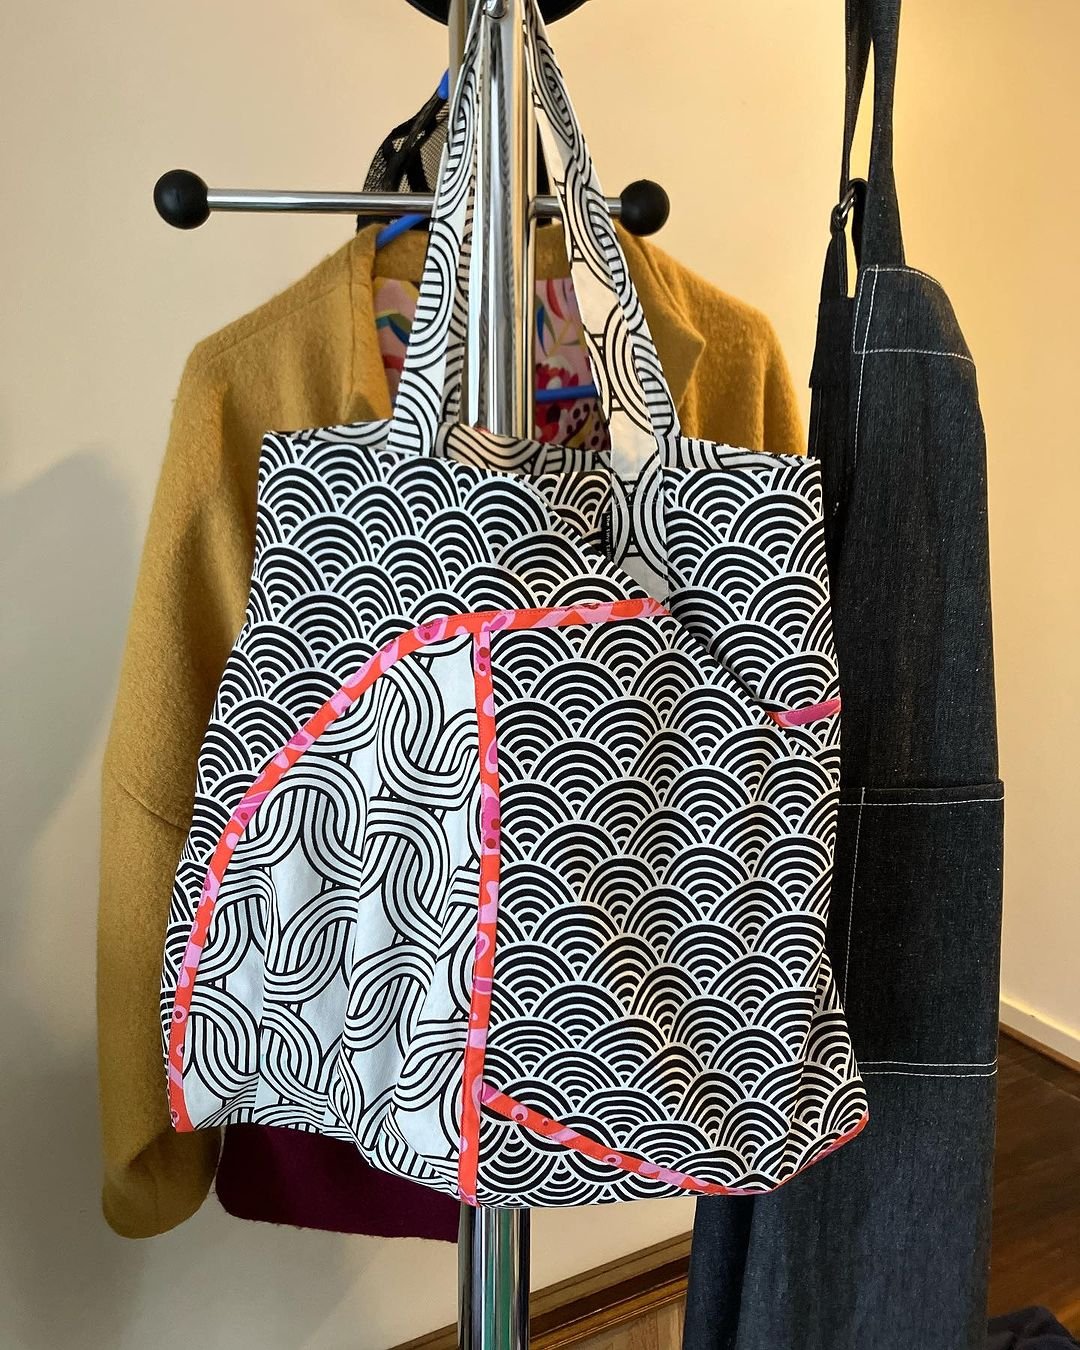
Hove tote made by @the.tiny.tailor
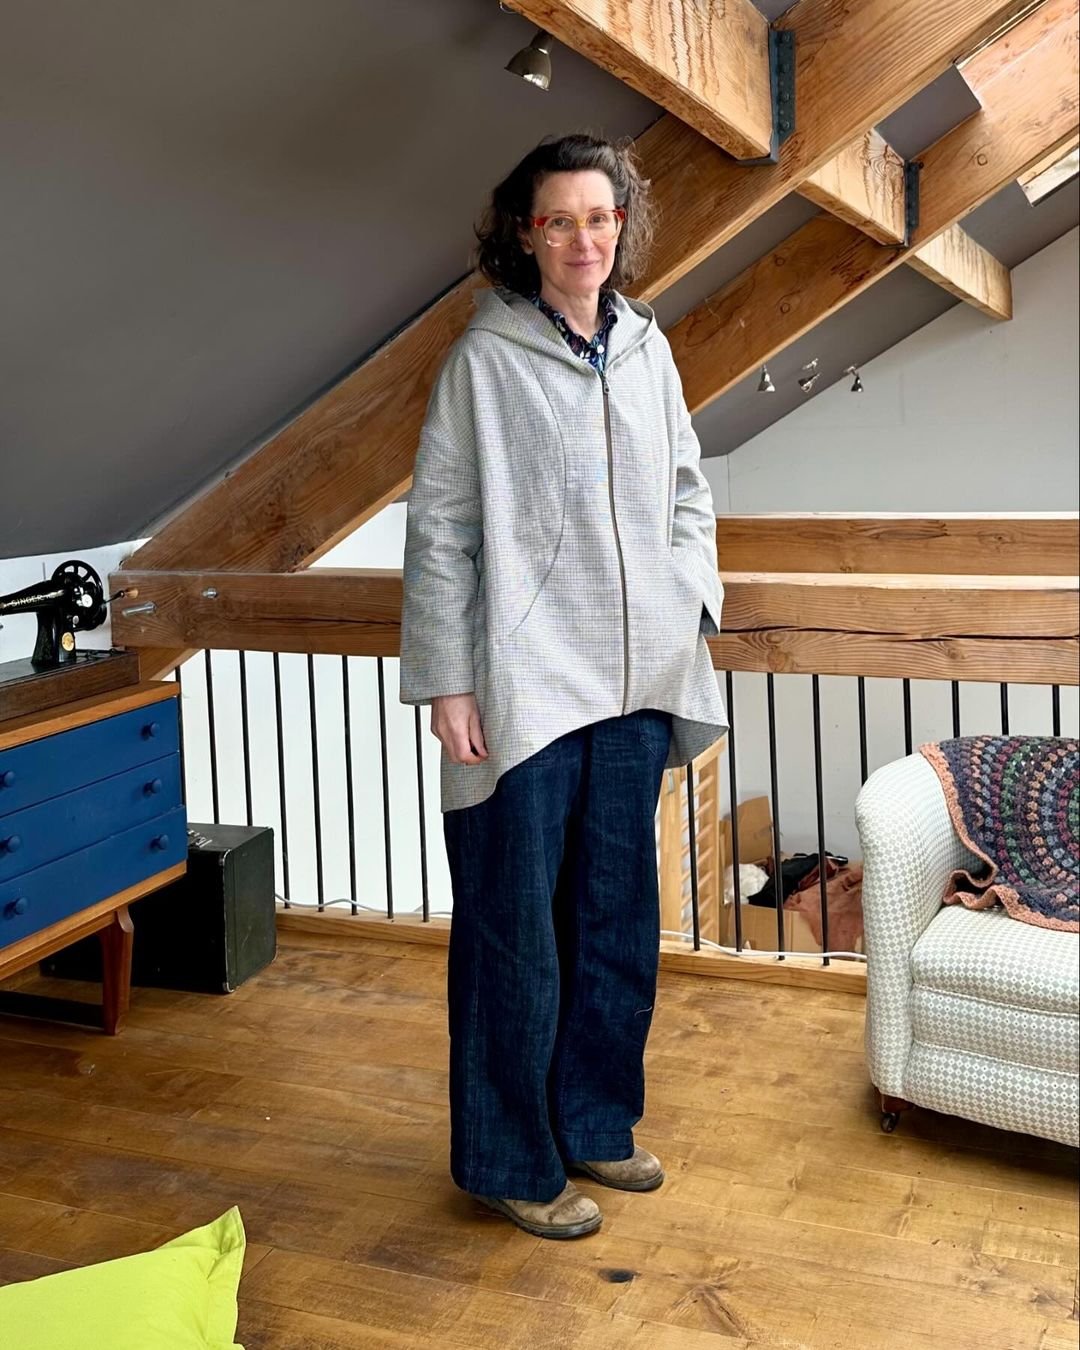
Hove jacket made by @sewquietly


