
THE Q & A SERIES
EMILY’S TIPS FOR COPYING YOUR CLOTHES
Hi Emily
I am really trying to improve/ learn how to cut a pattern from a much loved garment. I manage reasonably with children’s simple clothes but struggle with mine. I’d love to hear any tips you have.
Thanks,
Clare
Hi Clare,
Can I just say first up - you are not the first person who has loved a garment and wanted to know how to copy it so that they could wear it forever. We’ve heard this question SO MANY TIMES in our community.
Because, if you’re someone who has the skills to make your own clothes, it’s highly likely that you’ve thought at some point… “I know how to sew. I can copy that. I mean… how hard can it be?”
And you would be right to think that you CAN copy clothes. Even without unpicking them! (Which is the approach we teach. Seam rippers, begone!)
What most makers don’t realise is they’re actually embarking on a journey that is, while related to sewing a garment, a completely unique skill set. Obviously, there is a lot of overlap between sewing a garment from a pattern and sewing a garment from a pattern you’ve drafted from a finished garment. The knowledge you have from sewing garments from patterns will most definitely help you as you starting to learn patternmaking skills, but there are some pretty important patternmaking foundations that you won’t necessarily be able to ‘figure out’ just because you’ve sewn a few garments from patterns.
Which is exactly why we took a deep dive into the whole process in our Copy Your Clothes Skills Kit.
As you probably know, it’s all about the details for In the Folds. We’re big on learning skills and having strong foundations because this is what helps you get a really beautiful finish. And that’s what gets you making clothes you REALLY love and REALLY love to wear.
WHY COPY YOUR CLOTHES?
What's great about copying clothes you already own is that you know exactly how the garment fits from the original item. When starting with a pattern, you can get a rough idea of how it's going to fit by checking the garment measurements, but it still leaves a lot up to guesswork (which is why we ALWAYS encourage you to make a toile). By using an existing garment as a base pattern, you will have a good idea of how the garment will fit your body. Once you have a pattern, you can then adjust it to fit your body better or alter the design to suit your style or preferences (more on that in the upcoming issue of Curated).
The other great thing about drafting a pattern from an existing garment is that you have a garment to refer to to check seam finishes and details. It’s a great opportunity to learn patternmaking skills without having to start from scratch!
Tips for successfully copying your clothes
Start with a simple garment
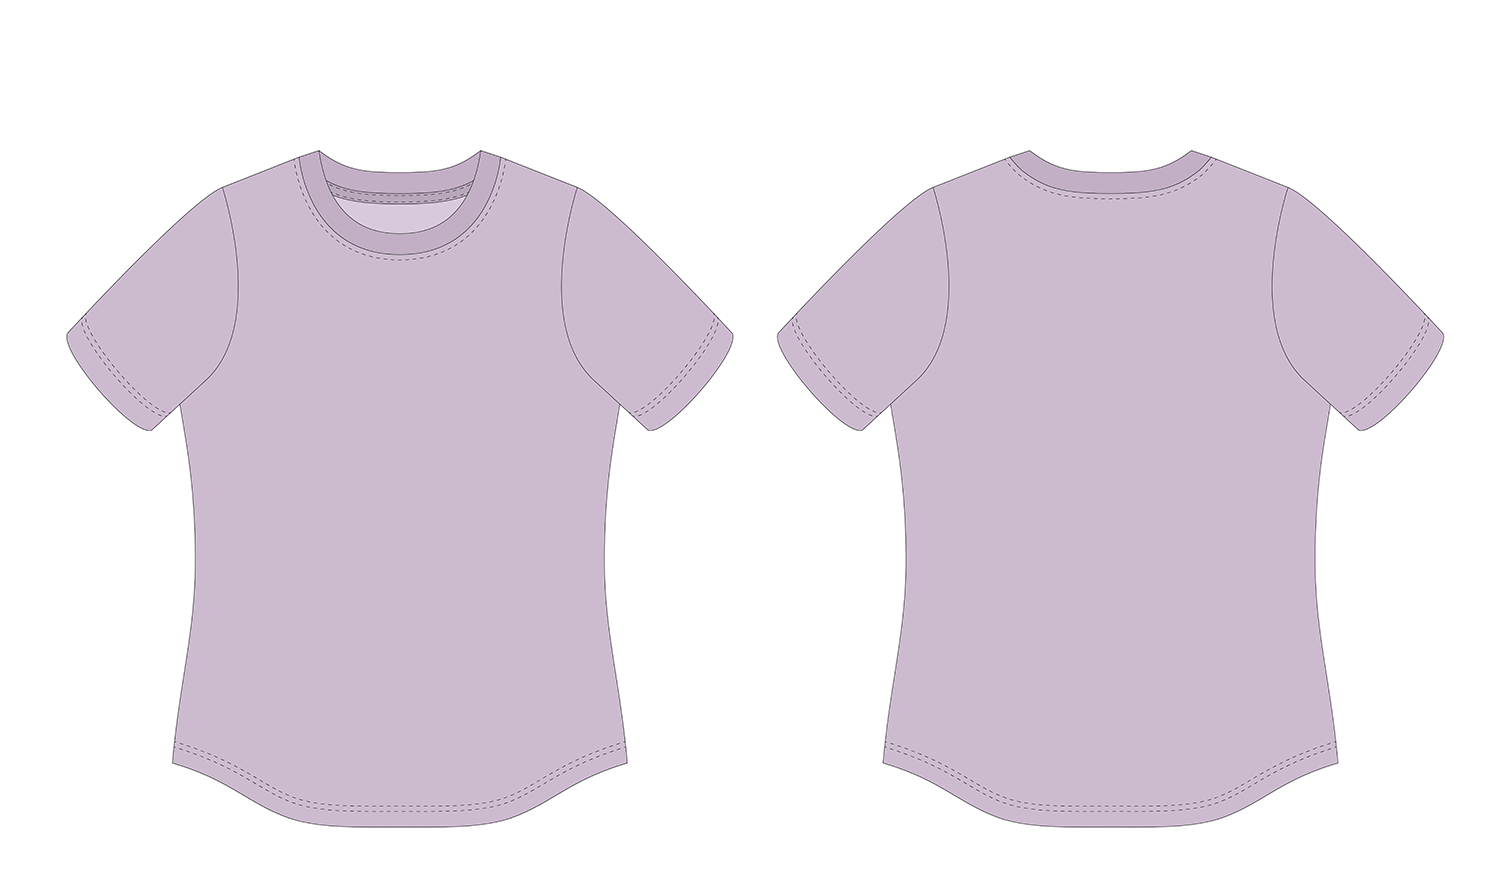
Garments can be made from woven or knit fabrics. Choose a garment that does not have design details such as darts, panel lines, tucks or gathers for your first copy. We recommend starting with a T-shirt and then working your way up to more complex patterns. Garments that do not lay flat will be more difficult to trace, so we encourage you to leave those until you have completed a few patterns using this process
And, while a t-shirt might seem like a very simple garment, please don’t be fooled!
Taking a pattern from a t-shirt will teach you a range of techniques that are foundational to patternmaking. It’s really important that you understand why they are done and learn how to do them well when taking a pattern from an existing garment. Remember, any errors that you make on a pattern will be transferred to any and all garments you make from that pattern. So take it slow and learn it well and properly!
It’s a good place to start as you don’t have to deal with elements such as darts or gathers etc. but it will give you a chance to trace straight seams, curved seams and sleeves.

Have the right tools on hand
A needle point tracing wheel is the most important piece of equipment when copying your clothes. There are various types of tracing wheels available, but for patternmaking it is important you get one with needle points. Ones with smoother or flatter points won’t have the desired effect, and are used for different processes in sewing. A needle point tracing wheel is sharp enough to transfer markings through the garment without damaging your clothes.
If you’re intent on learning patternmaking skills and you don’t have a tracing wheel already, it is a good piece of equipment to add to your toolbox.

You will also need pattern paper and a patternmaking ruler. We suggest a curved ruler too, such as a French curve or Patternmaster.

Consider the condition of the garment you are copying
You can copy a garment in any condition. Don’t worry if it’s a newer garment, or something you can still get a lot of wear out of. For the process we use, we won’t be unpicking the garments to create a pattern so you’ll still be able to wear it afterwards. Bonus!
The better the condition, the easier the garment will be to copy. When clothes begin deteriorating, they often stretch and warp out of shape, so this may make it difficult to trace an accurate pattern. If it’s something you love though, it’s well worth giving it a go, even if it is in poor condition. As you have pattern alteration skills (and if you don’t you should definitely join Curated by ITF!), you will likely be able to tweak any issues that come about due to stretched or warped fabric.
If your garment is in poor condition, we recommend choosing something in better condition for your first attempt to get used to the process and work your way up to the garment in poorer condition.
Prepare the garment to make it as easy as possible to trace
This means:
Launder the garment. It is important that the garment is in good shape so that the trace is as accurate as possible.
Iron the garment. Use steam to ensure any areas that have stretched are as flat as possible.
Get to know the garment. Look over the garment and ask yourself some questions about how it's made:
Is the garment symmetrical?
How is it constructed? (i.e. what seam finishes are used?)
How are openings finished? For example, how is the hemline finished, how are the necklines / armholes finished?
Does the garment have any special details I need to consider?
The basics of copying your clothes

Start by marking the CENTRE FRONT / CENTRE BACK
Find the CENTRE FRONT by folding the T-shirt in half with the front facing out. Align the shoulder seams and the side seams. Lay the piece flat and smooth out any wrinkles.
The fold is the CENTRE FRONT. Place a vertical pin in the CENTRE FRONT at the neckline and the hem. If the back neckline extends above the front neckline, which is common for T-shirts, place the pin through the back neckline.

Take a length of masking tape and place it along the fold from the top of the garment to the bottom, with one edge right up against the fold. Use multiple pieces if required (it doesn’t have to be one length).
Leave the pins in place so it is clear which side of the tape is the CENTRE FRONT.

With a tracing wheel, carefully trace along the seam lines
Methodically work your way around the garment so that you don't miss a seam.
When using the tracing wheel you need to apply enough pressure for the wheel to leave markings on the paper underneath the garment. Roll the tracing wheel back and forth in the same spot a couple of times before moving along the seam.
If you make a mistake, go over the seam again, pressing harder with the tracing wheel. This means when you lift the garment it will be clear which markings are the correct markings to follow.

You can use a ruler for straight seams and trace along them with the tracing wheel or just use the tracing wheel and straighten out the line later when you are tracing the markings.
For seams that are on the the outer edge of the garment (e.g., shoulder seams and side seams in the case of a T-shirt) you can choose whether you would like to trace the seam shape with the tracing wheel or a pencil.

Use a ruler on straight seams to help you get a straight line.
Alternatively, mark each end of the straight line with a pencil and then join the points when you remove the garment.

To mark a curved line with a pencil, use a broken line to transfer the shape onto the paper.

Check and true your pattern pieces
As you trace your pieces, check them against the pieces they will attach to to check that the seams are the same length and there is smooth flow through from front to back. This will ensure the pieces fit together accurately and you won’t get any surprises at the sewing machine.
Make a toile
Even though you’ve made a pattern from a garment you already own, if you’re not sure about anything, a toile is ALWAYS a good idea and a great way to check before cutting into your ‘good’ fabric.
Happy skill-building,
Emily
RESOURCES MENTIONED IN THIS ISSUE
More information about our Curated by ITF subscription can be found here. Sign up during the month of June to get the Copy Your Clothes Skills Kit delivered straight to your inbox.
For more issues of the Q & A series, you can check out the archive here.
WHAT YOU’VE BEEN MAKING
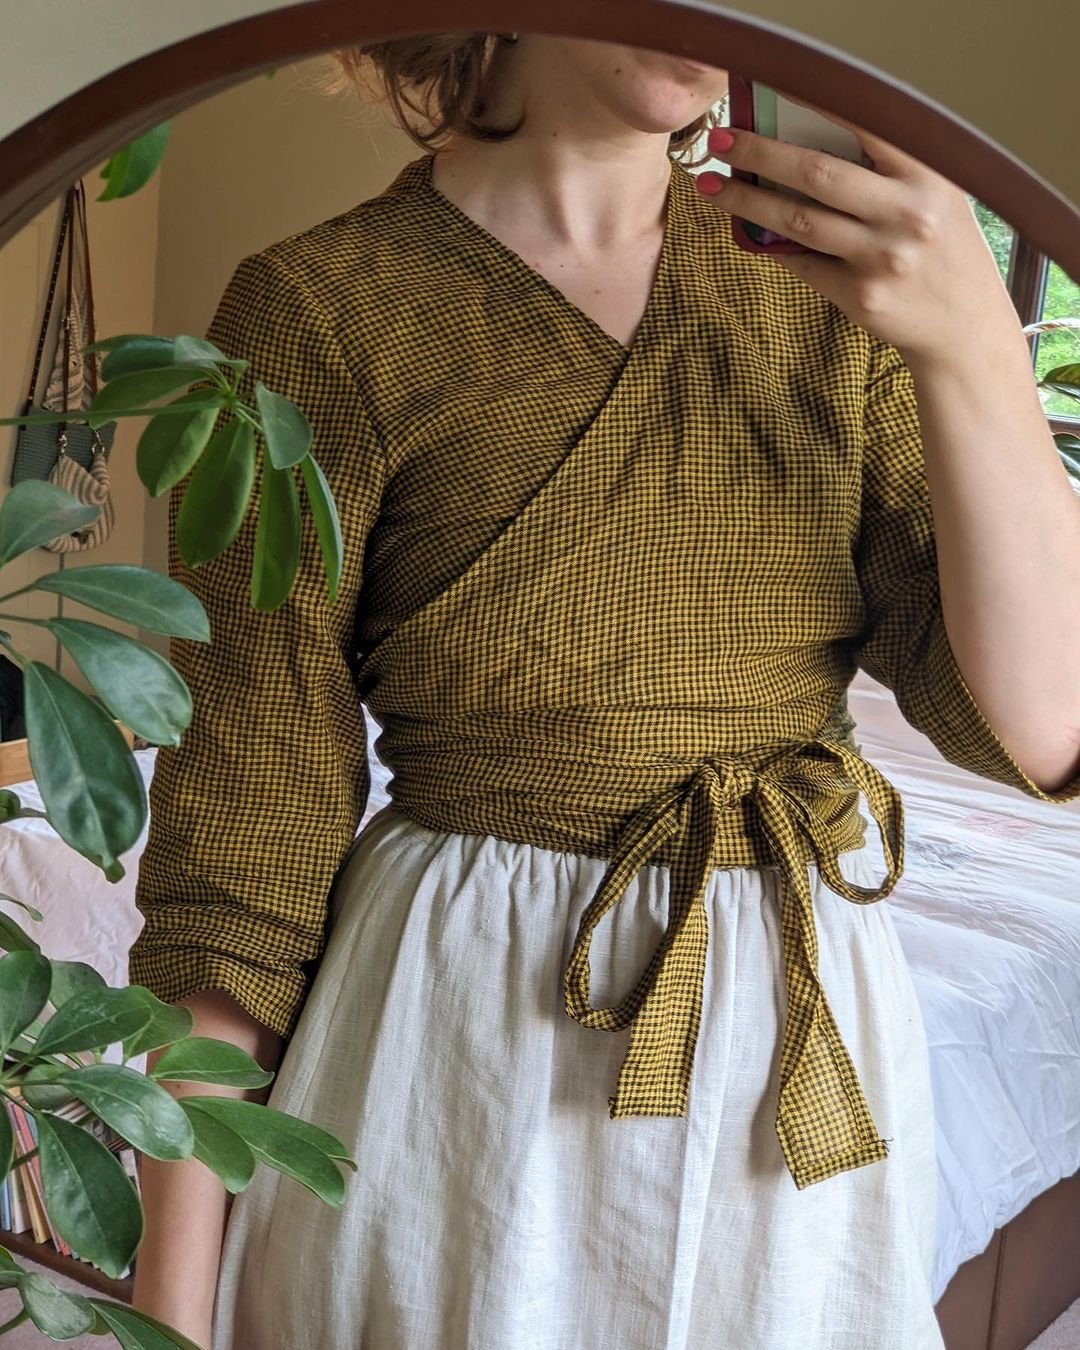
Peppermint Wrap top made by @marfasmakes

Darlow pants made by @kristinkoury


