Hi Emily,
I have a favorite pair of pants and would like to replicate them without taking them apart. Is there a way to do that? Thank you.
DD
Freeport, US
Today’s Spotlight email is a little different. We usually use this email series to focus on a particular technique or element of our latest release. But, we received this question recently and thought it would be a great opportunity to put the spotlight on our recently released standalone resource, the Copy Your Clothes Series.
We've all had one of those garments that we just wear over and over… and then it starts falling apart. And even if we use our best attempts to mend it, it's just too late. Or, a garment that we'd love to make in a different fabric or colour. In this resource, we show you how to take that beloved garment and make a pattern from it.
What's great about copying your clothes is that you know how the garment fits from the original item. Once you’ve created the pattern from the garment, you can adjust it to fit your body better or alter the design to suit your style or preferences.
Overall, drafting a pattern from a finished garment provides a great opportunity to learn pattern making skills without having to start from scratch. And what makes our approach even better? You don't need to take the RTW garment apart to do it!
We’ve already shared some tips for copying your clothes here, but read on for a few more.
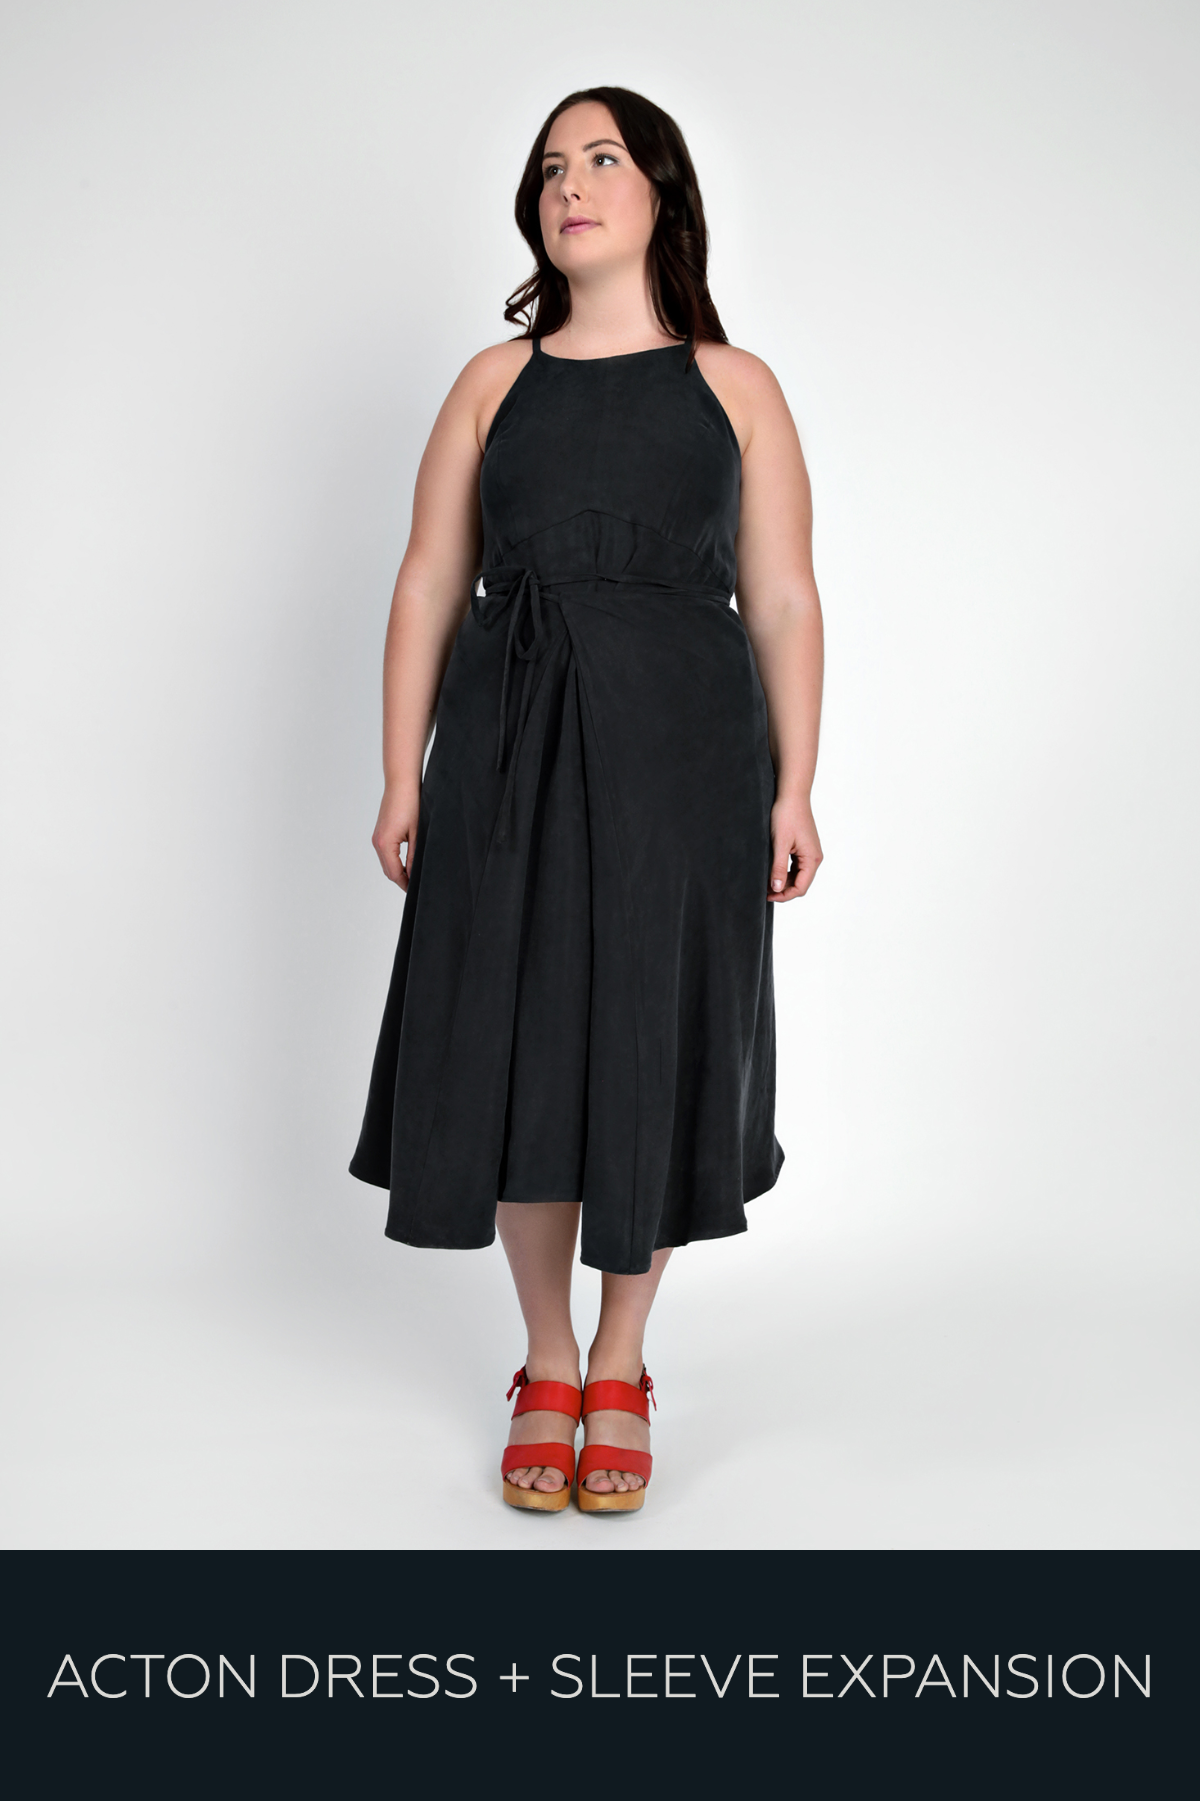
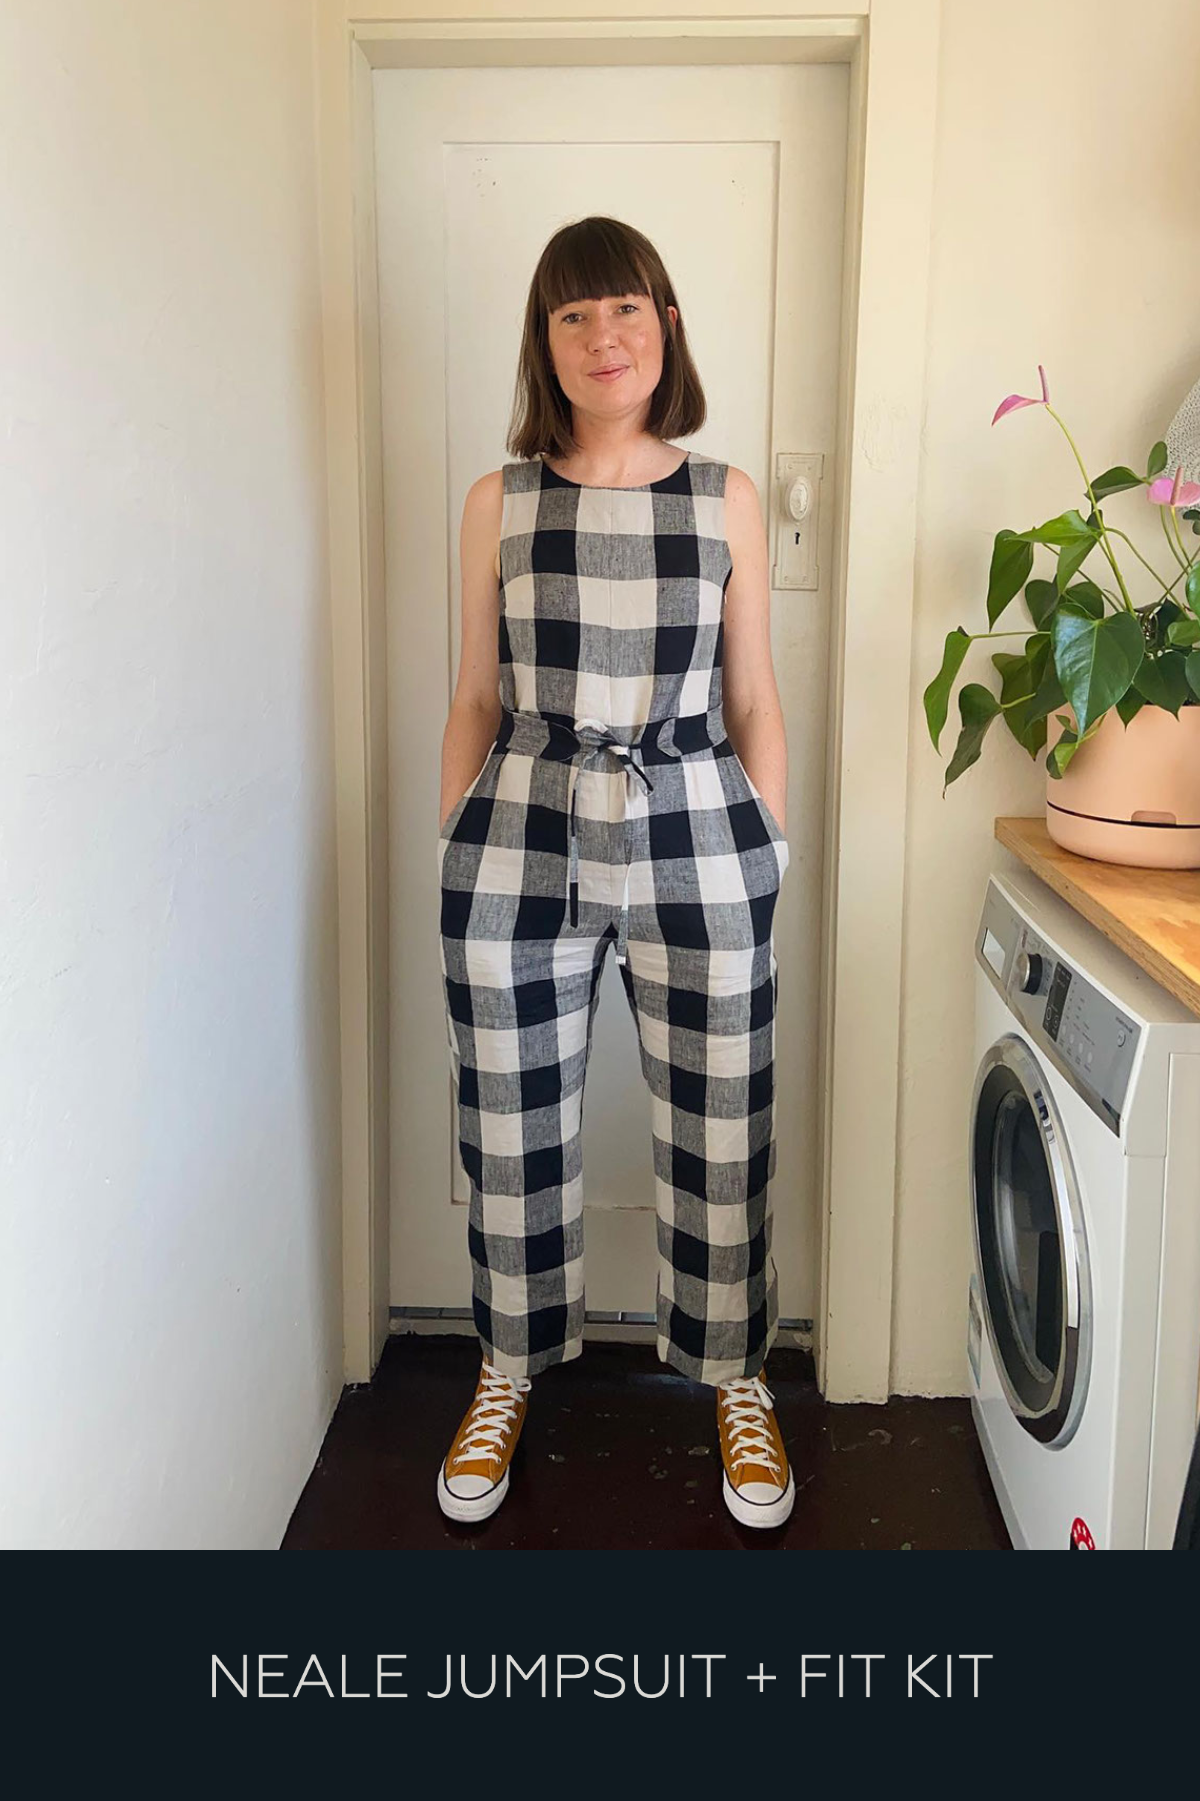
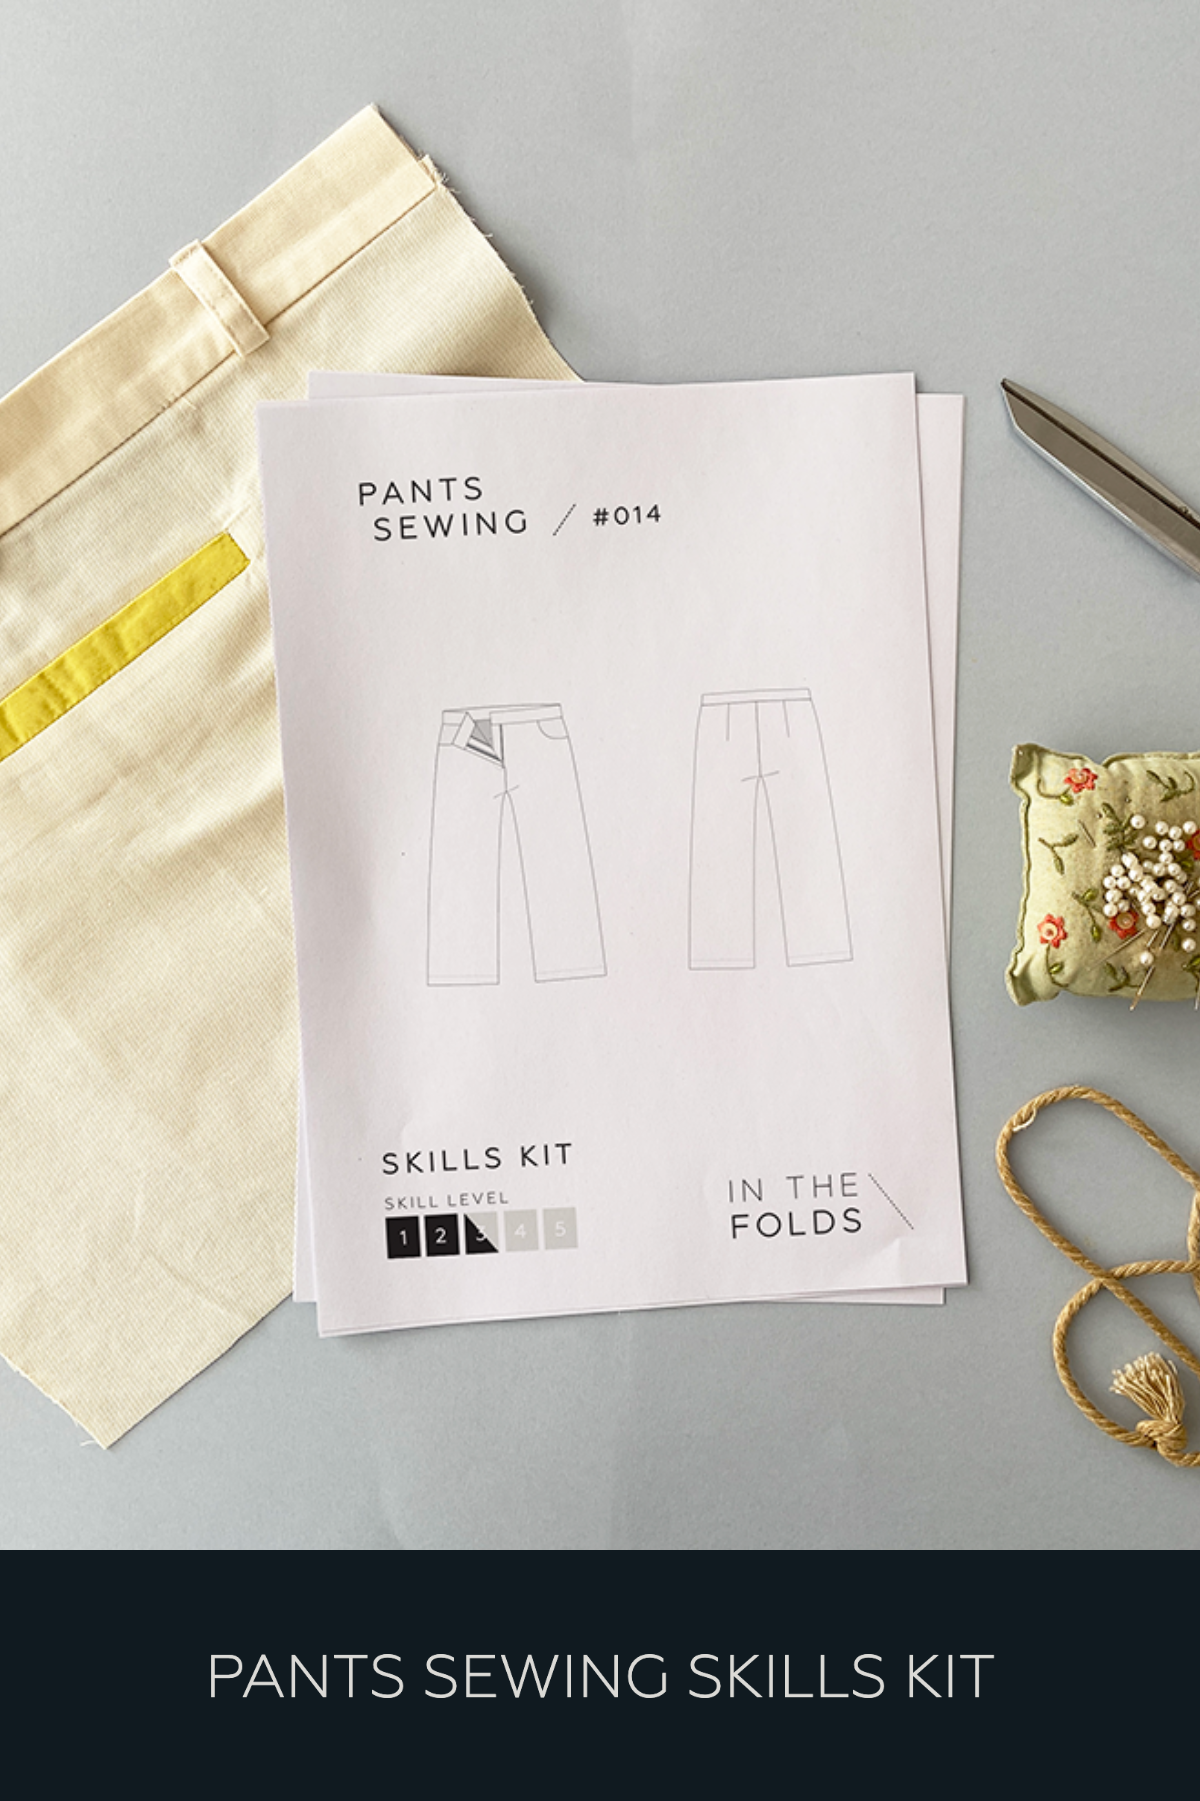
Tips for making a pattern from an existing pair of pants
I will start by saying that pants wouldn’t be the first garment I would suggest copying to get the hang of this process. It’s better to start with something simple (like a t-shirt) and work your way up to pants once you’ve got the hang of it. If you want to give some simple garments a go, this is the approach we use in our Copy Your Clothes Skills Kit.
Get your tools ready.
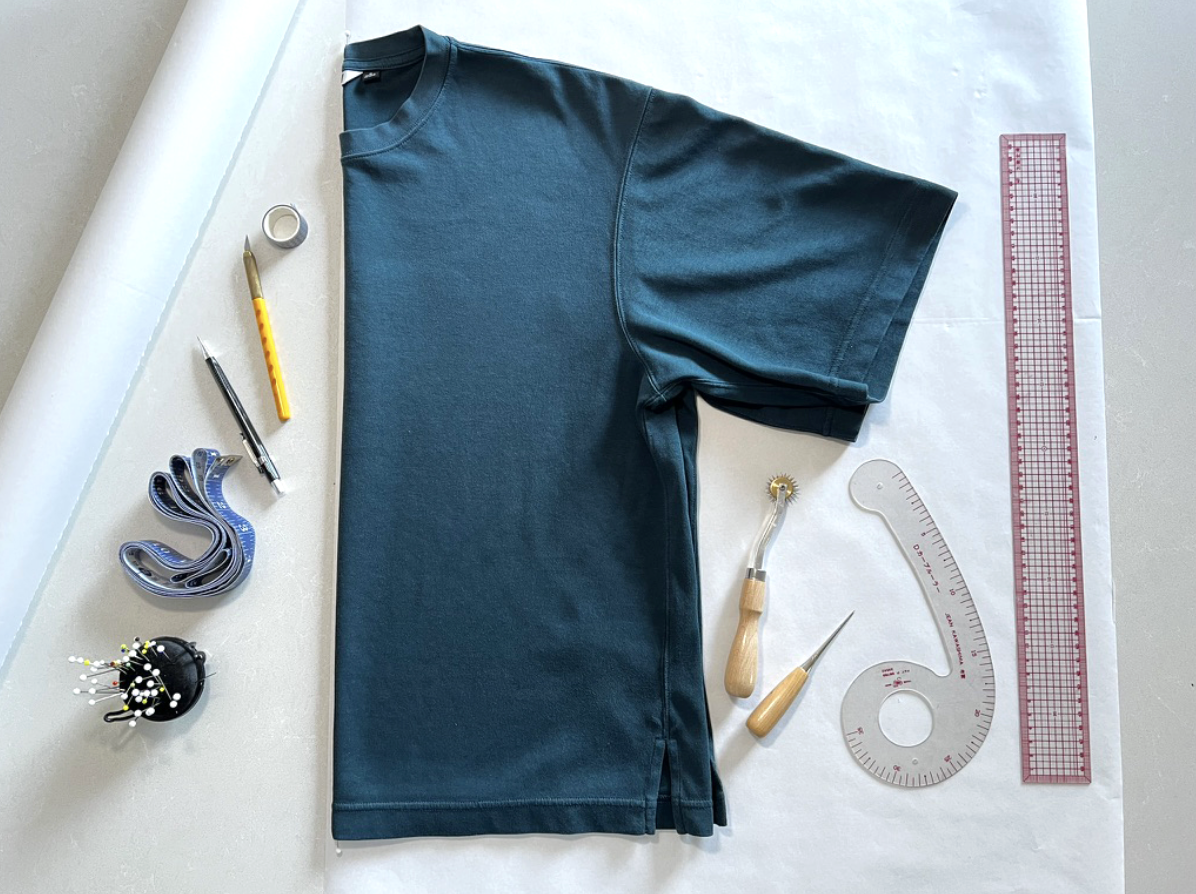
The most important piece of equipment for copying clothes from an existing garment is a needle point tracing wheel. There are various types of tracing wheels available, but it is important you get one with needle points. Ones with smoother or flatter points won’t have the desired effect and are used for different processes in sewing. You need a tracing wheel that is sharp enough to transfer markings through the garment.
Prepare the garment.
Make sure it’s clean and pressed. Don’t skip this and take time to press it well! Starch if needed.
Find the grainline.
Pants don't normally have a straight CENTRE FRONT or CENTRE BACK seam, so the grainline on a pair of pants may not be obvious. To find the grainline, examine the weave of the fabric. The warp threads (lengthwise threads) are usually parallel to the straight grain. Alternatively, if the hem on the pants is straight, the grainline is normally perpendicular to the hem. Once you identify the grainline, use masking tape to mark it.

Get the garment as flat as possible and pin seams to the paper.
When pinning the FRONT, it is likely that the BACK piece will extend past the seams towards the front. Be mindful of this and pin along the FRONT seams, rather than on the fabric extending from the BACK.
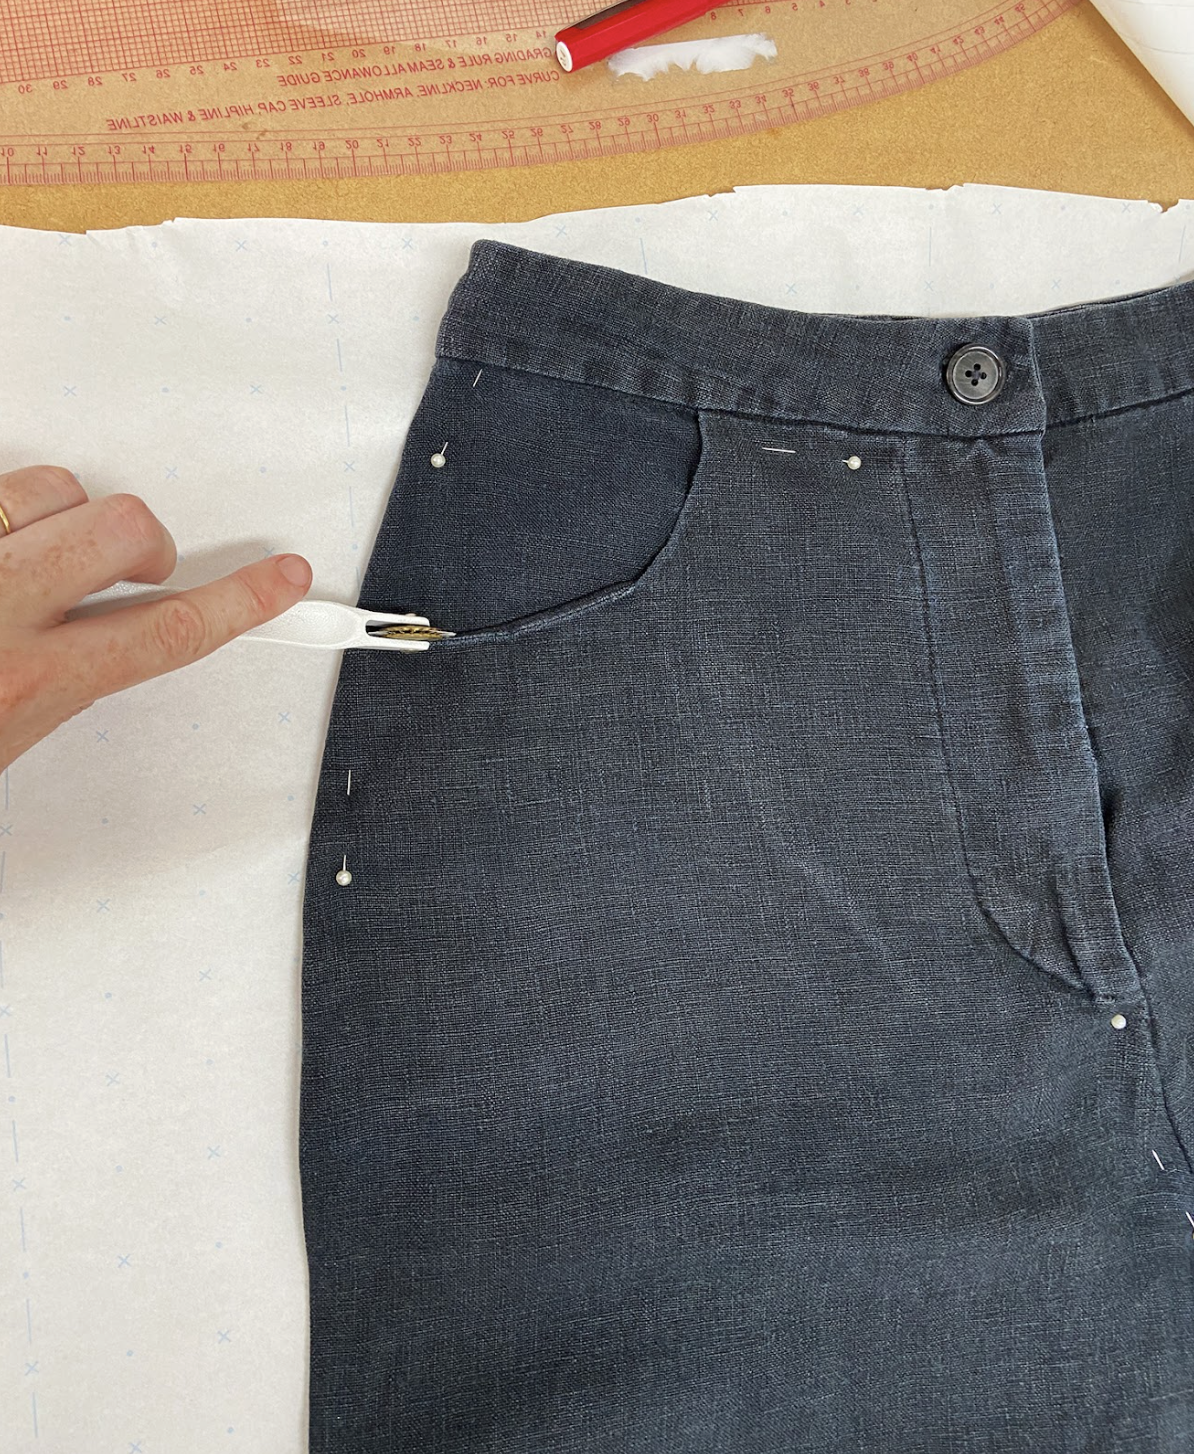
Use a tracing wheel to trace around the seams.
Trace around any details such as pockets. Remove the pins and garment and trace the markings made by the tracing wheel with a pencil.
Trace the BACK pattern piece in two parts.
It is common for the back of a pair of pants to be wider than the front due to the fullness of your hips / butt. Be methodical as you trace the back. Use masking tape to mark the fold line on the pants so you are able to trace the remainder of the piece.
Consider the best way to create the waistband pattern piece.
For shaped waistbands, we recommend tracing from the garment. For straight waistbands, drafting the piece using measurements will give a more accurate pattern piece (we show you how to do this in the resource).
Draft the pattern pieces.
Some pieces will be easier and more accurate to draft from scratch rather than tracing from a garment. We have included a range of tutorials in the resource so you can draft the required pieces. Alternatively, you may choose to take elements from patterns in your stash if you like a particular design detail or constructions details. If your garment has a fly front, we suggest borrowing pattern pieces from another pants pattern instead of tracing.
We’ve got a tutorial for drafting pocket patterns here.
Check and true the pieces.
This is a very important step when drafting patterns from RTW garments and we’ve got a tutorial here. Walk the waistband into the waist of pants to check it is correct. Mark notches on the waistband at any points of interest (such as darts and pocket positions).
The final step…
Add seam allowance, move notches to the cut line and add pattern markings to each piece.
Phew! Like I said earlier, drafting a pattern from a pair of pants is quite an involved project, and definitely not something we think a beginner should embark on. A slow and steady approach to the more difficult and involved sewing skills is always a good idea, and we show you how to do just that in our Copy Your Clothes Series. We hope you try it and would love to see your finished projects!
Happy pattern drafting!
Emily