

Hi Emily,
I’ve noticed that when I make a change to the bust area of a pattern, the facing no longer lines up with the armhole. Should I make the same adjustment to the facing as I do to the pattern, or is there something else I should be doing?
Thanks,
Bonny
Hi Bonny,
The simplest way to deal with this is by redrafting your front facing. You shouldn’t need to touch your back facing if you haven’t made any alterations to the back piece of your pattern.
I will be redrafting the front facing for the Peppermint Jumpsuit pattern, as I think this is a great follow-up question to my last post on lowering a dart (which does change the pattern enough for the front facing piece to need to be altered).

Step 1
A. Take the FRONT piece and the FRONT FACING piece from the Peppermint Jumpsuit pattern (or the pattern you need to draft a new facing for).
B. Place the FRONT FACING piece on top of the FRONT, lining up the neckline, shoulder seam and centre front (the facing does not have a seam in the centre, so you will need to line up the stitch line on the FRONT with the centre front of the FRONT FACING). You will notice that the front facing no longer matches the piece like it needs to.

Step 2
A Take the FRONT FACING piece and measure the centre front length and the side seam (on the stitch line). In the Folds patterns include the stitch lines on the pattern (the grey line) - if you are using this tutorial for a pattern that does not include stitch lines, you will need to mark it in so that you can draft the new piece accurately.
We need to know the length of the side seam on the FRONT FACING so that when we make the new piece, it will have the same length side seam as the original piece, so that it still matches correctly with the BACK FACING piece.
B Take the FRONT piece and mark the lengths you found in A on the centre front and side seam (on the stitch line).
C Draw a nice smooth curve from the centre front over to the side seam - you can use the original facing as a reference of the shape.
As you can see, the bottom of the facing would only just line up with the dart point. I prefer the bottom of the facing to sit under the dart point, so will show you how to alter this in the following step.
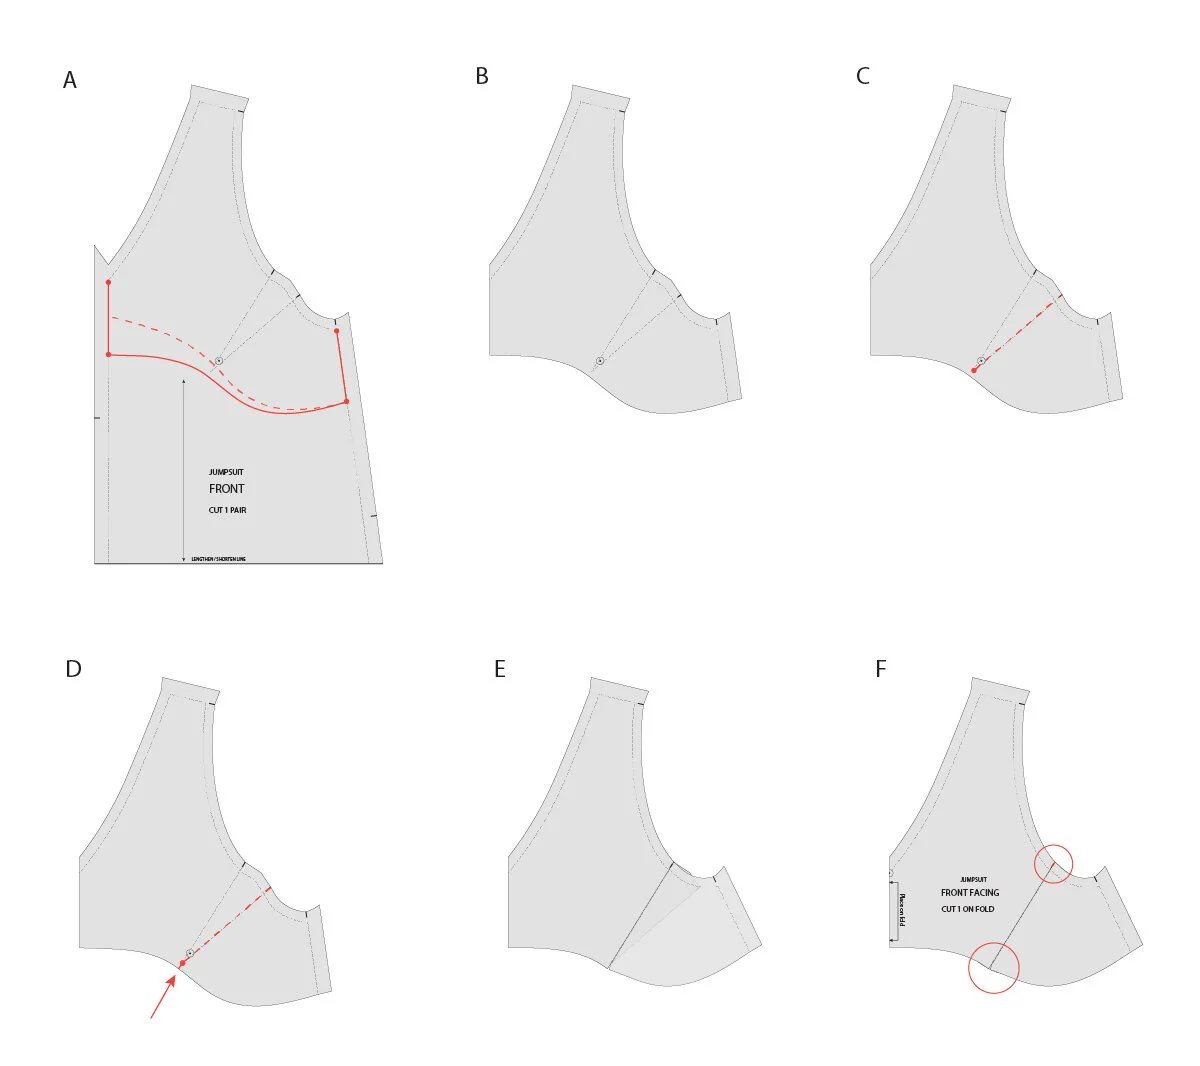
Step 3
A. To get the bottom of the facing to sit under the dart, we will need to extend the length of the centre front of the facing. This is a fine alteration to make as this line is cut on the fold, so it does not impact another seam.
Extend the centre front facing line and redraw the bottom edge of the facing, meeting the original line at the side seam. You will see that this new line now sits slightly below the dart point.
B. Trace the new FRONT FACING piece onto a piece of pattern paper. Be sure to mark in the stitch line, dart and notches.
C. We will now be removing the dart from the facing. You will always want to remove as much bulk from a facing as possible - so that means removing darts when you can (otherwise you would have the bulk of two darts sitting on top of each other when the garment is made). Cut along the lower dart arm, towards the dart point.
D. Turn the pattern piece around and cut into the facing from the bottom edge towards the tip of the dart - stopping 1-2mm from the dart point and creating a small ‘hinge’ of paper.
E. Close out the dart by sliding the cut edge of the dart up to meet the upper dart arm. Tape in place. If you would like to learn more about closing out darts using this method, you can see this tutorial.
F. Fill in the gap at the bottom with a small piece of paper or masking tape and smooth out the line. Mark a notch on the armscye where the dart has been closed. Finalise the pattern by adding pattern cutting instructions.
And that’s it, your facing will now fit your altered pattern!
Happy sewing,
Emily
resources mentioned in this issue
The Peppermint jumpsuit can be downloaded for free here.
P.S. Would you like to know what the Q & A series is all about? This page tells you a little bit more about the motive behind the series. Past issues from the Q & A series can be found here.
Don't have a question, but found this newsletter helpful? I'd love to hear from you! Get in touch and say hi.
What you’ve been making

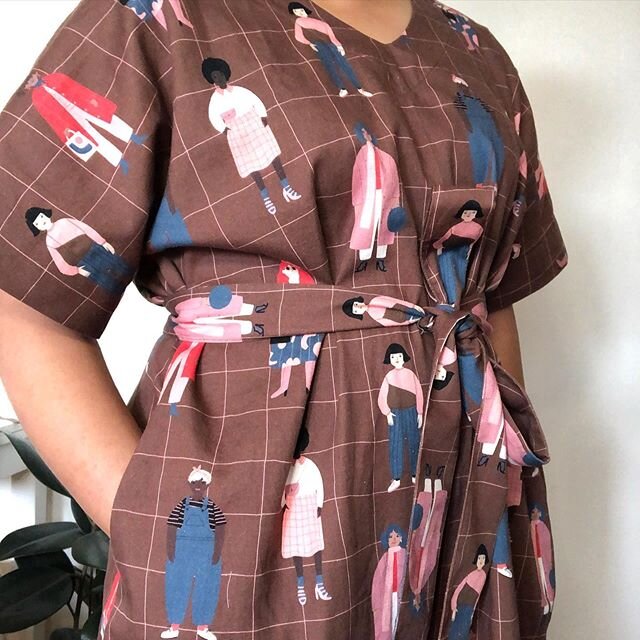
Peppermint everyday dress made by @iveeives

Acton dress made by @icecjan

Peppermint wrap top made by @hannysews


