

Hello!
I’ve really been loving your Q&A series. I am getting ready to start my own pattern company. I would love to know the steps in the process to getting a successful pattern ready for the market. Also I am not a pattern maker and do want to make my own patterns. How do I go about finding someone to help me make sewing patterns?
Thank you,
May
Fairfax, United States
~
How do you make your gorgeous patterns?
Kate
Camden, UK
Hi May and Kate,
This week is part two of our little mini series of Q&A posts about the process of making an In the Folds pattern from beginning to end. If you missed part one, you can find it here.
Last week we finished up by talking about preparing the pattern for digitisation, so we will pick up right where we left off.
DIGITISING THE PATTERN
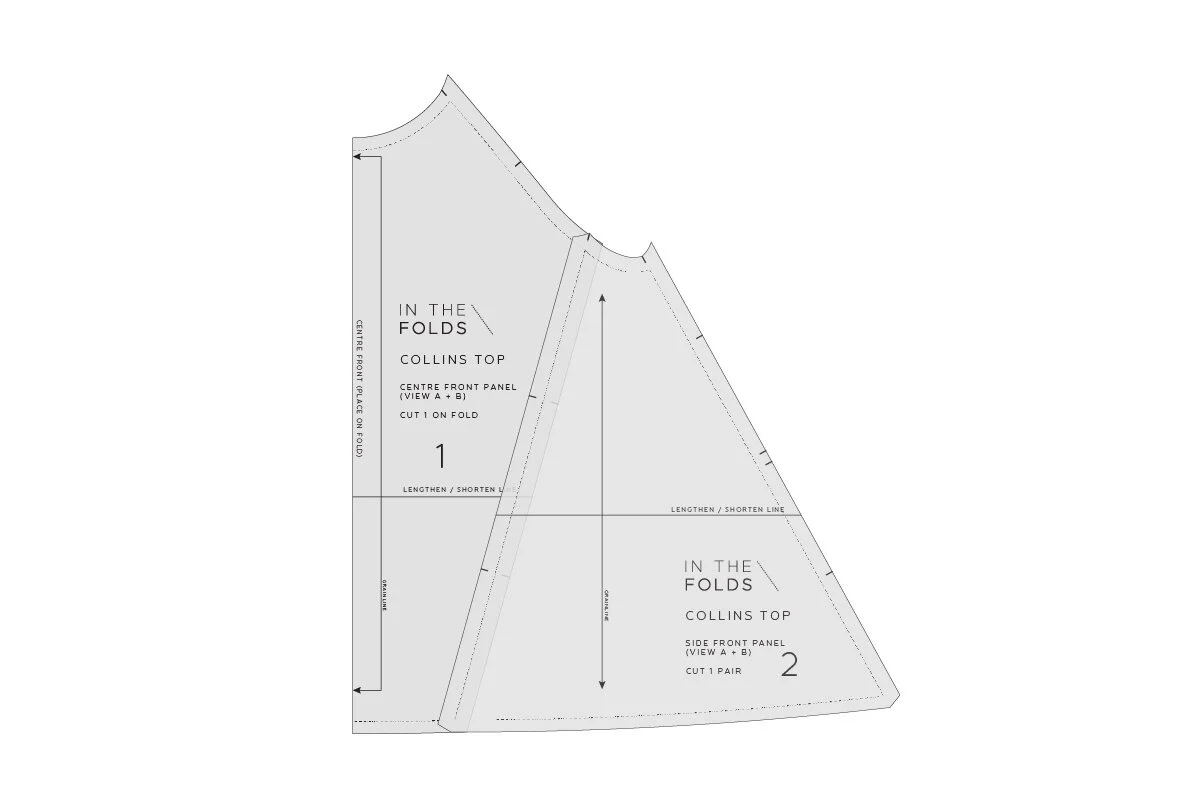
I always feel very excited at this point. I love knowing that the pattern itself is almost complete (I say ‘almost’ as there are always things changing up until the very end) and that it’s time to start digitising the pattern. I start by tracing the pattern onto large format paper and then taking it to my local copy shop for scanning.
When tracing the pattern onto paper:
Trace stitch line (and cutting line if you like)
Transfer all notches, drill holes, pattern markings etc.
Mark the grainline on each piece
Label each pattern piece
Write any notes or things to keep in mind directly on the pattern
When I first started my business, I didn’t know I could find a large format scanner at my local copy shop, so I somehow managed to do this by scanning the pattern in piece by piece on my home scanner and then assembling in Photoshop. As you can imagine this was quite a boring and laborious task! There are ways to do this, so that is an option if you don’t have a copyshop nearby, but it is worth ringing around to see if you can find somewhere that does it. The place I go to is very cheap (just a few dollars per page), so it’s definitely worth it.
Once I have the scanned version of the pattern (in PDF format), I import it into Adobe Illustrator. I trace the pattern using the pen tool. When tracing onto paper, I trace the stitch line only, so this is what I trace when I import it into Illustrator. I then use the ‘offset path’ tool to add seam allowance. I add the grainline, notches and pattern markings. I then check and true the seams to check they are all correct, and make any necessary changes.
There are a lot of tools in Illustrator that make life much easier when drafting patterns, that I’ve managed to learn over the years. My mentality is to just learn as I go and aim to continue learning with each new pattern. If you have never used Adobe Illustrator, I’d say that’s something you should work on as it is a big part of the process.
GETTING PROFICIENT ON ADOBE ILLUSTRATOR
I was lucky enough to study fashion design at university, so I finished my bachelor with skills in Adobe Illustrator, Photoshop and InDesign. These skills have formed the basis of my business and over the last 5 years I have been adding to them as I go.
If you’d like to start a pattern company, I’d say that this is probably the most important skill you can learn. The Adobe Creative Suite is fantastic and includes everything you need to create a digital sewing pattern, but it’s quite a learning curve if you have not used it before. Consider doing a short course or looking at tutorials online to get the hang of it. I’d suggest starting with Illustrator as it’s the one you will be needing the most, but also gives you a foundation that will help you understand the other software in the suite.
A friend of mine recently told me about these great tutorials by Pattern Lab that show you how to draft digital sewing patterns using Illustrator. I had a quick look on their website and can’t believe how many great (and free) tutorials they have! These would have been really handy when I was learning - rather than the hours of strange Google searches!
SEWING THE FINAL SAMPLE
Once the pattern is digitised and checked, I print it on A0 sheets (back to the copyshop I go) and cut the pattern from fabric to make a fully finished sample. This is when I will sew the pattern from beginning to end, making sure I have resolved all parts of the process and check that all seams come together as expected.

As I sew the final sample, I take photos of each step and take notes in a Google doc as I go. I take note of any issues / problems with the pattern, or things that I think I can improve.
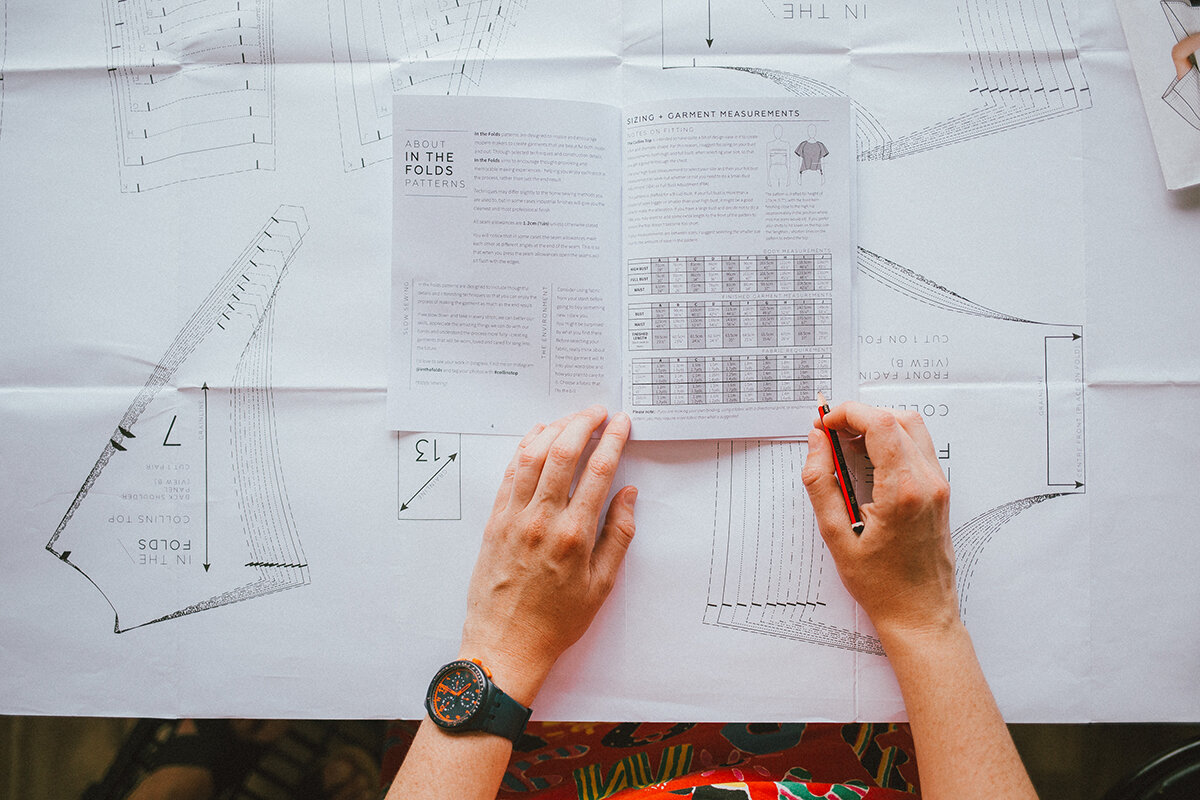
When the sample is finished, I take all the photos and the instruction notes and turn it into a basic instruction booklet document. The aim of this is not to be pretty or completely resolved, but to be a document I can use as the basis of the instruction booklet and that I can handover to the illustrator I work with.
I make any updates to the pattern that I may have found during the sampling process, and create the instruction booklet document - resolving any issues as I work through the document.
PATTERN GRADING + INSTRUCTION CONTENT
I am lucky enough to have found a brilliant person to work with on the pattern grading and illustrations for my patterns. When I started In the Folds, I did all these things myself, but eventually I found someone who could do it more efficiently so I could work on other aspects of the business. I am pleased that I used to do these things myself though, because it means that if there are any issues when I get things back, I know how to make tweaks and can also tell if an error has been made.
I send the pattern and the instruction notes to my grader / illustrator, along with any additional information, and generally about 4 weeks later, I get the pattern assets back.
This feels like a good time to end this issue. Next week I will tell you about the creation of the digital product itself (graded pattern files and instruction booklet) and finalising the pattern for release.
Happy sewing until next time!
Emily
P.S. Would you like to know what the Q & A series is all about? This page tells you a little bit more about the motive behind the series. Past issues from the Q & A series can be found here.
Don't have a question, but found this newsletter helpful? I'd love to hear from you! Get in touch and say hi.
What you’ve been making


Acton dress made by @theladywholunches

Peppermint wrap top made by @clarewears


