THE Q & A SERIES
How to do a forward shoulder adjustment (on yourself!)
How can I work out the exact amount to add to the back shoulder seam of a bodice and subtract from the front bodice shoulder seams when adjusting a pattern for a forward shoulder adjustment.
I do not have any one else to help me fit and find it is hard to work this out when looking in a mirror just wearing another garment.
It is an important 'good fit' detail that hopefully will stop my tops slipping forward all of the time.
Thank you
Making clothes to fit our bodies the way they are is something we pride ourselves on at In the Folds, and making pattern adjustments to fit our shoulders is most definitely a good fit detail that shouldn't be missed.
Here's a full tutorial for how to make a forward shoulder adjustment. We've also included links to other tutorials that will be helpful for making forward shoulder adjustments on different types of sleeves.
In our latest issue of Curated by ITF, we learned how to fit the Barkly skirt together. Because most of us sewists don't usually have anyone to help us fit the clothes we're making to our own bodies we've shared some great tips for how to fit solo that we'd love to share with you too. Fitting on yourself is definitely a process of trial and error, but we know these are helpful tips to add to your own fitting practice!
What is a forward shoulder adjustment?
When making a forward shoulder adjustment, you are essentially redrawing the shoulder line to match the shape of your body.
When making adjustments to a pattern, this translates to removing fabric from the front of the garment and adding it onto the back, followed by adding seam allowance onto the cut edge. It could also mean changing the angle of the shoulder seam.
How do I know if I need a forward shoulder adjustment?

Put simply, if the shoulder line of the garment is not sitting in the centre of your shoulder then you need to make this alteration.
a In front of a mirror, turn to the side and check that your shoulder seam is pointing towards the centre of your shoulder. Also, check that the seam is sitting in the right place at the neck. Image a shows how the shoulder line should sit while wearing the garment.
b If your shoulders sit forward, you may notice that the shoulder seam points towards the back of your shoulder rather than the centre. (Red line in Image b.) You may also find that the whole shoulder seam needs to be moved forward. (Red line in Image c).
(In Images b & c the grey line shows where the the shoulder line should sit).
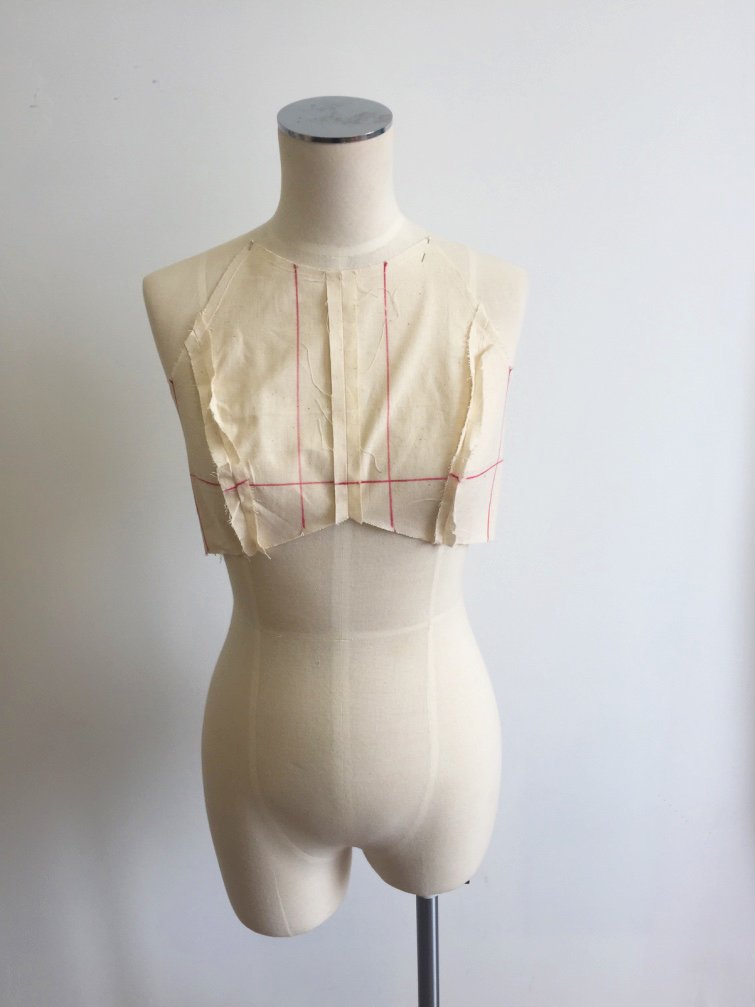
Make a forward shoulder adjustment toile

We suggest making a toile so you can easily mark on the new shoulder line. You don’t have to toile the whole garment, it can just be of the top of the pattern if this is your only adjustment.
If you are able to, put on the toile and use an erasable pen to roughly mark the new shoulder line onto the pattern. Even if it is just one mark in an approximate place (I often have a scribble on my pattern if I am fitting on myself) it helps give you a rough idea. Then you can take the toile off, draw in the shoulder line properly and try it on again to check.
If you aren’t able to roughly mark the area on the toile when you’re wearing it, then just draw it straight onto the toile where you think it might sit. Use an erasable pen so you can try it on and repeat the process until it lands in the correct area.
Erasable pens are great for fitting
Using an erasable pen is a great idea when fitting. If the marks and adjustments you make don’t feel correct you can remove them and redraw them in another area, repeating the process above.
Frixion pens are perfect for use on toiles because you can easily remove the lines with a warm iron. If working on a wearable toile or 'good' fabric, take care to only use Frixion pens for marking the seam allowances as the marks may become visible again under the right temperature circumstances.
Other marking tools you could use are pins, masking tape or design tape to mark on the shoulder seam. This might be useful if you already have a version of the pattern sewn and you want to avoid making a toile.
How adjustments translate to the pattern

Whenever you're making pattern adjustments it's helpful to think about how it translates to the pattern. For example - if you pinch out some fabric that stops before you hit a seam, how will this work on the pattern? It would likely create a seam that stops in the middle, so you might need to extend it until it hits a seam line that already exists (even if by the time it comes closer to the seam you are not removing any fabric).
Once you’re working on the pattern, you can cut into the pattern and create a hinge, and swing the paper to remove this excess fabric (more info on using this technique to alter patterns here). What's important here is that you always keep the pattern flat. If the pattern isn't flat, you won't be able to cut the pattern from fabric. This is something that you will learn and build on over time. Sometimes when we’re fitting, we don’t know if something is truly possible until we start working with the pattern, but it can be really helpful to think of both stages together.
How to mark the toile

Place pins in the armscye seam at the centre of your shoulder and at your neck (alternatively, use your erasable fabric pen).
Measure the distance between the pins and the shoulder seam line to check how far you will need to move the seam at each edge.
Don’t be afraid to play with your toile and use it to help check your alterations. You can easily pinch or pull the toile to see if it might help. If you think it will, test any alterations on the toile before marking them onto the pattern by using a long stitch length so it’s easy to undo. Think of your toile as a guide for your alterations - you can cut into it, draw on it, pin it, whatever you need to do!
Forward shoulder adjustment - step by step

Step 1
For this adjustment, we will only work on half of the back, as the back pattern pieces are symmetrical. Draw a line through the CENTRE BACK of the BACK YOKE and cut along the line. Set piece aside for the moment.

Step 2
Referring to your toile, mark the point on the FRONT armscye STITCH LINE where the centre of your shoulder is. We will call this point A.
Draw a straight line from A to the STITCH LINE at the shoulder/neckline intersection point.
If you are needing to move the shoulder seam on the neckline side too, you will need to mark this point now and draw your new shoulder seam through this point.

Step 3
Cut along the new shoulder line and separate the pieces.
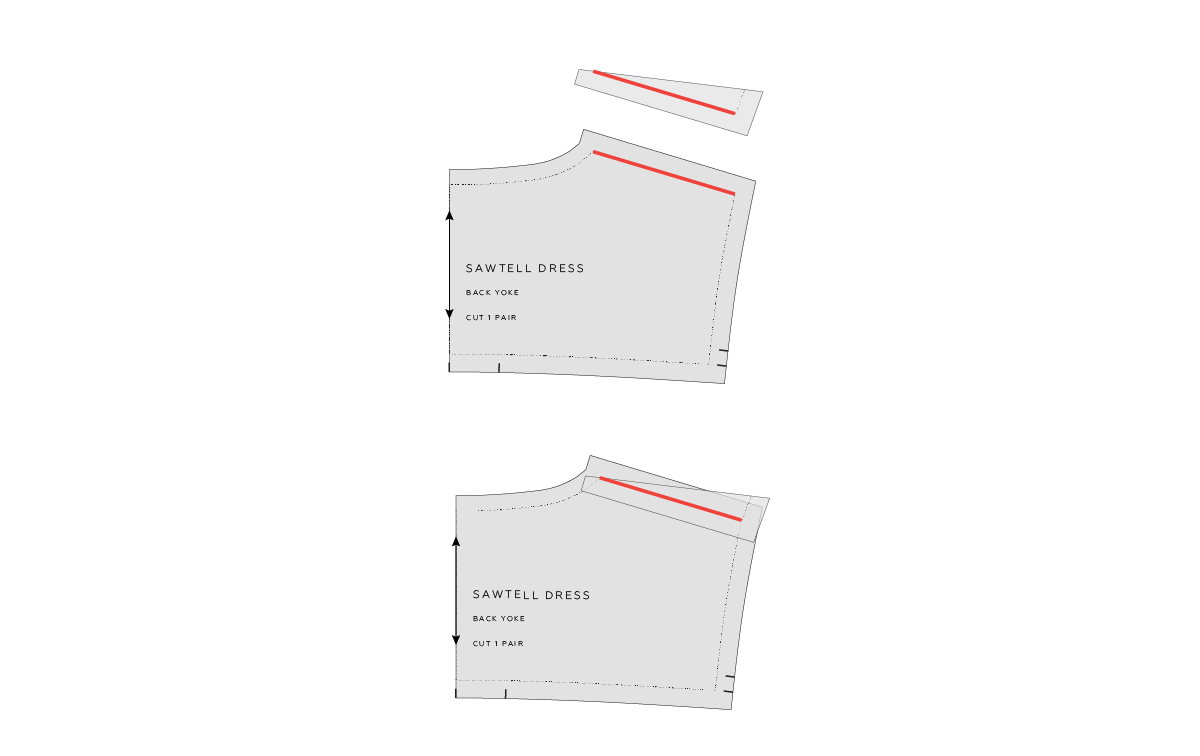
Step 4
Rotate the piece cut from the FRONT shoulder and place it alongside the BACK YOKE.
Place the STITCH LINE of the FRONT shoulder onto the STITCH LINE of the BACK YOKE, overlapping the pieces.
Tape in place.

Step 5
Attach pattern paper to the back of the BACK YOKE and FRONT on the shoulder sections. Add seam allowance to the new shoulder STITCH LINES.
Smooth back armscye with a French curve. Cut off excess paper by cutting along new CUT LINES.

Step 6
Finalise BACK YOKE piece.
Tips for fitting on yourself
Use two mirrors - one in front of you and one behind you.
Consider changing the location of the opening on your toile. If you don't have someone to help, it can be difficult to pin the centre back seam closed (if you haven't installed a zip) - consider moving the opening to the centre front or side seam. With a skirt, you can spin it around to pin the centre back closed and then spin it back into position.
Using a tripod, set up a self-timer and take photos or videos of your toile while you're wearing it body from a number of angles. You will often see creases or folds of fabric in photos that you didn't notice when looking in the mirror.
Take your time. Try the garment on and make small tweaks as you go. You can take the garment off and pin where you think you need to make an alteration and then re-fit. Fitting is an ongoing process that takes time.
For skirts, spin the garment around so the back is at the front if you need to pin out the back. Spin back into position and check the alteration.
It can be helpful to wear your garment inside out when fitting. This way you can easily pinch out seams (or let them out) and re-pin how you'd like them.
Learning how to make adjustments to patterns and fitting clothes to our bodies is a learned skill that doesn't happen overnight. We have to be willing to put in the time to develop it, but it is definitely worth it in the end. We hope this tutorial and tips help you on your way!
RESOURCES MENTIONED IN THIS ISSUE
Barkly skirt pattern can be found here.
Learn more about our Curated By ITF subscription here.
Adding and removing volume with the cut and spread technique - tutorial here.
Forward shoulder adjustment on the Collins top - tutorial here.
Forward shoulder adjustment on the Everyday dress - tutorial here.
Forward shoulder adjustment on the Rushcutter dress - tutorial here.
For more issues of the Q & A series, you can check out the archive here.
WHAT YOU’VE BEEN MAKING

Hove jacket made by @shlebg

Peplum top made by @needlethebard
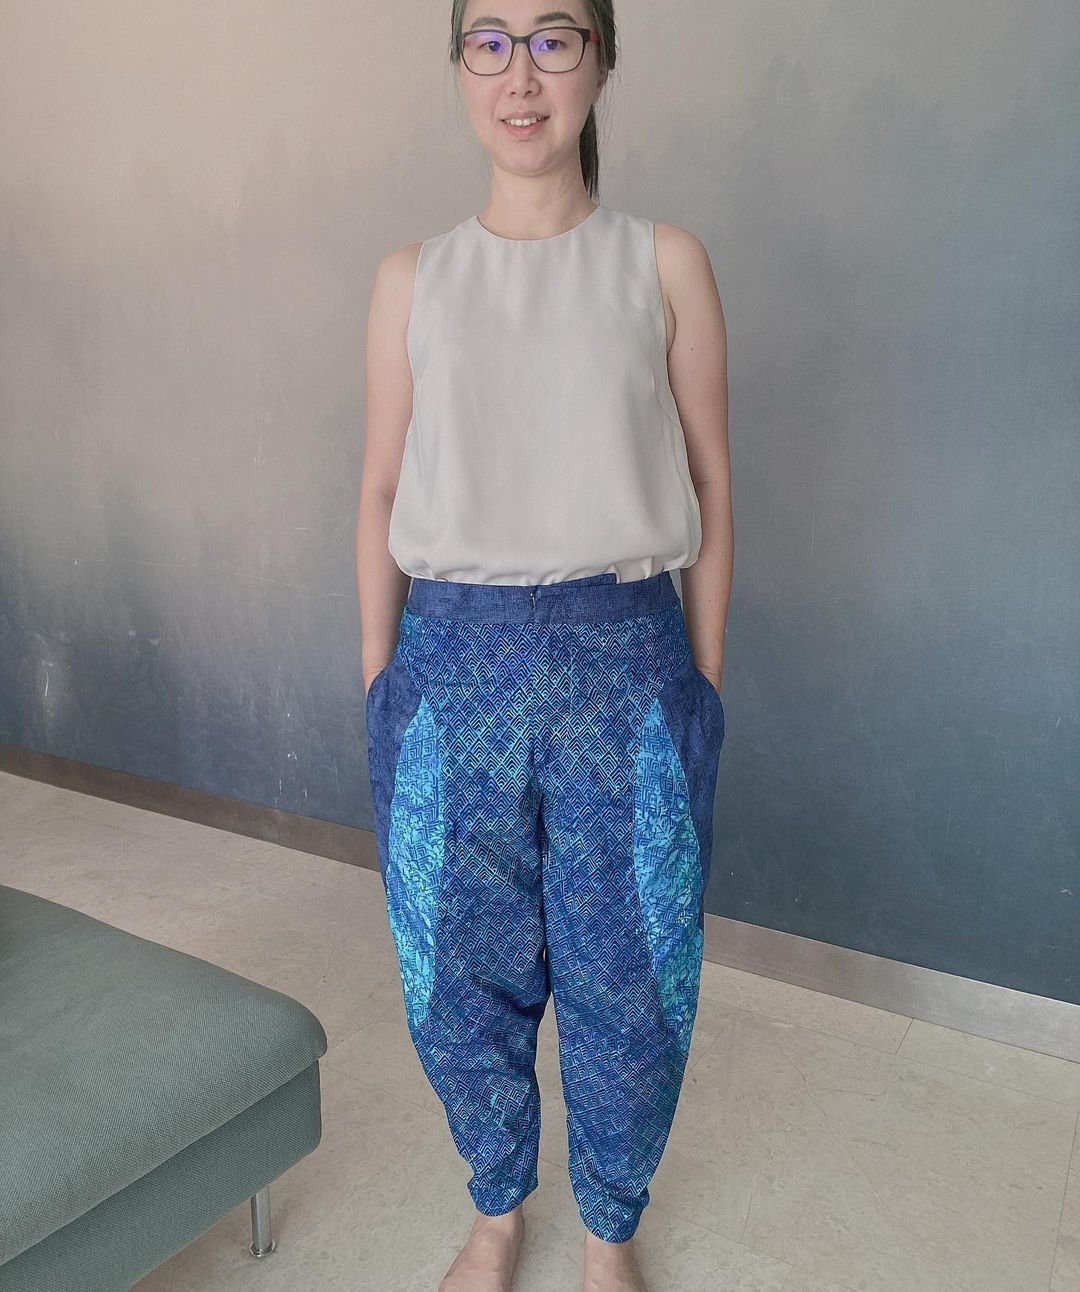
Darlow pants made by @shuaychong

Barkly skirt made by @intervalsewing


