make it yourself

A tutorial: How to add dart shaping

inthefolds_dartshaping_1

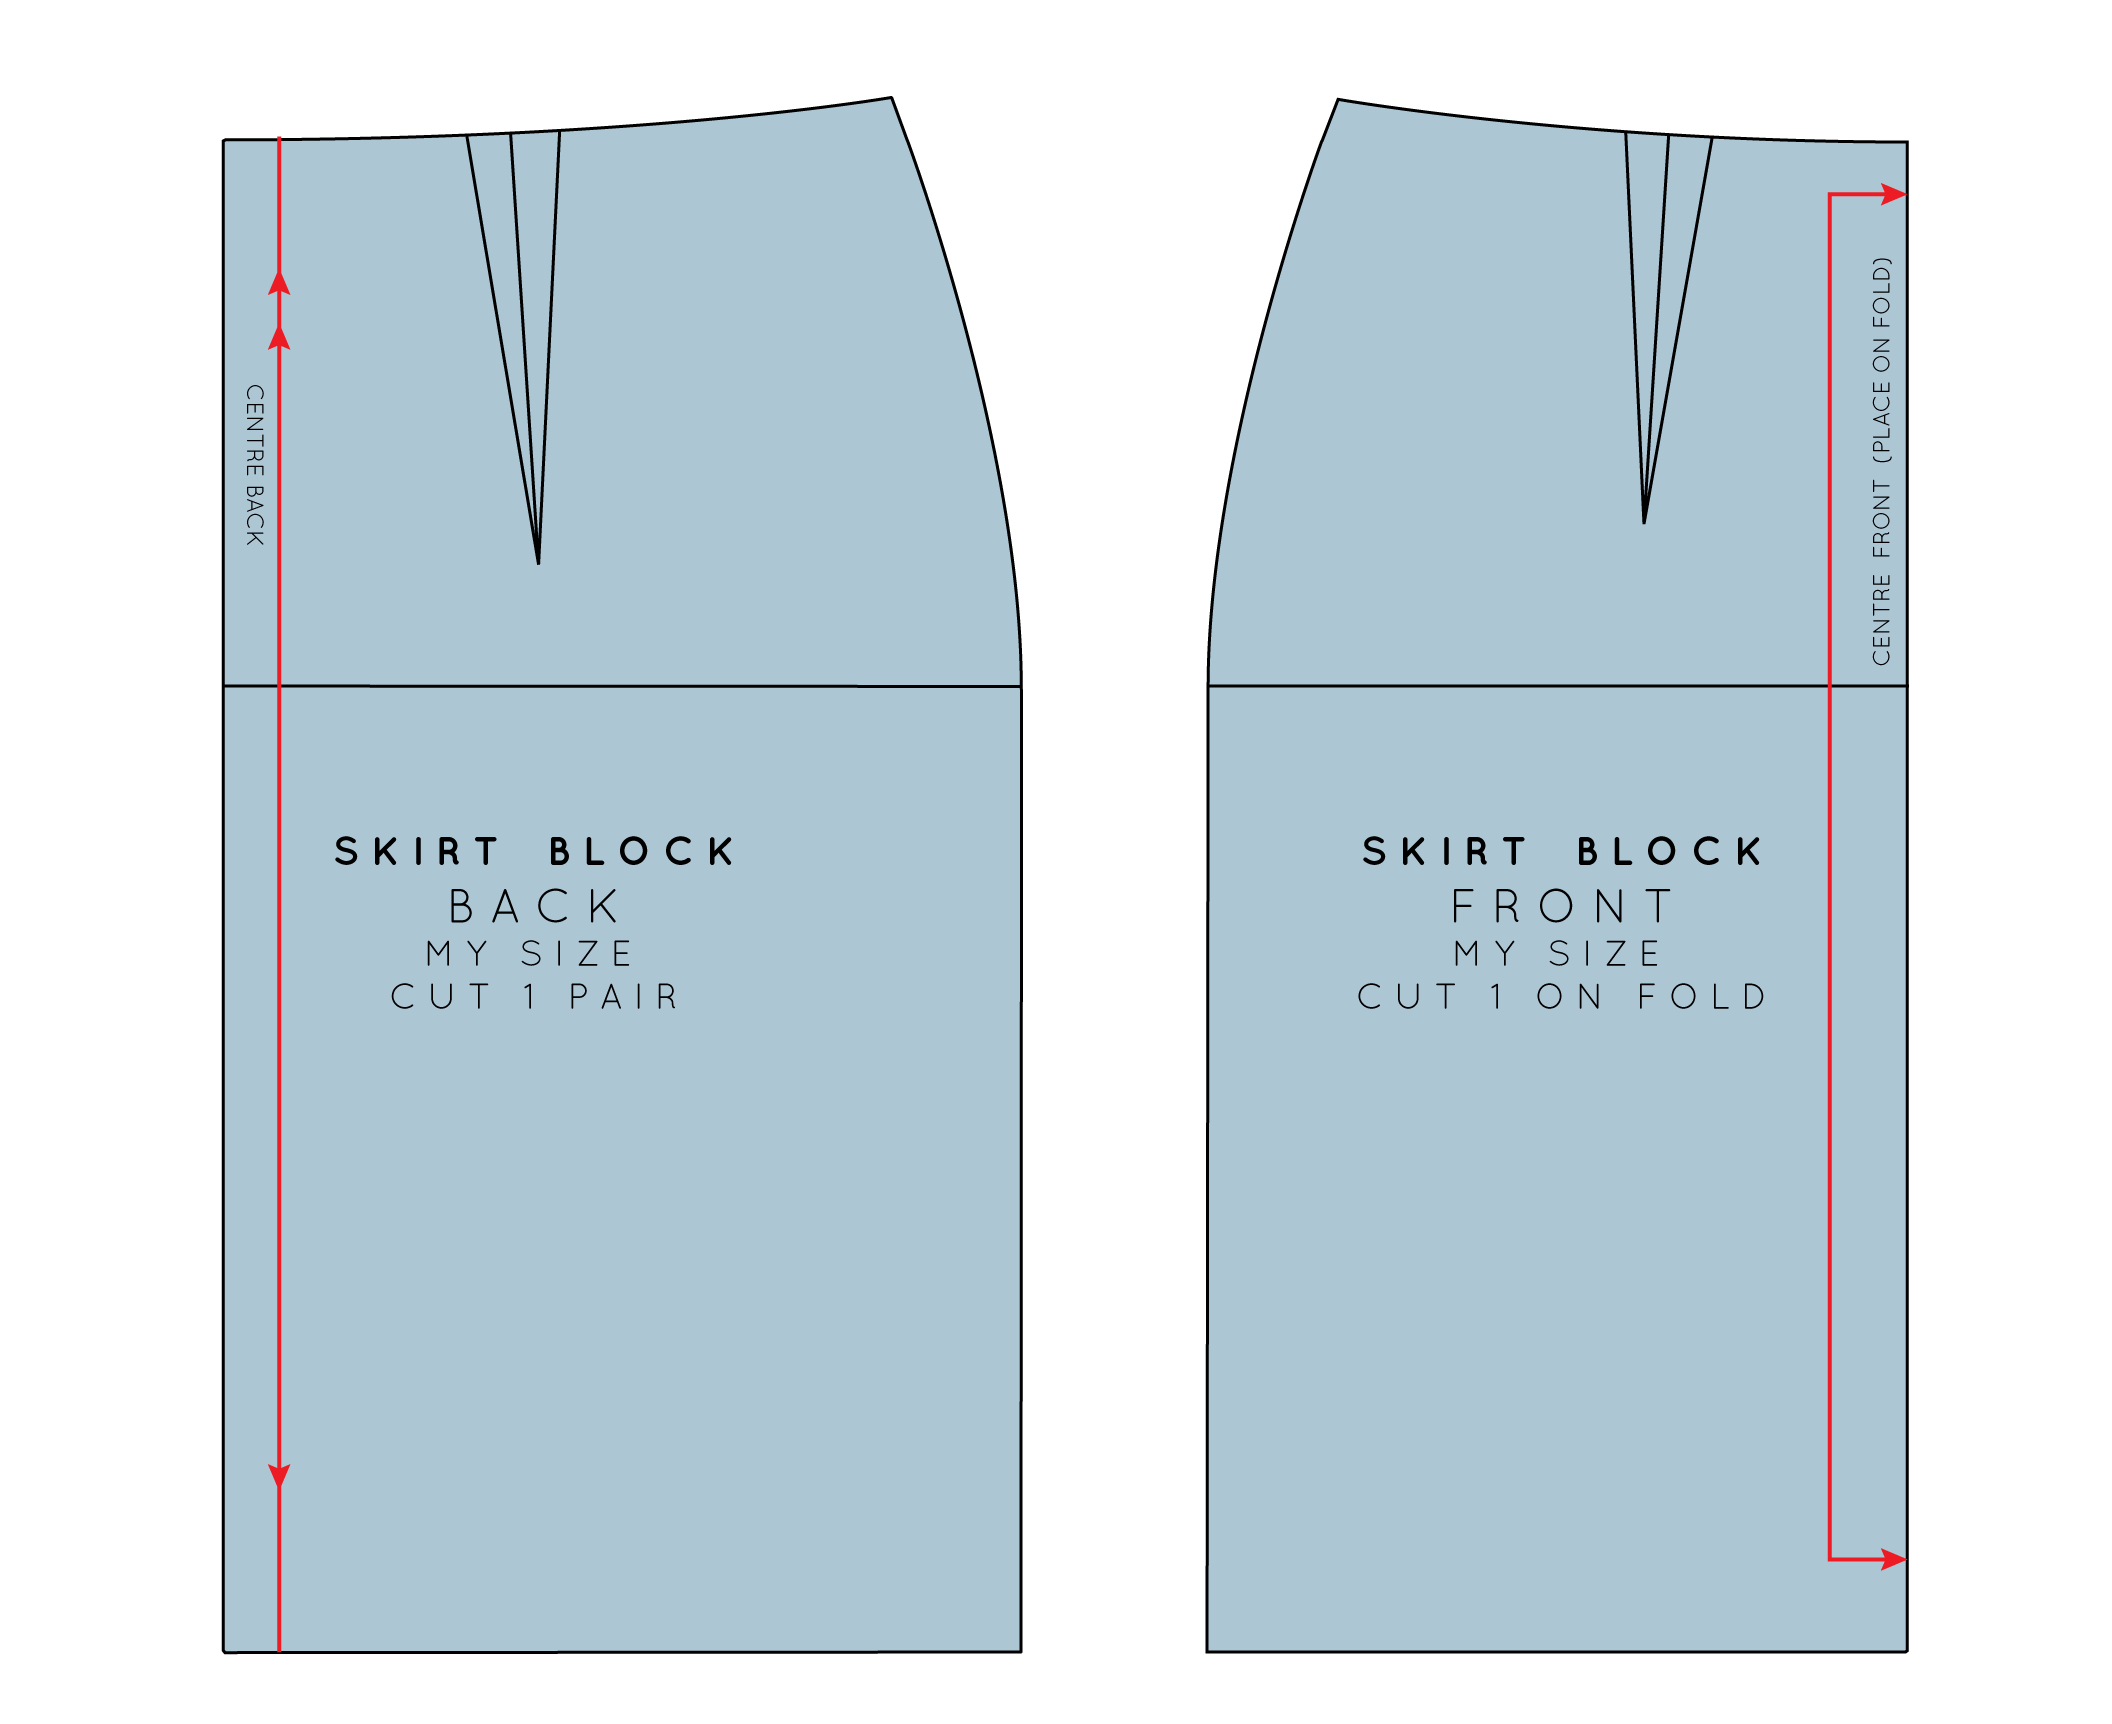
Welcome back to my latest addition to the blog: The Skirt Series. In yesterday's tutorial, I showed you how to draft a skirt block.

inthefolds_dartshaping_2

At this stage the pattern is drafted, but it is not yet complete. There are still two things to do before we can go ahead and make a toile - we need to add dart shaping and then add seam allowance. I will cover dart shaping in today's post and then next week I'll get to adding seam allowance.

What is a dart?

Essentially, pattern drafting is the act of making something two dimensional (the fabric) fit around something three dimensional (the body). Darts are a way of doing this and are most commonly used to create shape around areas of the body that are curved - the bust, shoulders, elbows and waist, but can be used pretty much anywhere - whether purely for fit, or also as a design detail.

What is dart shaping and why do I need to think about it?

inthefolds_dartshaping_3

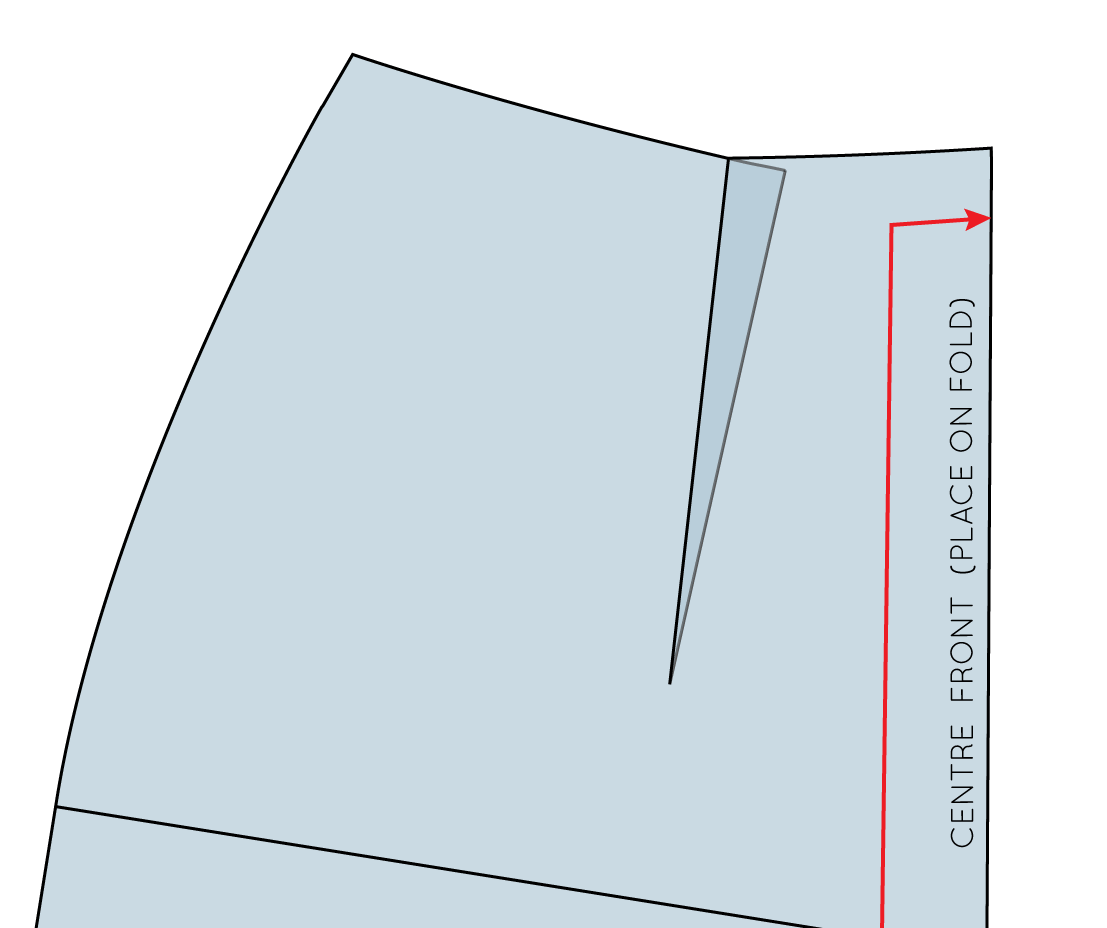
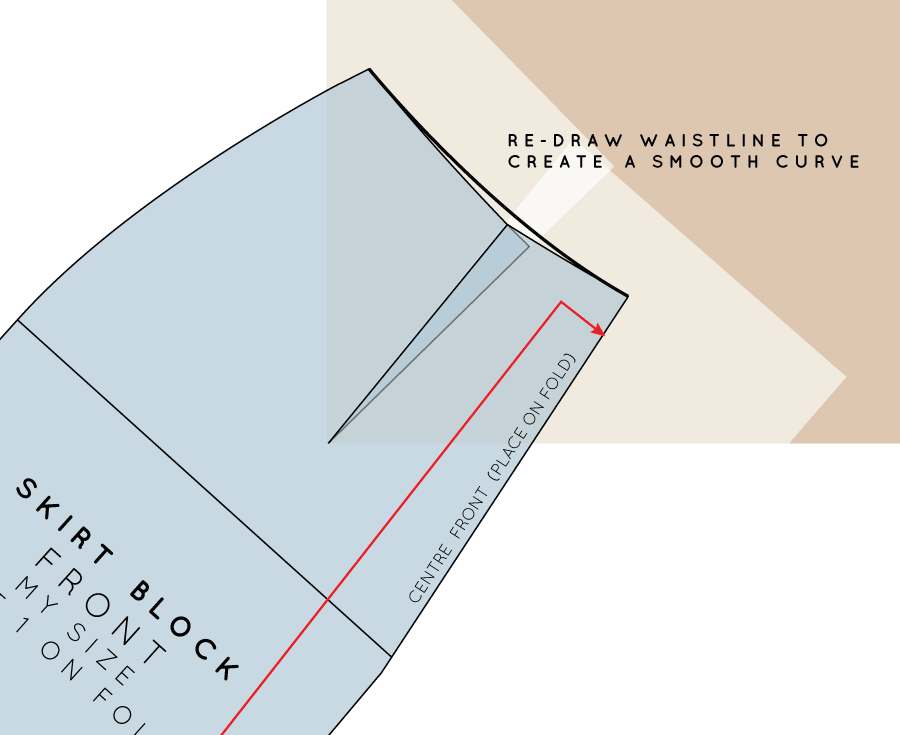
You may have put a dart in something before and noticed that the dart has changed the shape of the seam that it lies on and is no longer the smooth line it once was. In the example, I have folded the dart, and it has caused the waistline to become very sharp and angular. This is because we have lost 3cm to the dart, which is what gave us our nice smooth curve.

inthefolds_dartshaping_4

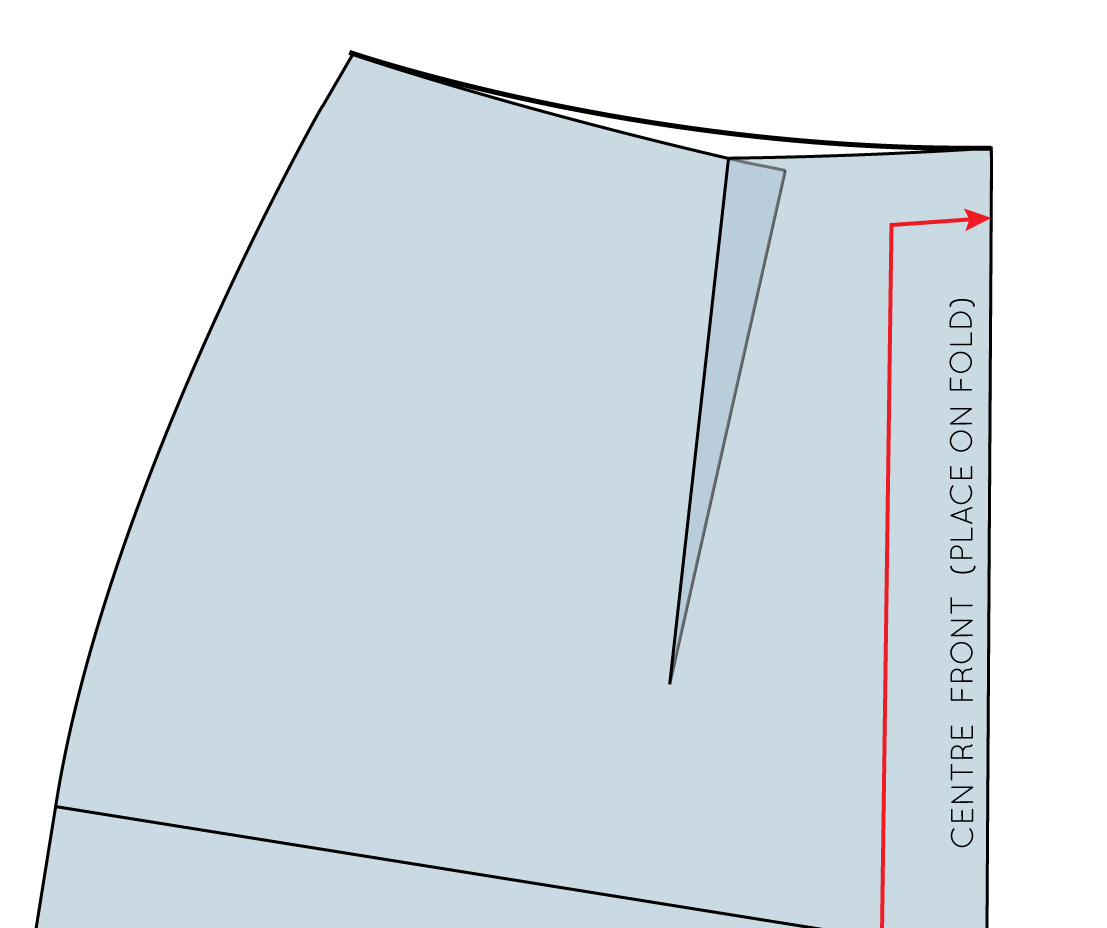
To prevent this from happening, you need to add dart shaping. This will ensure that once your dart is sewn in your waistline (or which ever seam your dart is located) it will remain a smooth line.

Let's get drafting!

Take one piece of your skirt (I will be starting with the front), or any other pattern piece that you are working on, that has a dart. Your pattern should still be on a larger piece of paper (not yet cut out).

inthefolds_dartshaping_5

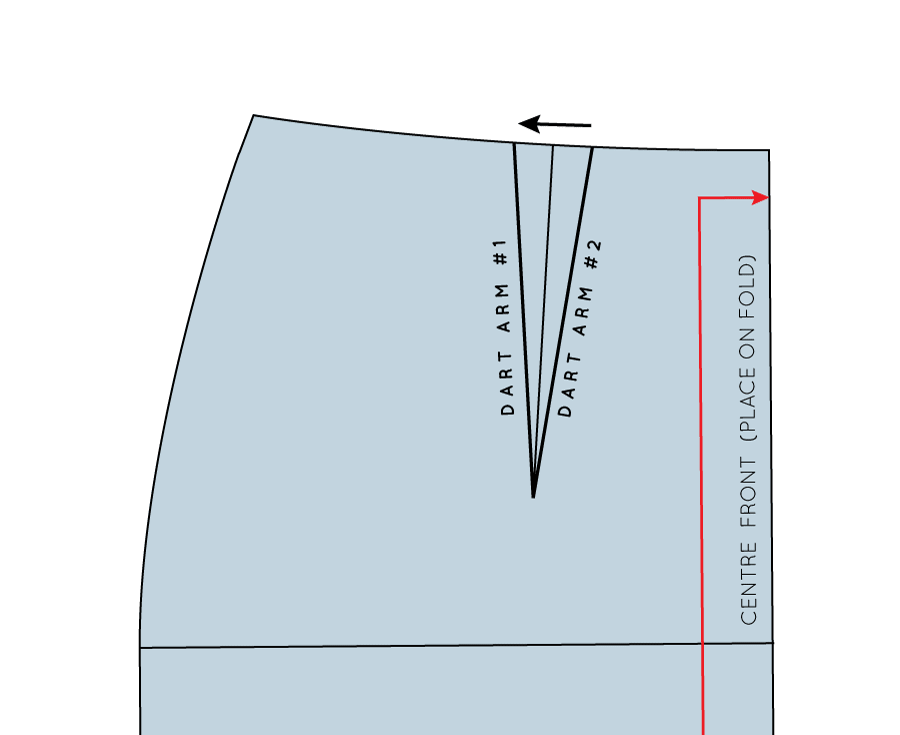
You will need to fold the dart, so you can predict what will happen when you sew the dart when you get to making it up in fabric. Think about which direction the fullness of your dart will be pressed once it is sewn, this will decide which dart arm you need to fold.

Generally vertical darts are pressed towards the centre front (in the case of front darts) and the centre back (in the case of back darts). It seems reviews can be mixed when it comes to more horizontal darts, but I tend to push mine up up.

Fold along Dart arm # 2, down to the dart point, being careful to fold right on the line, to make a crease.

inthefolds_dartshaping_6

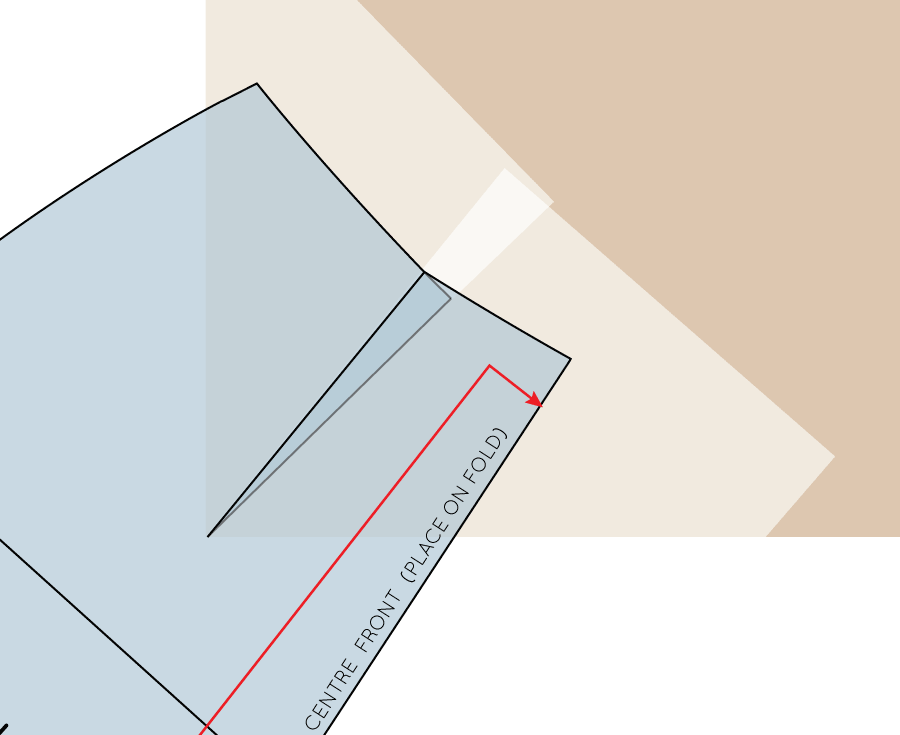
Working with darts on a flat surface can be difficult so move over to the corner of your table (hopefully you have a square or rectangular table like me, otherwise a big book will do the trick), placing the point of your dart on top of the corner of the table.

inthefolds_dartshaping_7

Fold the dart, by placing Dart arm # 2 on top of Dart arm # 1 (this is when that crease comes in handy). You will quickly see that it is much easier to get the dart to sit flat when it is sitting on a corner.

You will see that your seam would look like if you were to sew it without adding dart shaping. Not great, right?

inthefolds_dartshaping_8

Use a weight to keep your pattern in place on the corner and then take a ruler and pencil and redraw the waistline with a nice smooth curve.

inthefolds_dartshaping_9

Take your tracing wheel and trace along your new seam line - particularly focusing on where the dart is folded (go over this area a couple of times to ensure the markings transfer through the fold).

inthefolds_dartshaping_10

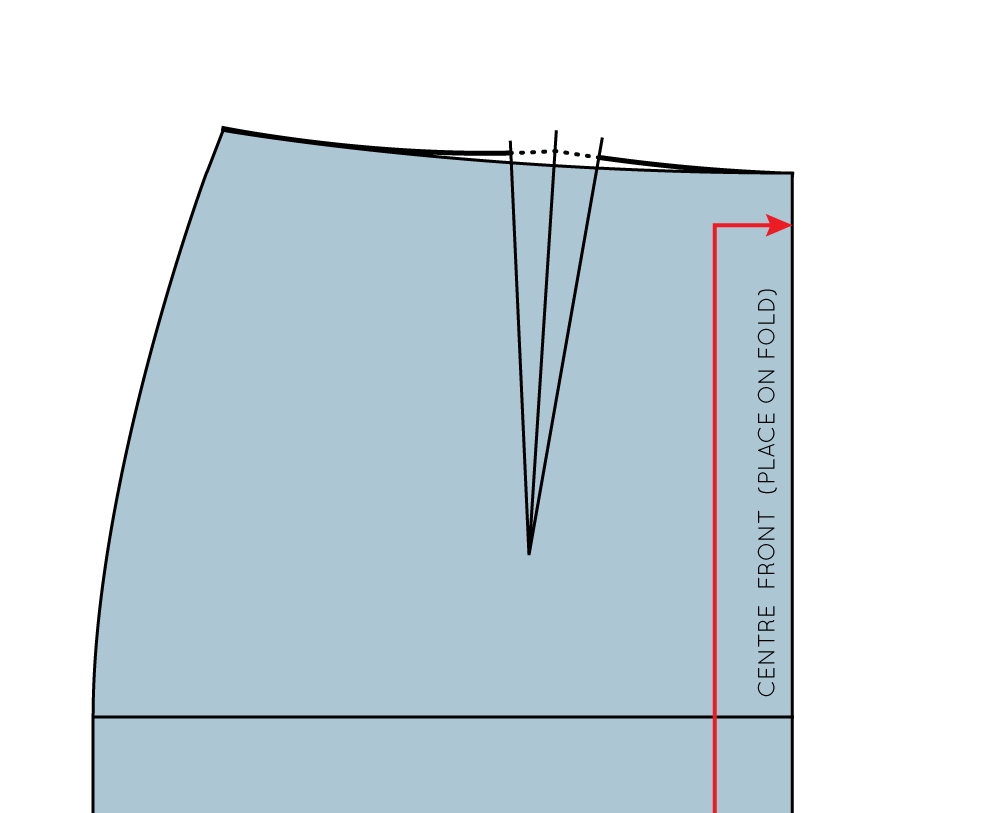
Unfold the dart and you will see the markings transferred from the tracing wheel.

inthefolds_dartshaping_11

Take a ruler and join the dots to form a nice smooth line.

And there you have it, a dart with shaping!


I must say that this little tip is one of my favourites. Do you have a favourite pattern cutting technique?

You may also like:

Introducing the Rushcutter

theruhcutter_sewingpattern_inthefolds

Yipee!!! I am so pleased to introduce you to my very first sewing pattern! Her name is The Rushcutter and I think she's a bit of a beauty.

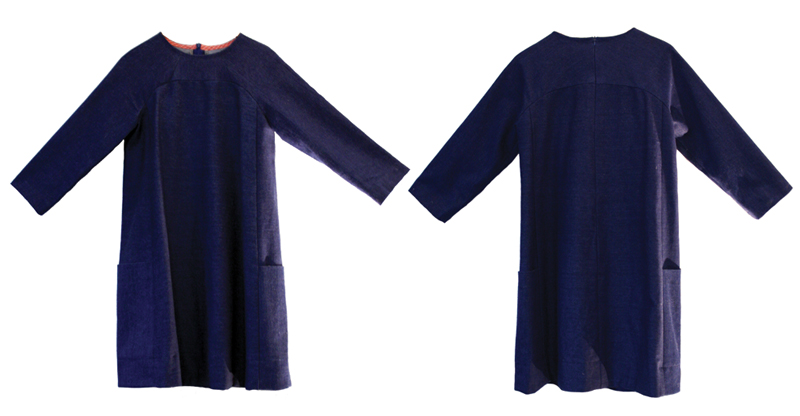
She is a relaxed knee length A-line dress, which is flattering to pretty much all figure shapes. My main mission when designing the Rushcutter was to create a dress that is comfortable, wearable, effortlessly cool, and would fit comfortable into many different women's existing wardrobes. She can easily be dressed up and down, and is perfect for all seasons.

She comes in two variations, which means she is perfect for all you people in the northern hemisphere too!

therushcutter_viewA_technicalsketch

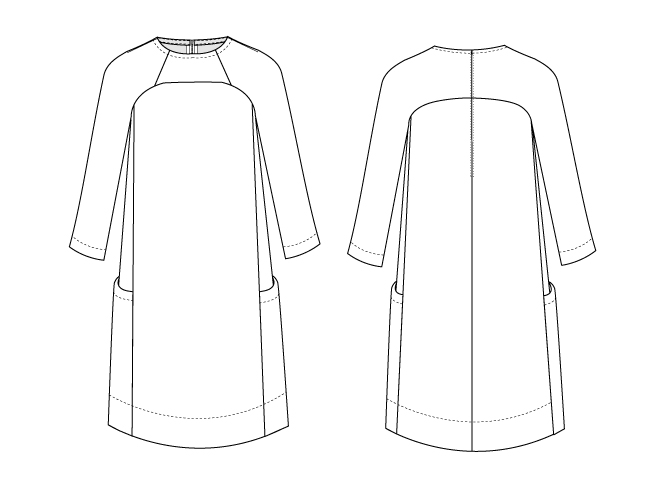
View A has three-quarter raglan sleeves, large pockets on the side (optional), an invisible zip, bound neckline and a large hem facing.

therushcutter_viewb_technicalsketch

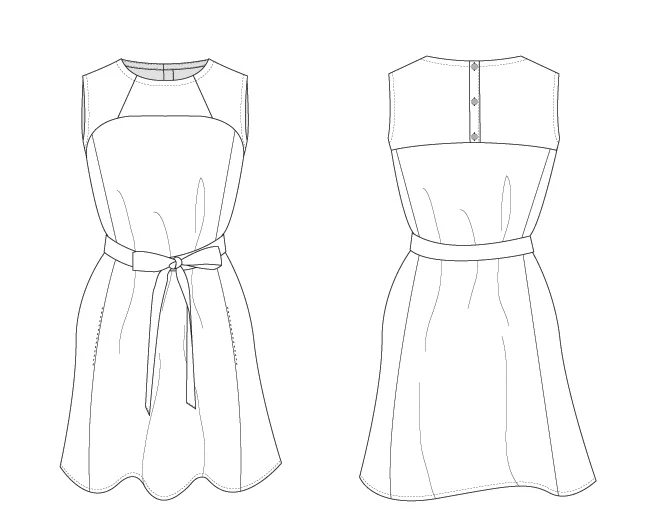
View B is a sleeveless dress with back button closure. It has in-seam pockets and the neckline and armholes are finished with bias binding.

Included in the pattern is an optional waist sash, that is suitable for both styles.

theruhcutter_sewingpattern_inthefolds

The Rushcutter was designed with woven fabrics in mind and is quite a versatile pattern. She makes up beautifully in a wide range of fabrics (and I would know, as I have made at least eight versions over the last two months!). My lovely testers also showed how different this dress can look depending on the fabric - and I will include some of their incredible dresses in the next post

As well as these two variations, I will also be showing you as many hacks as I can possibly come up with (and am open to suggestions, if you want to send an idea through to me), in the coming weeks, so we can get all you sewers pattern making too (and hopefully seeing how un-scary it is - yes, I made up a word)!

theruhcutter_sewingpattern_inthefolds

The pattern is suitable for brave advanced beginners and beyond. I have placed it a 'Level 4' on my skill scale, as I think a sewer with a few projects under their belts, along with some pins and patience (and probably a few cups of tea) would be able to handle this project.

You can make the project as simple or as challenging as you like. Add piping for an interesting detail or play with stripes on the various panels to make it a more challenging sew.

theruhcutter_sewingpattern_inthefolds

The pattern also comes with instructions alongside full colour photographs that hold your hand every step of the way (there is also a 'cheat sheet' available for those of you who don't want your hand held) which can be printed at home, or simply viewed on a computer, tablet or smartphone. 

Would you like to sew your Rushcutter along with me? I will be doing a sew-along over the next few weeks (starting on Monday October 19th) and will be giving you some fitting tips, showing you how to get a lovely clean finish with bias binding, and my method for sewing invisible zips! So stay tuned...

And even if you are not planning on buying the pattern, I'm sure you will find some great tips in the sew-along that can help you with other projects that find their way to your sewing table.


What do you think? I'd love to know what you think. Is there room for the Rushcutter in your wardrobe? 


You may also like: