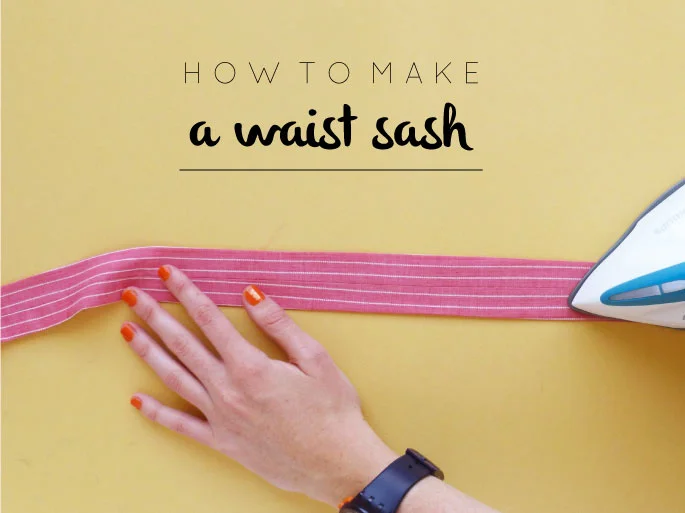
Last week, we pretty much finished sewing our Rushcutters! All we've got to do now is create a the waist sash (if you want a waist sash for your Rushcutter. It's totally optional!)
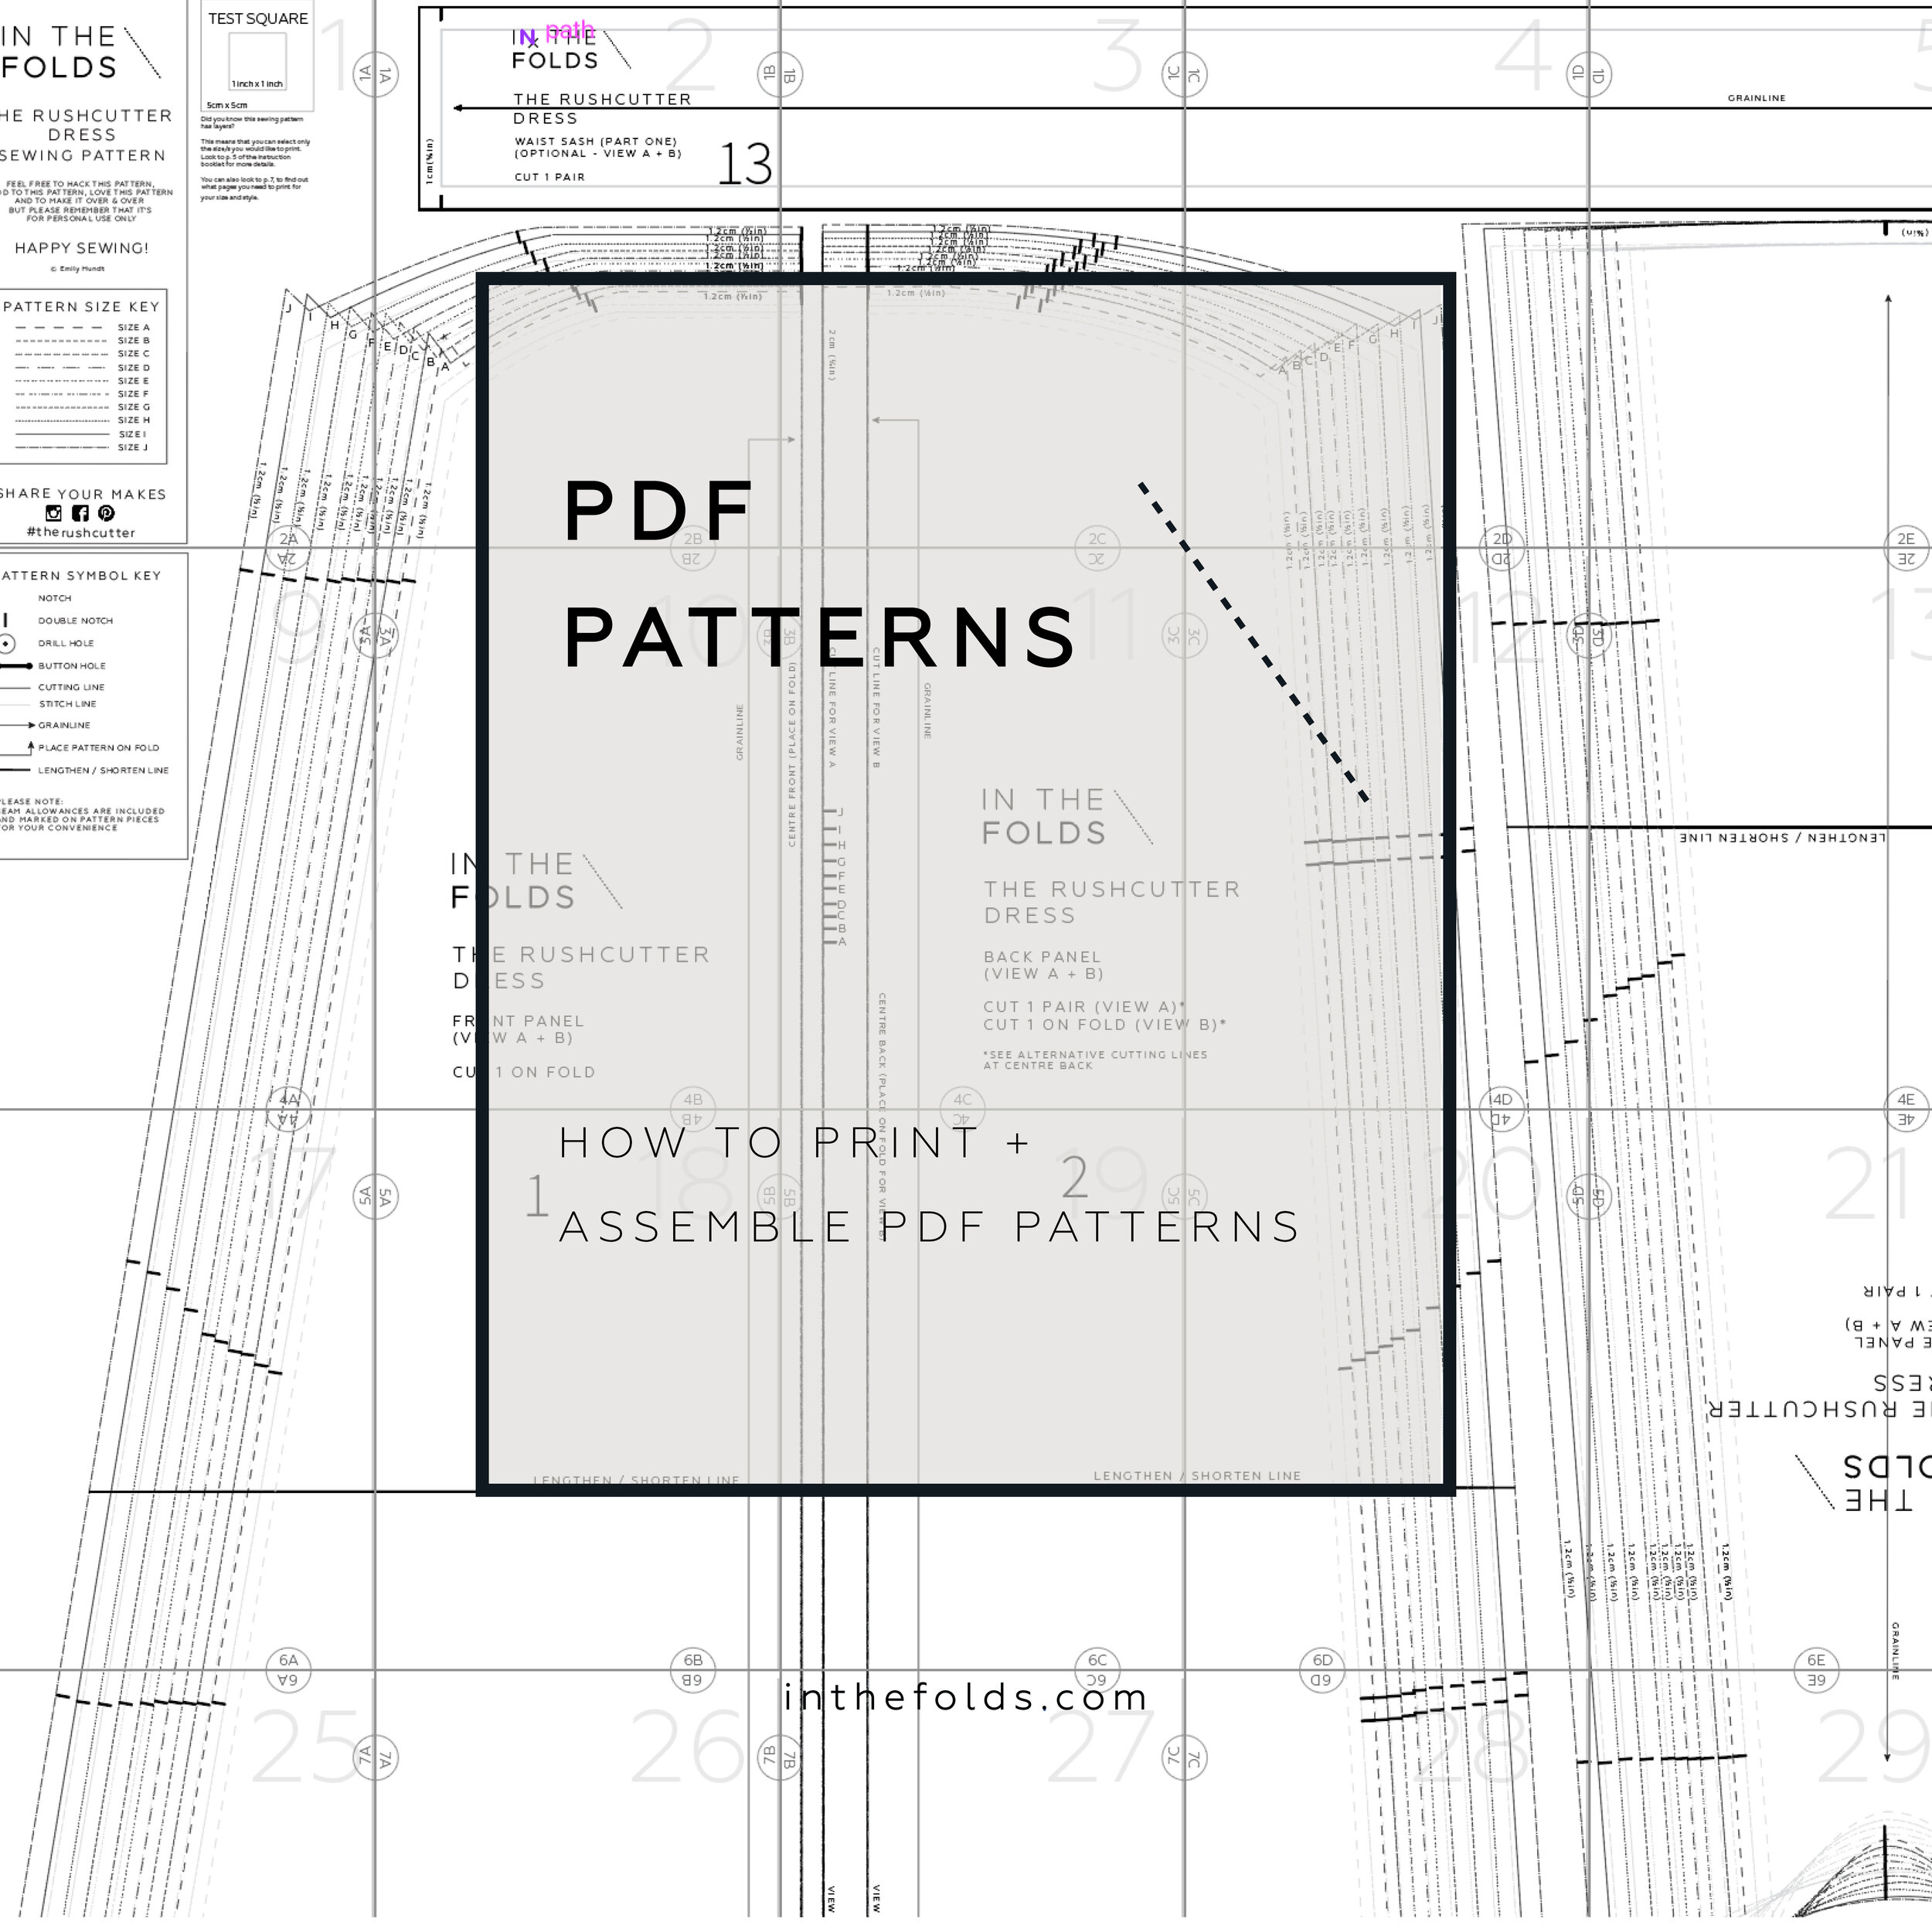
Creating a waist sash is a really simple way to totally transform a silhouette. I decided to include a waist sash in the Rushcutter pattern to give sewers more options for their pattern.
If you haven't got the pattern, don't worry, keep reading, I'll tell you what measurements I used so you can make a waist sash for any pattern you like!
Drafting the pattern
First, you will need to consider how wide you would like your sash to be. As a guide, the waist sash on the Rushcutter is 3.5cm wide.
Then you need to think about how long you would like your sash to be. Remember, you will need quite a bit of extra length for the bow. Consider tying some string or ribbon around your waist to work out how much extra you will need. For the Rushcutter, I took the waist measurement and added 1.15m for the tie. Sounds like a lot, but you really do need it!
Once you have your measurements, you can draft the pattern (or draw straight onto the fabric with tailor's chalk). Draw a rectangle DOUBLE the width of your finished waist sash and HALF the length of your finished sash.
Add seam allowance (I went for 1cm, but this is up to you) to all sides. If you would prefer not to have a seam in the centre back, just add seam allowance to three sides (2 long sides and 1 short) and then write 'place on fold' on the side that doesn't have seam allowance.
Draw a line that cuts the pattern piece in half horizontally that will be your grainline and fold line.
Sew the sash
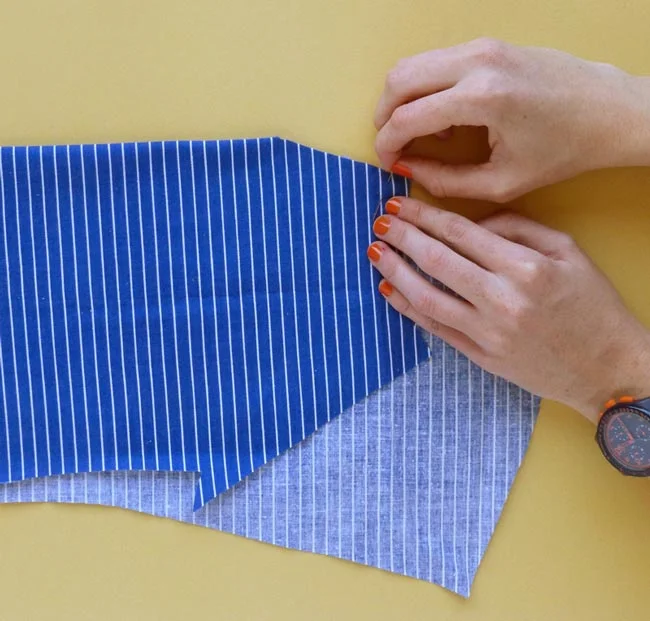
Take the two WAIST SASH pieces (from The Rushcutter pattern or the pieces you drafted) that you have cut and, with right sides together, join them together at the centre back with a 1cm (3/8in) seam allowance. Once stitched, press the seam open.
With right sides together, fold the sash in half length ways and press. Pin along the long edge and stitch with a 1cm (3/8in) seam allowance.
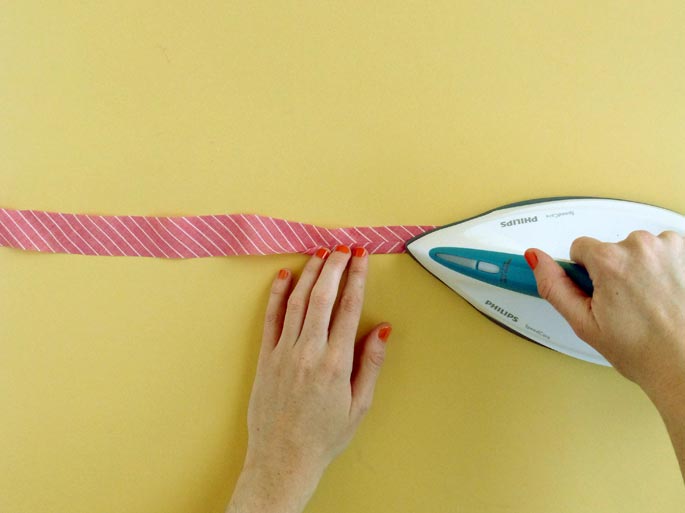
Use your fingers to roll the seam so that it is in the centre of the tube. Press the seam allowance open.
Turn back both short ends of the tube by 1cm (3/8in) and press.
TURN THE SASH
Take a safety pin or bodkin and attach it to one side of one of the short ends of the tube.
Feed the safety pin through the tube to turn the right side out. Press flat.
Enclose the short ends of the sash, by stitching nice and close to the edge. Alternative, you could consider sewing by hand (with a slip stitch) to finish the ends invisibly.
Give the dress one final press and you are done!

