
Hi Emily!
Thank you very much for all these answers about the bodice block.
I have a question - the toile is fitting me really well, but I feel I need more ease around the bust, at the apex level, like I cannot breathe well.
I think I measured it too tight at the drawing step, but now what can I do? The neck and the shoulder are ok, so I don't want to touch my centre front line.
Where can I add ease?
Thank you very much for your help!
Thaïs
Hi Thais,
I am pleased to hear you are giving the bodice block a go and that you have found a few of my questions with answers handy!
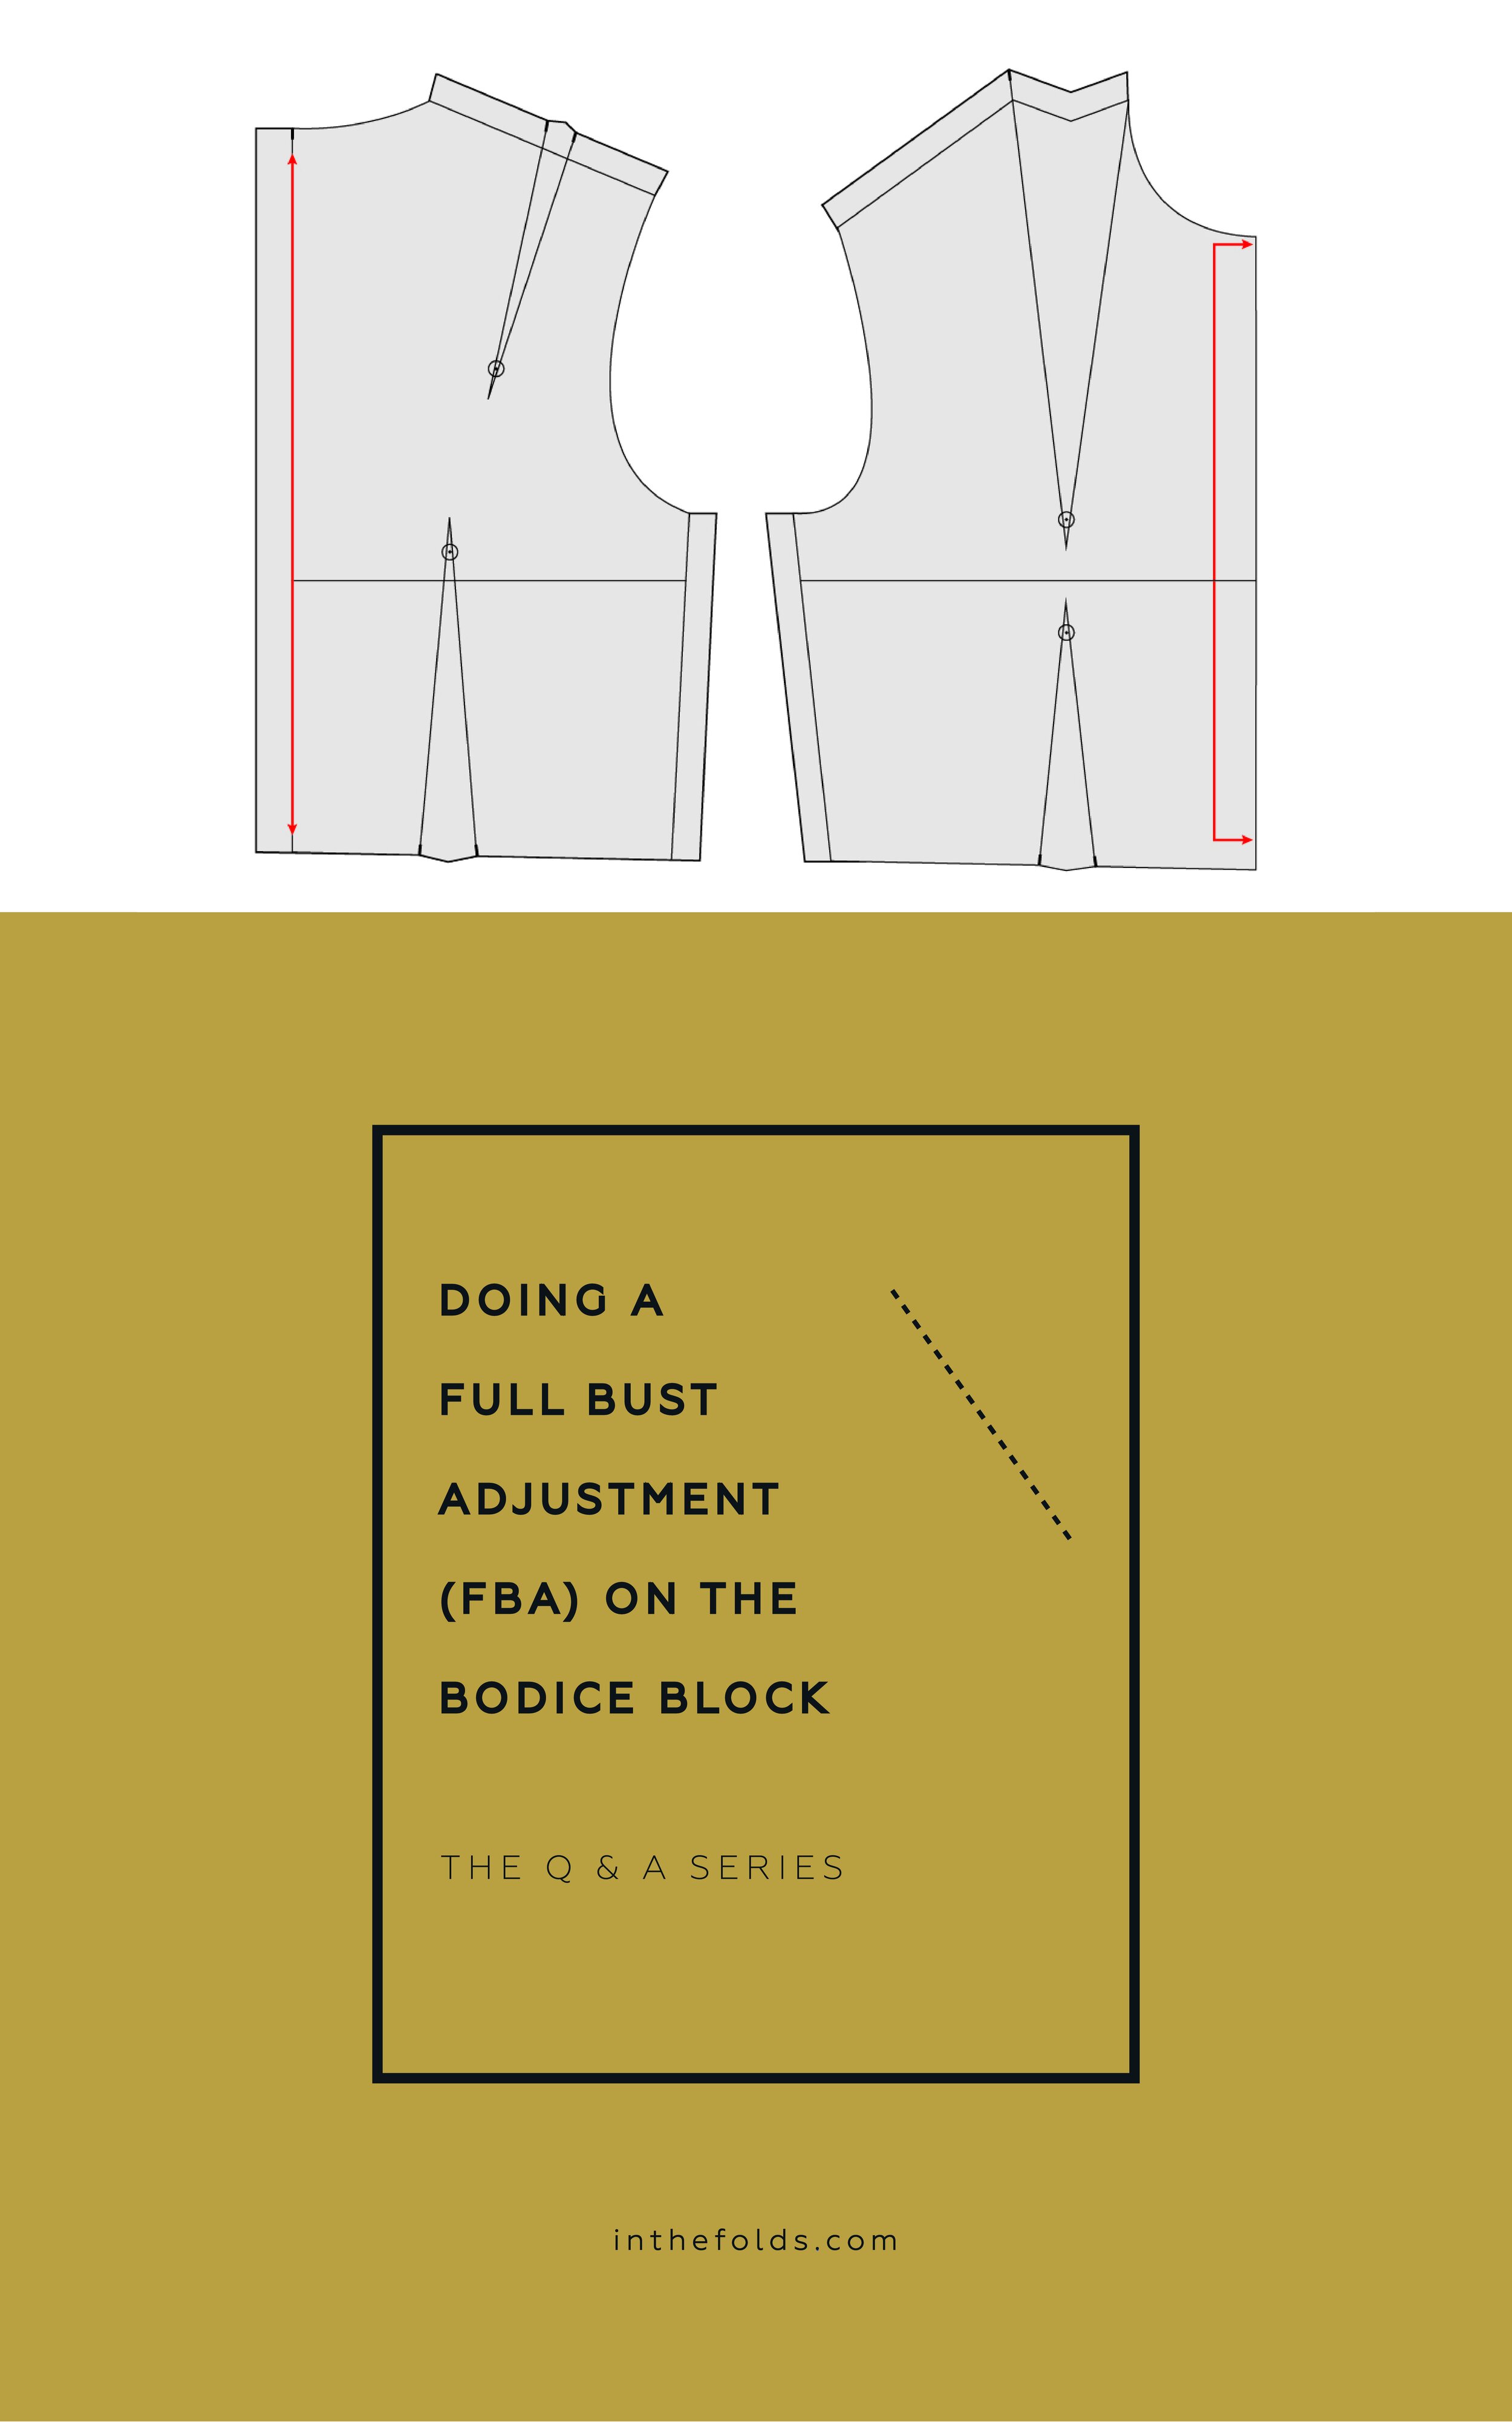
It sounds like you need to do a Full Bust Adjustment (FBA).
what is a full bust adjustment?
In the Folds patterns are drafted for a B cup bust. This means that if your bust cup size is smaller than a B cup you may need to do a Small Bust Adjustment (SBA) and if your bust cup size is larger than a B cup you will may to do a Full Bust Adjustment (FBA).
when you’ll need to do a full bust adjustment
Whether or not to make the adjustment will depend on the pattern you are using and the finished design. For example, I have an A cup bust cup size (there is a 2.5cm difference between my full bust and high bust measurements). When I make the Collins top, I don’t bother doing a Small Bust Adjustment, as the top is designed to be oversized. For the Acton dress though, that has a fitted bodice, I need to make the adjustment, otherwise the bust would be loose - not the look I was going with with the design!
It is a good idea to check the finished garment measurements in relation to the body measurements before deciding whether or not to make the alteration.
Today’s question is about the bodice block though, and as it’s a fitted style, it is likely that if you have a larger bust cup size, you will want to make the adjustment. In saying that though, as you are using your own measurements to draft the bodice block, you may only need to make the alteration if you have a bust cup size larger than a C or D - or if like Thais, you realise the fit everywhere else is fine, but the bust is too tight.

Work out how much to add
The process of working out how much to add to a pattern is different if you are using a pattern with a particular bust cup size. For more information on that, you can see this post here. As this question is regarding a pattern that you have drafted to your own measurements, there are a couple of ways of finding out how much you need to add to the pattern.
Measure the bust line on the pattern and compare it to your full bust measurement. Remember, you will want at least a couple of centimetres ease, so that the bodice is fitted, but you can breathe comfortably and move around. You might notice that your full bust measurement is 5cm (2in) larger than the bust line on the pattern. This means you need to do a FBA of 2.5cm (1in) - this is because the front piece is cut on the fold and when doubled - this equates to the difference you require.
If you have made a toile / muslin and are happy to cut into it, you can cut through the toile vertically at bust point and put the toile on. Naturally, if the bodice is too tight, the cuts will open and you can measure the width of the opening to see how much needs to be added. An example of this technique can be seen here.
Prepare the pattern

Step 1
Take the FRONT piece from your bodice block draft (or the pattern you’d like to make the adjustment to). If you think you’d like to go back to the original pattern in the future, I’d suggest tracing a copy to make the alteration on.
If you are tracing a copy of the pattern, be sure to transfer the stitch line as well as the cutting line, as it will help you with this tutorial. You will also need to transfer all pattern markings and notches.
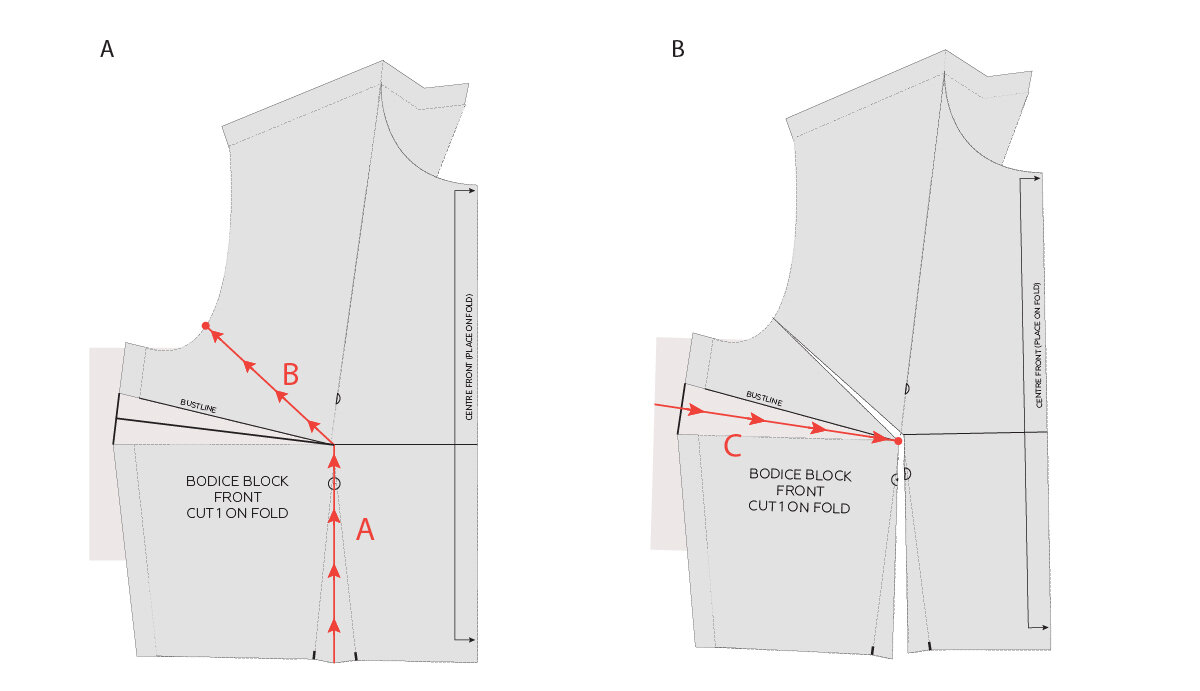
To start, we will be moving the shoulder dart to the side seam. This will make for a simpler adjustment process. You can move the dart back to the shoulder after the alteration is made, or you can choose to leave it in the side seam, whichever option you prefer.
A Draw a straight line down the shoulder dart arm closest to the neck. Continue the line until you hit the bust line.
Draw a line along the bust line from the side seam, through the line you just marked from the shoulder dart arm.
B Cut into the bust line from the side seam. Stop cutting when you get 1-2mm from the point where the two lines we just marked intersect.
Cut down from the shoulder on the dart arm we marked in part A. Again, stop cutting 1-2mm from the intersection point. This will create a small “hinge” of paper that allows you to make changes to the pattern, whilst still keeping the pattern intact.
move the dart

Step 2
A Close the shoulder dart, by carefully rotating the armhole section of the pattern. Rotate the section until the un-cut shoulder dart arm lines up with the cut line - closing out the entirety of the dart. Tape in place. You will notice that as you do this, a dart opens up at the side seam. This is because we have moved the fullness of the dart to another location on the bodice.
B Take a piece of paper and stick it under the opening in the side seam.
Draw a line up from the centre of the waist dart to the bust line (parallel to the centre front of the pattern). Label this as line A.
C Draw a line from the lower section of the armscye (approximately one third of the length of the front armscye - measuring from the side seam) to the bust line. Label this as line B.
D Find the centre of the dart created at the side seam and mark a line from the centre of this dart, to the point where lines A and B intersect. Label this as line C.
make the adjustment
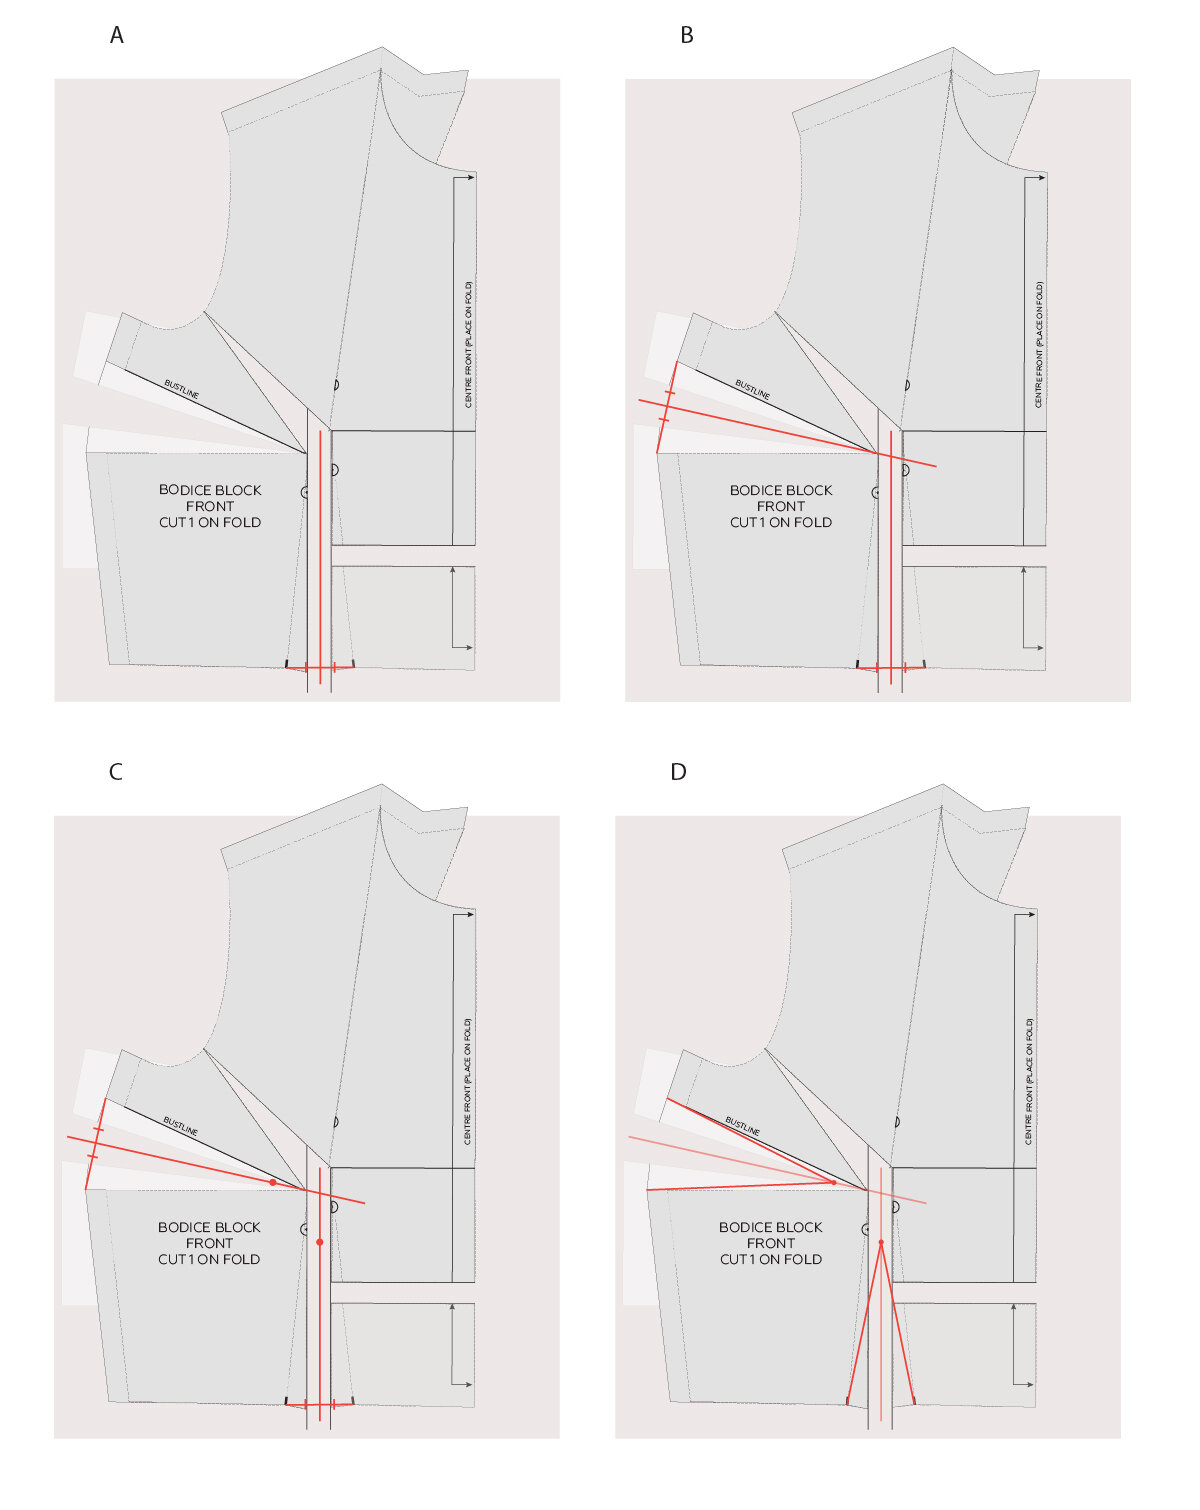
Step 3
A Carefully cut up from the waist along line A. Stop when you get to the bust line and pivot to line B. Cut along line B until you get 1-2mm from the armscye. Leave a small hinge in place.
B Cut along line C from the side seam, through to the bust point. Again, stop cutting 1-2mm from the intersection point, leaving a small hinge of paper intact.

Step 4
A Take a piece of pattern paper (about the size of your front piece) and draw a vertical line in roughly the centre of the paper.
By this stage you should know how much width you need to add to the bust. Take this measurement and divide it by two (you will add half the extra width to either side of the front piece, so in total it equals the whole amount you need when the piece is cut on the fold). Draw a second line - parallel to the first - this distance away from the first line. For example, if you need to add a total of 5cm (2in) to the bust, you will be drawing the line 2.5cm (1in) away from the first line.
B Carefully place your pattern piece on top of the paper.
Now that you have cut through the lines, you will be able to manoeuvre the pattern so that you can add the extra width you need to add around the bust. Carefully place the pattern onto the guidelines you drew in the previous step. Line up the the left-hand side of your pattern with the first line (line on left side).
C Carefully move the right side of you pattern piece until the other side of the waist dart (the cut line) lines up with the second line marked in part A. When everything is lined up, tape in place - leaving the part of the pattern on the right side of the dart unattached (you will see why in the next step).

Step 5
A You will notice that the waist seam is no longer straight. This is because when making a Full Bust Adjustment you need to add extra length, as well as width, so that there is enough fabric to comfortably go over the breasts, without making the garment too short.
Mark a line that is perpendicular to the centre front, within the dart. Label this line as D.
B Carefully cut along line D, detaching that piece of the pattern.
C Take a ruler and extend the centre front line onto the paper underneath. Do the same for the waist line - so the two lines intersect.
D Take the section of the pattern you cut off in part B and line up the corner with the lines marked in part C. When it’s in place, tape or glue in place.
mark the new darts
Step 6
A Find the centre of the waist dart (by measuring the width between the dart legs at the waist line) and mark a line straight up - parallel to the centre front.
B Find the centre of the side seam dart and draw a line from the centre, through the dart point (and extending a few centimetres further).
C Mark the new dart points, by marking points 5cm (2in) back from the intersection point of the two lines, on the centre line of both darts.
D Re-draw the darts by joining the original dart legs to the new dart points. As you can see, you now have a larger waist dart than you had before. This is because width was added to the waist and the bust. By making the waist dart larger we are increasing width at the bust, but not at the waist.
finalise the pattern
If you like, you can move the side dart, back to its original position on the shoulder. You can use this method or this method to move the dart. You will also need to add dart shaping to your new darts (whether you move it to the shoulder or leave it where it is).
When you’re done, you can either use the adjusted pattern as it is (just trimming off the excess paper that you do not need), or by tracing a copy onto a new piece of paper. If you choose to trace the pattern, it’s always a good idea to save the adjusted version so that you can refer back to it later down the track.
I would suggest making a toile to see if you are happy with the adjusted fit.
Happy sewing,
Emily
resources mentioned in this issue
How to draft a bodice block. Tutorial can be found here.
Drafting a bodice block - Questions and answers. Post can be found here.
The Collins top pattern can be found here.
The Acton dress pattern can be found here.
Small bust adjustment tutorial can be found here.
Full bust adjustment on princess panels tutorial can be found here.
How to (and why) make a toile. Tutorial can be found here.
Full bust adjustment for princess seams from Sew Over It. Tutorial can be found here.
How to move a dart using the cut and spread technique. Tutorial can be found here.
How to move a dart using the pivot technique. Tutorial can be found here.
How to add dart shaping. Tutorial can be found here.
P.S. Would you like to know what the Q & A series is all about? This page tells you a little bit more about the motive behind the series. Past issues from the Q & A series can be found here.
Don't have a question, but found this newsletter helpful? I'd love to hear from you! Get in touch and say hi.
What you’ve been making

Collins top made by @isabelmakes_

Rushcutter dress made by @eliseannreed


Collins top made by @yaystitch


