THE Q & A SERIES
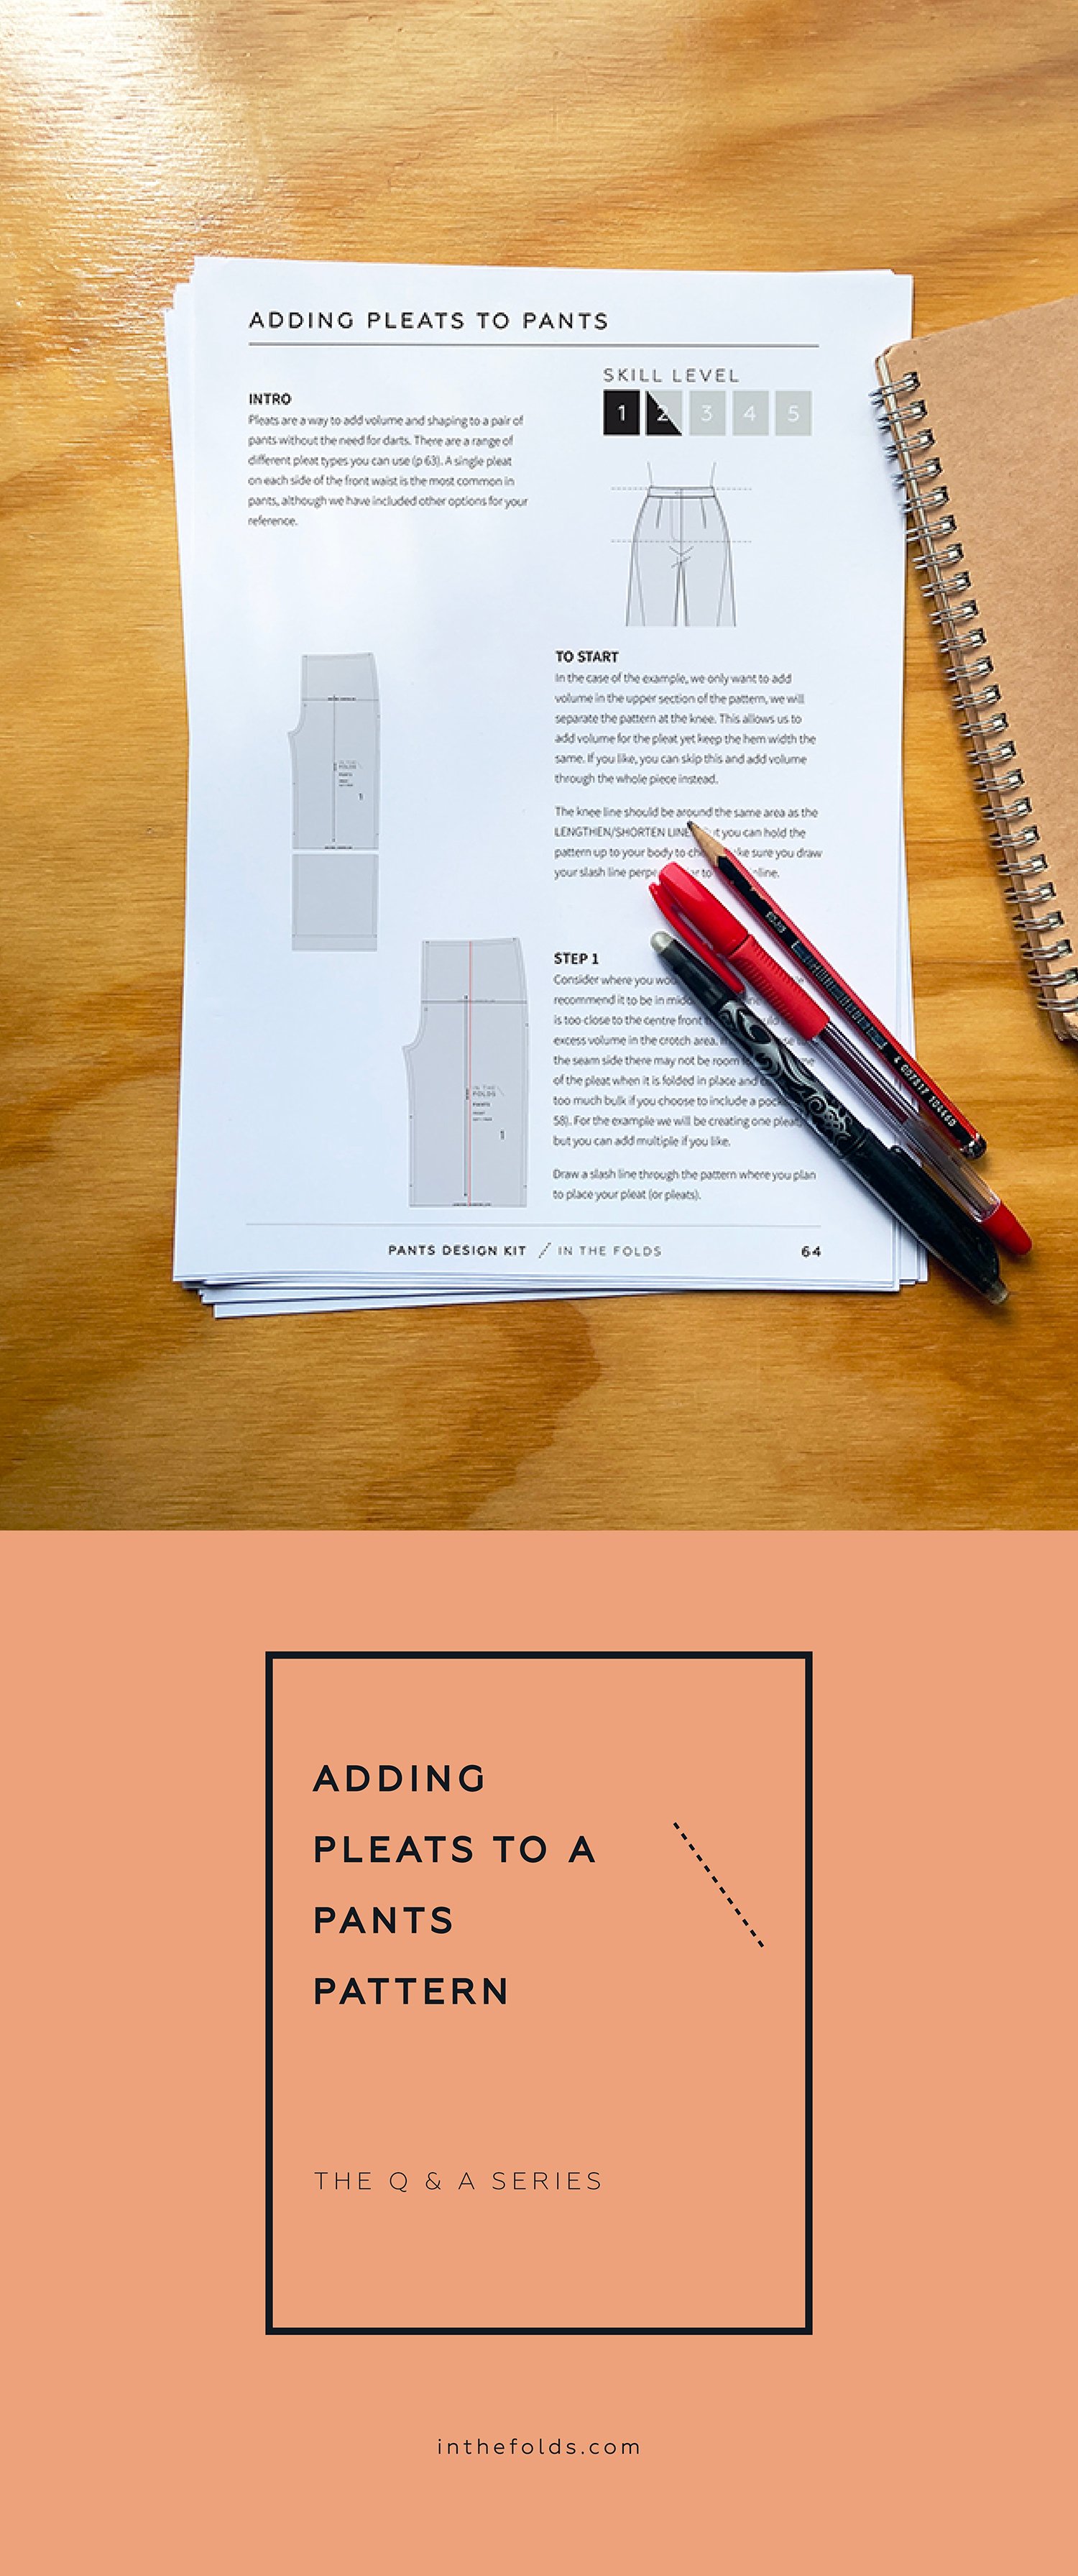
How to add pleats to pants
Hello,
I recently tried adding pleats to your Peppermint Wide Leg pants pattern and although I am happy with my results I think that I should have also added a little more width to the back panels. Is there a particular method that you would recommend for this type of pant pattern alteration?
Thank you.
Sincerely,
Jess
Hi Jess,
Learning how to hack patterns we already have is a wonderful skill to be able to add to your sewing toolbelt, and it’s something we focus on in our sewing subscription, Curated by ITF. This month we’ve been showing our members how to design pants using the pants block we made previously.
Apart from making sewing more economical, knowing how to hack patterns means that we can make clothes that we want to wear, regardless of what fashion trends are in at the moment. It also means our clothes will be unique and we’re not going to walk around a corner and see someone wearing the exact same outfit!
What are pleats?
Pleats are made when fabric is folded over on itself. They are a fantastic way to add volume and shaping to a garment - in this case a pair of pants - without the need for darts.
Pleats in pants
There are a range of different pleats you can use when wanting to add fullness to pants. Forward pleats, reverse pleats, double pleats…
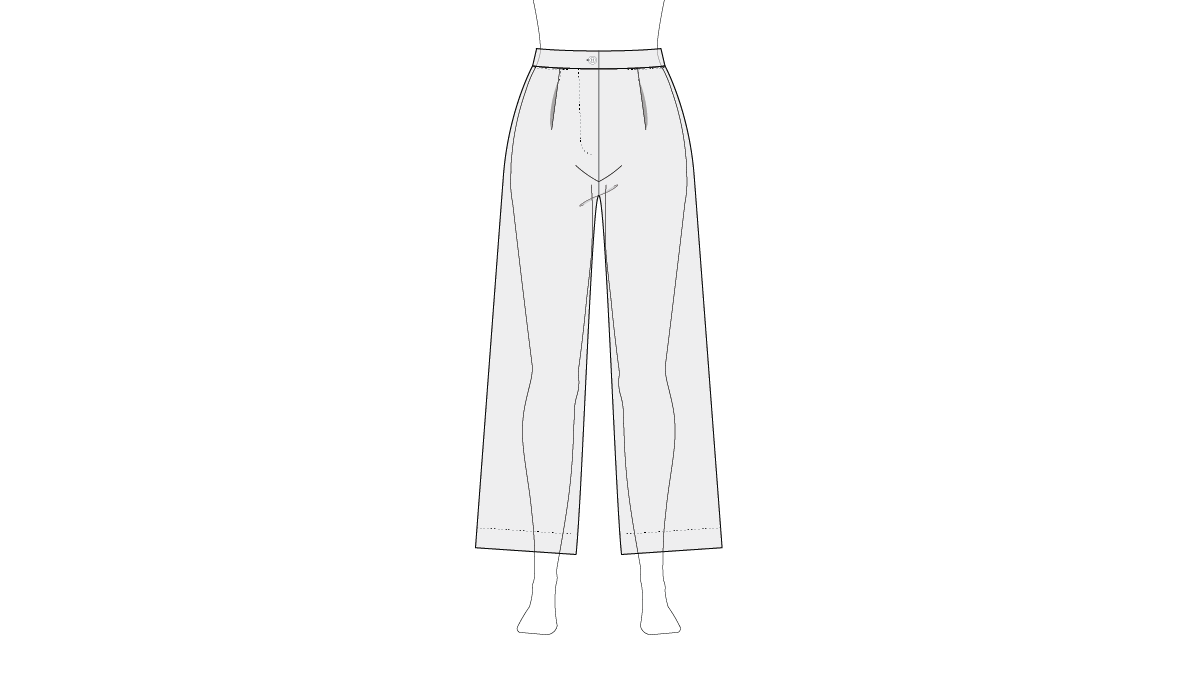
A single pleat on each side of the front waist is the most common approach in pants.
If you want to increase the volume at the back of pants, you can add a pleat there as well, but it is important to consider how much volume you want in the pants overall.
My suggestion is to add pleats in the front, and then use the cut and spread technique to add the extra volume you’d like in the back.
WHAT TO keep in mind when adding pleats to pants
Depending on the pattern you’re hacking, adding more fabric into a design may impact areas of the pattern differently. Here’s two things you should keep in mind when adding pleats to pants:
If it is too close to the CENTRE FRONT this could add excess volume in the crotch area.
If it is too close to the side seam, there may not be room for the volume of the pleat when it is folded in place and could add too much bulk if you choose to include a pocket.

DETERMINING PLEAT WIDTH & DIRECTION
You will need to have a think about the size of the pleat you want to add to your pattern. This is totally up to you, and depends on the look you are wanting to achieve.
If you are struggling to work out the width you would like your pleat to be, have a play around with some fabric (or even a piece of paper). Fold different sized pleats into the fabric to get an idea of how it will look and how much fabric it will use.
Keep in mind where you intend the pleat to be placed in the garment and how much room there is. This will help you determine the best size for the pleat.
It’s up to you which direction you'd like to fold your pleat - it's just a design decision. If you're unsure, have a look at your pleat sample! We like to fold ours towards the side seam as this avoids excess volume flaring into the crotch area.
How to add volume to pants using pleats
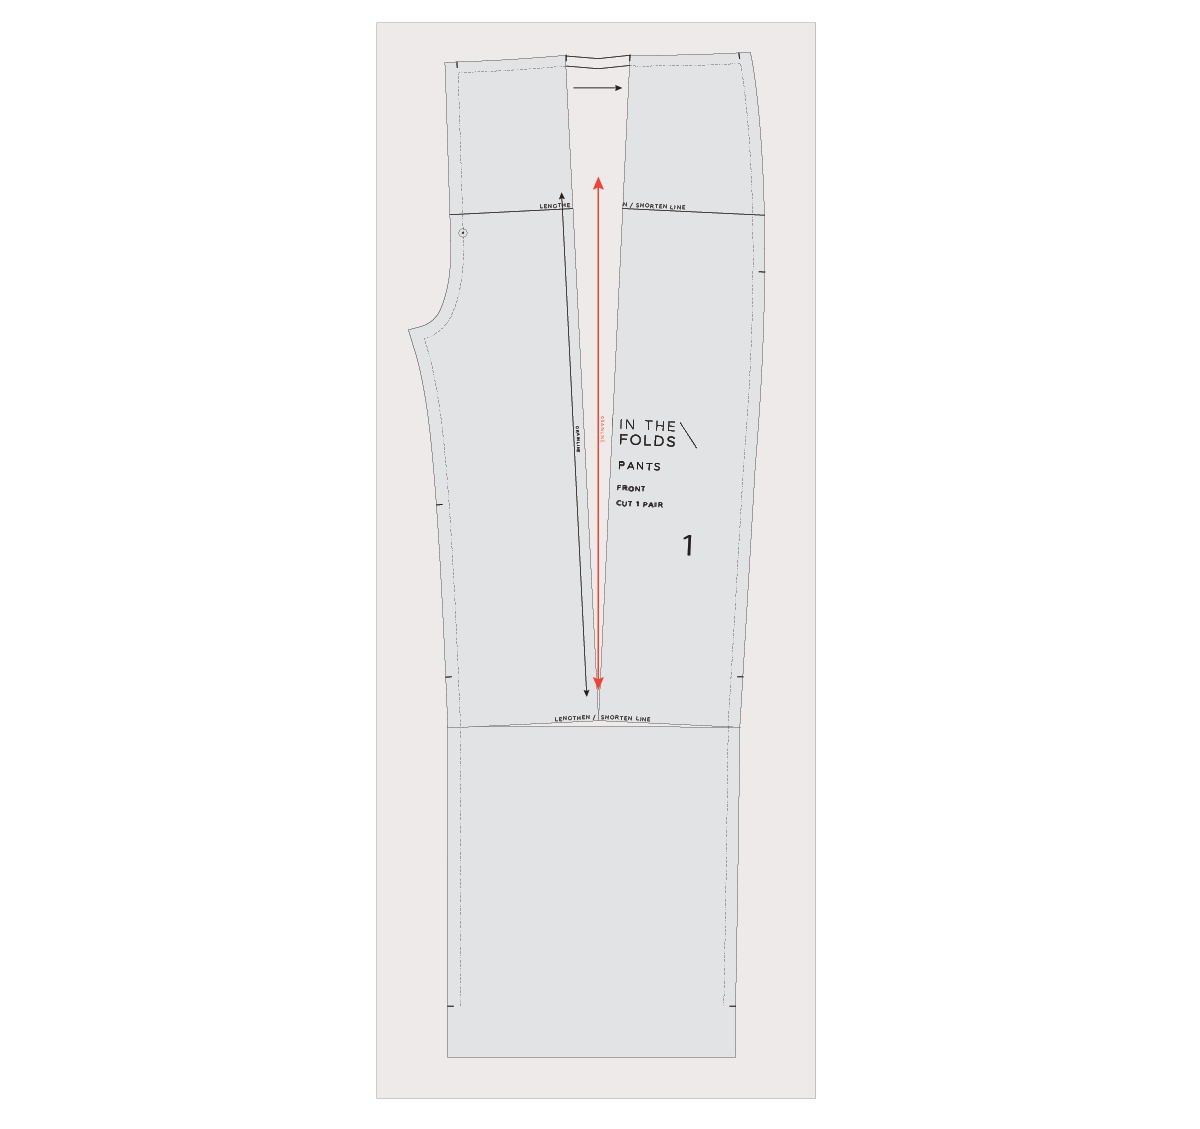
In this example, we only want to add volume in the upper section of the pattern, so we will separate the pattern at the knee.
This allows us to add volume for the pleat, yet keep the hem width the same. You can skip this and add volume through the whole piece, if you prefer.
In the case of our Pants block, the knee line should be around the same area as the LENGTHEN/SHORTEN LINES. Hold the pattern up to your body to check.
Take care to draw the slash line perpendicular to the grainline.

Step 1
Consider where you would like to add a pleat/s. We recommend it be in the middle of waistline so you don’t add too much volume to the crotch or bulk to the pocket area. For this example we will create one pleat, but you can add multiple if you like.
Draw a slash line through the pattern where you plan to place your pleat (or pleats).

Step 2
Slide a large piece of pattern paper under your pattern.
Cut along the line from the waist, stopping 1-2mm from the knee line. This should create a hinge in the paper.
Make sure you check that there is room for a pleat this width in relation to the CENTRE FRONT / BACK and side seams (depending on where you have placed your pleat/s).

Step 3
Using the hinge, open the pattern by the amount you'd like to add for the pleat, measuring at the waist STITCH LINE. Remember that the amount needs to be double the width of your finished pleat.
Tape / glue pattern in place.

Step 4
Fold the pleat in the direction you'd like it to be sewn. Press down at the waist area to form creases.

Step 5
When you fold a pleat on a curved edge, you need to adjust the edge of the pleat so that it sits flush with the waistline.
Using a tracing wheel, transfer the waist shaping onto the pleat edge at the waist STITCH LINE. Add seam allowance to the pleat.

Step 6
Add FOLD LINES either side of the pleat. Add notches where the FOLD LINES meet the CUT LINE at the waist.
Mark an arrow to indicate which direction the pleat needs to be folded.

Step 7
Take the lower section of the pattern which you cut off before you started. Place it back on the top pattern by lining up the side seams at the STITCH LINE.
You will have an excess triangle on your pattern where the two meet - don't worry about this! The inseam and side seam are still the same length and the excess will blend into the pleat once folded.
If you've opened up your pattern a large amount, you can smooth the inseam and side seam at the knee area if necessary.
Step 8
Redraw the grainline in the centre of the pleat.

Step 9
Measuring down from the waistline on the FOLD LINES of the pleat, mark drill holes the distance down you would like to stitch your pleat.
In industry, these markings would normally be offset from the fold line by 5mm (¼in) so that the holes would be hidden inside the pleat. In the home sewing world we don't mark drill holes with actual holes in the fabric (we use chalk or a tailor's tack) so we are fine to have these markings on the FOLD LINE.
Happy sewing,
Emily
RESOURCES MENTIONED IN THIS ISSUE
The Pants Sewing Skills Kit, Pants Fitting pattern & Fit Kit and the Pants Design Kit are the first, second and third parts of our Pants Sewing project series, which is available through our Curated by ITF subscription. Past issues are also now available for purchase by subscribers. More information can be found here.
The Wide Leg Pants pattern is a free pattern and can be found here.
Adding volume to a pattern - tutorial for the cut and spread technique can be found here.
For more issues of the Q & A series, you can check out the archive here.
WHAT YOU’VE BEEN MAKING


Neale jumpsuit made by @tracyclt


