THE Q & A SERIES
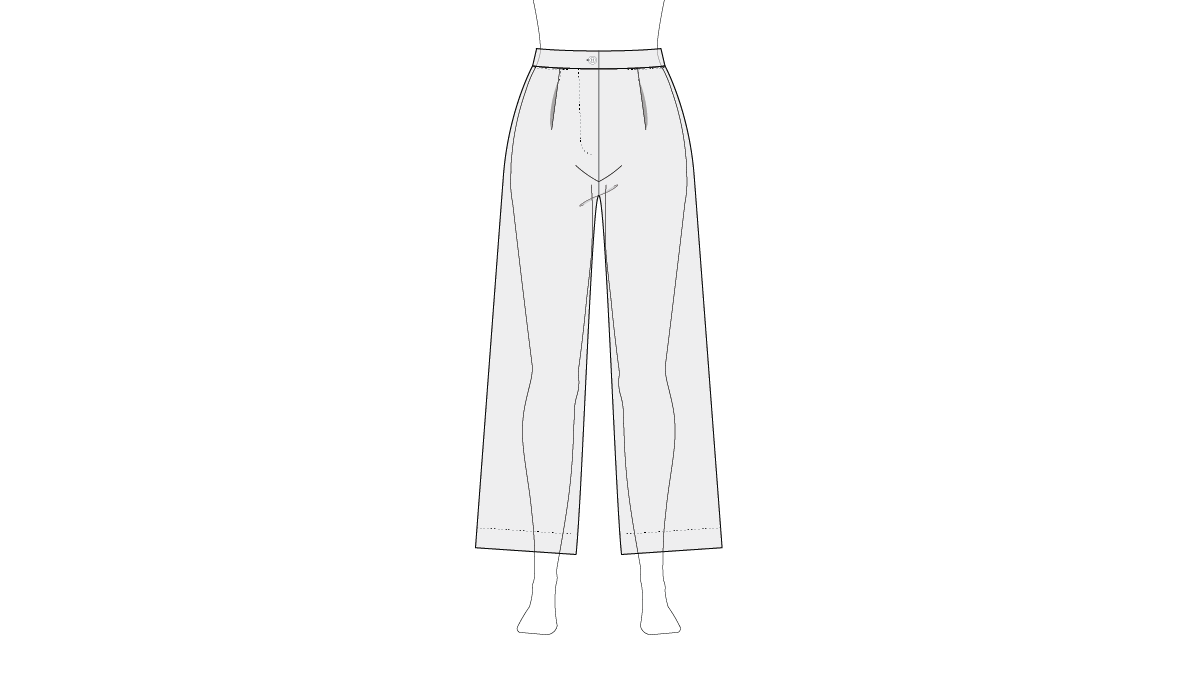
HOW TO SLIM DOWN THE PEPPERMINT WIDE LEG PANTS PATTERN
Hi Emily,
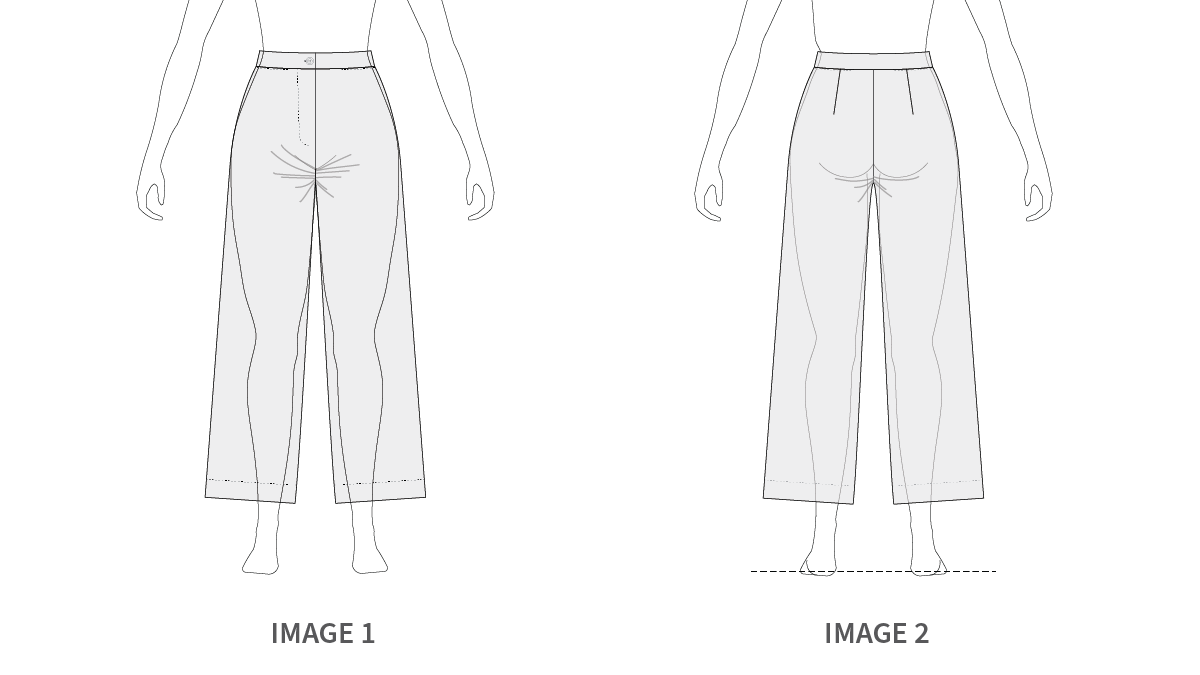
I had a question about the Peppermint Wide Leg pants.
They are drafted straight from the hip. If I wanted them to narrow around the thigh and be straight from there down, how would one do that? Might be too complex to tackle, but thought I'd ask!!
(Also, I'm just 2 seams from finishing my first Flynn jacket and I wanted to tell you this much. I completely love and appreciate that pattern and instructions!!! It is probably my favourite pattern to date.)
Nina
Hi Nina,
I have a pair of jeans that I made from this pattern and I also made the exact alteration you are planning to make!
I found the easiest way to get the leg shape I wanted was to first make a toile in calico. So, here’s my tips!
TIPS FOR SLIMMING THE LEG OF THE PEPPERMINT WIDE LEG PANTS PATTERN
I recommend you make the toile with a long stitch length in a contrasting colour so you can easily see and unpick seams needed.
Don't bother putting in the zip.
Just cut one set of waist band pieces so you can pin the pants closed and get them to sit in the correct position on your waist.
Put the pants on inside out so you can see the stitch lines. (This is where the contrasting thread is useful!) Play with the seams until you figure out how much you want to take off the side seams and inner leg seams. With the toile on, use a marker to mark directly onto the fabric. (Alternatively, you could use pins to hold in place, but sometimes this can be a little painful when you’re wearing the toile and fitting on yourself!)
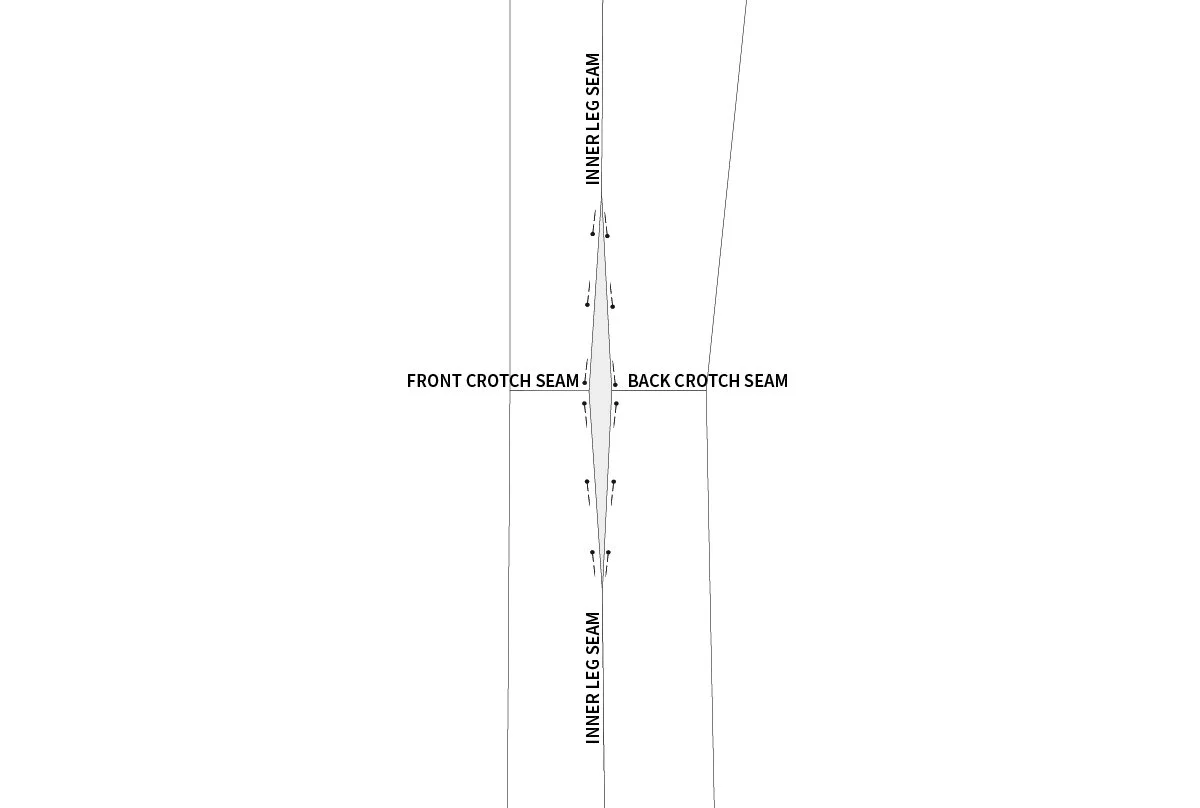
When you take off the pants, use a ruler and marker to mark in your new stitch lines. You will need to unpick the crotch seam either side of the inner leg seam to make any alterations to that seam.
Stitch along the new lines (again with a long stitch length in case you need to unpick them again), and try them on again. Continue this process until you are happy with the shape.
If you have a number of stitch lines by the end, take a coloured marker and trace along the stitch lines to mark the new stitch line on the fabric.
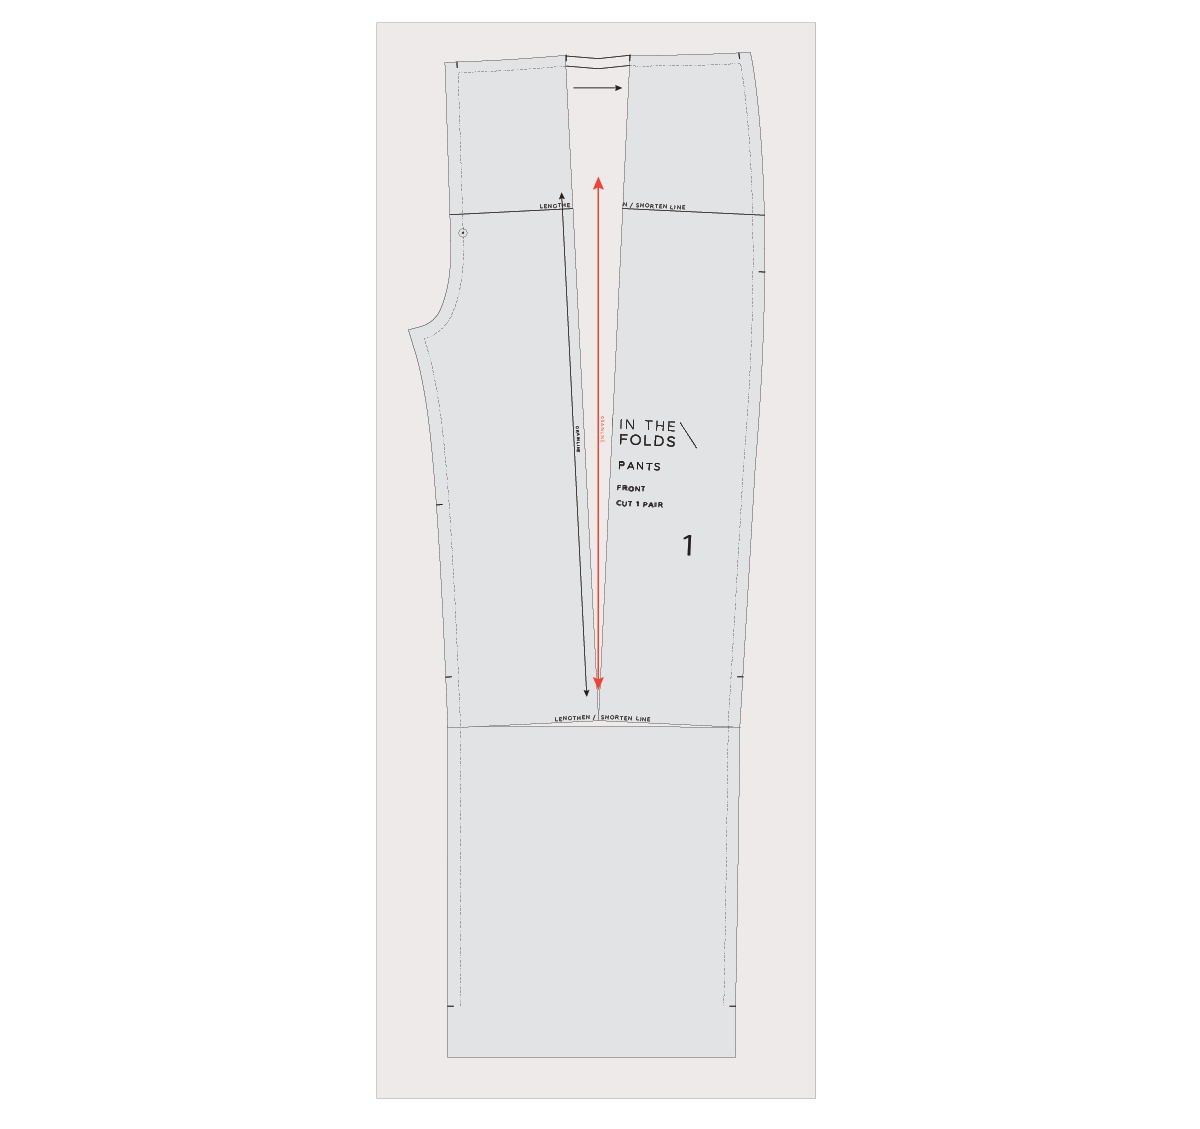
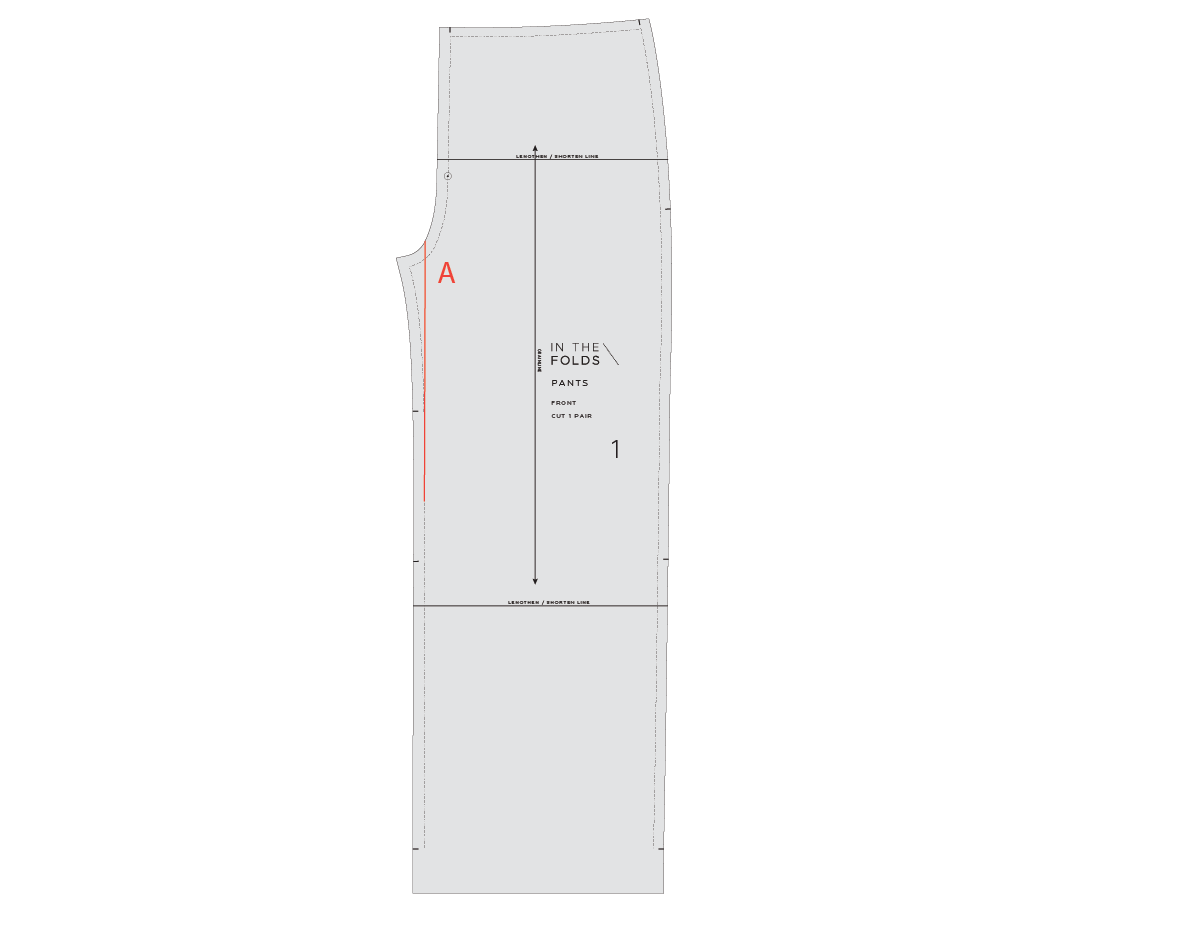
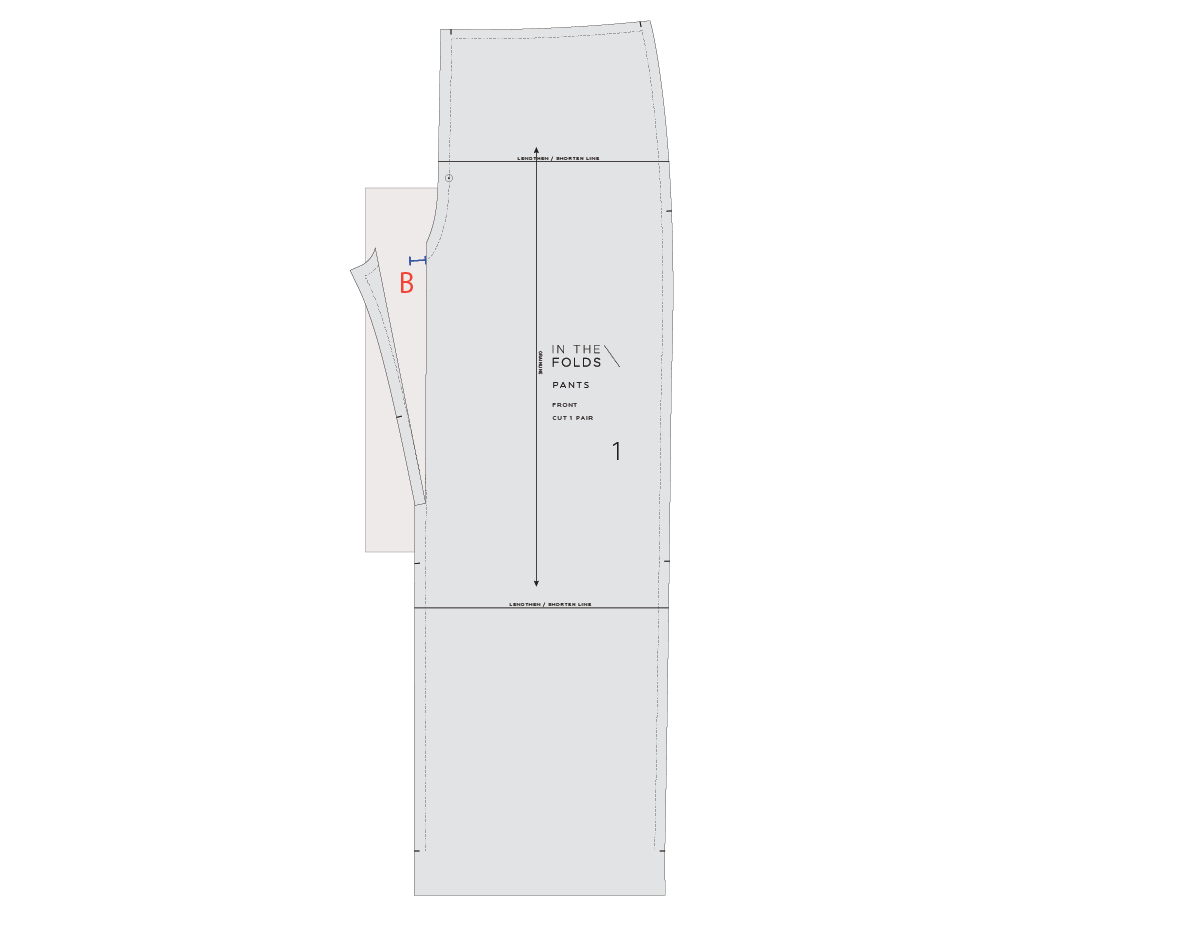
Unpick the pants so you have the front and back piece and then transfer the changes back to the pattern.
It is likely that you will need to skim off some of the pocket pieces at the side seam, so be sure to transfer the shape of your new pattern piece to the pockets too.
And that’s it! Sometimes, making changes to a pattern can take a little time when you do a toile, but in my experience toiling is never something to be regretted.
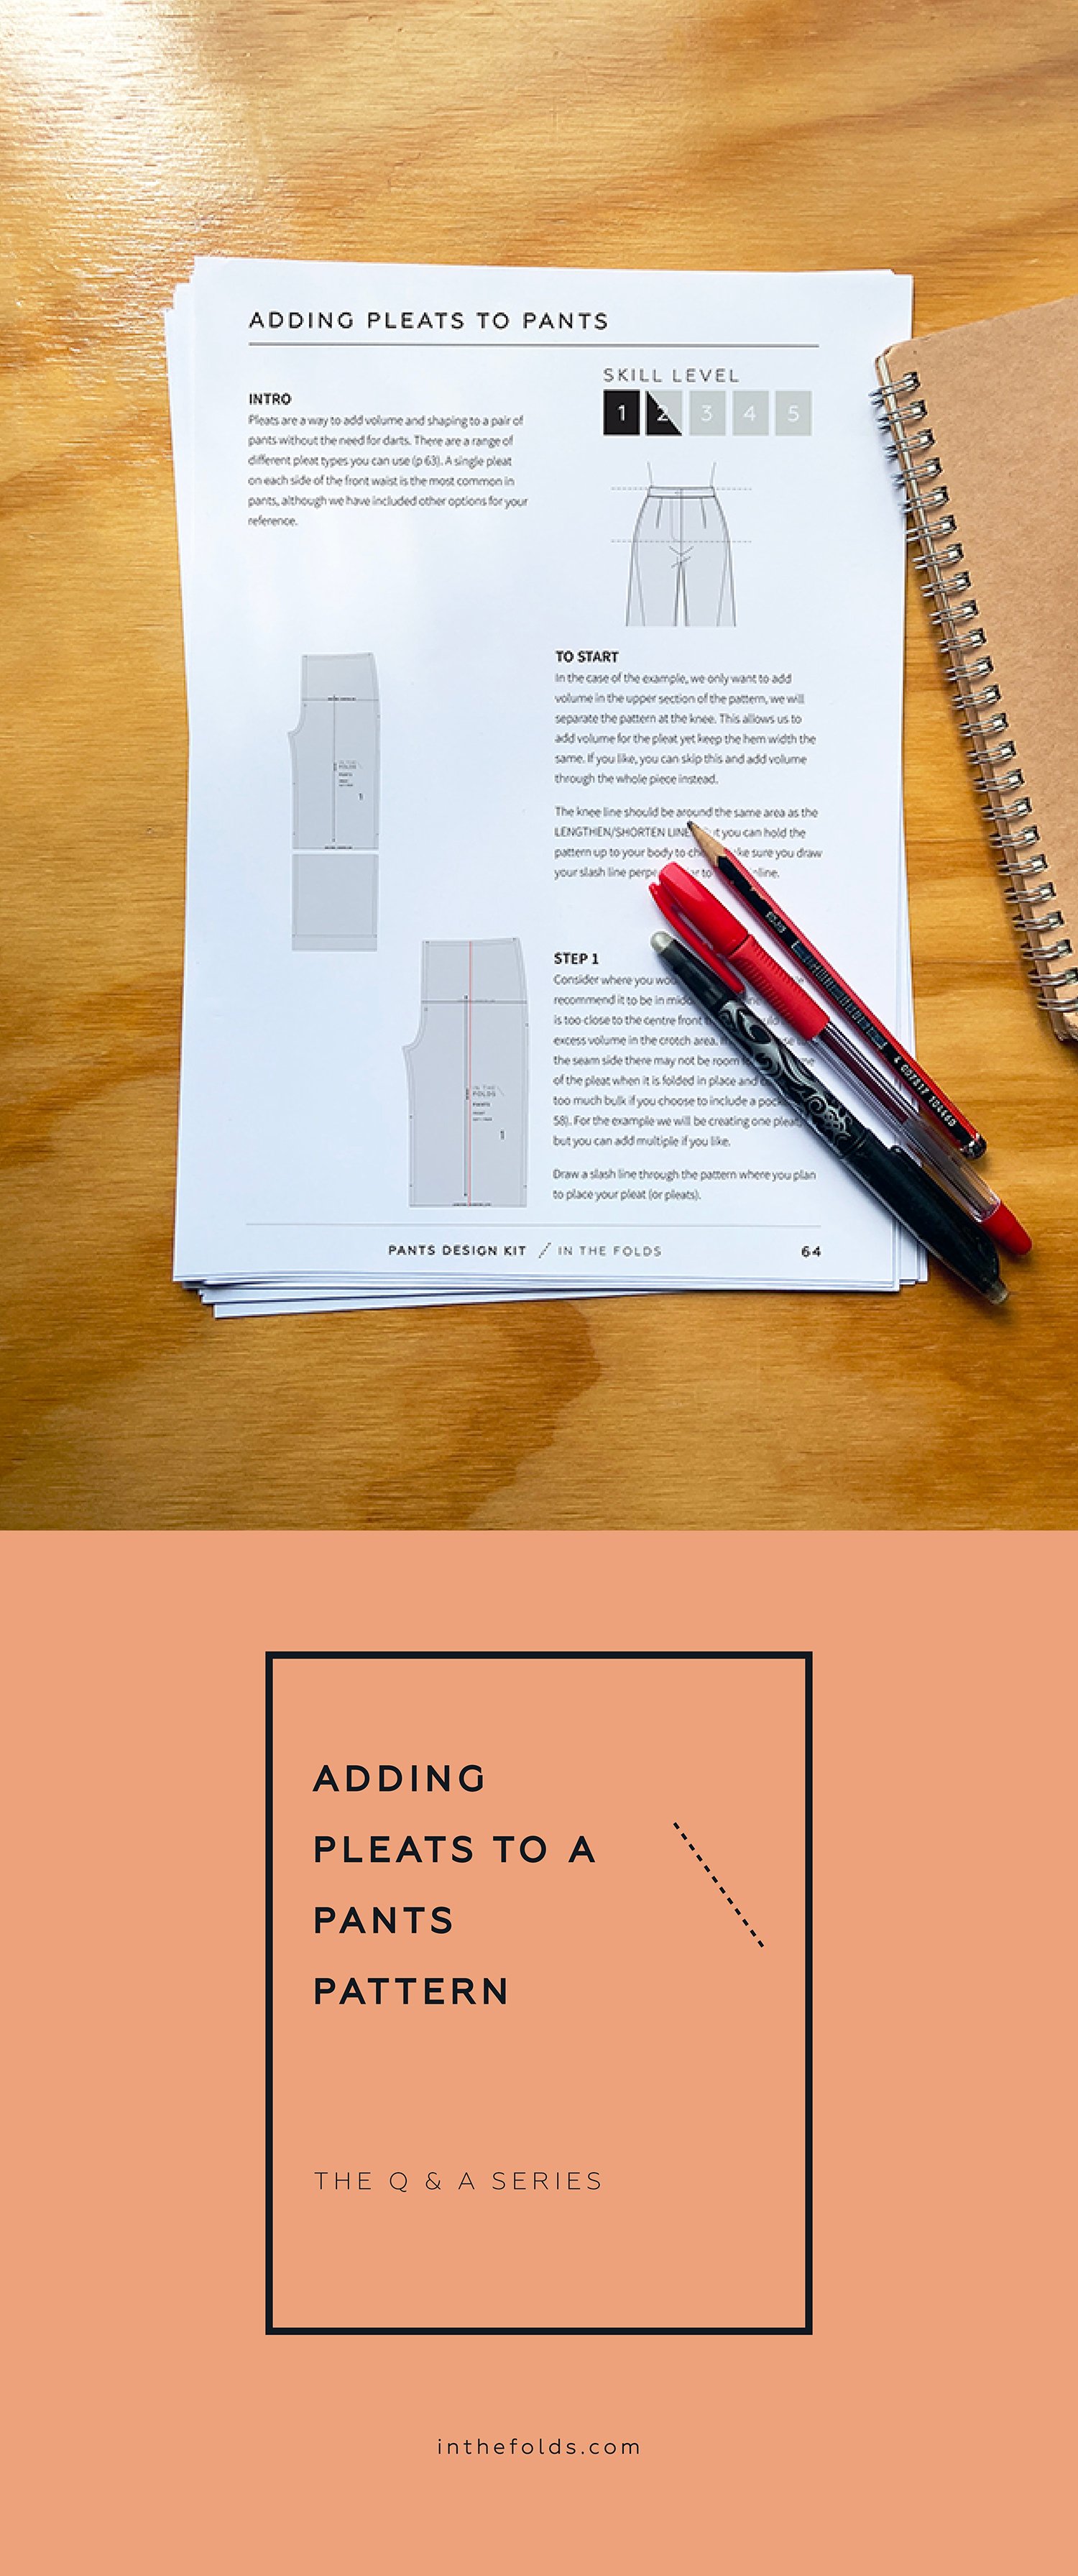
If you’d like to continue learning more about sewing pants, I highly recommend our very popular Pants Making Series, which the Pants Sewing Skills Kit, Pants pattern and Fit Kit, plus the Pants Design Kit.
Happy sewing,
Emily
For more issues of the Q & A series, you can check out the archive here.
WHAT YOU’VE BEEN MAKING

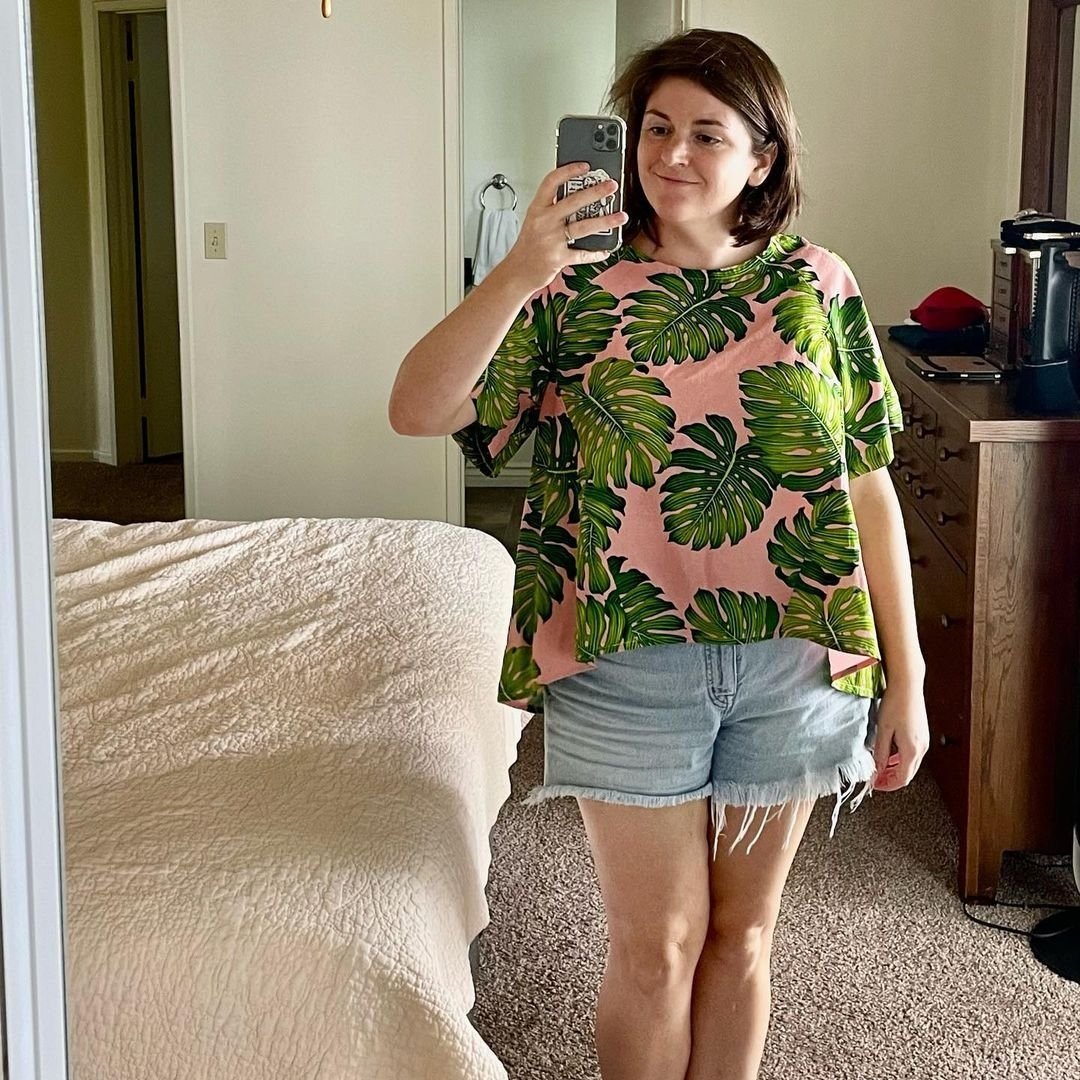
Acton dress made by @crafty_enthusiast

Sleeveless Flynn jacket made by @damselfly.ca