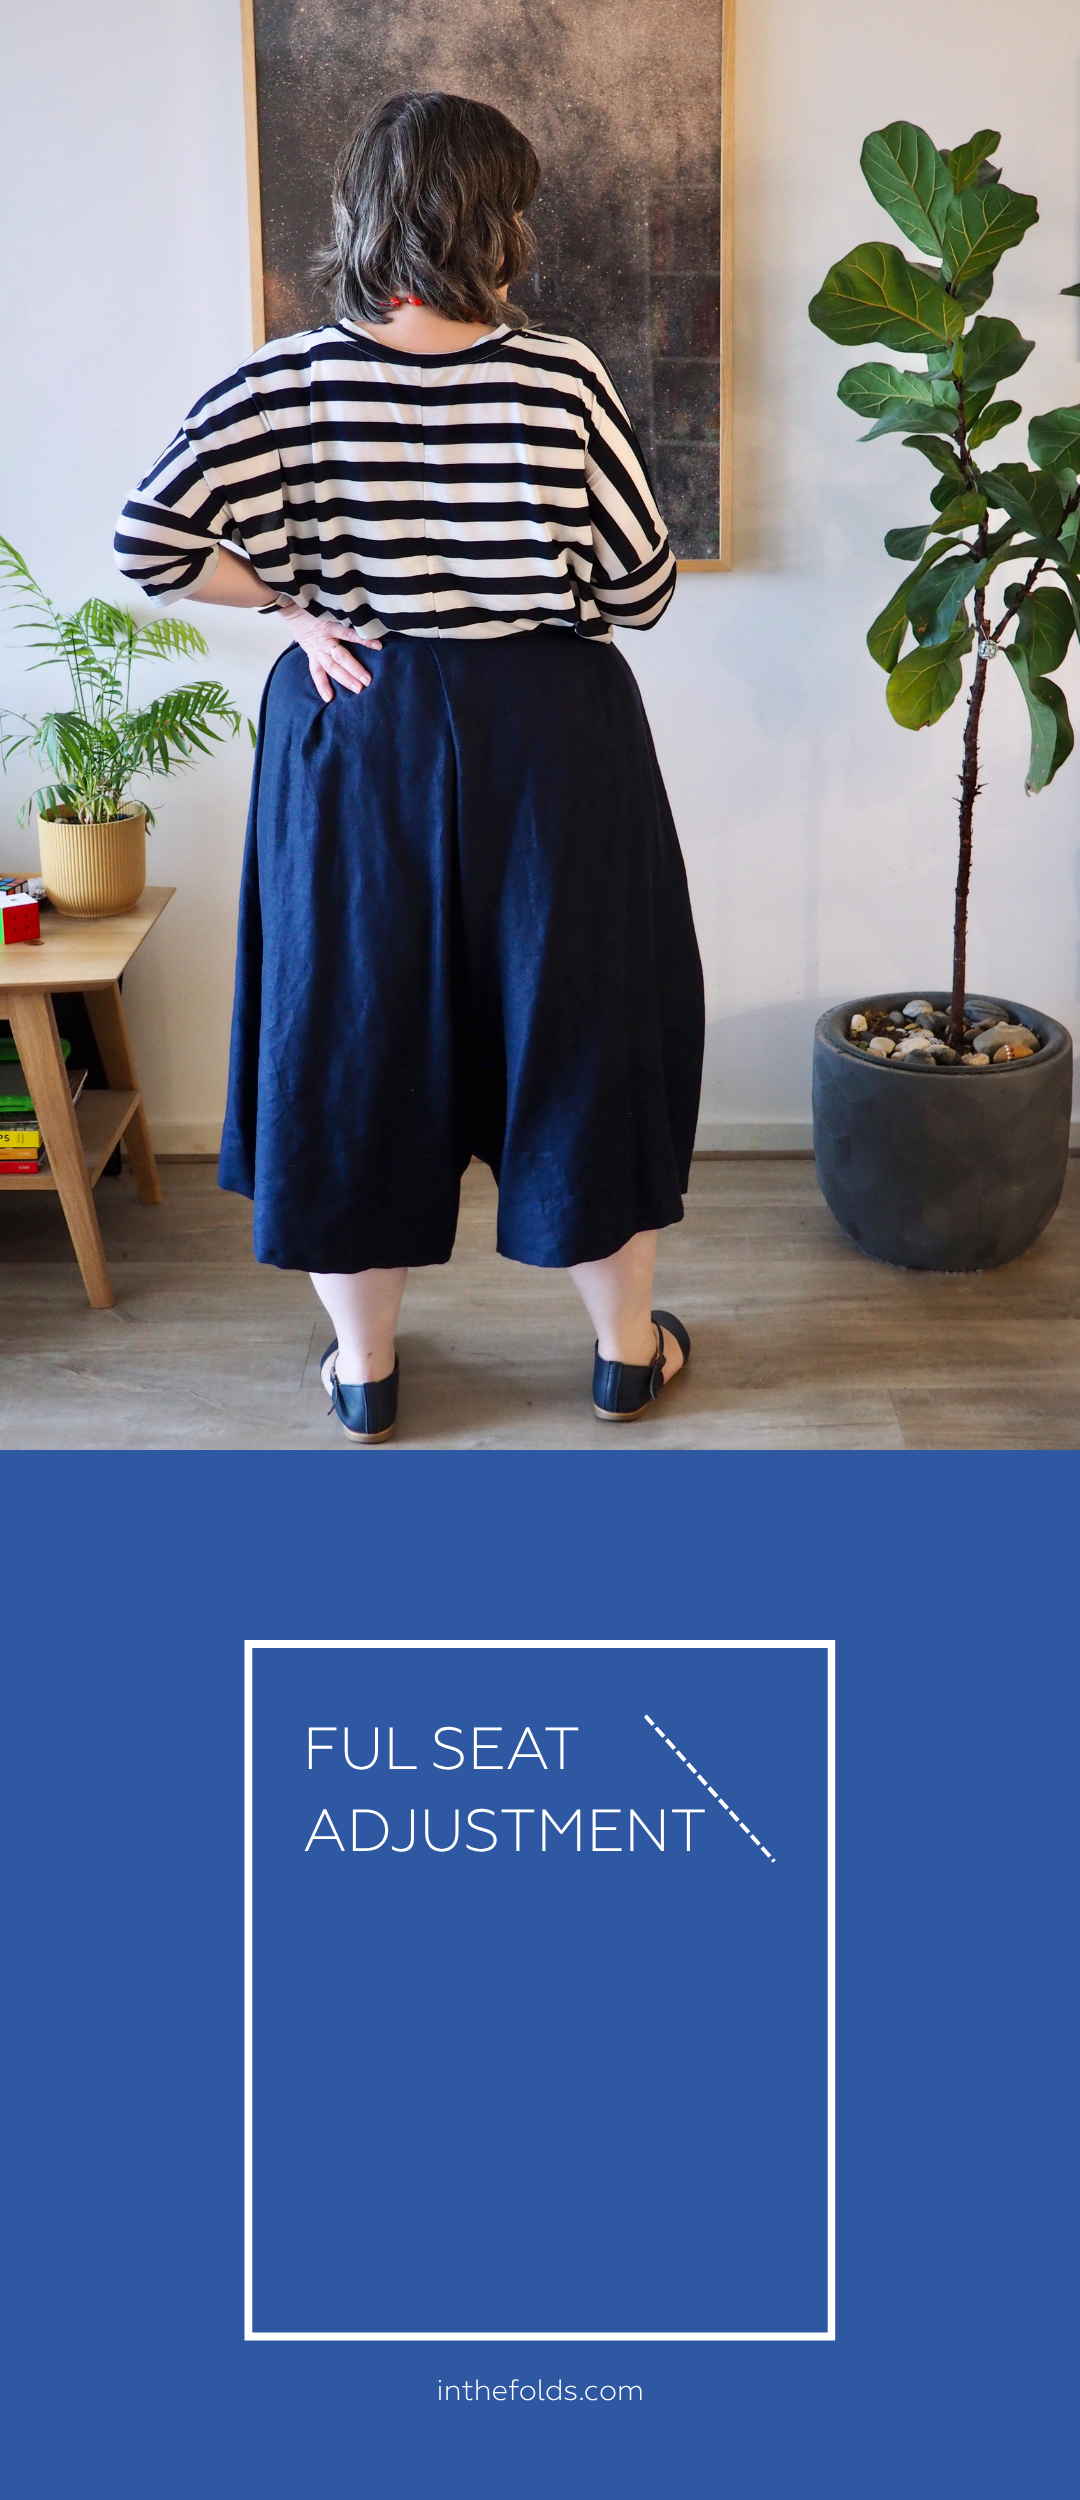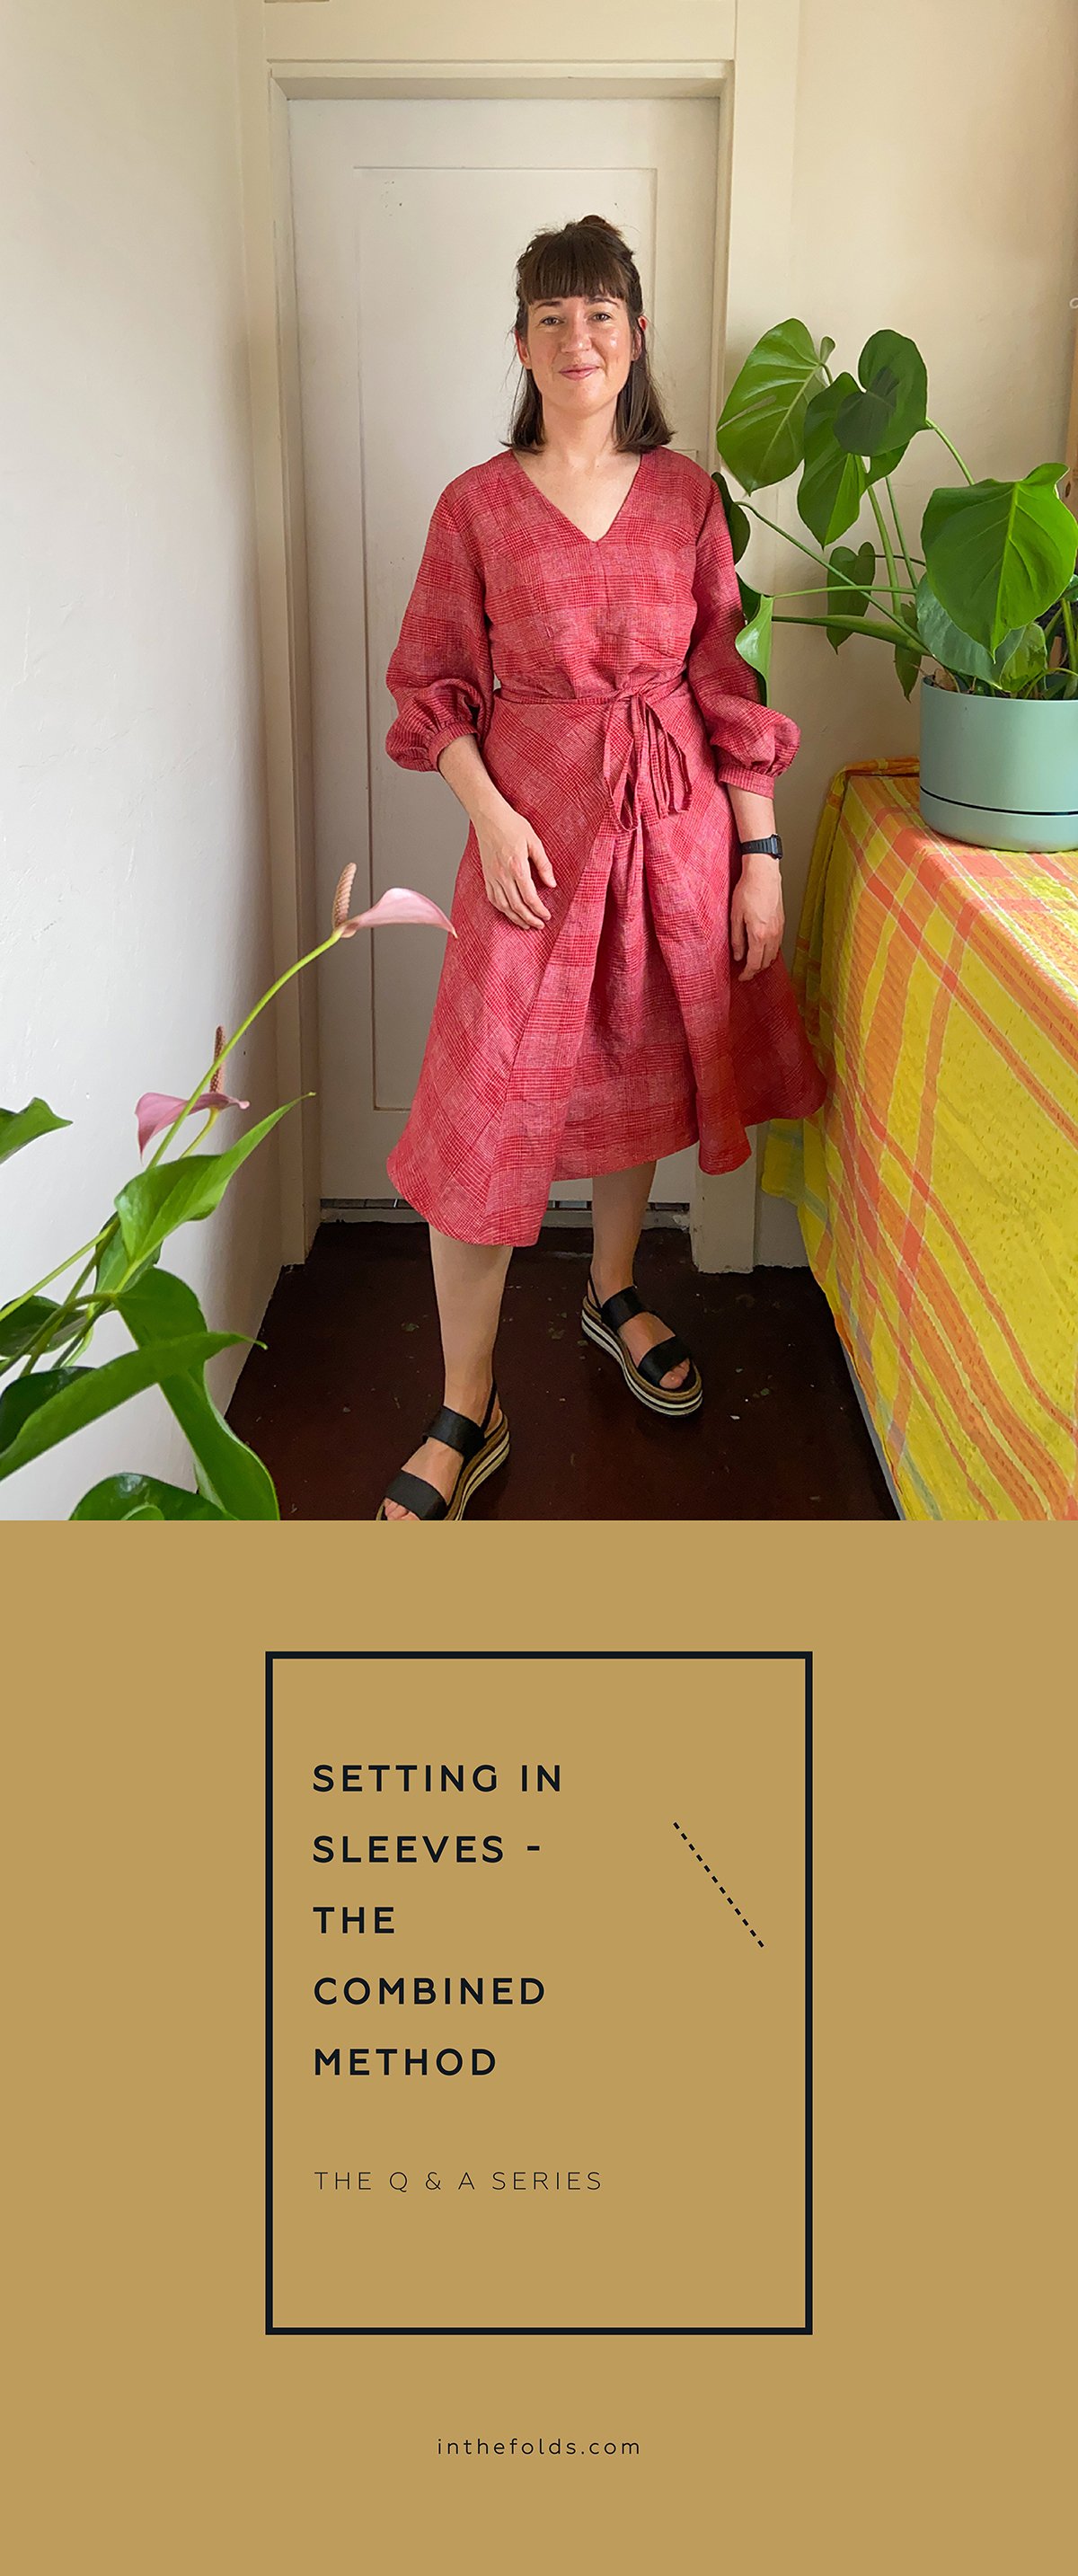
THE Q & A SERIES
How to use the sewing flat and "in the round" techniques together when sewing sleeves
Hi Emily,
I really enjoy your newsletter. Thank you for answering our questions :)
I was wondering about sewing sleeves. There are 2 methods to set the sleeves in, right? Sewing them in when the side seams are already sewn up and when they are not sewn up yet.
When would you choose one over the other? What are the benefits for one or the other in a finished garment? I guess there is a sewing pun for this one as well - what are bene-fits in fitting the sleeves :)
I am looking forward to your answer.
Greetings,
Spela
The Hague | The Netherlands
Hi Spela,
As you may have seen, I answered your question about sewing sleeves in flat or in the round in our last issue of the Q&A series. In this week's issue I want to show you the combined method - sewing part of the sleeve in flat and the rest of it in the round.
The problem with the usual methods of setting in sleeves
When designing the sleeve expansion for the Acton dress pattern I decided I wanted the bodice to be fully lined, just like the original Acton dress pattern. The problem was that it's not as simple to line a bodice with sleeves as it is to line a sleeveless bodice.
When doing research to work out the best way to approach this, I realised that a lot of sewing resources guided makers to use hand-sewing to enclose the lined bodice. Although I am a fan of all things slow sewing, I don't love the idea of falling back on hand sewing just because it's the simplest way to finish something off.
Drafting patterns and creating the order of construction for our patterns has always been one of my favourite parts of the process as it's like trying to solve a puzzle! So I got to work with the goal of finding the best way to fully line a bodice with sleeves and to do it all on the sewing machine.
The solution: a combined method for setting in sleeves
I figured out a way to do it and it became the basis for the instructions of the Acton dress sleeve expansion pattern.
I also realised that this method would work for garments without linings too. Although I think everyone should give sewing sleeves in the round a go a couple of times as it gets easier with practice. But, for those of you who would like to stick to sewing flat, this might be just the method you’ve been looking for!
Prepare sleeves

Step 1
Finish both sides of the sleeve piece with your chosen method.
With your machine on its longest stitch length, make two lines of stitching along the sleeve cap between the front and back armhole notches. The first row should be 5mm (¼in) from the edge and the next 5mm (¼in) from the first row of stitching. The stitches will be hidden inside the seam allowance when the sleeve is attached to the bodice. Leave the threads long at each end and don't backstitch to start or finish.
Carefully pull on one set of threads to slightly pull in the sleeve cap, allowing it to curve in nicely, but not making gathers.

Step 2
The bodice needs to have the shoulder seams stitched and the seams pressed open. In the case of the Acton, as the bodice is fully lined, these seams haven't been finished.
Pin one SLEEVE to armhole with right sides together, using the notches to guide you and easing in the sleeve cap to fit the armhole. Pin sleeve in place, stopping when you get approximately 4cm (1½in) from the underarm on each side. Leave these sections free.
Machine baste the sleeve in place with a 6mm (¼in) seam allowance. This row of stitching will just hold the sleeve in place before we stitch the seam properly in the next step. Repeat with the other sleeve.
Flip bodice to the right side and check for puckering in the sleeve cap. If there is puckering, don't worry! Just unpick a small section around the puckering and steam well. Ease the section back into the bodice, pin and re-stitch.
Once you're happy with how its looking, sew the sleeve in (still leaving the gap on each end) with a 1.2cm (½in) seam allowance.
Tip: If you're working with a sleeve that has a very high sleeve cap, you may need to leave more than a 4cm gap open at each end. You'll know if you need to do this if you have a really hard time pinning the sleeve into the armhole.

Step 3
Pin the SLEEVE underseams together with right sides together. Stitch with a 1.2cm (½in) seam allowance. Press seam allowances open and turn bodice and sleeves right side out.
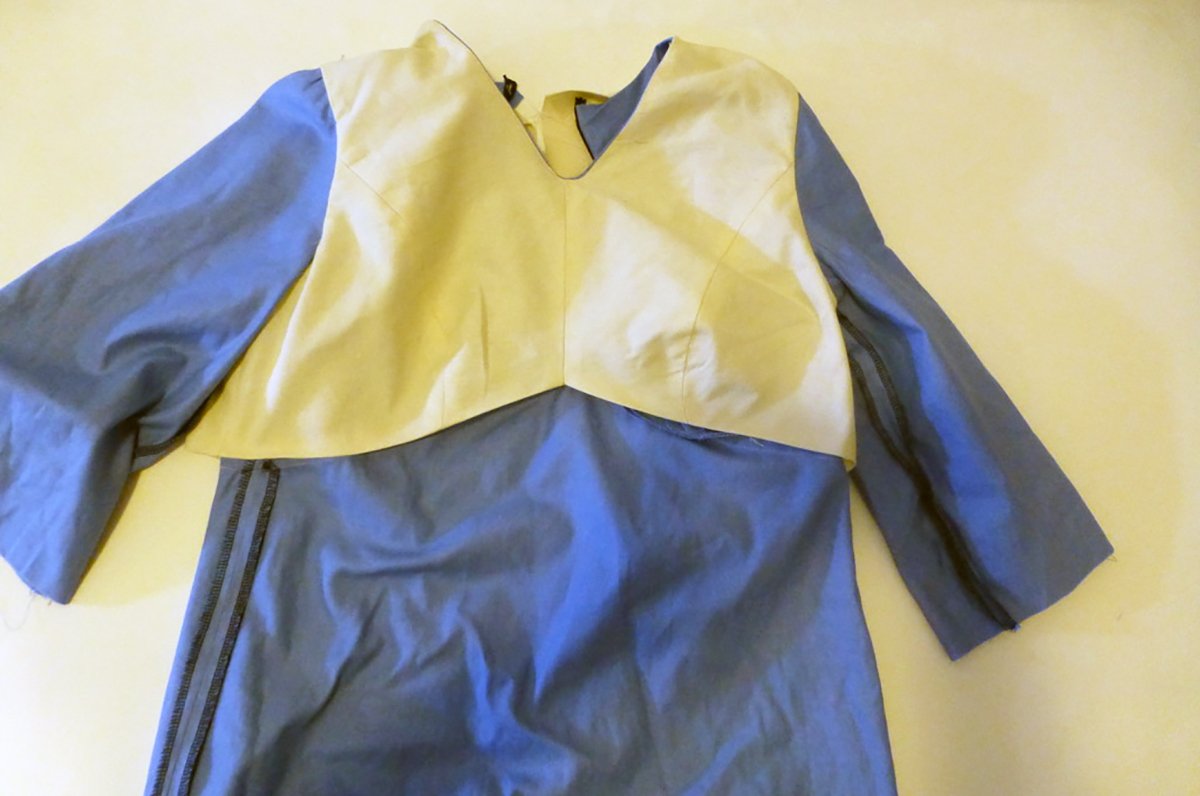
As you can see in the illustration, at this point the bodice is lined. I don’t go into the details of the lining in this email, as we're just focusing on the method for attaching the sleeves. If you're interested to try the method of the lined bodice with sleeves, grab a copy of the pattern.

Step 4
Pin the side seams of the bodice together with right sides together.
In this case, due to the bodice lining, you will need to flip up the bodice, so you can access the seams on both the bodice lining and outer bodice. Pin the front and back bodice together at the side seams with right sides together.
Repeat on the lining.
Stitch each side seam with a 1.2cm (½in) seam allowance before pressing seam allowances open.

Step 5
Pin the bottom of the sleeve into the bottom of the armhole with right sides together. This is how you will finish the sleeve "in the round."
If the bodice has a lining like ours: From the wrong side of the lining and bodice, sandwich the underarm section of one sleeve between the bodice and lining. Pin the remainder of the sleeve into the armhole. Stitch with a 1.2cm (½in) seam allowance.
Press armholes well.
And that's it!
Happy sewing,
Emily
For more issues of the Q & A series, you can check out the archive here.