THE Q & A SERIES
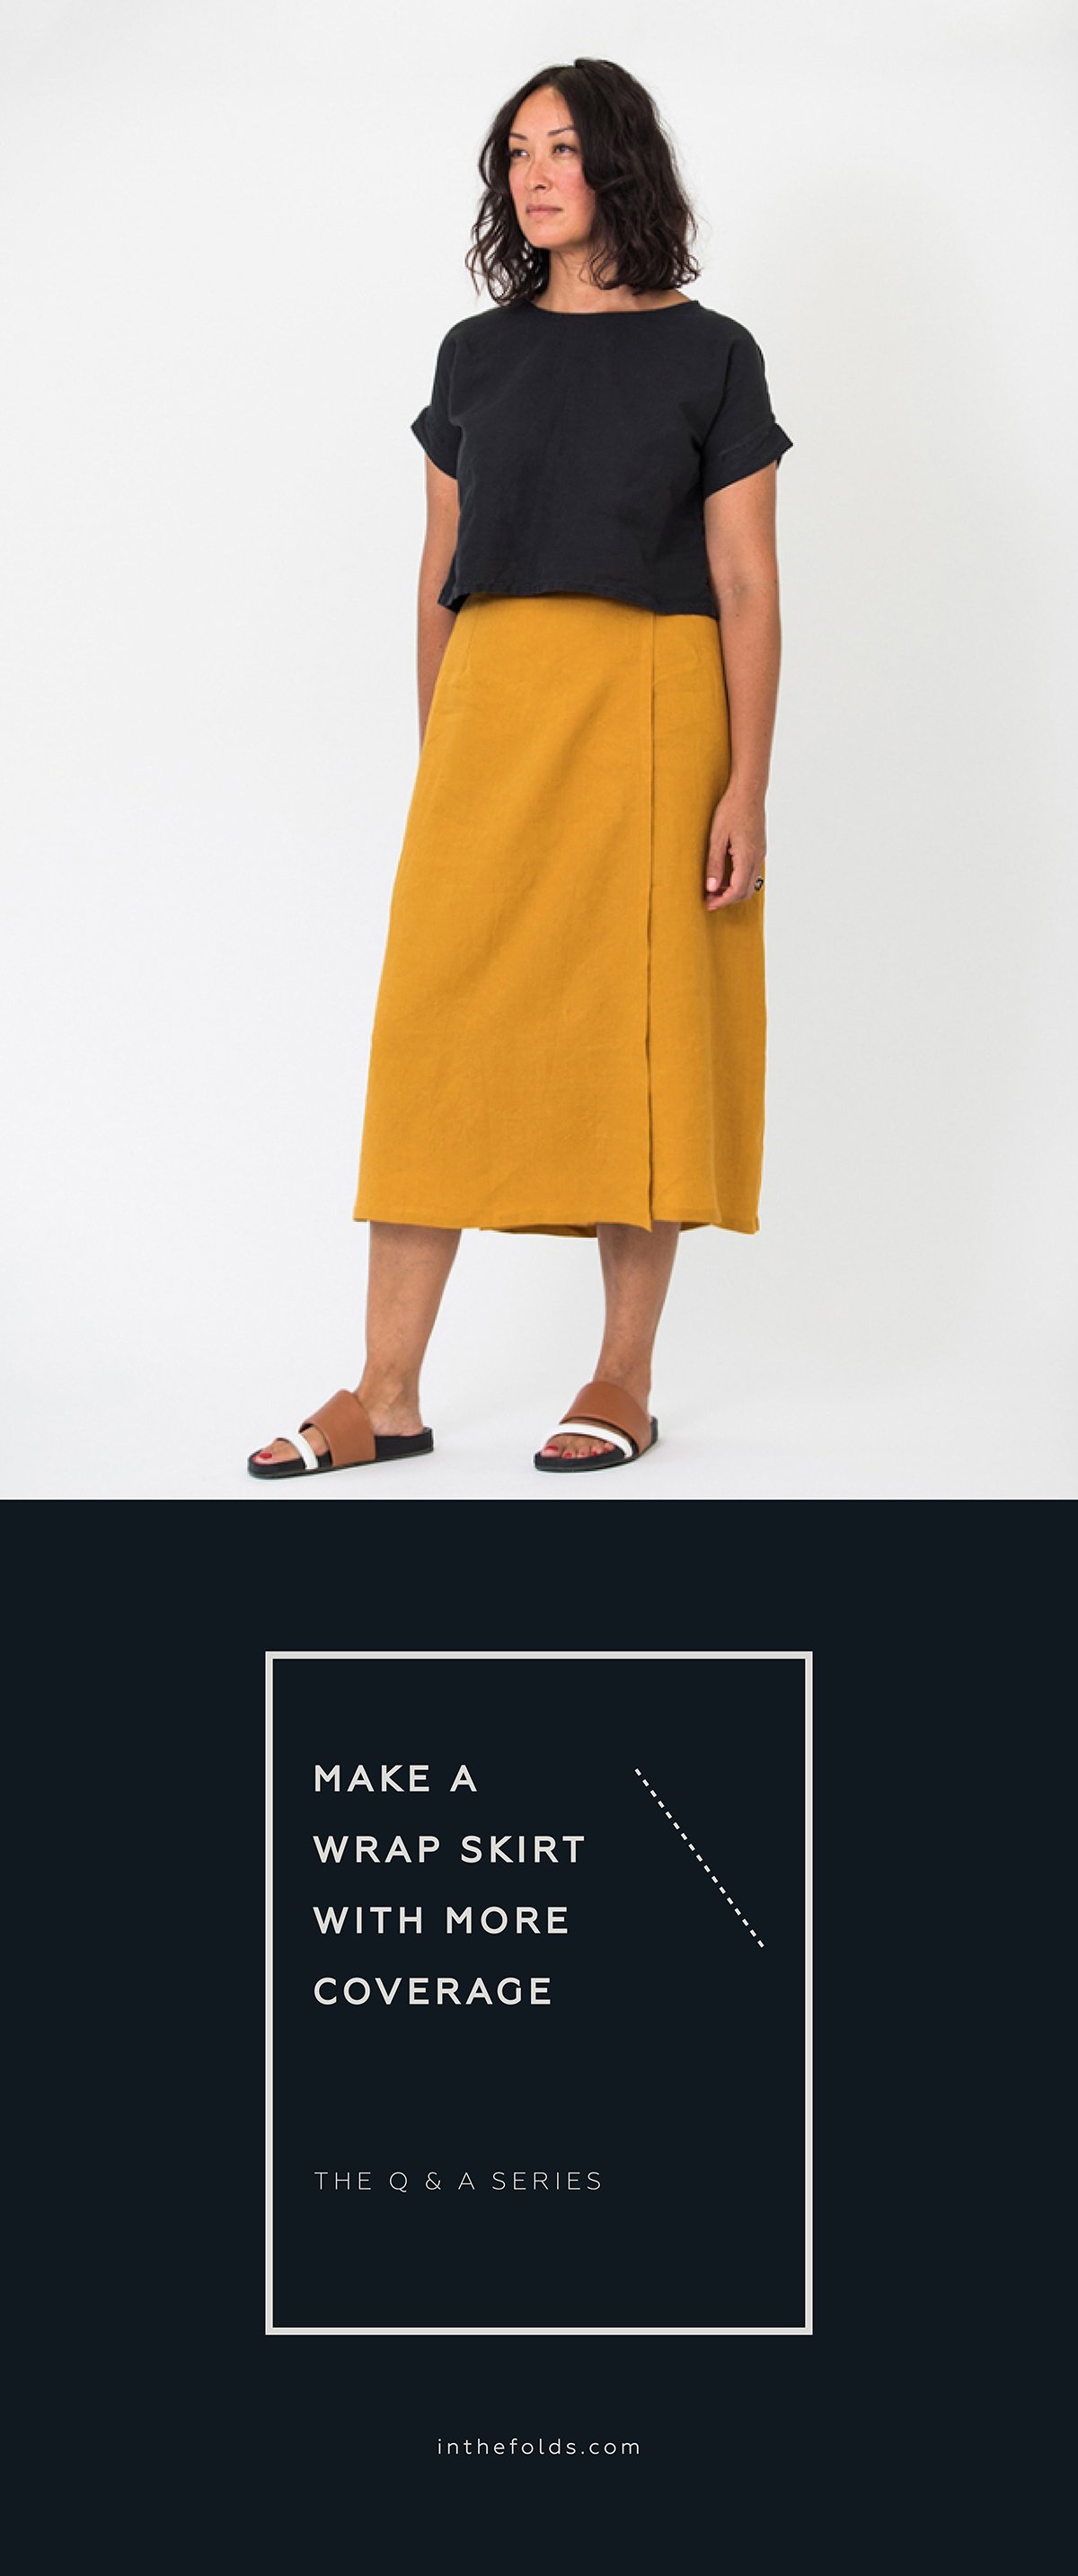
Make a wrap skirt with more coverage
Hi Emily,
I've just had the Peppermint wrap skirt pattern printed. I’d like to extend either piece #1 or #2 to give me a bit more coverage as I run after my kiddo at the park. Any thoughts of which piece would work better for that extension?
Thanks!
Hi there,
Great to hear you will be giving the Peppermint wrap skirt a go!

My Peppermint Wrap skirt is probably one of my most worn garments. There is something about this pattern that makes it work with almost everything in my wardrobe.
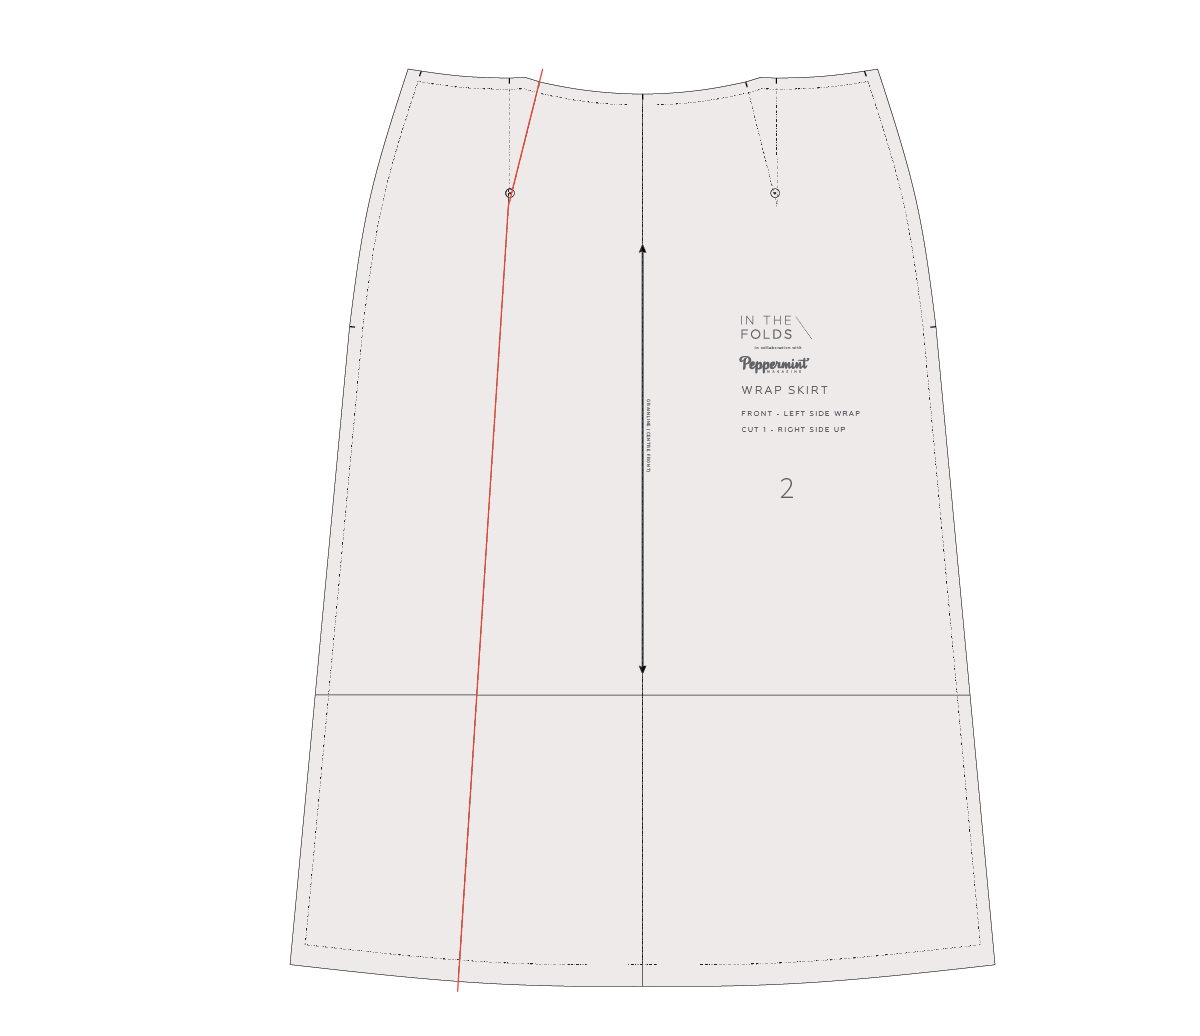
What I love about this pattern - and what makes it so wearable - is that the front pieces are not cut as a pair. The underwrap (the piece of the skirt that goes under the outer piece) has more width than the one on top (the overwrap). In the illustration below I have placed one piece on top of the other so that you can see the difference between the two.

I designed the pattern this way as I'm not a fan of wrap garments that you have to hold in place or constantly check if you're exposing more skin than you'd like. Clothes should be made to be worn and loved, and I believe that making them more comfortable to wear in our daily lives is the best way we can ensure this will happen.
In saying that, you could definitely extend the underwrap more to have more coverage if you like. The reason I suggest altering the underwrap is that this won't impact the look of the skirt. The overwrap remains unchanged and you will just have more fabric width in the piece that sits underneath.

Step 1
Take piece 2 (Front Left Side Wrap) and extend the grainline through to the top and bottom of the pattern piece. This is the Centre Front (CF) of the skirt.

Step 2
Fold along CF so you have just the side with the dart visible.

Step 3
Create a full piece by tracing the right side (side with the dart) onto the other side of CF.
Step 4
The section of the pattern on the left will be the part of the pattern that extends under the overwrap. We do not need the dart in this location and by removing it (using the slash and spread method) we will retain it's shaping whilst also getting more fullness in the hem (which means more coverage) and less fabric bulk in the waist section.
Mark in a slash line from the tip of the left dart down to the hem.

Step 5
Slide a piece of pattern paper under the pattern piece.
Cut down one of the dart arms (on the side we're working on) and stop 1-2mm from the tip of the dart. Cut up from the hem along the slash line towards the tip of the dart. Stop 1-2mm from dart tip to create a small "hinge" of paper.
Slide the uncut dart arm over to meet with the cart dart arm. You will notice that this has opened up the hemline. What we're doing here is relocating the fullness from the dart to the hem - which gives us the waist shaping we need to achieve a good fit. If you would like to see more details about this technique, you can checkout this blog post. Tape / glue in place and attach to the paper underneath.

Step 6
To finalise the pattern, draw in a nice smooth curve at the waist line and hemline. Add seam allowance back onto these new lines.

Step 7
As the left side of this piece hangs free (creating the wrap) we need to straighten out the edge (as it won't be sewn to the back side seam). Draw a straight line from the top of the side seam to the bottom - on the STITCH LINE (grey line on the pattern). Add seam allowance (2cm / 3/4in) to this new line. This is now the edge of the underwrap.
This alteration will impact how the skirt attaches to the waistband. The waistband will still fit, but the notch that indicates the end of this piece will no longer be correct. Take the waist tie piece and move the notch to reflect the alteration.
Happy sewing,
Emily
RESOURCES MENTIONED IN THIS ISSUE
For more issues of the Q & A series, you can check out the archive here.
WHAT YOU’VE BEEN MAKING

Peppermint wrap skirt made by @leila.makes

Peppermint jumpsuit made by @sewingwithkate

Darlow pants made by @capsule.fabric
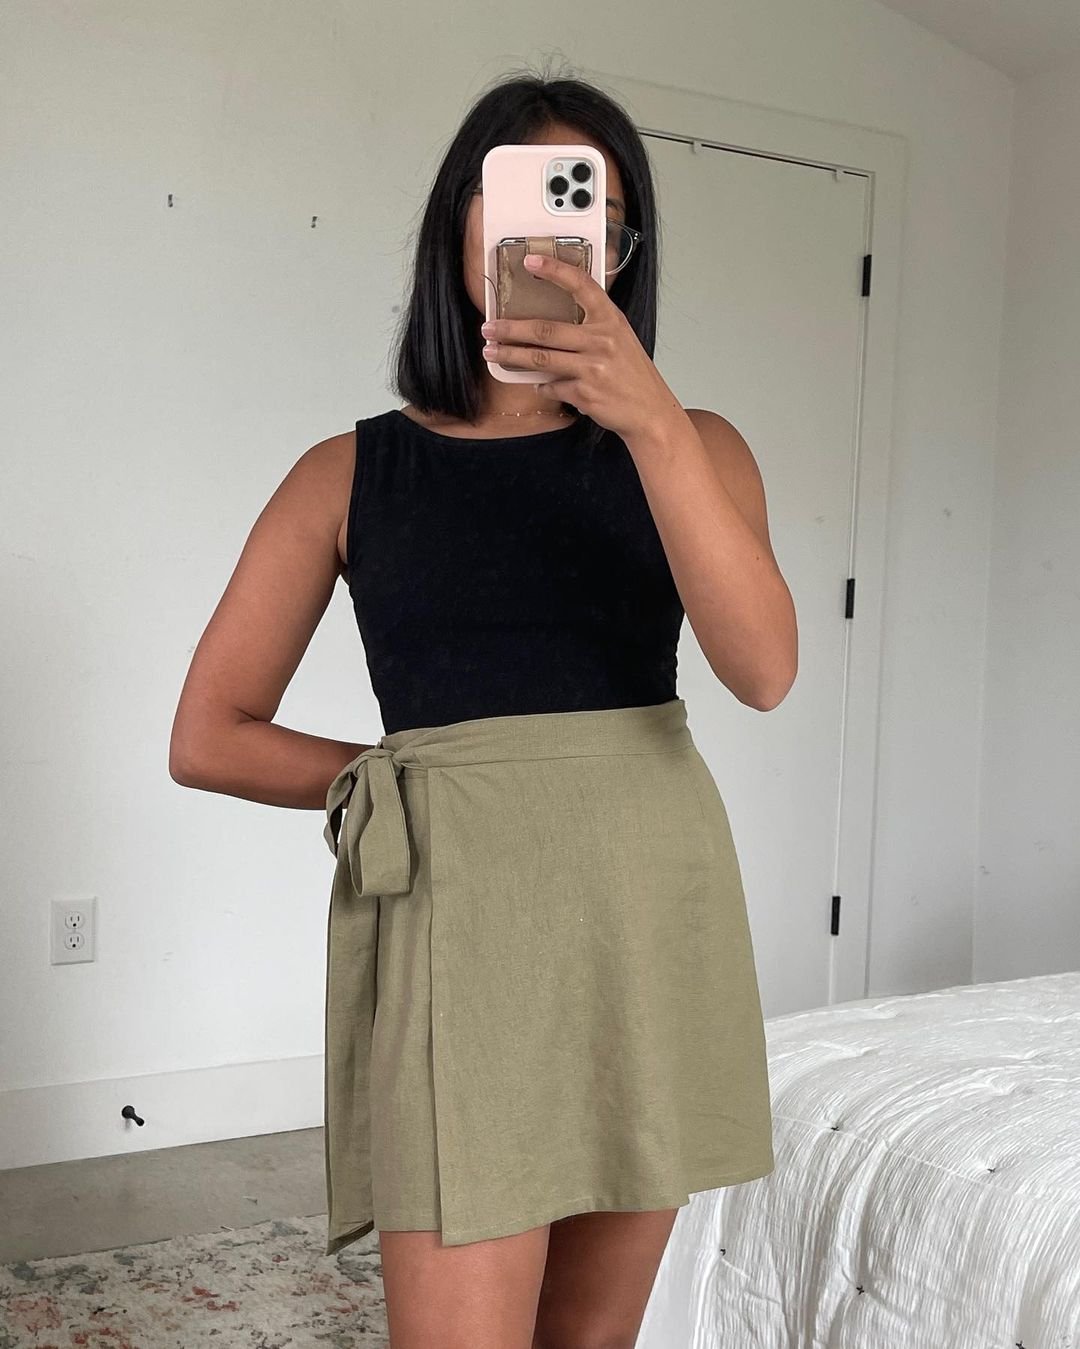
Shortened Peppermint wrap skirt made by @ap_archives


