THE Q & A SERIES
ADD BUTTONS TO THE PEPPERMINT WRAP SKIRT
Hello there!
I am a subscriber to your wonderful monthly Curated by In the Folds and I really love how much you are happy to share your knowledge with us. Your Fit Guides are so good for me to review and learn from every time I begin a project.
I have a question regarding the Peppermint Wrap Skirt which I bought a few years back (a contribution to the community was made) and I have yet to make it!!! However, I am thinking of making it, but I wondered how difficult would it be to use buttons as opposed to the tie to close the skirt? I know that I would need an internal button to hold the underlying front skirt, but any suggestions as to how best to position the outer button would be good?
Thank you very much.
Zoe, Australia
Hi Zoe!
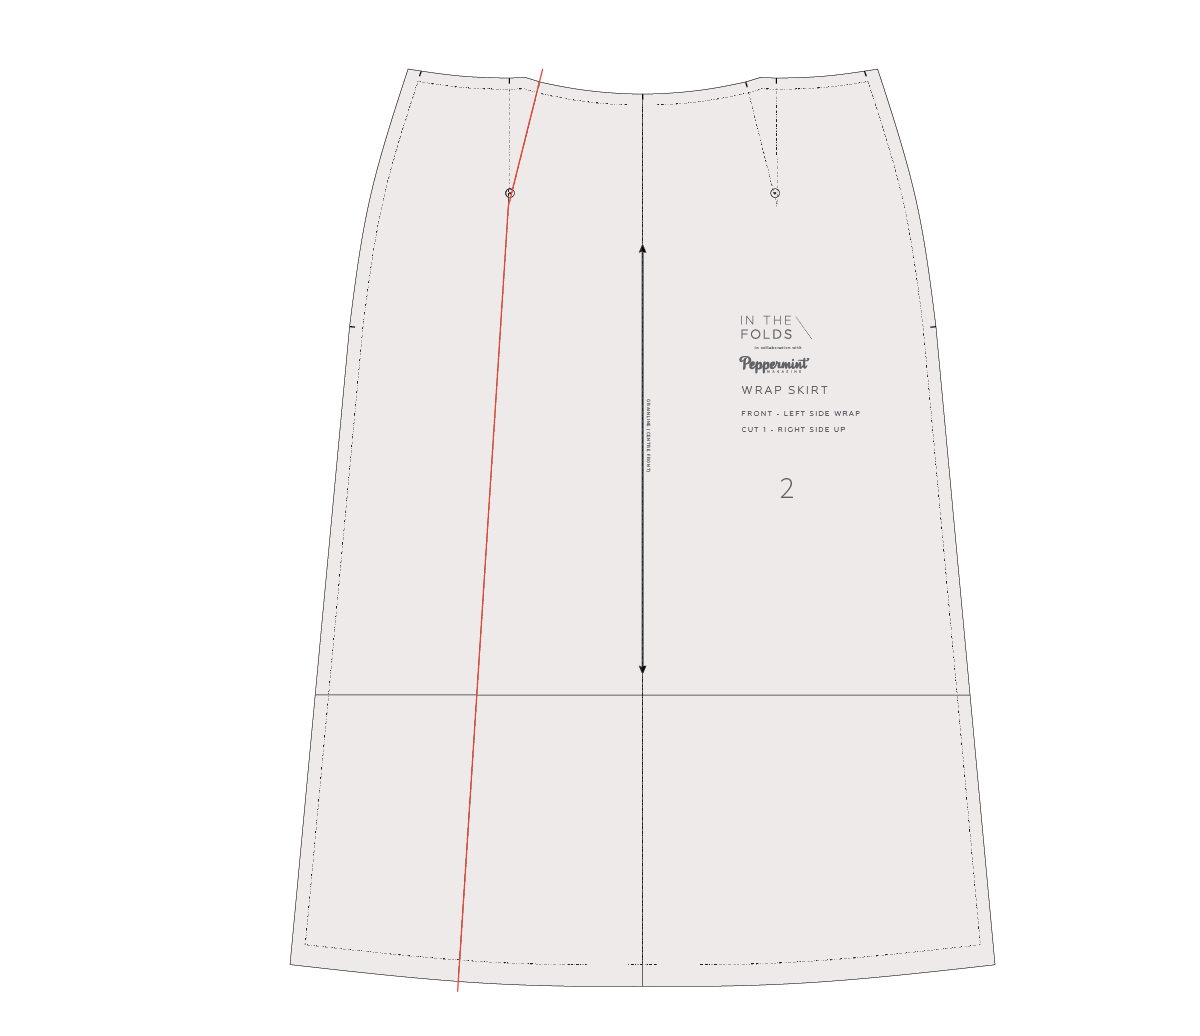
This is such a great question, which I’m sure many makers will also appreciate the answer to. Our Peppermint Wrap skirt pattern, a collaboration with Peppermint Magazine many moons ago, has been one of our MOST popular designs.
Sometimes designs are a classic for a reason, right?
You may also have seen that our Malvern culottes pattern uses a similar closure technique, so I’m excited to be able to add the tutorial to our resources!
And what makes it even better is that this hack won’t take any patternmaking wizardry and is perfect for anyone wanting to give a little pattern hacking a go without being overwhelmed.
how to change a tie to buttons on a wrap skirt
Step 1
Take the WAIST TIE - LEFT SIDE [5] and identify the outer notch. This is the notch that lines up with the edge of the wrap on the left side. The rest of the piece is what makes the tie on that side.
Step 2
Draw a line straight up from that notch. Perpendicular to the edge of the piece.
Step 3
Repeat on the other side - WAIST TIE - RIGHT SIDE [4], again using the outer notch. This time it’s on the other side of the piece.
Step 4
Move the pattern info (piece name and cutting instructions) and grainline over to the section with the notches, otherwise it will be removed when you cut off the tie section of the piece.
Cut through the lines marked in Step 2 and Step 3. You can discard these pieces as you won’t be needing them.
Step 5
Add seam allowance to the cut edge on each side of the waistband. This will now be closed like a regular waistband. 1cm (3/8in) is sufficient.
Step 6
You may be able to remove the centre back seam in the waistband due to the reduced width. Place the CENTRE BACK STITCH LINE on one piece on top of the other. The CENTRE BACK is indicated with double notches on each piece.
Measure the width of the piece. If it is less than the fabric width you plan to use then you can tape it in place. If you do this, add a notch at the CENTRE BACK STITCH LINE to indicate the CENTRE BACK. This will help you when you are pinning the waistband to the skirt. You can also update the pattern label.
If your fabric isn’t wide enough, that’s okay, just keep the CENTRE BACK seam.
Step 7
Now that the tie has been removed, I’d recommend block fusing the whole waistband to help it hold its structure and give it more stability where the buttons and buttonholes are. Add BLOCK FUSE to the pattern pieces so you remember when cutting.
As for working out where the buttons and buttonholes need to go, this also left me scratching my head too! It’s much easier to work out once you have the skirt and waistband in front of you. I got out my lovely linen wrap skirt to have a play and worked out how I’d do it.
What I suggest you do is just make it and then work out the button and buttonhole positions once it’s complete. The beauty of wrap skirts is that they are quite forgiving in terms of fit so there’s room for you to work out the best place for you to have your buttons.
Step 8
If I were to make this hack, I would put concealed buttons on the side of the wrap that ends up on top and then button holes on the “under” wrap. To work this out, wrap the waistband around you and use chalk to mark the ideal position of the buttons. You will definitely want a button and buttonhole close to the edge of the waistband, while the second one will depend on you.
I hope this helps you on your patternhacking journey!
Happy sewing,
Emily
For more issues of the Q & A series, you can check out the archive here.
WHAT YOU’VE BEEN MAKING
Darlow bag made by Curated member, Lise.
Attwood pants made by @tenderfoot.sewing


