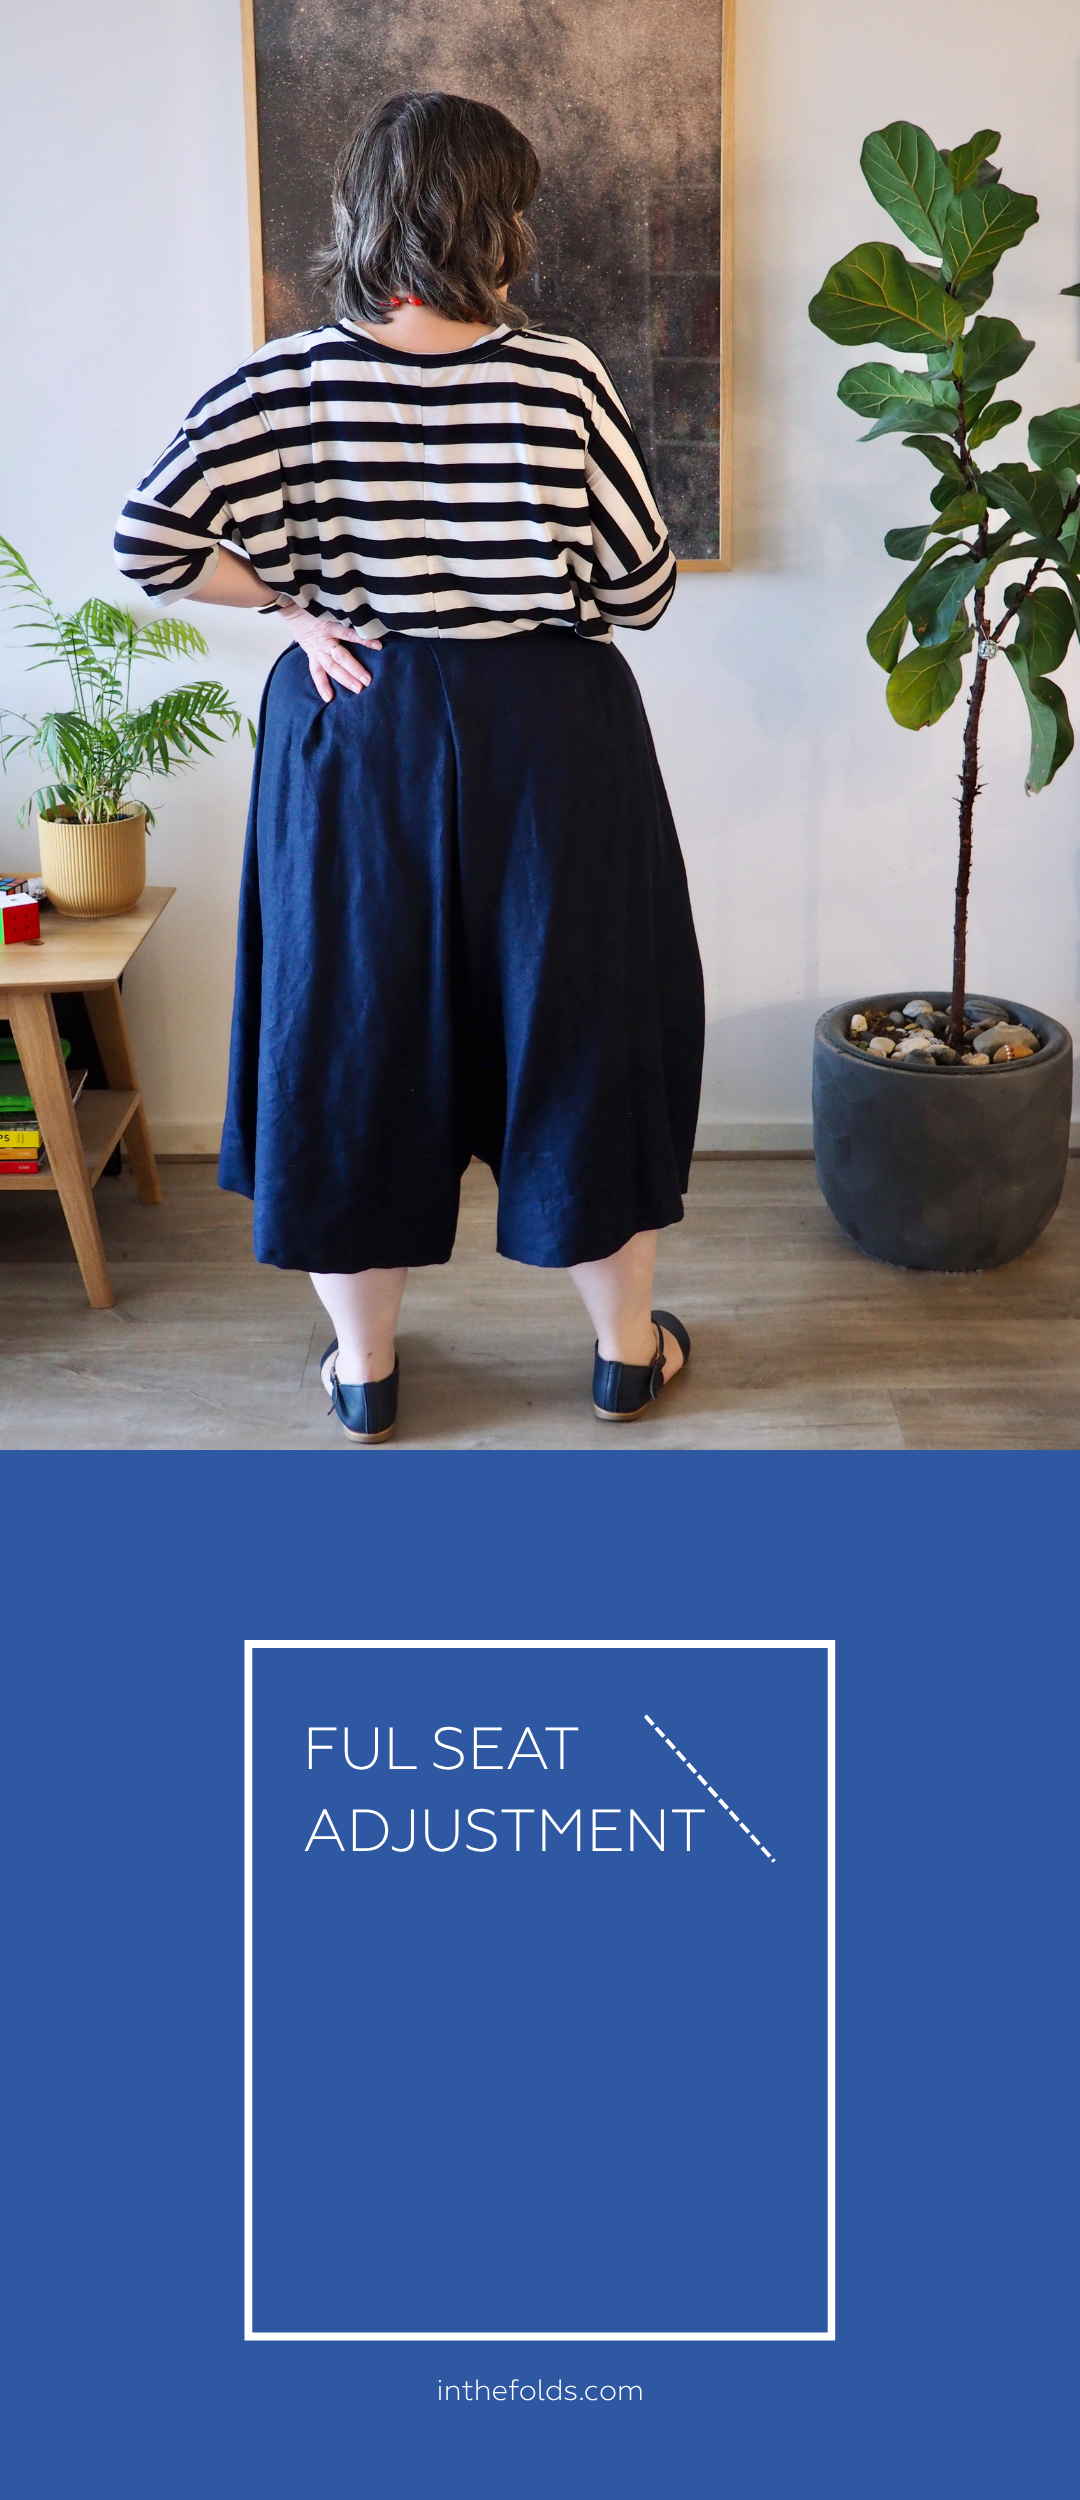
Sewing Shirts Skills Kit

ISSUE 157 - EXPERIMENTING WITH INTERFACING

Why you should experiment with interfacing.

THE Q & A SERIES

experimenting with interfacing

Hello, I’m new to your site & love the idea of asking a question and getting a helpful answer.

My question is, when using iron on interfacing in a collar or cuff should the interfaced side be outermost or on the underside? And if on the underside, how do you get over the seam allowance (that’s been graded) showing through light weight fabric? I look forward to finding out the right way, thank you.

Alison, UK


Hi Alison!

We’re very glad you’ve found us, and we’re happy to help.

Interfacing is a scary topic for many sewists. When things go well, it is a wonderful thing and can help us create beautiful finishes and looks in our garments. But when things don’t go so well… well, it’s likely that you’ve had a run in with interfacing at some point in your sewing journey (as have the majority of us!) and you’ll know first hand how frustrating it can be to work with.

We wrote a post about what you need to know about interfacing just recently, as it’s an important part of shirt-making, the topic we’re currently focusing on in our sewing subscription, Curated by ITF. This month we’re moving onto the second part of the series, the Marden shirt pattern!

NEW SEWING PROJECT? TIME TO TEST YOUR INTERFACING AND FABRIC!

When it comes to advising about which side of a collar or cuff to interface, it really depends on the fabric and interfacing you’re planning on using for the garment. Which makes it almost impossible for me to provide a definitive ‘do this in all scenarios’ answer (sorry!).

But, I’d start by encouraging you to experiment with the interfacing and fabric you have in mind for your project, particularly when sewing with lightweight fabric. (More on how to do this here.)

Consider the look of the fabric once the interfacing has been fused to it. Is it very obvious and visible through the fabric? Does it negatively impact the look of the fabric, or does it just provide the structure that is needed?

In general, I block fuse both sides of the collar and cuffs. So that's normally what I'd test out first.

As you have mentioned, you may decide that you would prefer to fuse only one of the pieces, rather than the pair. If you're wanting a more relaxed look, you'll generally only fuse the undercollar. This allows the fabric on the top collar to look like the rest of the shirt.

However, if you are using a fabric that is so lightweight it is transparent, then I'd likely be fusing the one that will be on the outside when worn (i.e. the top collar). As you may guess, this is to prevent the seam allowances showing through the collar. If, however, you’re not happy with the finish of the fabric once the interfacing is applied, you may also consider experimenting with using a lightweight cotton as a sew-in interfacing instead.

Hope this helps, and good luck in your interfacing experimentation!

Emily


RESOURCES MENTIONED IN THIS ISSUE


For more issues of the Q & A series, you can check out the archive here.


WHAT YOU’VE BEEN MAKING


MORE POSTS IN THE SERIES

ISSUE 156 - HOW TO GET BUTTONHOLES RIGHT

THE Q & A SERIES

HOW TO GET BUTTONHOLES RIGHT

Hey Emily,

Do you have any tips please for buttonhole spacing & getting the buttons to sit flat on the fabric?

Thanks,
Sheila, Hobart


Hi Sheila,

Buttonholes can be tricky, hey.

There’s so many elements involved in getting them right… the spacing, the stitching, the cutting, the button sewing… And so much that can go badly wrong. (We’ve all experienced the fear of accidentally cutting right through the buttonhole stitching!)

With our Sewing Shirts Skills Kit for this month’s Curated by ITF project we cover everything you need to know, such as how to create a button template, how to mark button placement and how to sew buttons on correctly, but here’s a few tips that may help.

HOW TO MARK BUTTON PLACEMENT

There are a number of different methods you can use to transfer the button and buttonhole placement markings to your shirt. The most common are: 

  • Mark the positions directly onto the finished button placket. 

  • Mark the buttonhole positions on the placket pattern piece and use this to transfer the markings to the pattern.

  • Make a button template.

The most common method is marking the positions directly onto the finished button placket. This gives you flexibility when deciding on button position and allows you to see what the buttons will look like before sewing the buttonholes.

BUTTONHOLE SPACING

When marking button placement, start by marking the top button position. It will be placed closer to the top of the placket than the regular button spacing as it supports the collar stand. We recommend anywhere from 1.5cm (⅝in) - 5cm (2in) down from the top edge. 

Mark the remaining button positions 9cm (3½in) from the top button. For the bottom button, keep in mind that you don’t want it to sit too close to the hem and normally there is a larger space between the bottom button and the hem than between the other buttons..  

Tip! We like to take inspiration from our favourite garments that are already in our wardrobe and we recommend you do the same! Take some time to have a look at the shirts you love to wear and use a measuring tape to replicate the placement on the garment you’re making.

TAILOR BUTTON POSITION TO YOUR BODY

Because you’re making the garment, remember that you can put the buttons wherever you want, according to the needs of your body. To do this, try on the shirt and close the button placket. Place a horizontal pin at the bust line through the top placket only. This is the position where the shirt is most likely to gape. Take the shirt off and space the buttons evenly along the placket starting from the pin. Remember to leave a space at the bottom and ensure the top button is about 1.5cm (⅝in) - 5cm (2in) down from the top edge.

TIPS FOR SEWING BUTTONS

We’ve included a step-by-step tutorial for how to sew buttons onto a garment (specifically a shirt) in our Sewing Shirts Skills Kit, which you can access by joining Curated by ITF, our sewing subscription. 

Otherwise, the main things to keep in mind are:

  • Before sewing a button in position, place a pin, needle or matchstick across the button and make your stitches over it. This will create some extra give in the thread for when you’re creating the shank under the button.

  • Be sure to use interfacing on your button placket as this will help give the area structure. If for some reason you choose not to use interfacing on the whole placket, cut a small circle of interfacing and fuse where the button will be stitched to create stability.

  • Select a button that isn’t too heavy for the fabric you are using. This may take some experimenting on samplers.

  • Use the same number of stitches on each button to keep things consistent. 

Happy sewing,

Emily


RESOURCES MENTIONED IN THIS ISSUE

  • The Sewing Shirts Skills Kit is the first part of our Sewing Shirts project series, which is available through our Curated by ITF subscription. Past issues are now available for purchase by current subscribers. More information can be found here.


For more issues of the Q & A series, you can check out the archive here.


WHAT YOU’VE BEEN MAKING


MORE POSTS IN THE SERIES

ISSUE 155 - WHAT YOU NEED TO KNOW ABOUT INTERFACING

THE Q & A SERIES

WHAT YOU NEED TO KNOW ABOUT INTERFACING

Fusible interfacing seems to ruin everything I make with it. After washing it looks rumpled and horrible. Everyone seems to love it so I must be doing it wrong. HELP!

Jamie, Costa Mesa


Hi Jamie,

You’re definitely not the only maker out there who feels this way about fusible interfacing, because it’s one of those areas where things can go wrong very quickly. 

We’re looking at interfacing this month as part of our Sewing Shirts Skills Kit project for Curated by ITF. Interfacing is an important component of shirt making (and garment sewing in general) and so it’s definitely timely that we answer this question for everyone.

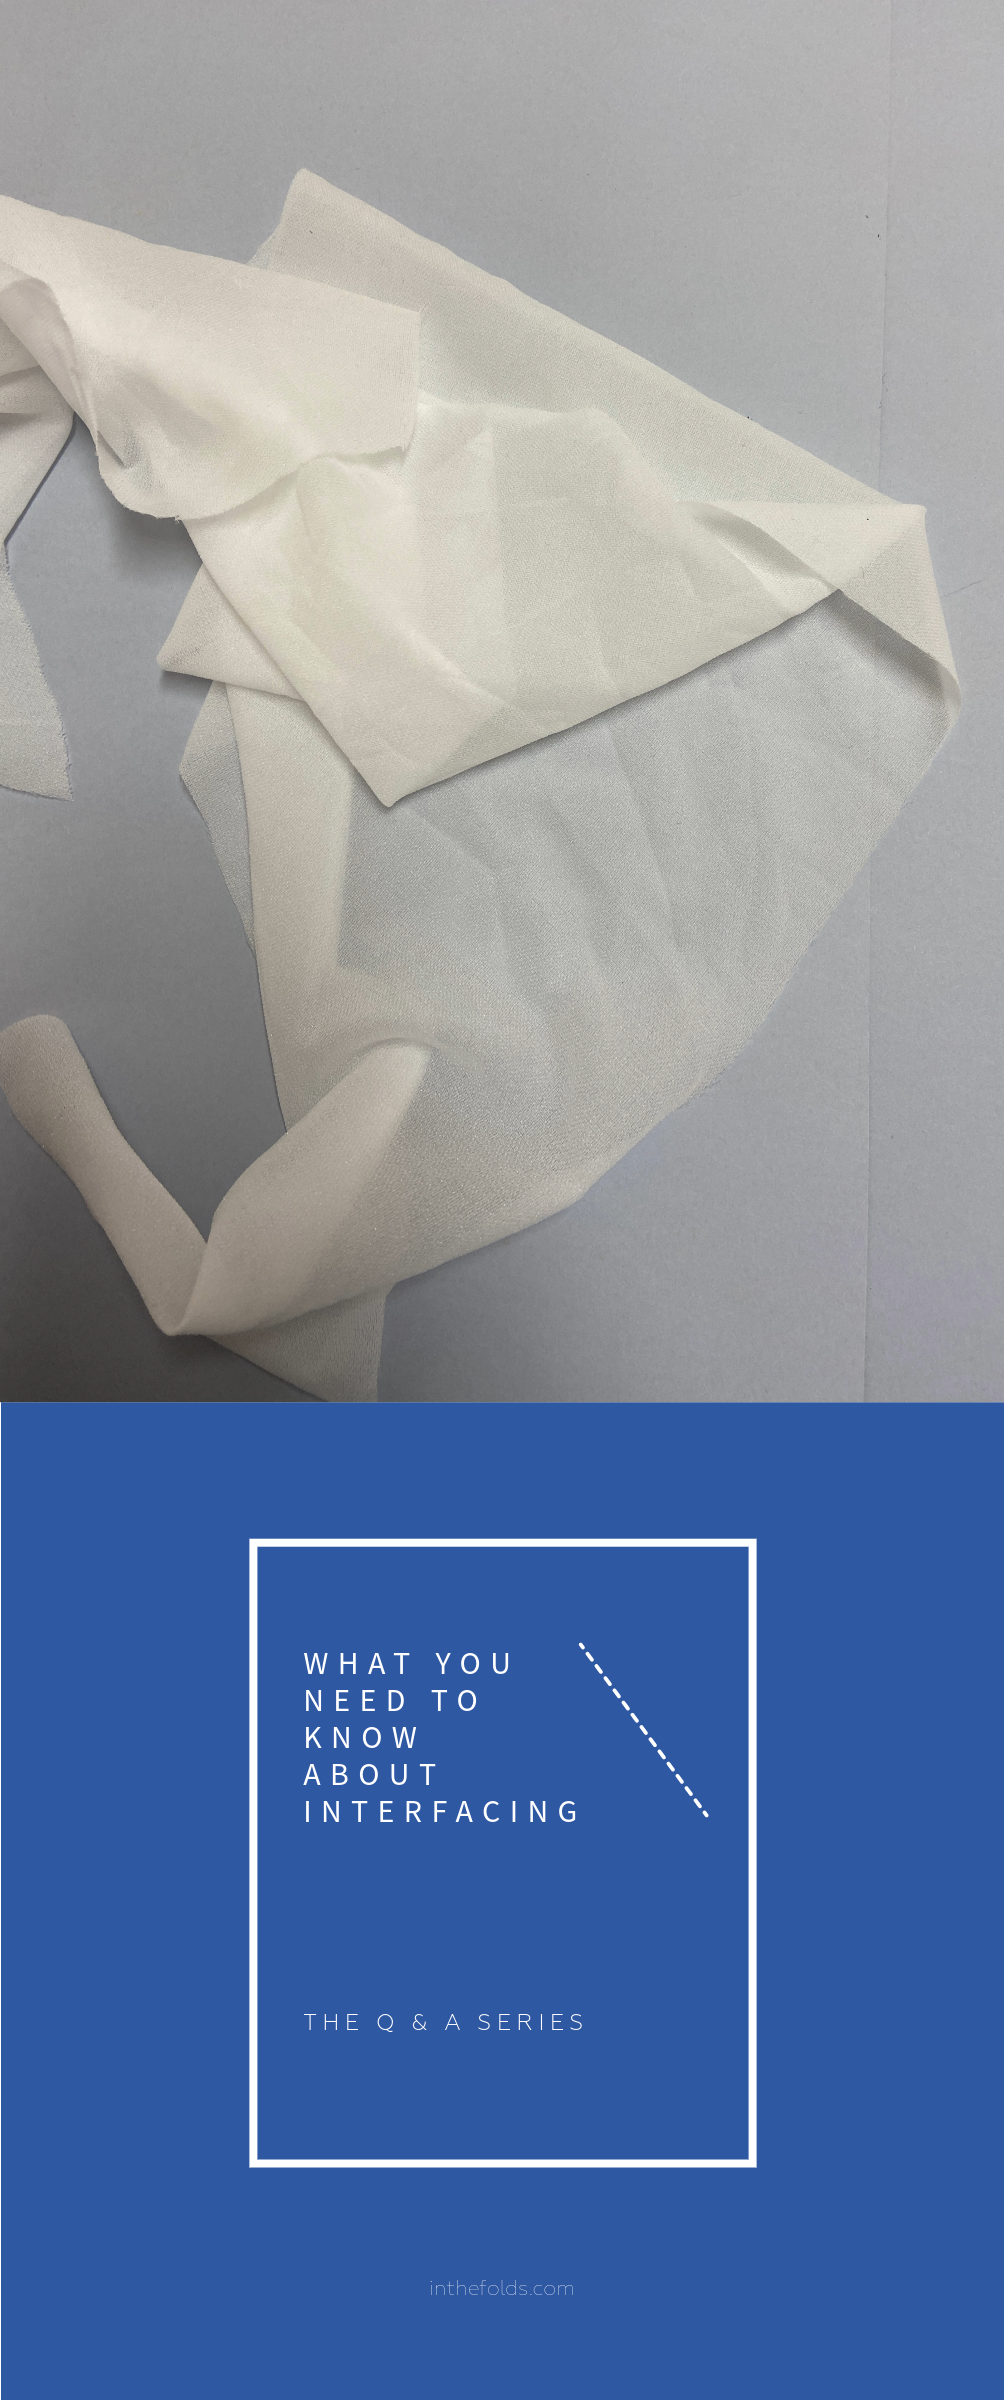
WHAT IS INTERFACING?

Interfacing is an additional layer that is applied to fabric to create structure in a garment. It is also used to ensure certain areas of a garment hold their shape or can support a particular part of a garment. Finally, it can be used to reinforce high stress areas of a garment (for example, buttons and buttonholes). 

Interfacing is applied to the wrong side of the garment so is not visible once the garment is assembled. The most common parts of a garment to use interfacing are: collars, cuffs, button plackets and waistbands. But, it may also be used on facings or around pocket openings for extra support or reinforcement.

TYPES OF INTERFACING

There is a wide range of interfacing available, but generally there are two main types of interfacing that you would be aware of.

Iron-on (or fusible) interfacing

This has a thin layer of glue on one side and needs to be bonded with the fabric using an iron or fusing press.

Most garment makers would predominantly use fusible interfacing, however there are some applications where it isn’t appropriate, such as:

  • Fabric that can’t be ironed, such as sequins, anything with a nap (velvet or fur), vinyls or metallic fibres.

  • Very sheer fabrics

  • Anything with a loose or open weave (eg. mesh, lace)

  • Fabrics that are heavily textured as it may not bond well.

Sew-in (or non-fusible) interfacing 

This type of interfacing is not bonded to the fabric, rather it is attached by sewing it to the fabric. It is most commonly used when you are using a fabric that cannot be pressed or has a texture that you would like to avoid pressing. Fabrics, such as stable cotton, can be used as sew-in interfacing and is something you can also experiment with!

Within these two main types, interfacing can be further categorised by the way it’s made:

Non-woven interfacing

Made by bonding the fibres together, non-woven interfacing has no grain and can be cut in any direction without fraying which makes it very easy to use. However, it can be quite delicate and tear easily, yet at the same time it can be quite stiff with a paper-like quality. For this reason, we believe it is better suited to craft projects and bag making.

If you’ve purchased interfacing before, it’s likely that you’ve purchased non-woven as it’s readily available and tends to be one of the cheaper options. 

Woven interfacing 

Constructed in the same way as woven fabric, woven interfacing behaves and moves like woven fabric, so it’s the best choice when working with woven fabric as it is less likely to affect its drape. 

Like woven fabric, woven interfacing has a grainline so pieces need to be cut on grain (in relation to the grainline on the pattern). The benefit of woven interfacing is that it is able to move with the fabric, and is less likely to affect the drape and fall of a fabric.

Knit interfacing

Knit interfacing has some crosswise stretch and minimal lengthwise stretch so that it can add stability and support to knit fabric. Knit interfacing can be used on woven fabrics and can be a good option on lightweight fabrics that naturally stretch and have drape.

INTERFACING WEIGHTS

Interfacing also comes in multiple weights - light, medium and heavy. When choosing the weight of the interfacing, it is a good idea to select an interfacing that is the same weight or lighter than the fabric you are using. Lightweight woven interfacing will be most commonly used for garment sewing.

EXPERIMENTING WITH INTERFACING

Before selecting interfacing for a project, it is a good idea to experiment with different options on the fabric you plan on using. 

We recommend you cut swatches of fabric (approximately 10cm x 10cm / 4in x 4in) and fuse the interfacing to the wrong side. Label each one with the interfacing you used. To compare, pin them to a noticeboard or onto a mannequin on one corner so you can see how they drape. Fold each piece in half and feel how it feels when it is doubled, as this is how it will feel on a collar or cuff (if you choose to fuse both sides of the collar or cuff).

TIPS FOR WORKING WITH IRON-ON INTERFACING

There is a lot of conflicting information out there about how to apply interfacing. Don’t use steam. Use LOTS of steam! Use a damp cloth. Don’t use a damp cloth…

Thankfully, there are places we can go to benefit from other people’s experience, like this interfacing focused Sewing Pattern Review thread

We recommend that you start out following the manufacturer’s instructions, and then trouble-shoot if you’re still having problems. 

Here’s a few tips!

  1. Use high quality interfacing. The difference is noticeable!

  2. For light coloured fabrics, use white interfacing. For dark coloured fabrics, use black or grey interfacing. It's handy to have some of each colour in your stash.

  3. Prewash your fabric so that it doesn’t shrink when you fuse the interfacing with heat. This may be what is causing your interfacing to bubble as the fabric will shrink but the interfacing won’t.

  4. Cover your ironing board with a large piece of scrap fabric or calico. This will protect it from the interfacing adhesive.

  5. If piece fusing, sandwich the interfacing between two layers of paper and then cut out the pattern piece/s. This will ensure the interfacing does not stretch and the pieces are cut accurately.

  6. Before fusing your interfacing, always check which is the right and wrong side. The right side is smooth and the wrong side (the side with the glue that attaches to your fabric) is bumpy. If you look closely you can see the small glue dots on the wrong side.

  7. Cut the interfacing slightly smaller than the piece of fabric you are interfacing. This will prevent the interfacing going beyond the edges and ending up on your ironing board (or scrap fabric).

  8. Start with your iron on a low setting and work your way up until the interfacing fuses to the fabric without burning.

  9. Place the iron down onto the interfacing without dragging across the interfacing. Press to fuse one section and then lift the iron and put it back down on the next section. This will prevent the interfacing from stretching or moving into the incorrect position.

  10. When the interfacing is fused to the fabric, turn the fabric to the right side and press (you can drag the iron across once the interfacing is attached).

Side note: We know that in the home sewing industry it is often recommended to use a damp press cloth when fusing interfacing to fabric. This approach is not used in the professional garment sewing industry and it isn’t the approach we use ourselves, but we recommend following the manufacturer’s instructions if that is what is advised.

I hope this helps, Jamie!

Happy sewing,

Emily


RESOURCES MENTIONED IN THIS ISSUE

  • The Sewing Shirts Skills Kit is the first part of our Sewing Shirts project series, which is available through our Curated by ITF subscription. Past issues are now available for purchase by current subscribers. More information can be found here.


For more issues of the Q & A series, you can check out the archive here.


WHAT YOU’VE BEEN MAKING


MORE POSTS IN THE SERIES