When I first started planning our Sewing Linings Series (which kicked off this month with part one!), I decided I wanted to cover a lot of ground. As I delved into exploring everything to do with linings, I realised there were three main areas that I felt were important to cover - lining jackets and coats, linings skirts, and lining tops and dresses with and without sleeves.
And then I realised it was going to be a lot of work. Suddenly a project that I had envisaged as a one month project became a two month project - one month to work on drafting linings and one month to work on sewing linings. And even then it was still A LOT of content to create!
WHY WORK ON DESIGNS IN HALF SCALE?
I started thinking it might be a good idea to work in half scale to create the patterns and the sewn samples. This way I could save time on assembling patterns, cutting samples, drafting and sewing. As my patterns are already digitised, it’s easy enough to jump into Adobe Illustrator and transform them to half scale. I was overloaded with work at the time and asked a lovely friend, Melanie, who is also a patternmaker to get started on the project by drafting the Ormond coat lining patterns.

In terms of drafting in half-scale, the process is simple enough. If working with measurements or seam allowances, you simply halve the measurement for the smaller pattern. For example, if adding a 1.2cm (1/2in) seam allowance, this becomes 6mm (1/4in) in half scale.
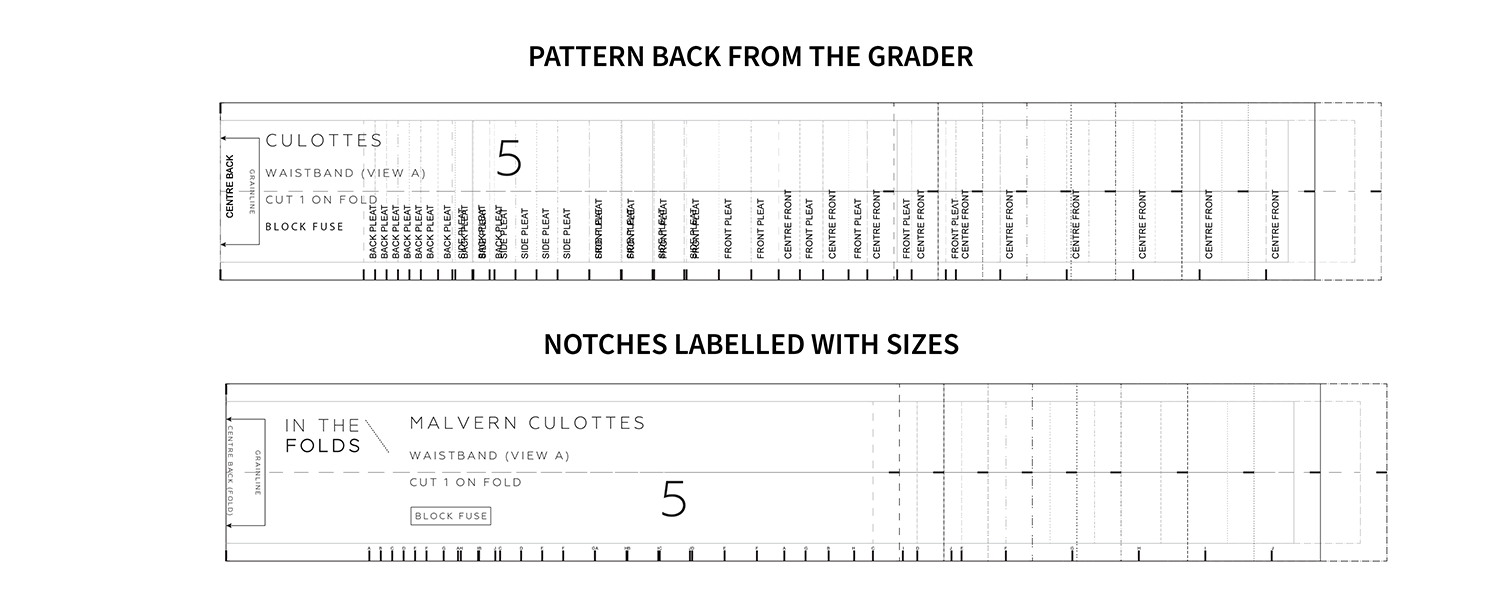
Drafting in half-scale to be used as a reference for creating tutorials was great. If Melanie had been drafting in full scale it would have been difficult to photograph the pattern pieces and show all the details. Especially for the longer version of the Ormond coat that has quite large pieces. In half scale I could very easily see what was happening on the pattern and create the digital illustrations.
The next phase of the process was to make a sample, photograph the steps and take notes as we went. The notes were then sent to our illustrator who created all the illustrations for our sewing instruction booklets. When it came to sewing, the early stages were easy enough, and again, it was easy to take photos of all the pieces, a task which can be difficult in full scale. I often climb up onto a step stool to try to fit in as much of the sample in the shot.
However, as the process went on it got more and more difficult to sew with the small seam allowances. A 6mm (1/4in) seam allowance is only 2mm (1/8in) in half scale, which is almost impossible to sew! When I checked in on Melanie at this stage she said she would have preferred to sample in full scale as it would have been a lot easier and potentially taken the same amount of time as things would have come together more smoothly, but at this point it was too late and the patterns were already drafted in half scale.

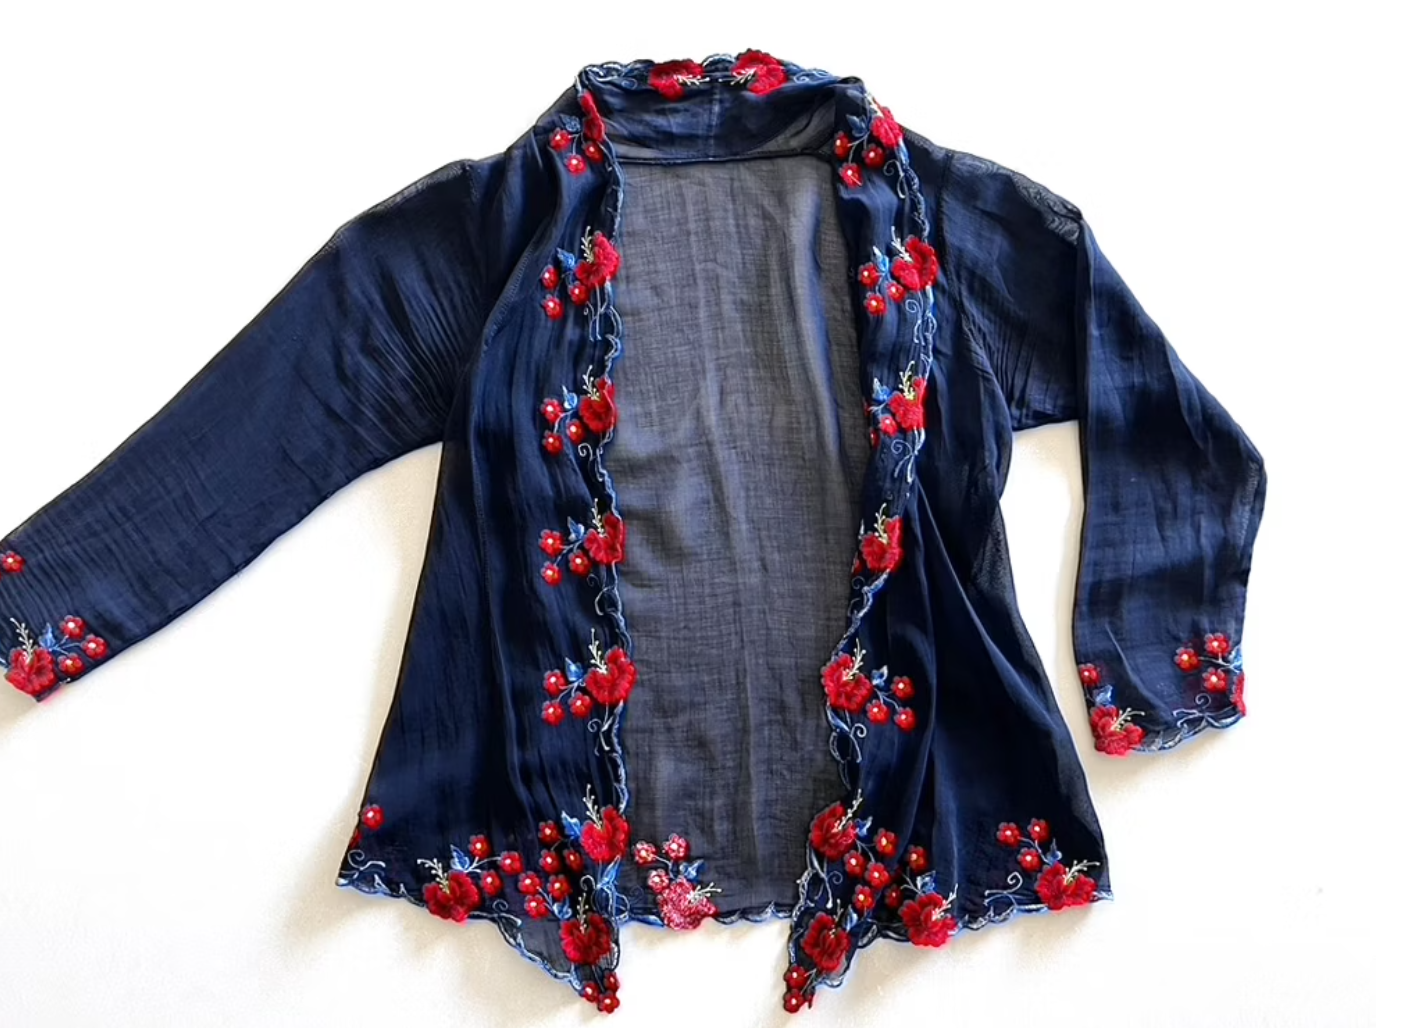
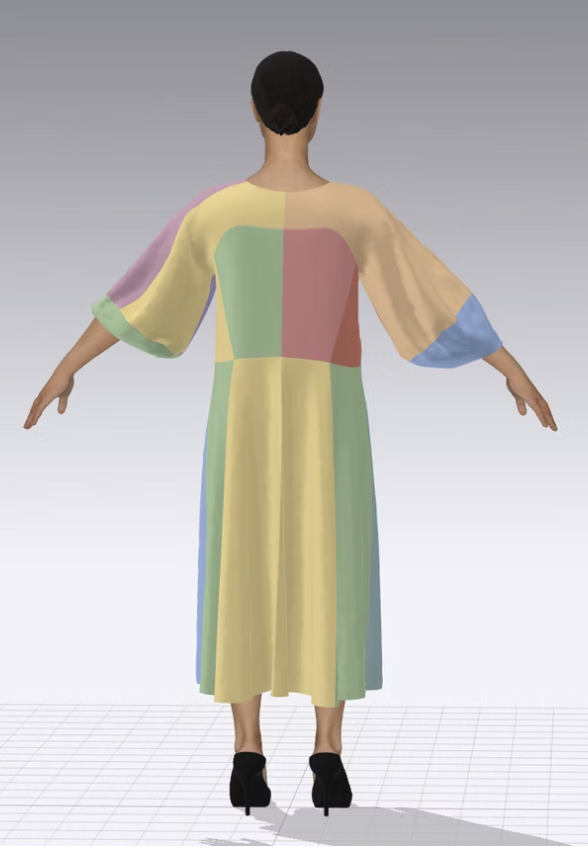
Thankfully, Melanie has a little half scale mannequin, which not only meant we could see the little tiny jackets on a body (how cute!) but also catch any problems as we went. As you can see in the photo above of the Ormond coat, when the coat is worn open the point where the lining joins to the facing is visible. By catching this on the sample we were able to update the instructions to include a section on altering the facing so this would not happen.
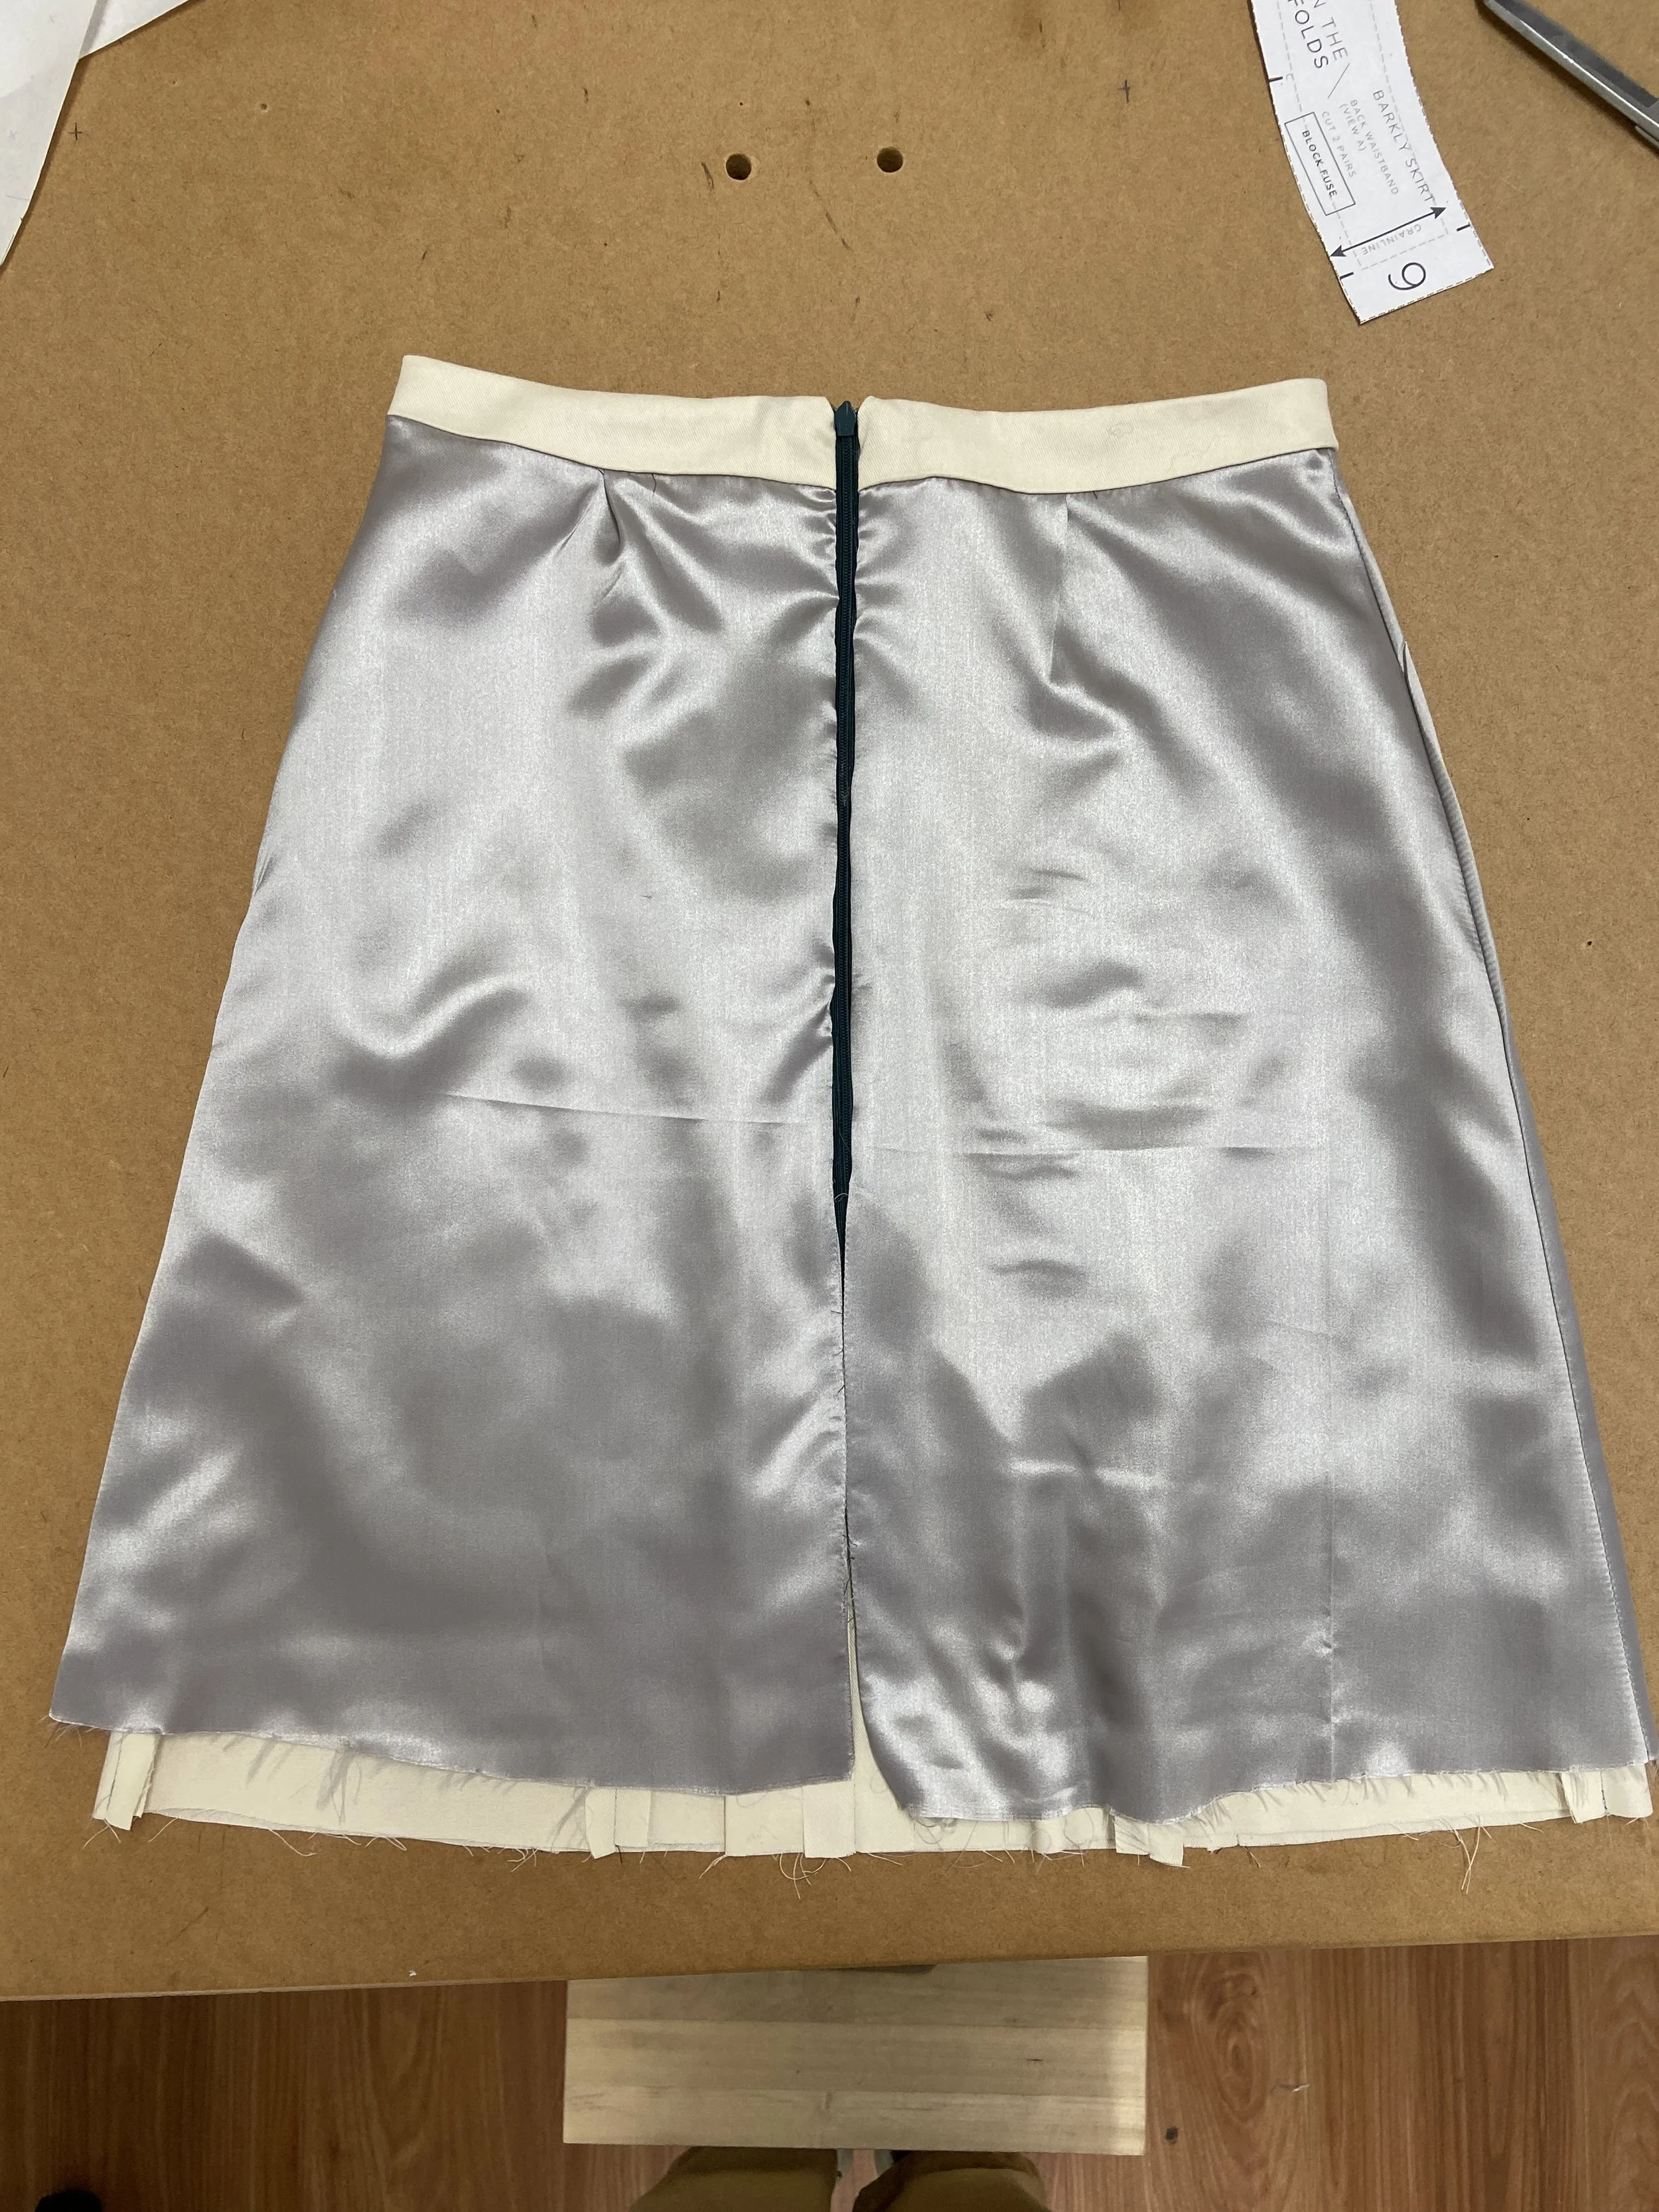
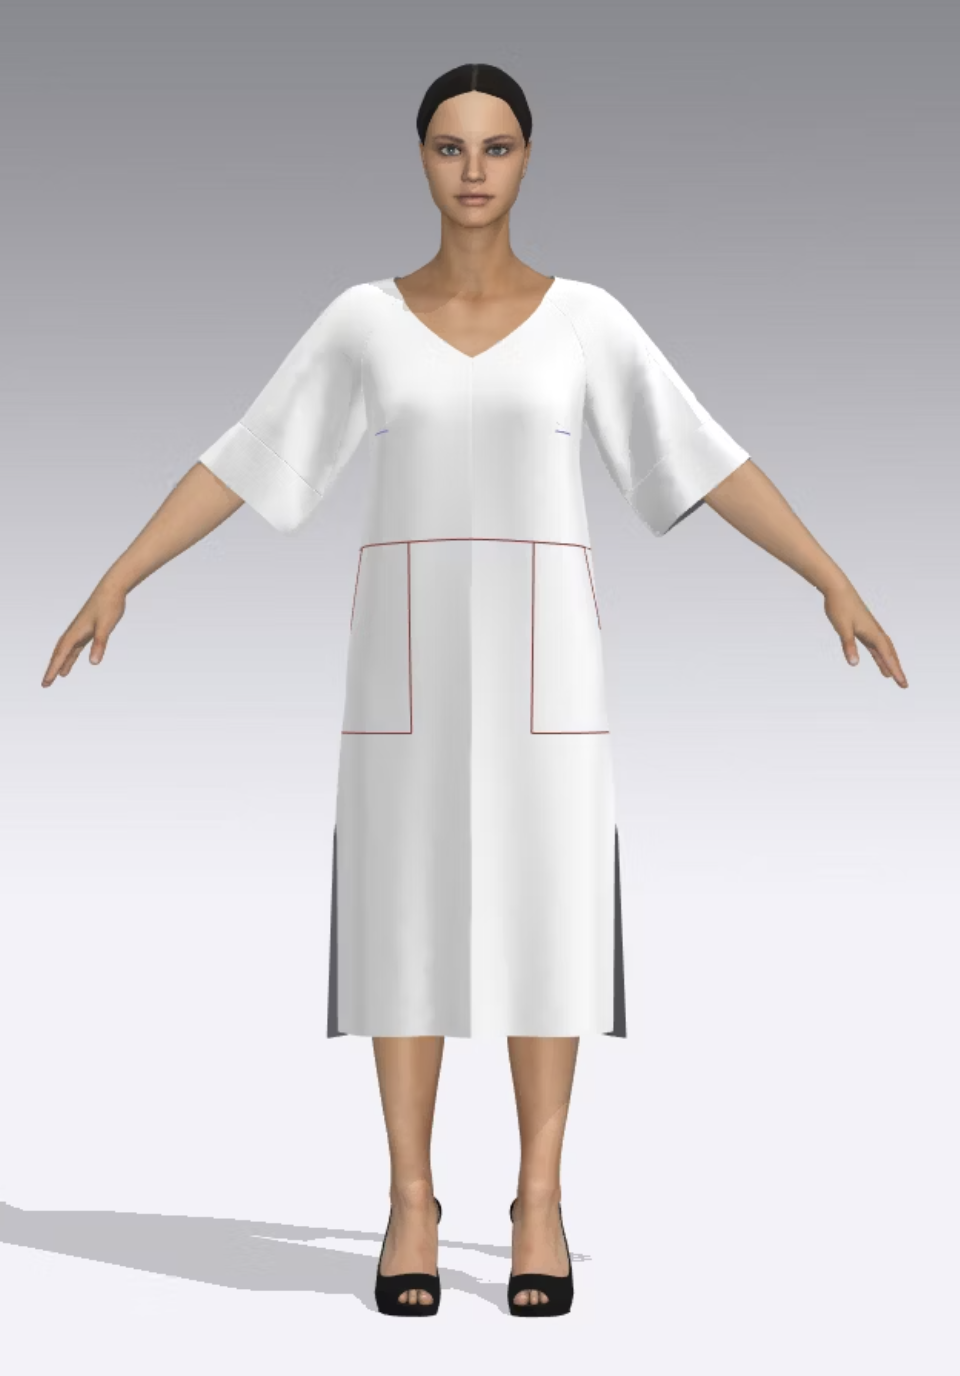
When it was my turn to work on content (I did the Barkly skirt, Stow dress and Cartwright dress) I decided to stick with half scale (even though Melanie had warned me how tricky it was!). I was short on time and also had some figuring out to do while sewing the samples so thought it would be helpful. I could check things easily enough and if I needed or wanted to take a different approach I could easily re-cut the pieces and start again.
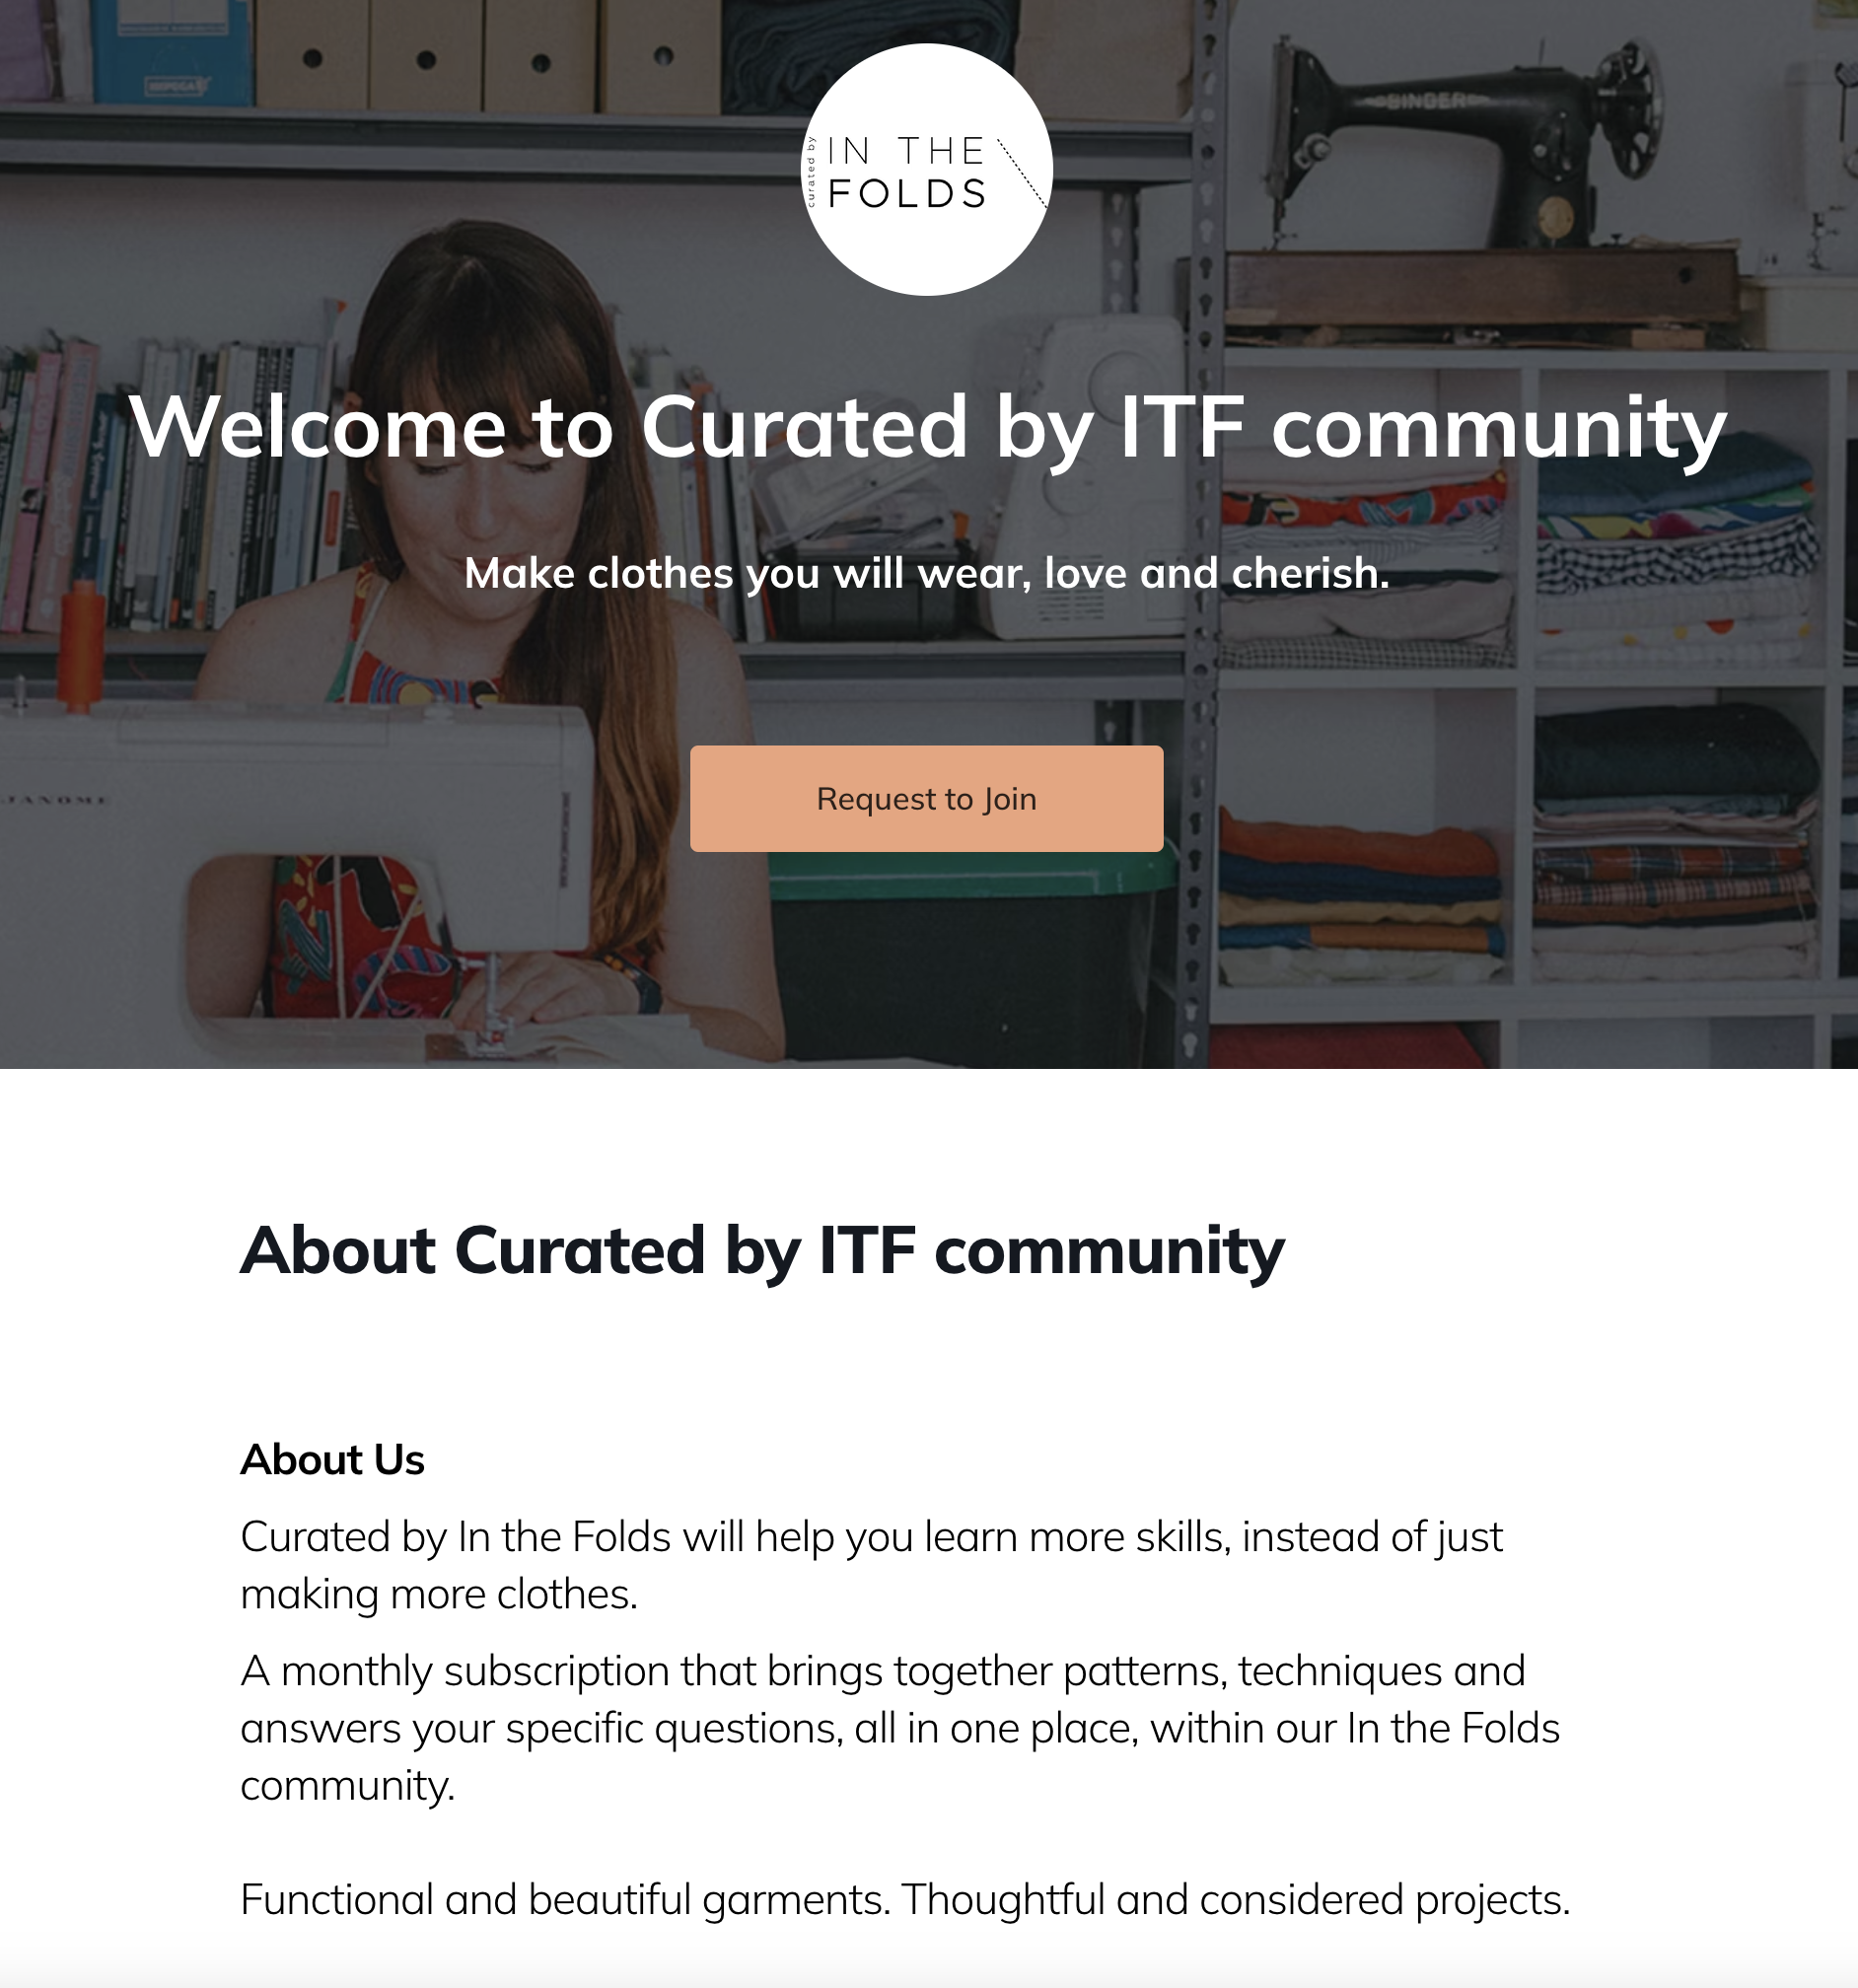
build your sewing skills with a
curated by itf membership


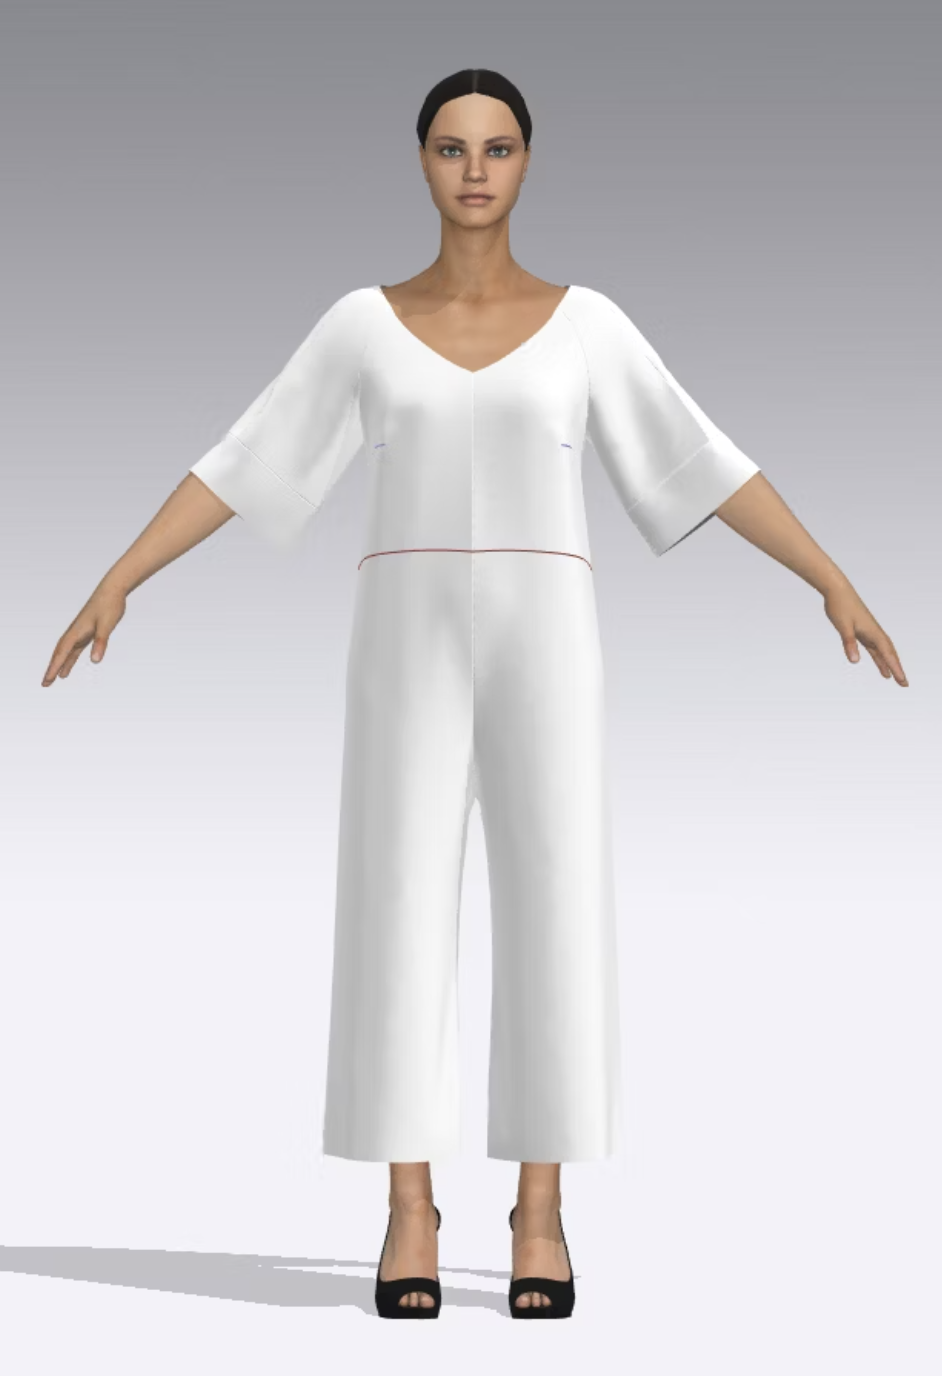
For View B (the version with the side split), I wasn’t sure what the best way was to cleanly finish the lining at the side split. I made the half scale sample and when I got to this point I realised the lining was sitting much too close to the top of the side opening. By making the sample in half scale, I could quickly cut out another one and work on a different approach to the side split and compare the two.

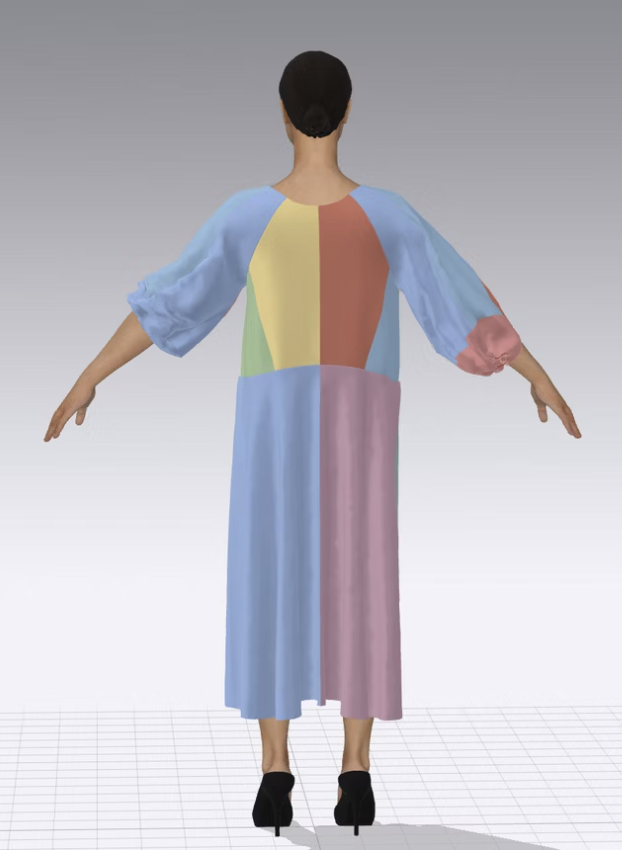
When it was time to make the Stow dress, sewing in half scale did speed things up, but what I hadn’t thought about was how impossible it is to turn out a facing / lining using the burrito method with a very narrow shoulder. It was almost impossible to feed the dress through the shoulder to get a clean finish at the armhole. As these photos are just used to send to our illustrator (who is a patternmaker and has all the skills needed to interpret these photos) I didn’t worry too much about the sample not being finished correctly at the armhole, as I knew in full scale this would be fine.
So would I create project content in half scale again?
It depends.
What I have taken away from this process is that patternmaking in half scale is the best way to ensure all the details are clear in the photos, and I feel it makes the process of creating tutorials easier.
As for the sewn samples, I think this depends on the garment. For more complex garments like the Ormond coat, working in full scale would have been much easier and cut down on frustration. I would also make the Stow dress in full scale if I were to do it again. But the Barkly skirt and Cartwright dress worked a dream in half scale so I’d stick with that
As a sewist, there are some advantages of working in half-scale. If you want to learn a new skill but are not sure you’d use the pattern, then following the tutorial in half scale is a great idea. You’ll learn the skills without having to use all the paper, time and fabric it would normally take to work in full scale. Working in half scale is also handy if you want to try something out but you’re not sure how it’s going to work. I often do this if I am testing out an alteration on a specific pattern and I need to see what will happen to the design lines. Once I’m happy with how it’s working I can do it in full scale and not waste any time or get any nasty surprises.
So what do you think, will you try your next patternmaking project in half scale?
Happy patternmaking!
Emily
WHAT YOU’VE BEEN MAKING…

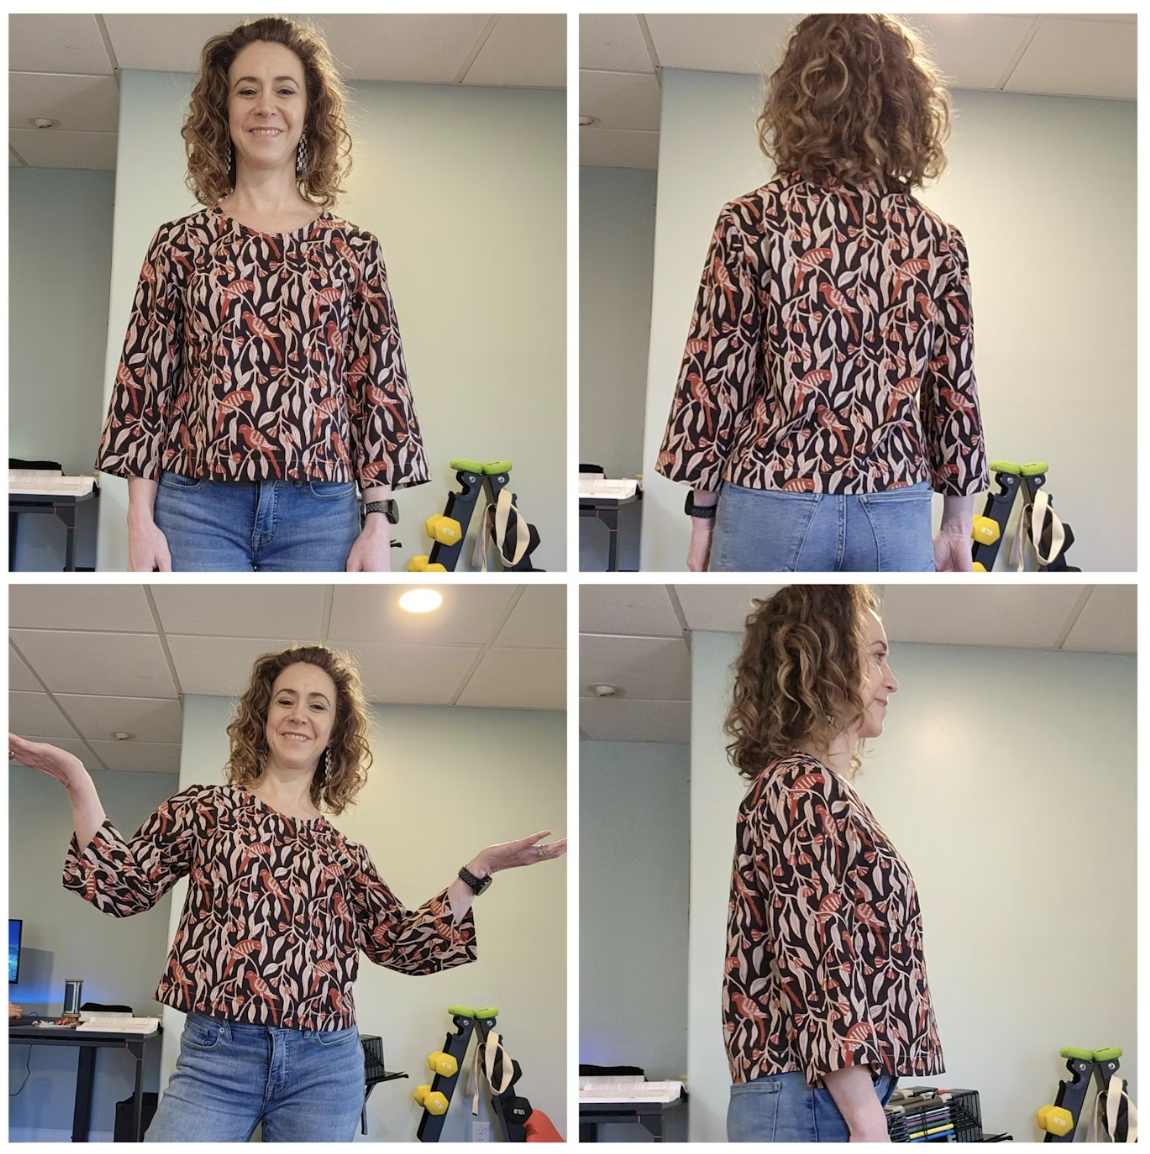
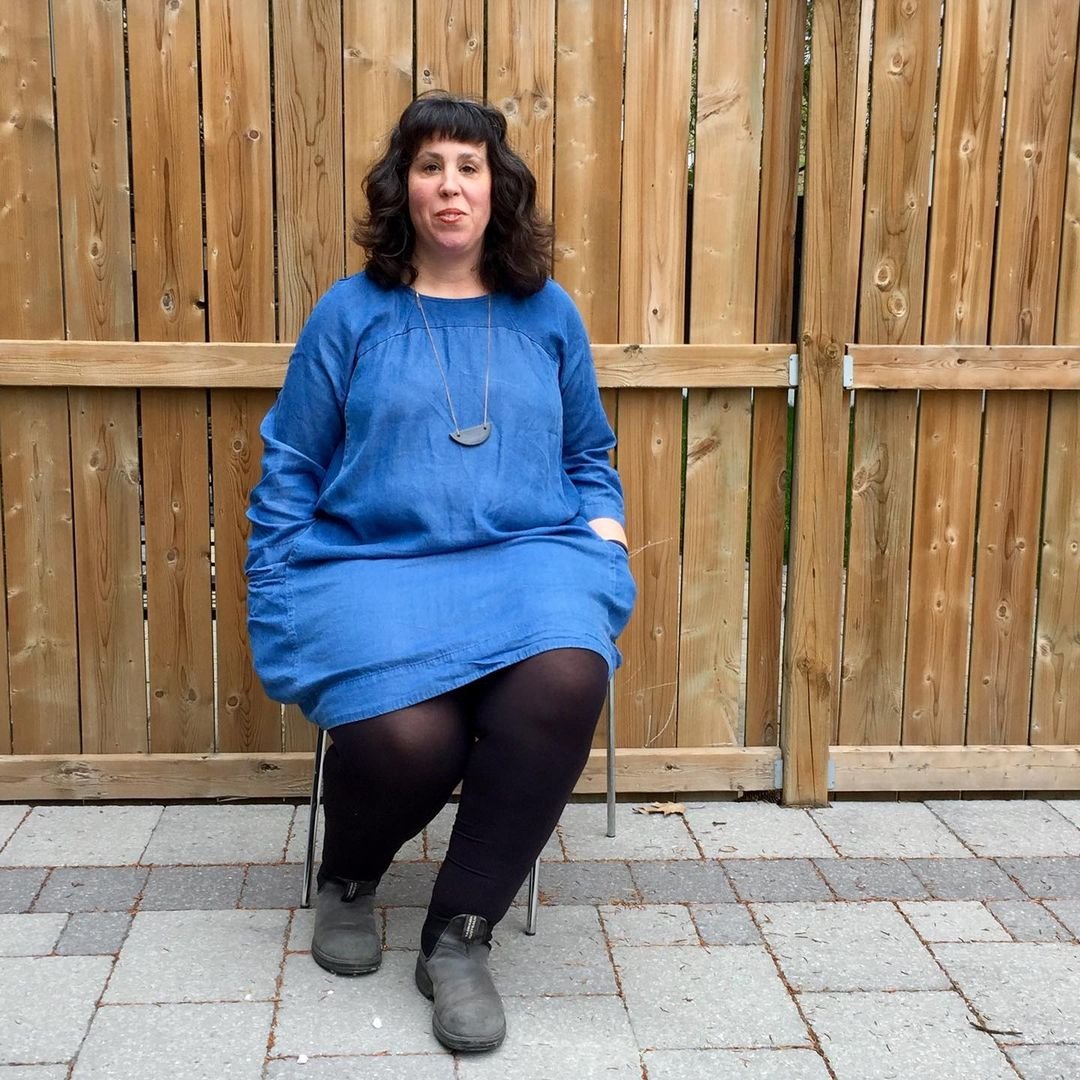
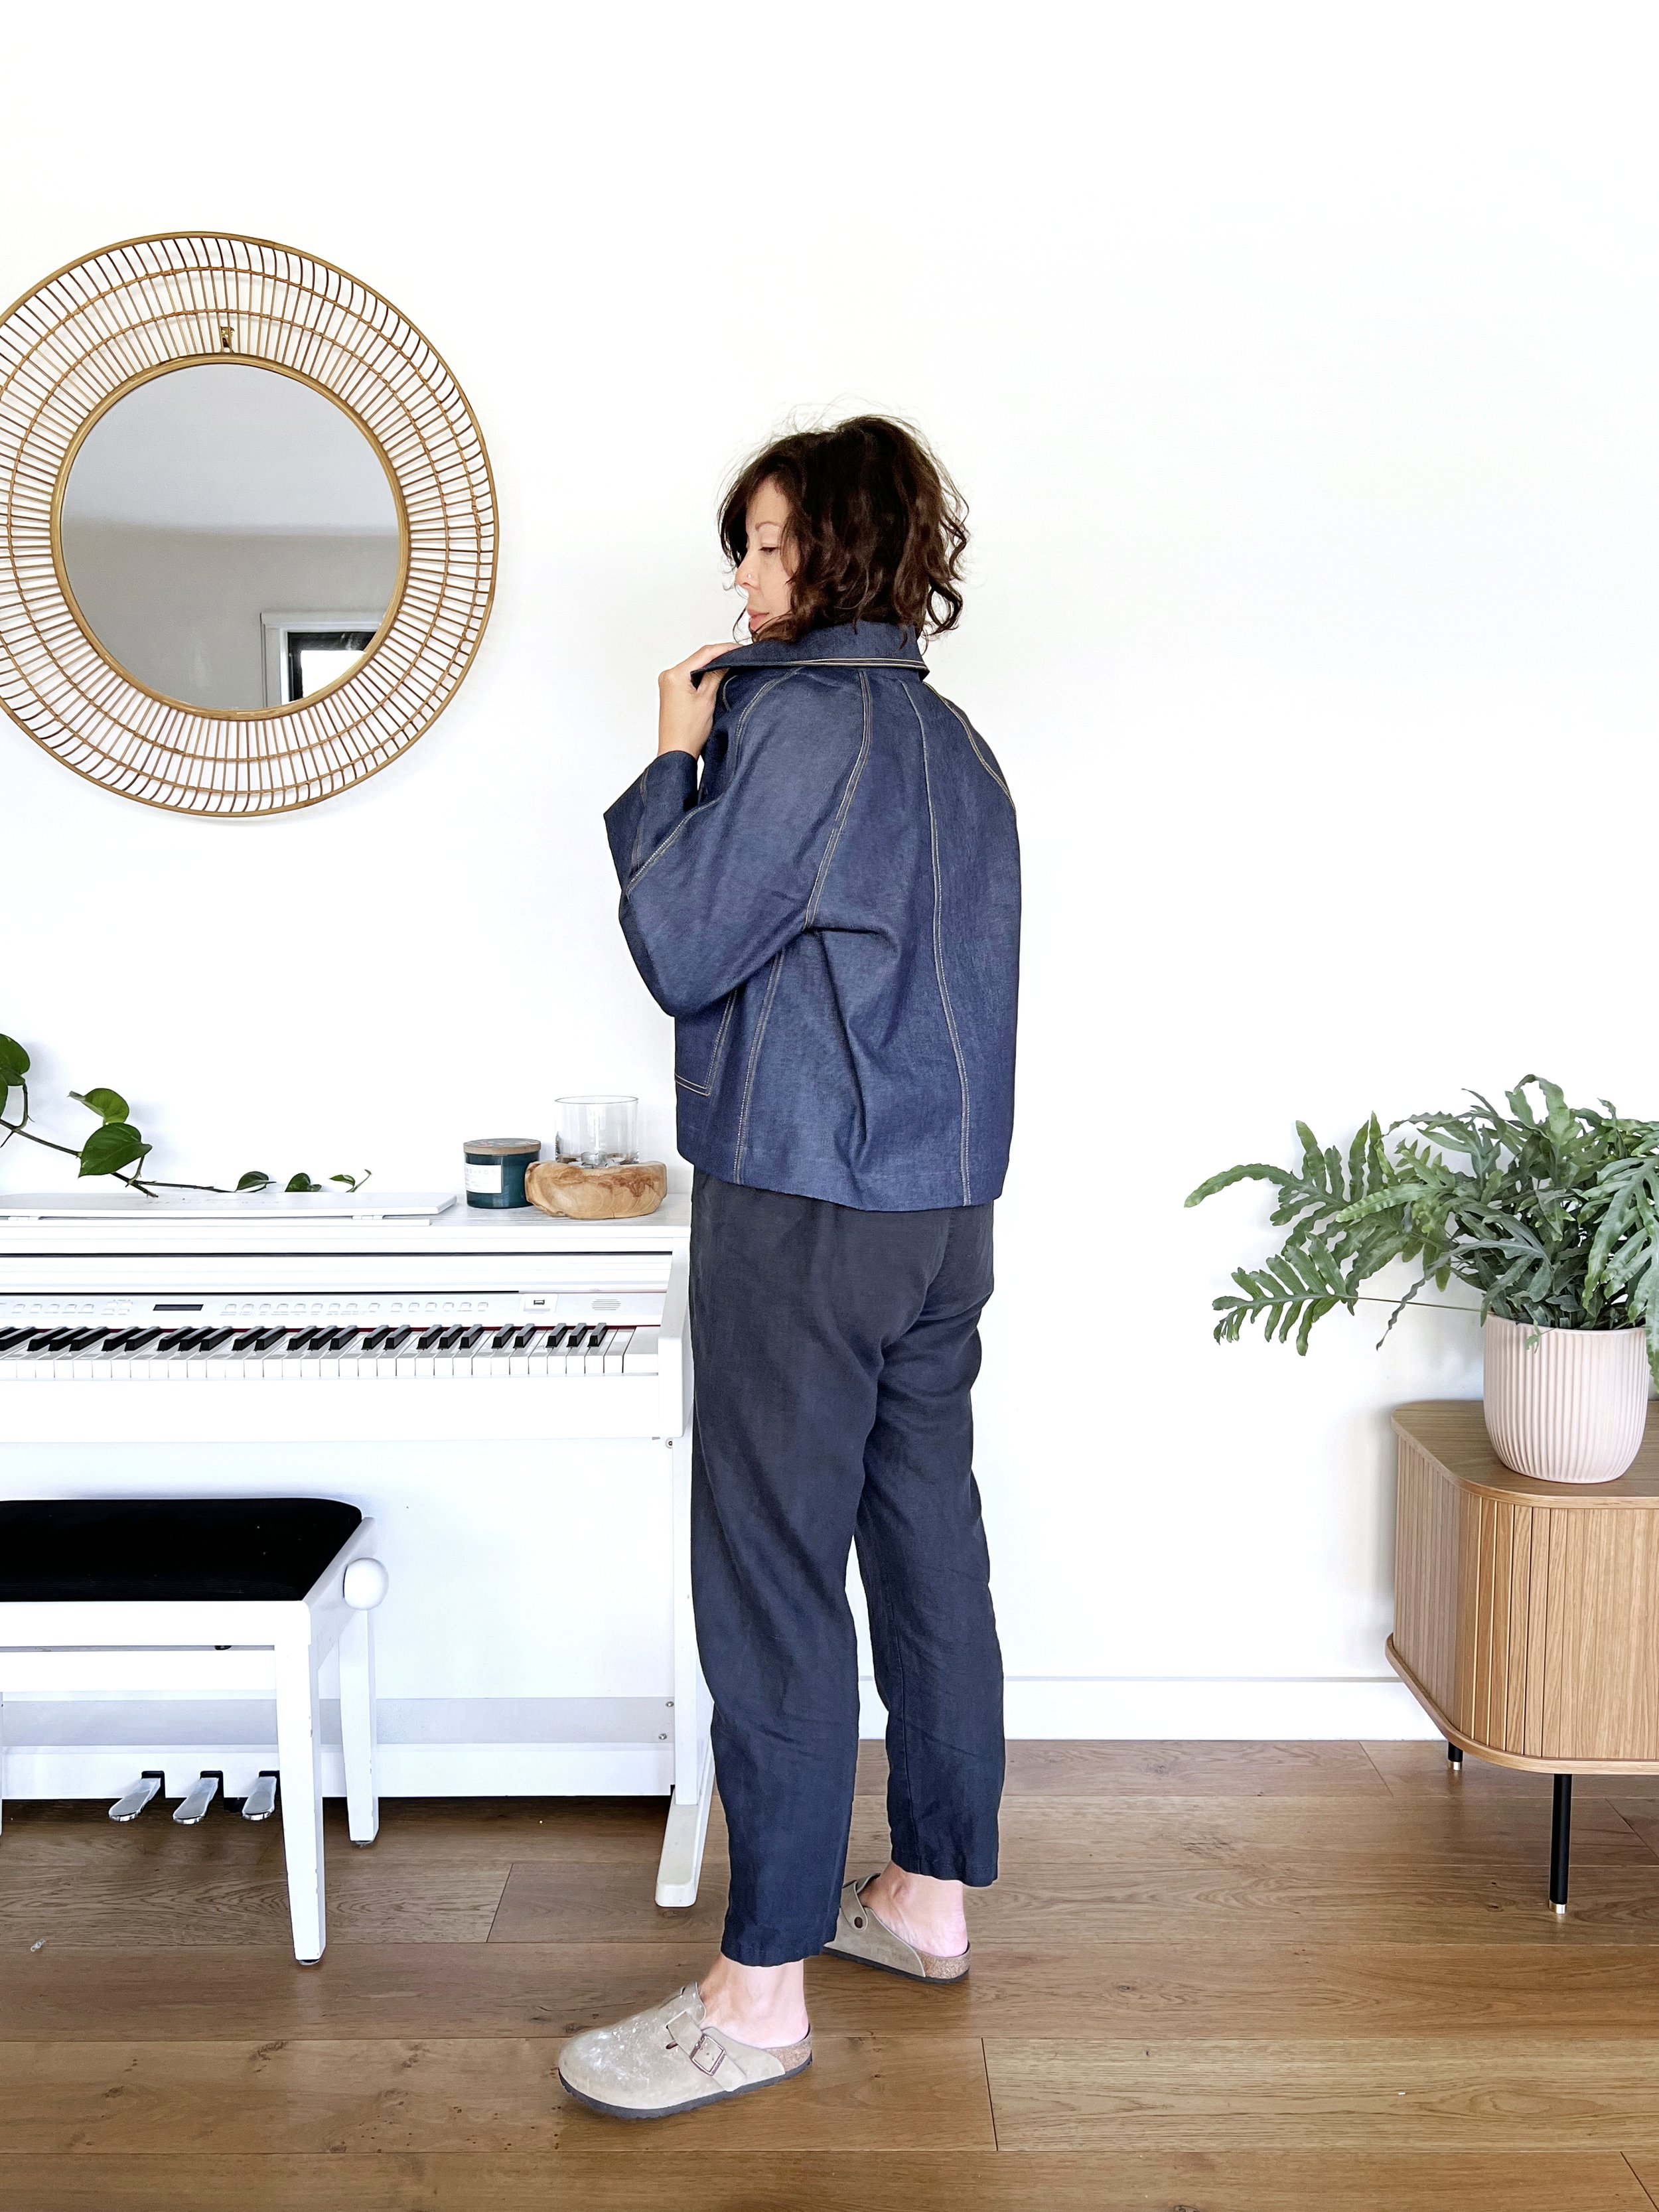
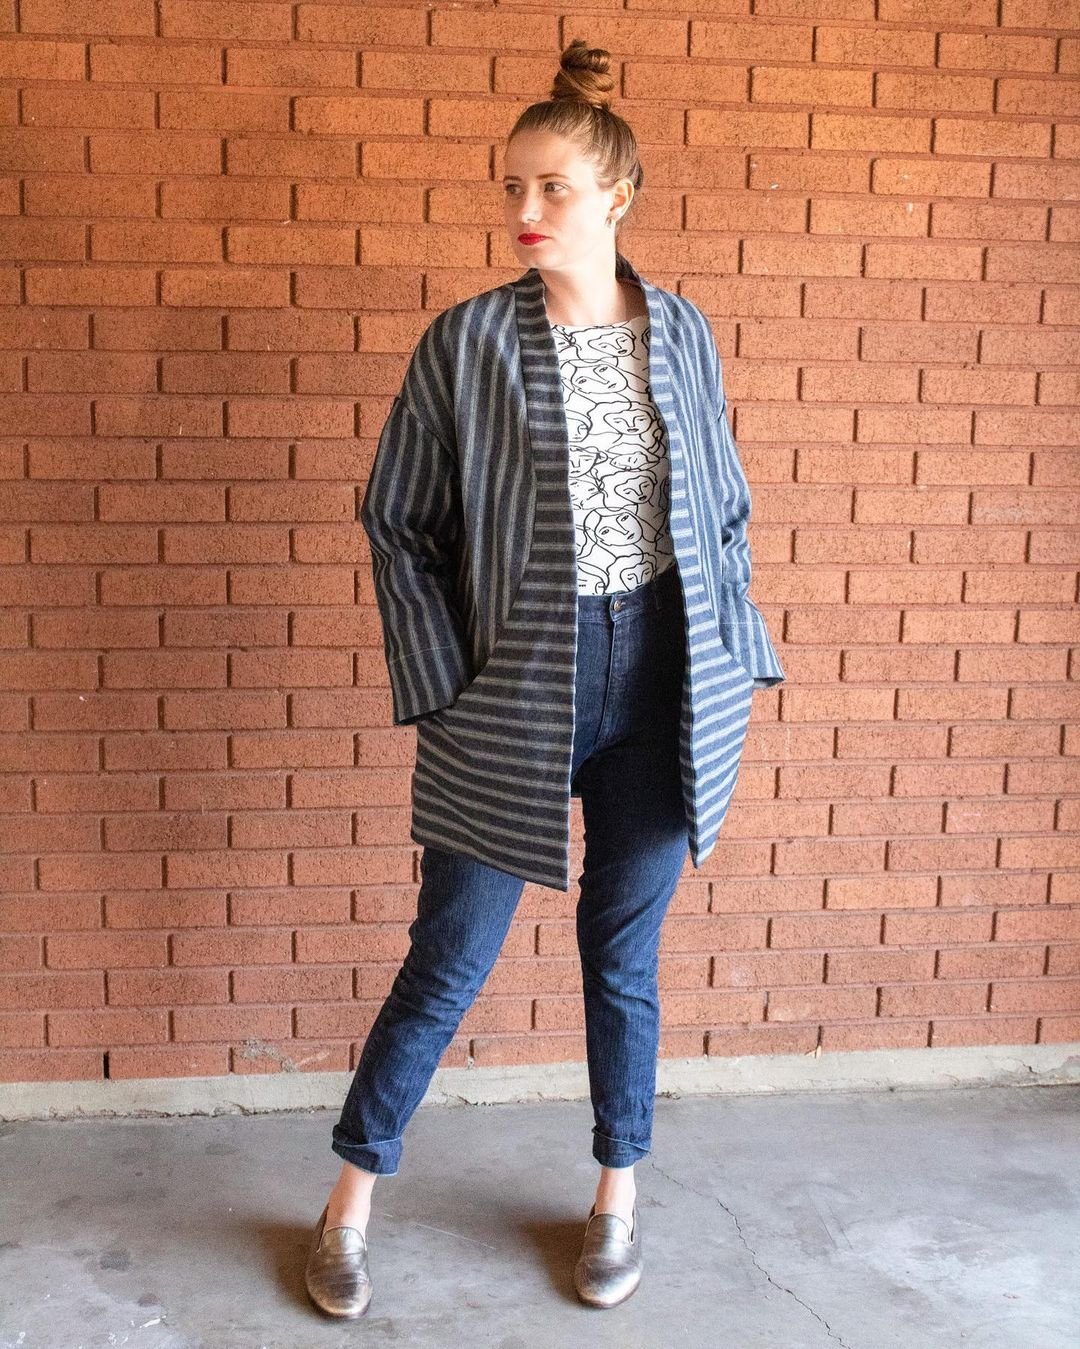
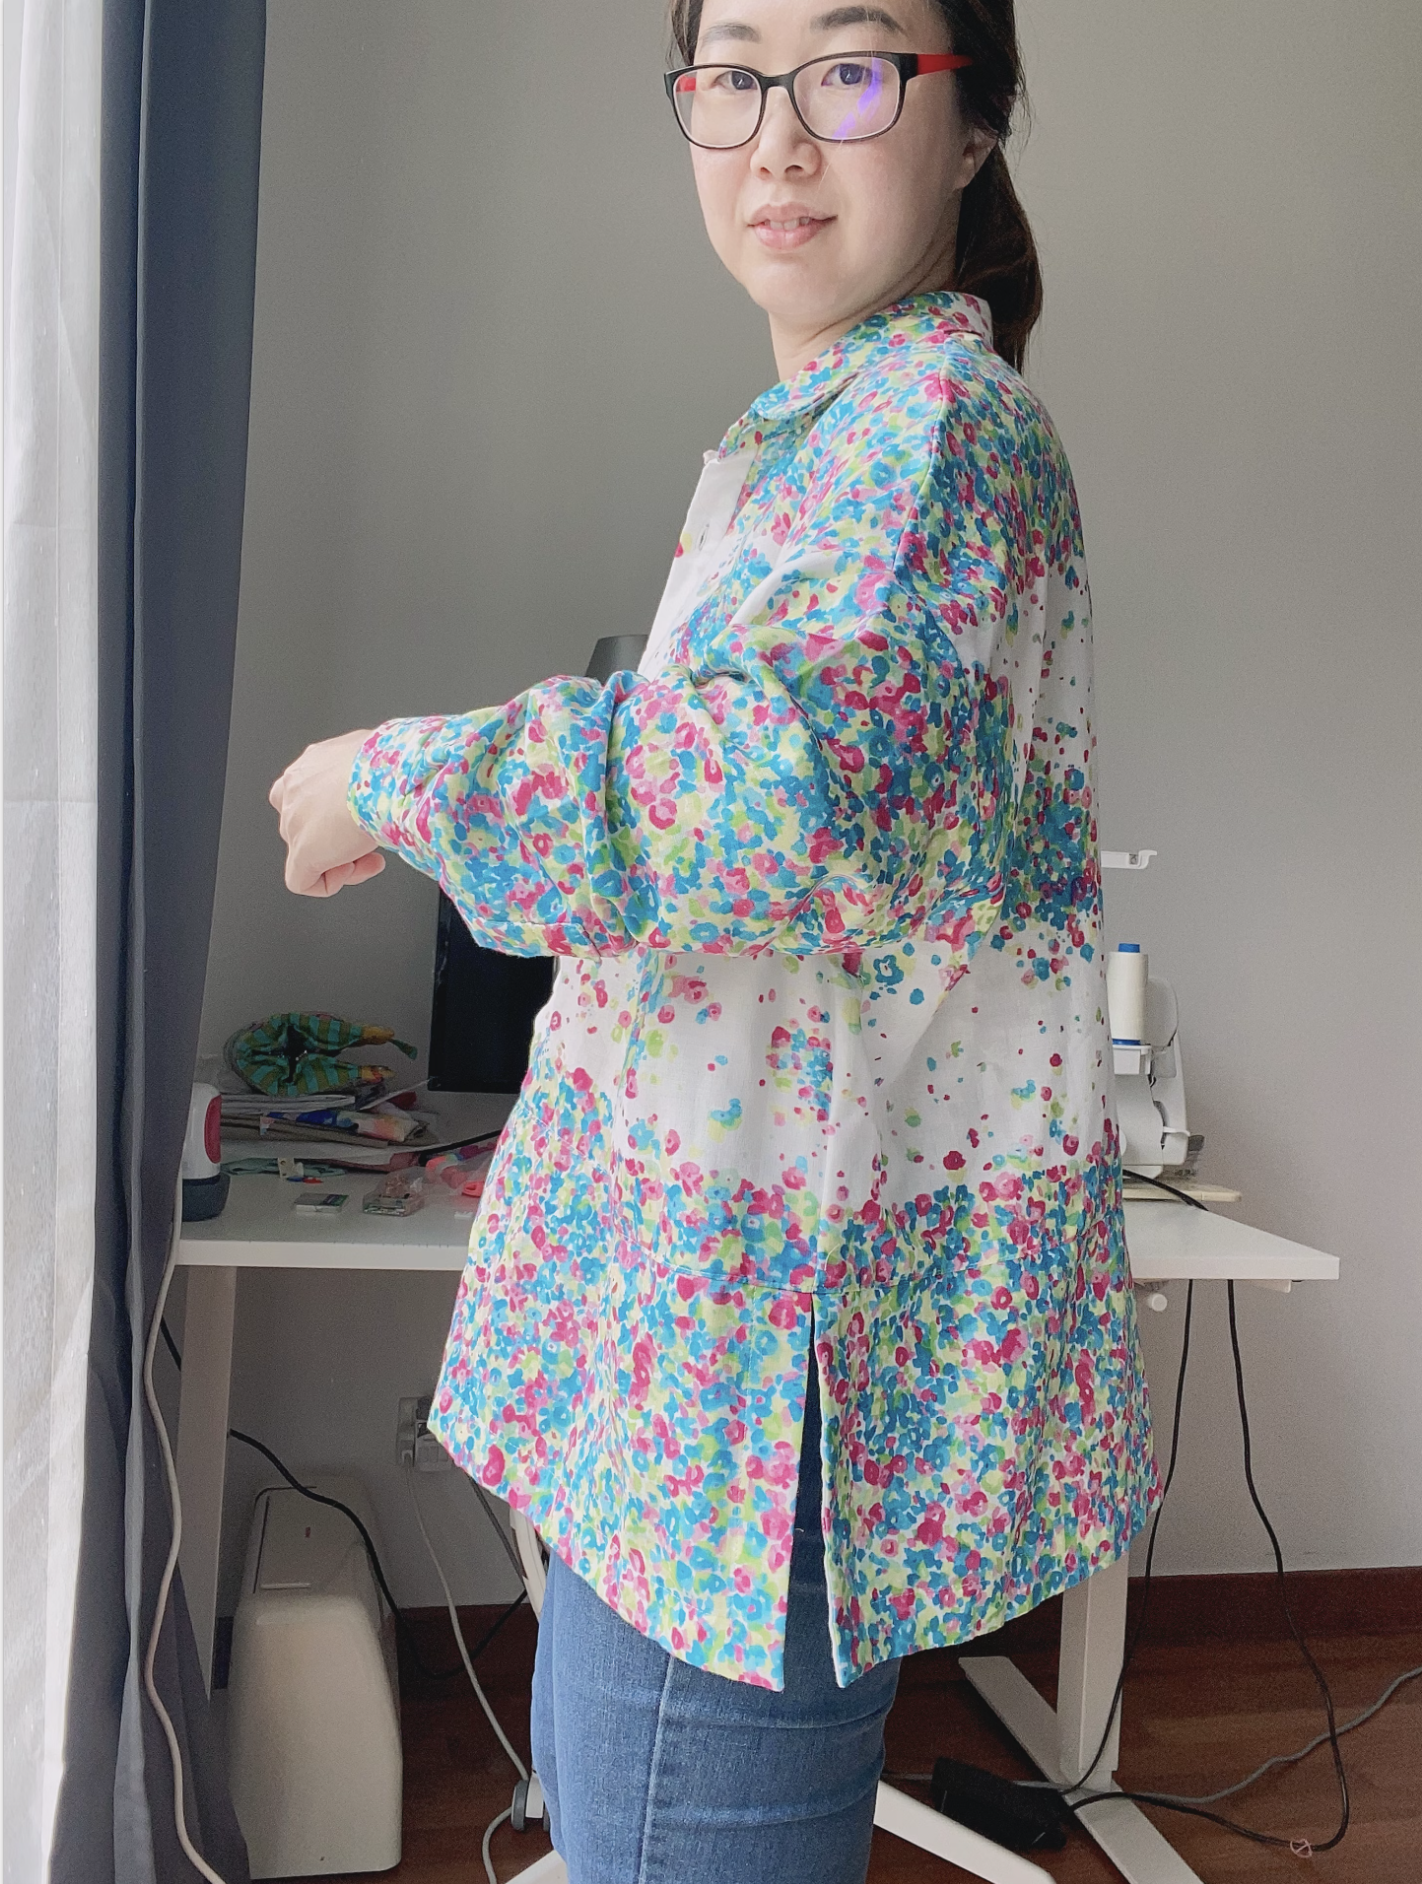
Flynn jacket made by @themindfulsewist

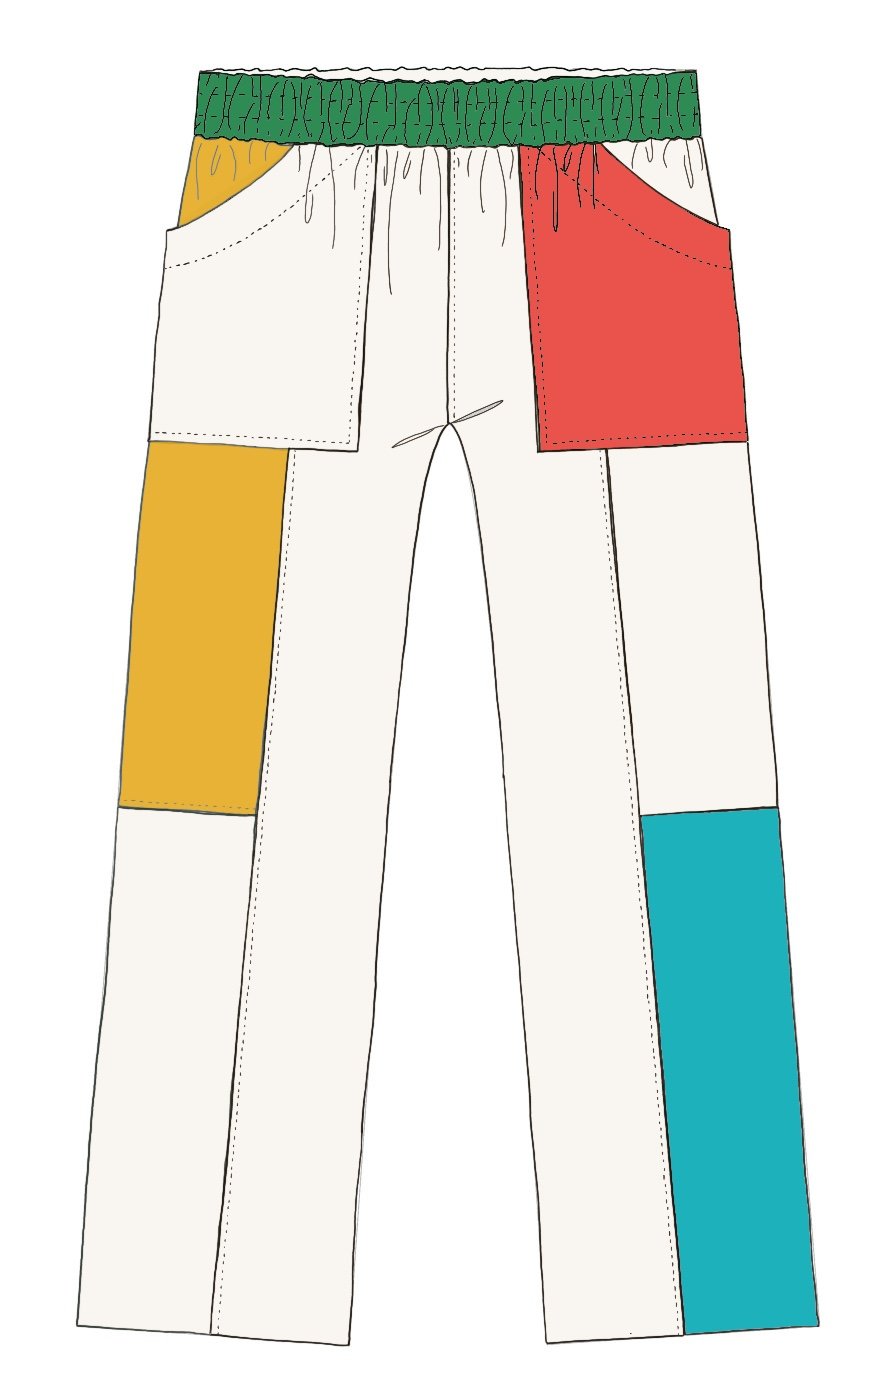
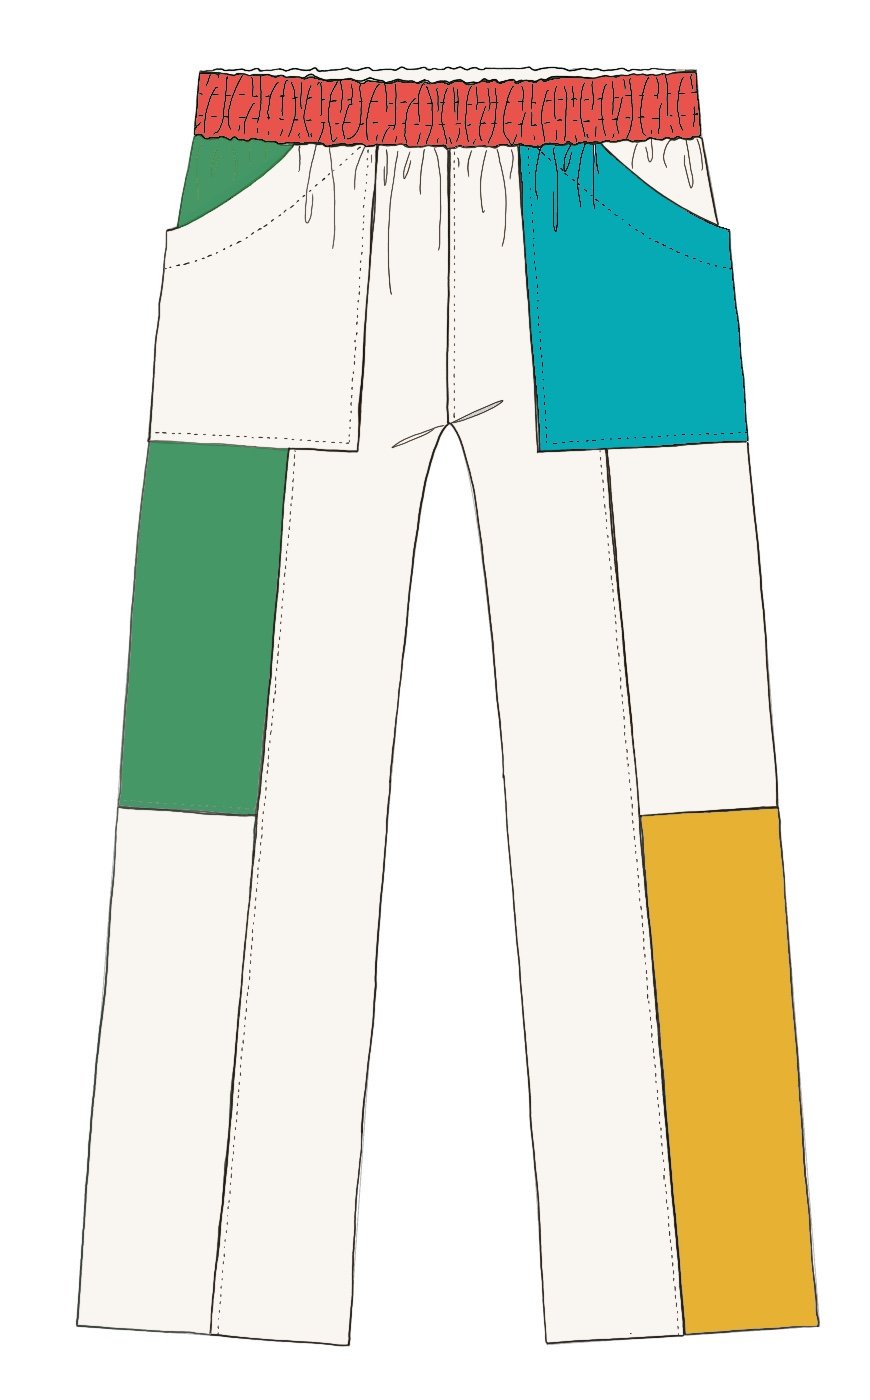
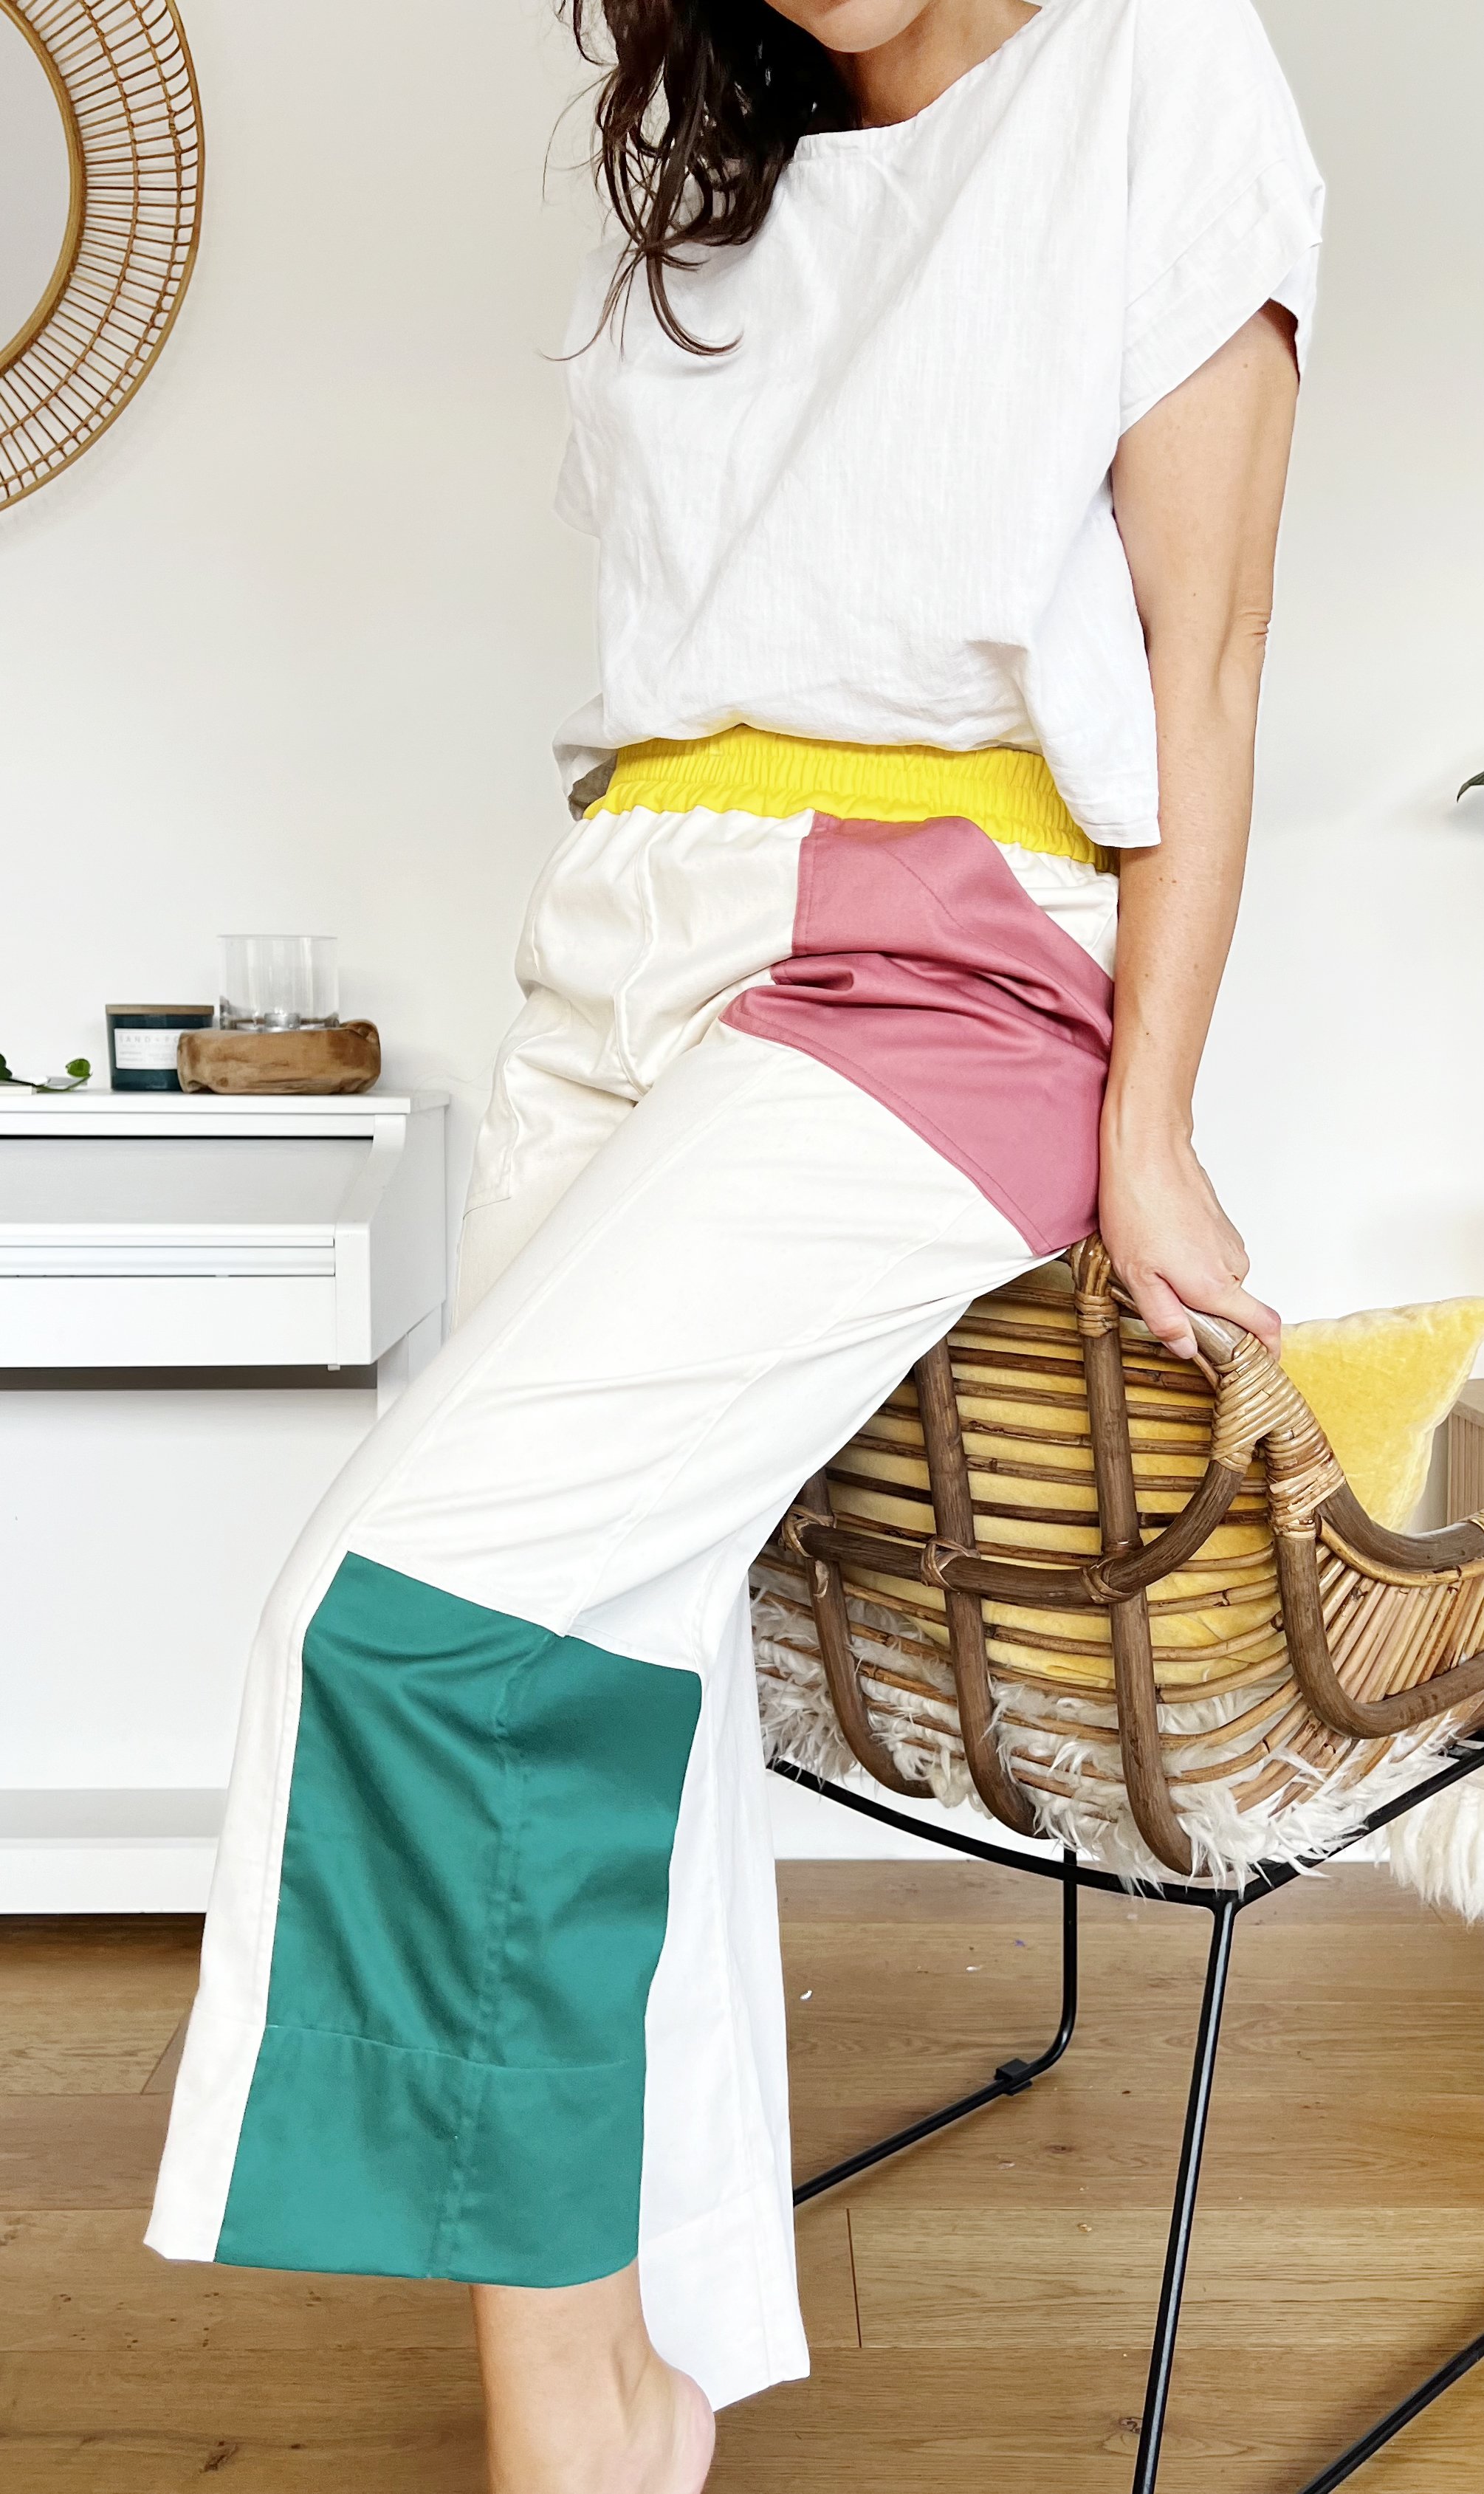
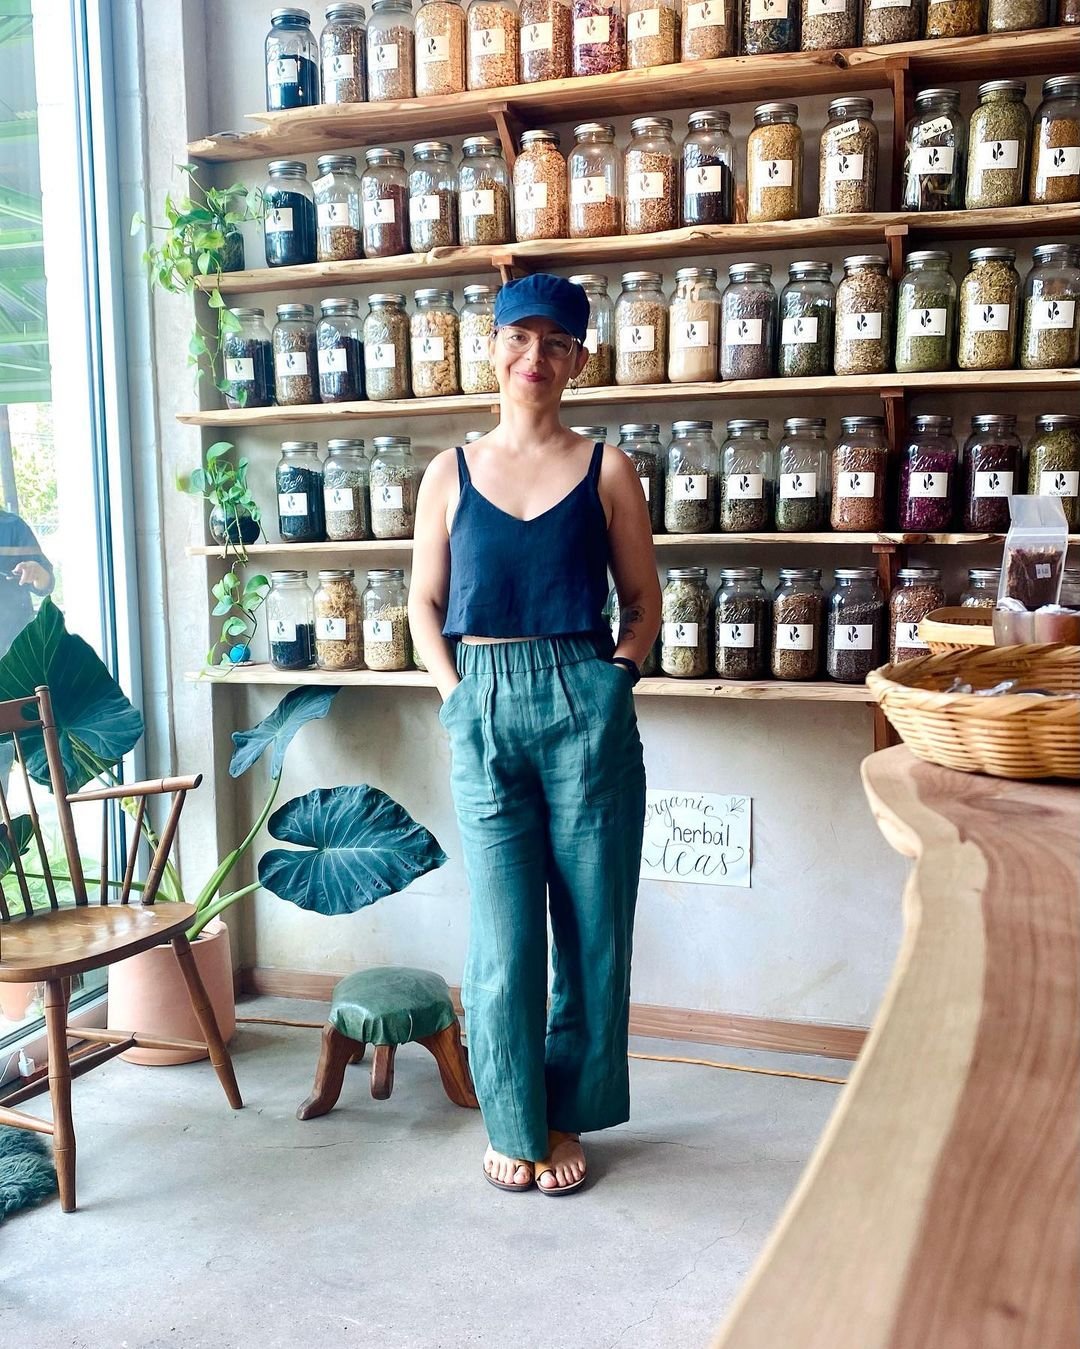
Darlow pants made by @sewn_by_helen