THE Q & A SERIES
THE DIFFERENCE BETWEEN SETTING IN SLEEVES AND SEWING FLAT
Hi Emily,
I really enjoy your newsletter. Thank you for answering our questions :)
I was wondering about sewing sleeves. There are 2 methods to set the sleeves in, right? Sewing them in when the side seams are already sewn up and when they are not sewn up yet.
When would you choose one over the other? What are the benefits for one or the other in a finished garment?
(I guess there is a sewing pun for this one as well - what are bene-fits in fitting the sleeves :)
I am looking forward to your answer.
Greetings,
Spela
The Hague | The Netherlands
Hi Spela,
You're right, there are two methods for attaching sleeves to a garment - sewing them "flat" or sewing them "in the round."
SEWING SLEEVES FLAT

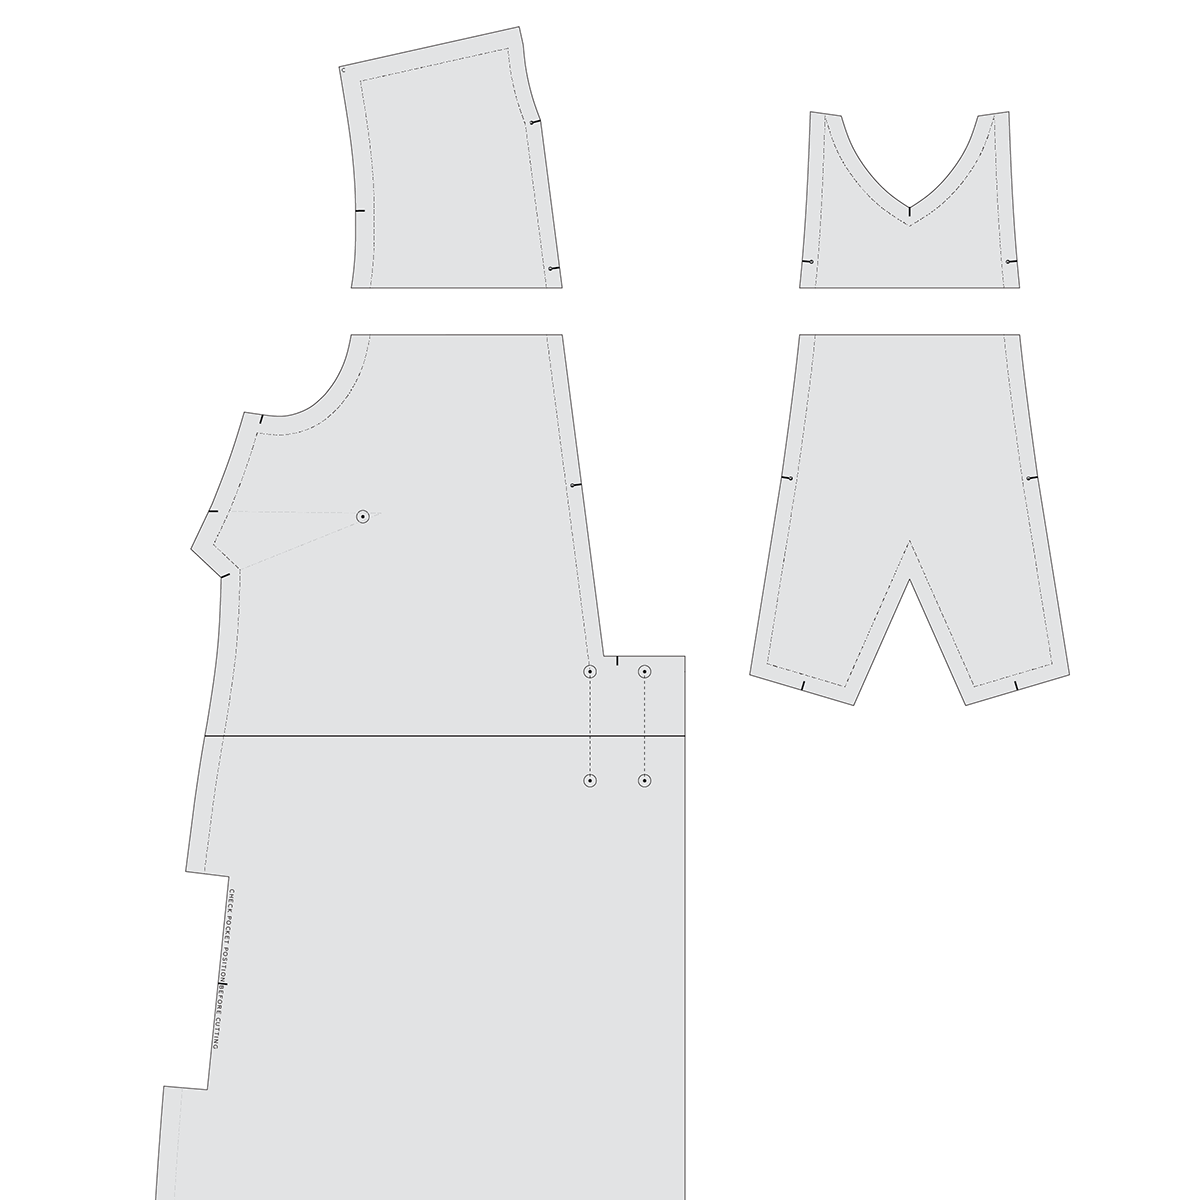
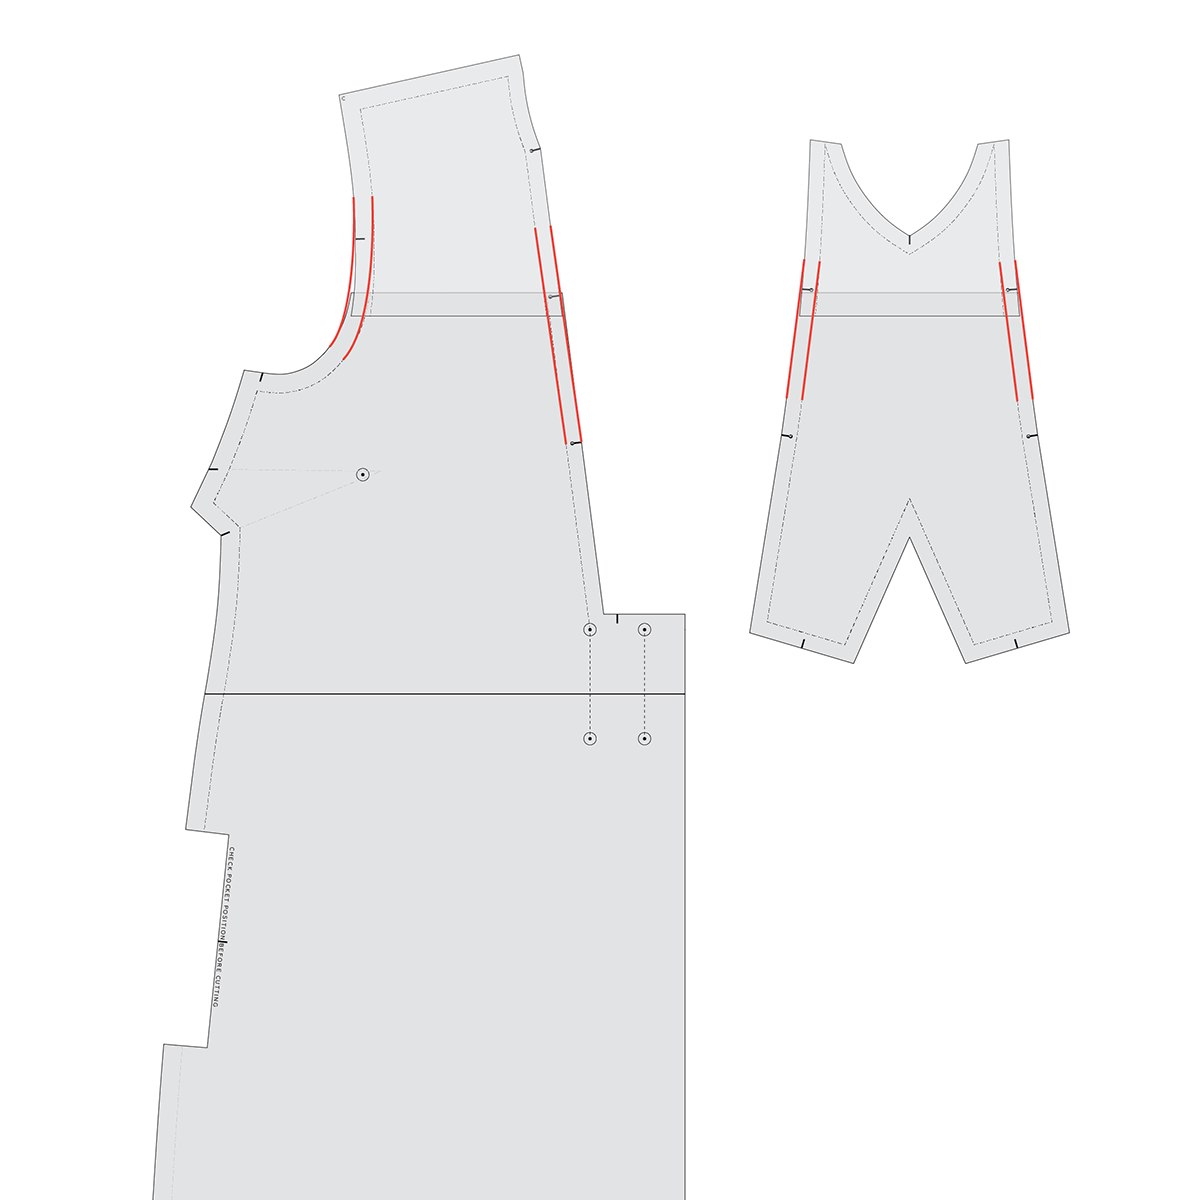
Sewing flat means that the shoulder seam on the garment is sewn and then the sleeve is attached to the armhole. These illustrations from the Slouchy cardi pattern instructions are a good example of what I mean by this.

The side seam is then closed all in one go - from the hem of the sleeve all the way down to the hem of body of the garment.
Sewing sleeves in flat is mainly used for knit garments such as t-shirts. It's also often used for more casual or relaxed fitting woven garments - such as oversized shirts, or shirts with a dropped shoulder. You will often see sleeves sewn in flat for men's shirts (and some women's) so that the whole side seam can be sewn as a flat-felled seam.
This approach works best for sleeves that don't have a really high sleeve cap or very little ease in the sleeve cap. It is very difficult (or impossible!) to sew a sleeve with a high sleeve cap in flat.
Due to this lack of ease, normally sleeves sewn in this way are flatter from the shoulder line on the finished garment. This can impact how the sleeve hangs - causing the sleeve to stick out, rather than relaxing down.
Another thing to consider is that with sewing a sleeve in flat, the side seam becomes the predominant seam and it will determine the shape of the garment under the arm.
SEWING SLEEVES IN THE ROUND

Sewing in the round means that the shoulder seams and side seams of the garment are joined before the sleeve is attached, with seams pressed in the direction suggested in the pattern.

The sleeve underseam is joined before it is inserted into the armhole of the garment.
Normally when sewing a set-in-sleeve there will be ease in the sleeve cap (more about that below). Basting stitches are sewn along the head of the sleeve to assist with easing the sleeve into the armhole.

The sleeve is then pinned inside the armhole with right sides together.
The notches on the sleeve are used to help position the sleeve correctly. Normally (and on all In the Folds patterns), the single notch indicates the front of a sleeve and the double notch indicates the back of a sleeve. The single notch between the two notches on the sleeve indicates where the sleeve will meet the shoulder seam.
With the help of your basting stitches, you can ease the sleeve so that it fits nicely into the armhole. The seam is then sewn in the round with the required seam allowance.
When sewing sleeves in the round you have more control over which direction to press the seams under the arm. You will get a smoother finish under the arm as it will wrap around the curve of the underarm, rather than sit flat.
Sewing sleeves in the round is required for sleeves that have a high sleeve cap (normally required for a fitted or semi-fitted sleeve) and for most sleeves that include ease in a sleeve cap.

Ease is the difference between the armhole measurement and the sleeve cap measurement. The amount will depend on the design and who drafted the pattern, and could be anywhere from about 6mm - 2cm.
The reason ease is required on a sleeve cap is that the top of the sleeve needs to curve over the shoulder. In womenswear the end of the shoulder seam / top of the sleeve will generally sit slightly back from the shoulder point. This means that the top of the sleeve needs to accommodate the curve over the shoulder before extending along the arm.

Which sleeve sewing method to use?
I only sew sleeves in flat if I am sewing a knit or relaxed fit garment with a dropped shoulder. For all other sleeves (which is the majority of what I sew), I sew in the round.
Sewing in the round will almost always help you achieve a sleeve that fits and hangs properly and sits nicely under the arm.
I know this is not what a lot of you want to hear, as it does seem that most sewists prefer sewing sleeves in flat as it feels easier to do, so I'll show you a method that gives you the best of both worlds! It allows you to sew the majority of the sleeve in flat (which many people find easier), but finish it in the round - which gives you the nice smooth curve under the arm and the ability to press the seam in the round. I still prefer to just sew my sleeves in the round, but for those of you who want to sew them flat, this will be of interest to you!
I hope this post demystifies things for you when it comes to these two different sleeve sewing methods!
Happy sewing,
Emily
RESOURCES MENTIONED IN THIS ISSUE
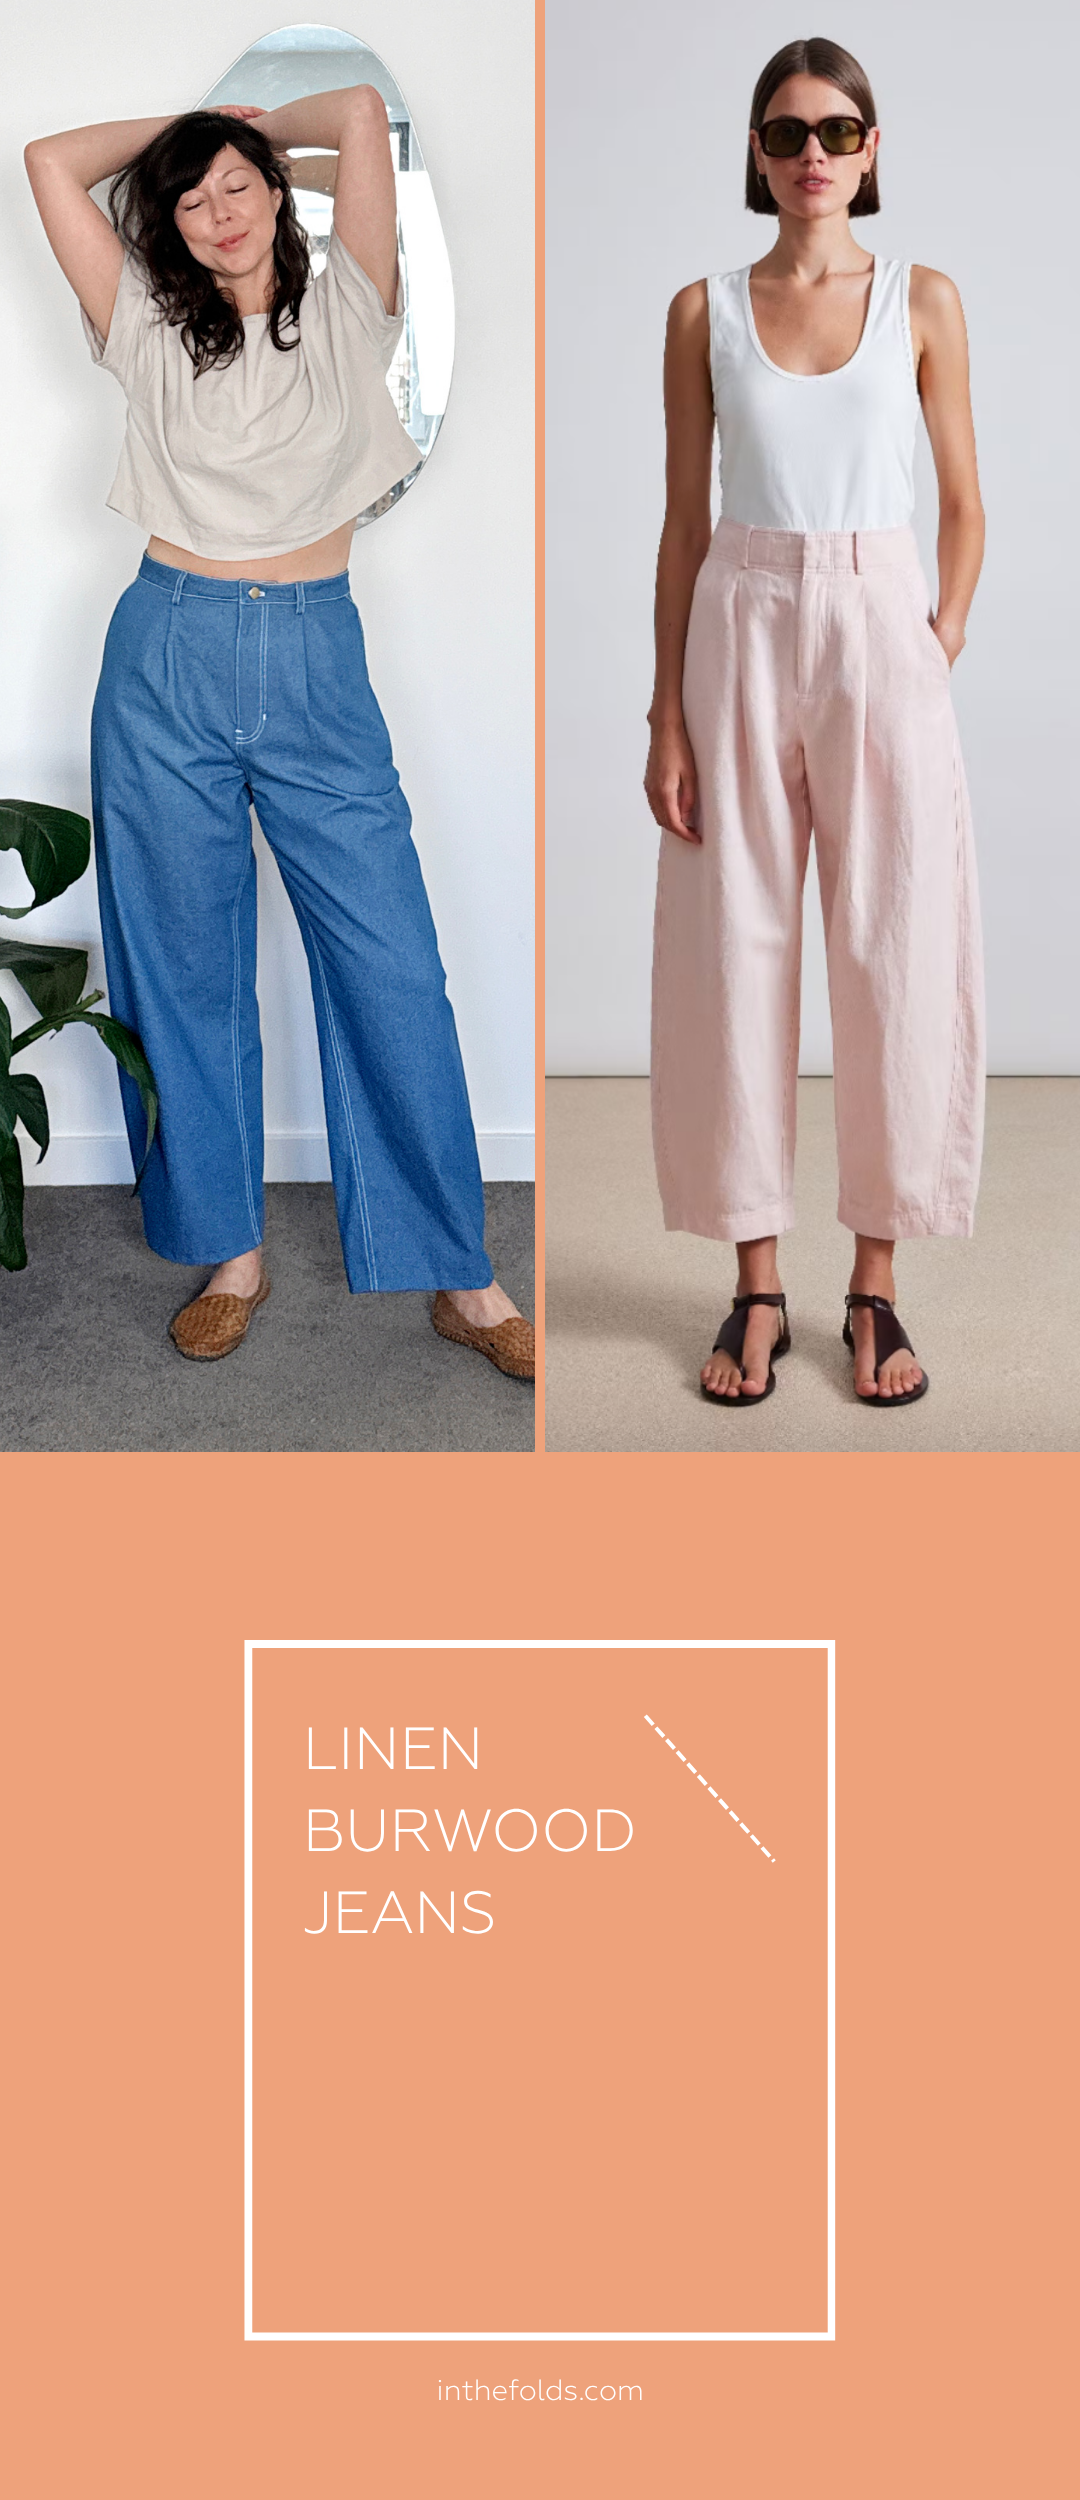
The Slouchy cardi pattern can be found here.
The Sawtell top is a project from a past Issue of Curated by ITF. It is currently only available for purchase to members of the Curated by ITF subscription. Read more about the pattern here.
The Sawtell dress is a project from a past Issue of Curated by ITF. It is currently only available for purchase to members of the Curated by ITF subscription. Read more about the pattern here.
For more issues of the Q & A series, you can check out the archive here.
WHAT YOU’VE BEEN MAKING

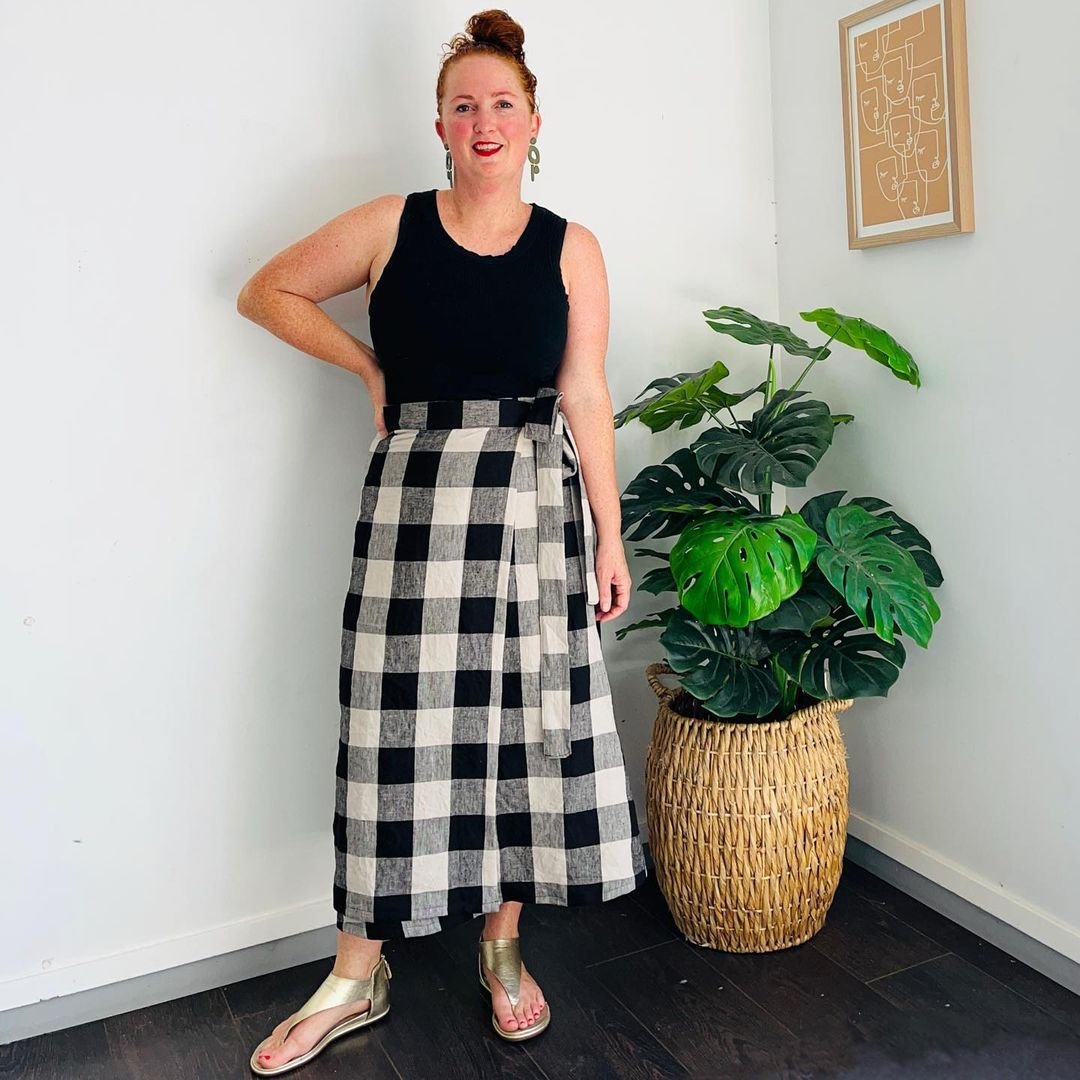
Peppermint wrap skirt made by @anzymillblenk
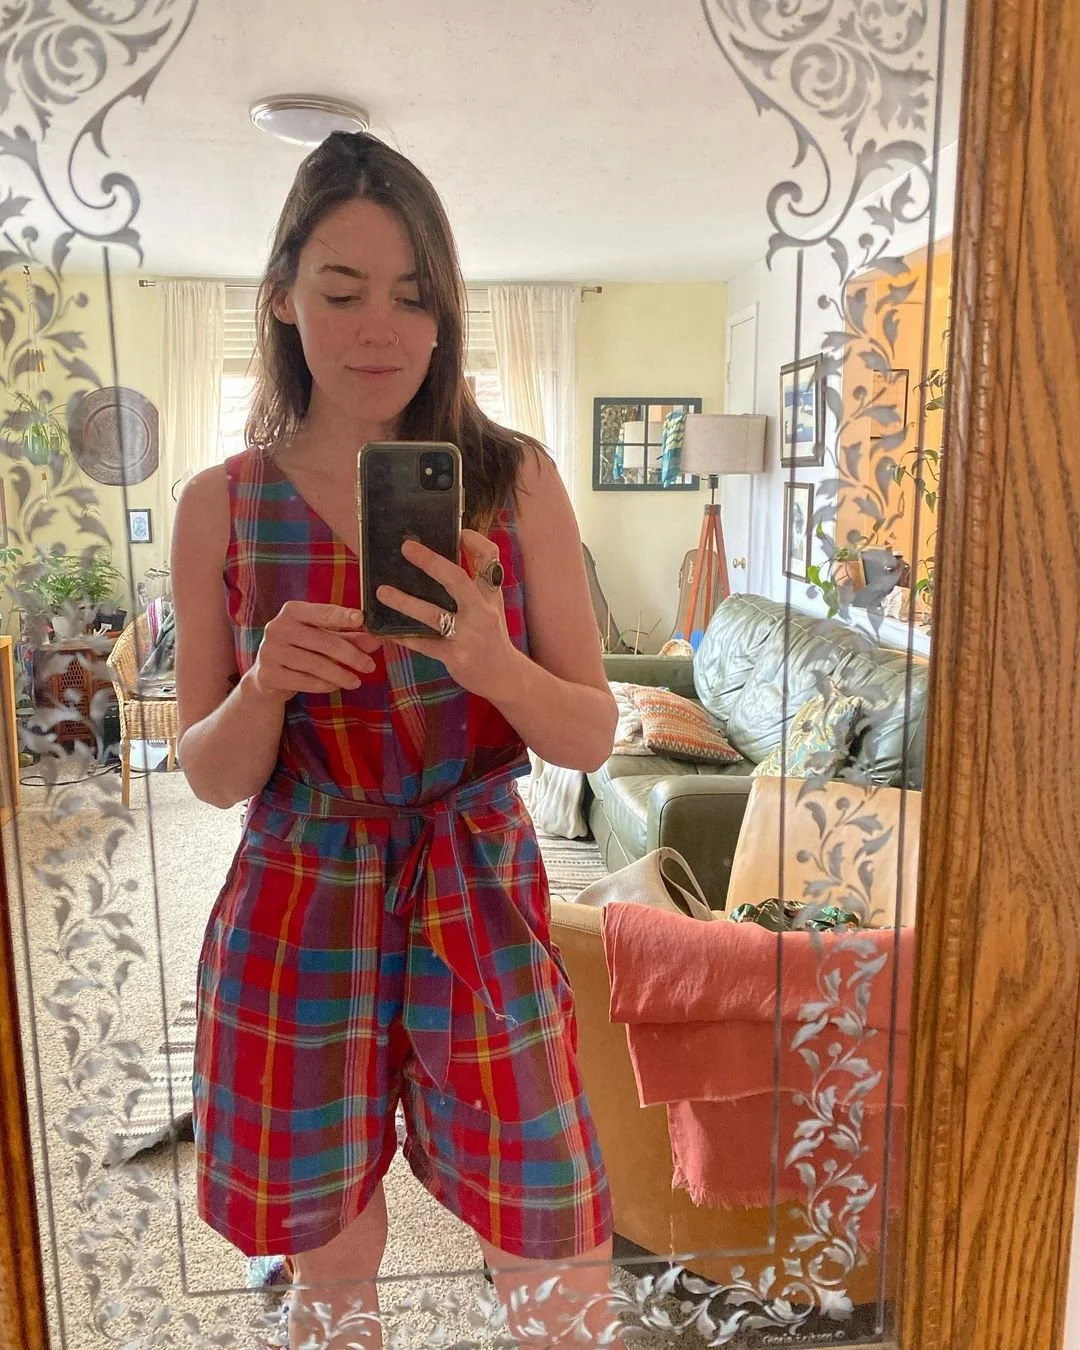
Hacked Peppermint jumpsuit made by @constancethecat
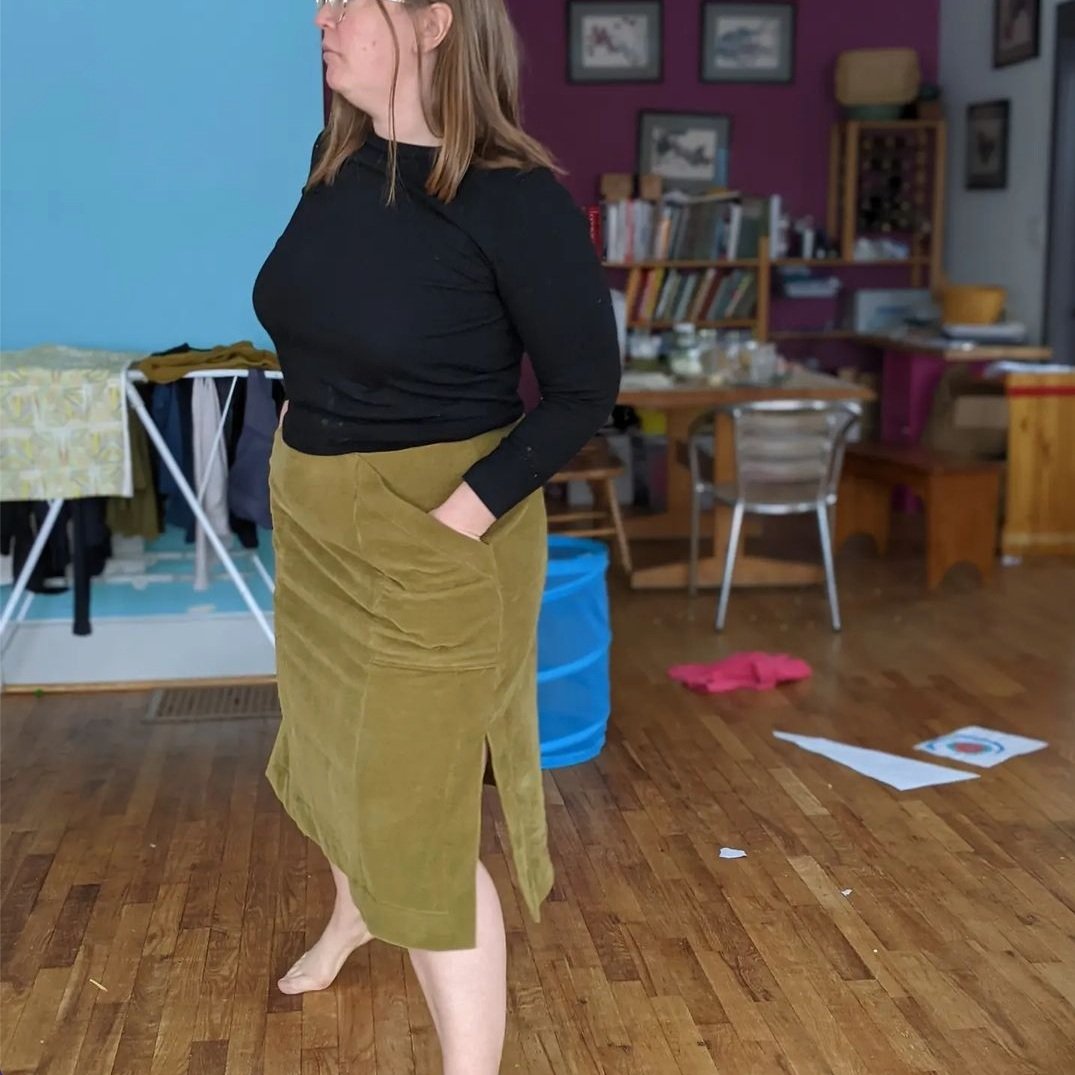
Peppermint wrap skirt made by @sewingyarns

Sawtell dress and Flynn jacket made by @dr_ari_lean_closet