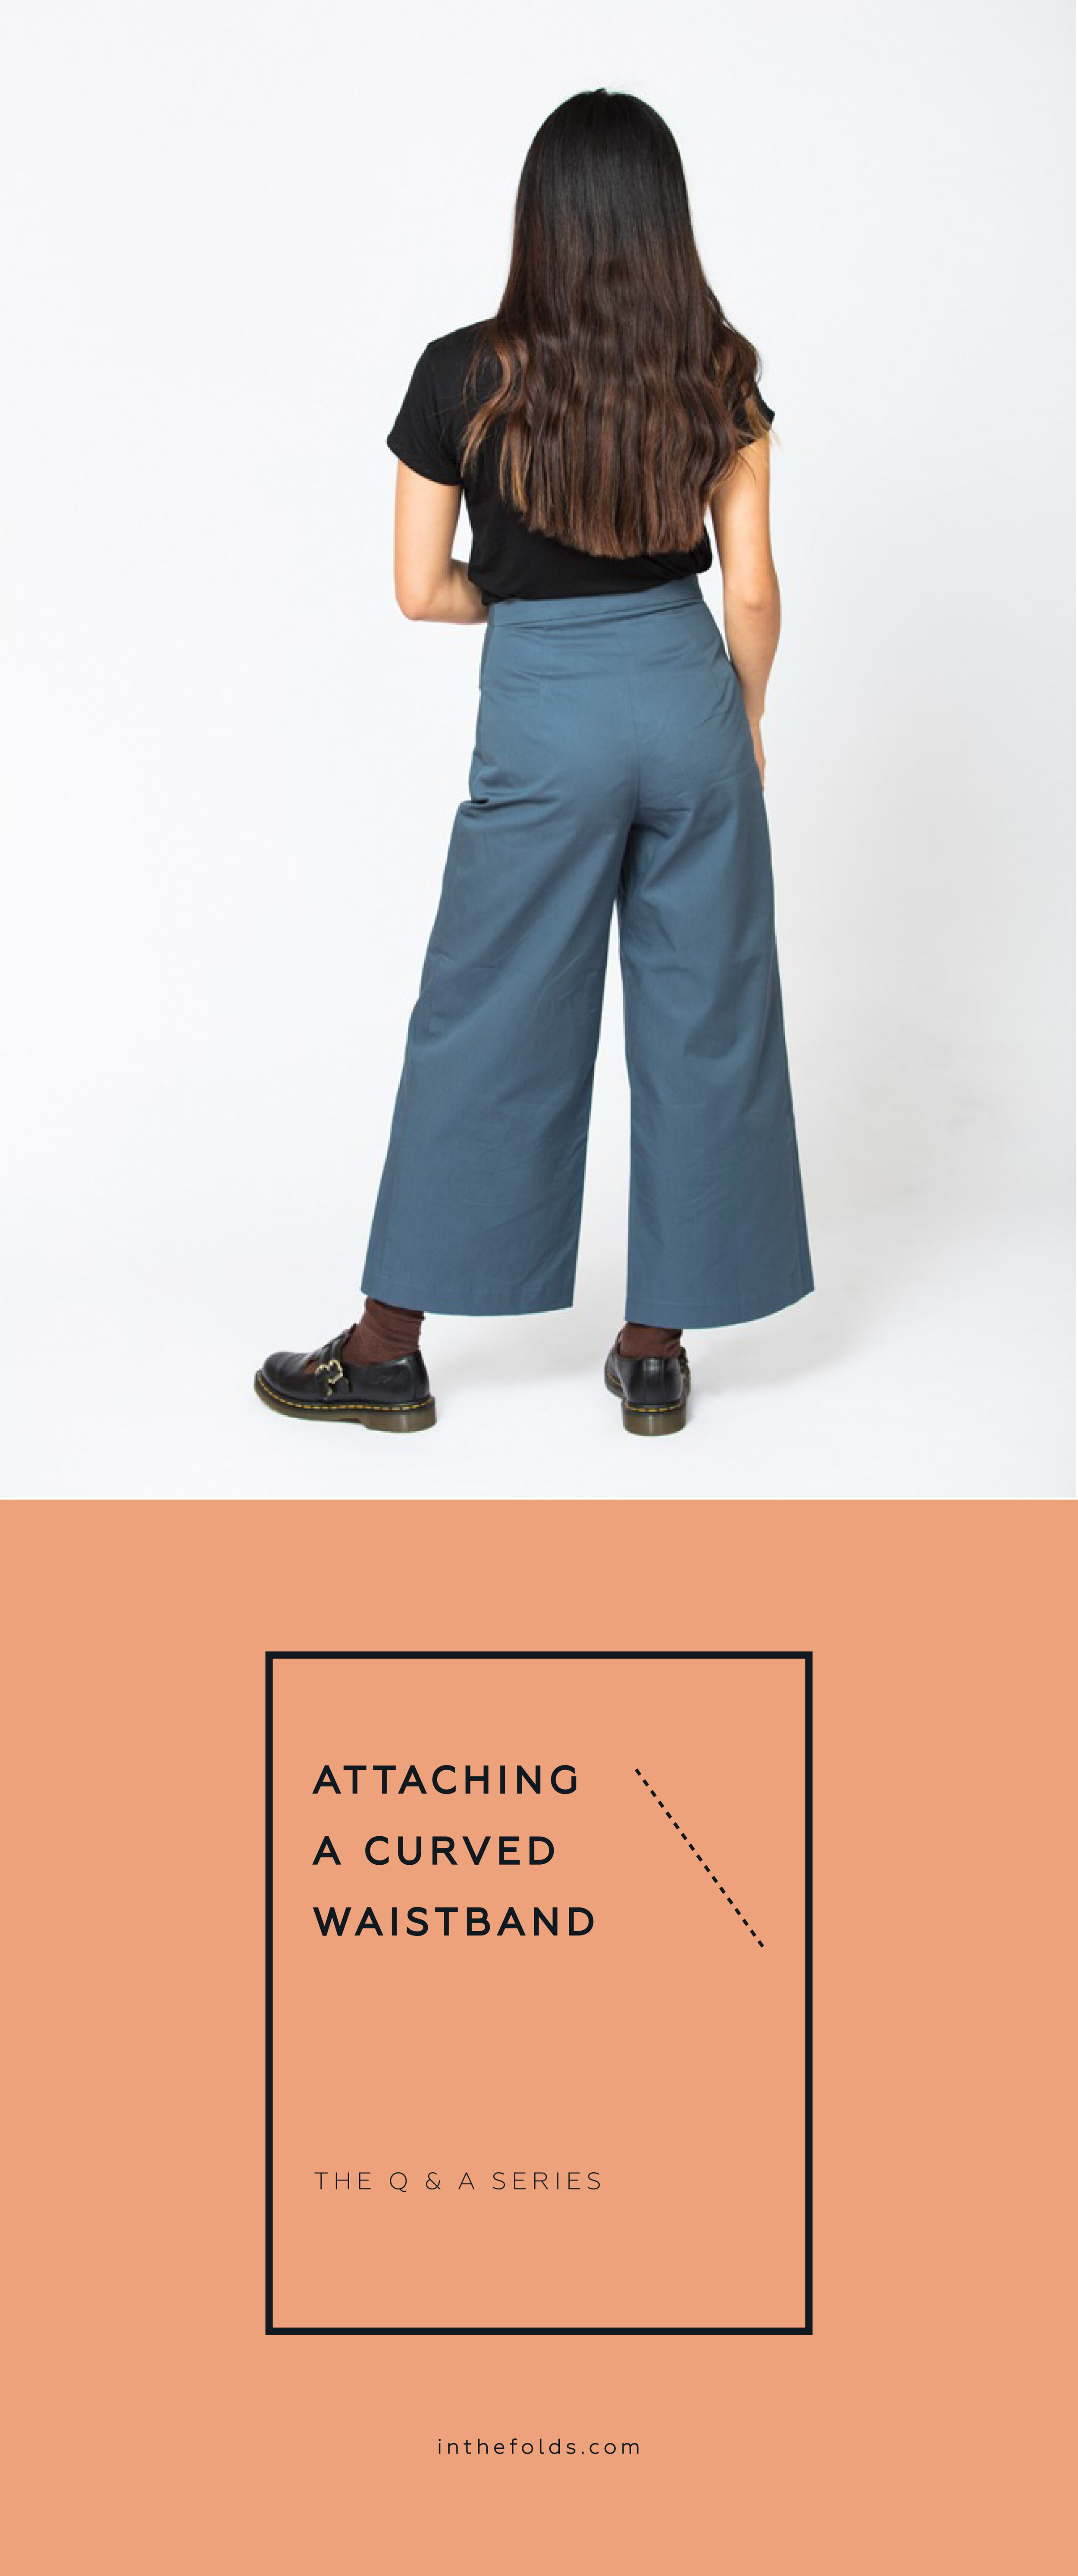
ISSUE 3 - ATTACHING A CURVED WAISTBAND - THE WIDE LEG PANTS

ISSUE 3 - ATTACHING-A-CURVED-WAISTBAND-TO-PANTS.jpg

THE Q & A SERIES - ATTACHING A CURVED WAISTBAND (THE PEPPERMINT WIDE LEG PANTS)

Hello,

I am making the free pattern for the wide leg pants. Thank you for making this available.

I am having a problem fitting the waistband to the pants. I have cut out a straight size D. I know that the pants need to be eased into the smaller waistband but it seems like there is too much pant to ease into the band.

I have double checked to see that I have cut out the correct pieces, and I have. I’ve also checked that I have sewn the darts correctly, and I believe I have. I have even reduced the seam allowance on the waistband to 1/4 inch. There still seems to still be over an inch of ease.

Do you have any suggestions that might help me with this, I’m really stumped.

- Donna


Hi Donna,

Thank you for reaching out.

I am pleased to hear you are making the Wide leg pants!

The stitch line on both the pants and the waistband is exactly the same length, but due to the seam allowance, it does take a little bit of easing to get the waistband to fit the pants.

Reducing the seam allowance to 6mm (1/4in) will actually increase the problem. As the curves are two different shapes, the cut edges of the two sections (the pants and the waistband) are different lengths - it is only when you attach them right at the correct point (1cm / 3/8in from the cut edge) that the two curves become exactly the same length.

One question that comes to mind is have you got the waistband the right way up? When I was testing the Darlow pants pattern this was a common mistake testers made, putting the top of the waistband on the pants. Please see the image above, that highlights the edge that is connected to the pants.

If it is the right way up, then I'd be checking your cut pieces against the pattern and making sure that the waist of the pants hasn't stretched out during the process. It is also a good idea to check your darts are sewn at the correct width and also re-check all your seam allowances are correct.

I hope that helps. Let me know how you go!

Happy sewing,

Emily


RESOURCES MENTIONED IN THIS ISSUE


P.S. Would you like to know what the Q & A series is all about? This page tells you a little bit more about the motive behind the series.

Don't have a question, but found this newsletter helpful? I'd love to hear from you! Get in touch and say hi.

More posts in the series

Issue 2 - HOW TO LAUNCH A KICKSTARTER CAMPAIGN

ISSUE 2 - HOW-TO-LAUNCH-A-KICKSTARTER-CAMPAIGN.jpg

THE Q & A SERIES - HOW TO LAUNCH A KICKSTARTER CAMPAIGN

Hi Emily,

I hope this email finds you well?

I'm a quilter/seamstress/designer/teacher and I'm about to launch a Kickstarter campaign for a project I'm very excited about.

I'm wondering if you have any tips you would be willing to share from your successful campaign? I've got a few people in my circle of friends/contacts I'm going to be asking and I hope it's OK that I asked you.

Thank you so much; I look forward to hearing from you,

- L


Hi L,

Thank you for reaching out. How exciting that you are about to launch your own Kickstarter campaign! Although it was a tough slog, I would definitely recommend it and say it was by far one of the best things I've done for my business so far.

It was a great opportunity to connect with my community and meet other makers. It also really validated what I'm doing and gave me the push I needed to get my patterns out into the world. I hope this information doesn't overwhelm you (I'd suggest making yourself a cup of tea, as it's going to be a long one!) - it's just all the things I would have liked to have known before going into it.

understanding the playing field

I started my campaign by researching the Kickstarter platform a lot and finding campaigns that looked great and had been successful. This gave me a good idea of what I needed my campaign to look like and what information to include.

My approach is to always look at the best work (even if it took a whole team to produce it) and model my work against that. My theory is that although I will never be able to make work as polished (I am a one person show), it gets me a lot closer than if I was modelling my work up against projects that weren't as strong. Like the saying goes “Shoot for the moon. Even if you miss, you'll land among the stars.”

I found the Kickstarter creator handbook really helpful. I printed all the information out and worked through it - taking notes as I went. This became the scaffold of my whole campaign.

PLANNING REWARDS

In terms of rewards, I know it's tempting to offer heaps of different things, but I'd say hold back. I thought I'd given just enough options, but then found it difficult to fulfil one of the rewards (a slow sewing planning template) as it took longer than I had anticipated. It would have been easier (and reduced stress) if I had just offered the patterns and tote bags.

I also think it's a good idea to put an option down that is just a donation with no reward. For my campaign I did a $50 reward that was 'nothing but a whole lot of love' and a number of people picked this option as it's good for people who want to support you, but don't sew or need your product.

Also, make sure you've got a broad range of price options. I had rewards from $1 to $150, and probably could have even had an even higher value reward. It was clear that some people who were really excited about it were just scrolling down to the highest reward and picking that one.

THE VIDEO

f4cc2580-1e0a-4f5f-a89b-43641aa0e67f.jpg

I am not sure if you are planning on making a video, but if you can, I'd say it's definitely worth it. I found the video the most stressful part of it all (I'm quite camera shy), but it really did bring it all together, and it's the easiest way to succinctly say what your project is about.

Just like I said in the first point, I watched a lot of videos to see what I liked / didn't like and modelled mine on that. I was also lucky enough to have a trusted friend create the video for me, so I knew he would be able to create a video that was able to tell the story of me and my brand.

I prepared by writing a script that succinctly summed up what my project was about and had my friend ask questions / prompt me during filming.

PHOTOS

If you can, I'd suggest getting some professional photos taken of your product / what you are creating. I had taken some on my phone and at the last minute, decided to get a photographer in and it was a game changer. I also got her to take portraits of me for the campaign and it was good having fresh photos to use on the campaign as well as on social media. These images really brought it all together and gave my campaign a very cohesive and on-brand look. You are really selling yourself as well as the product when you're crowdfunding, so make sure you show people who you are. Also a great excuse to get some photos of your beautiful work!

DESIGN COLLATERAL

The other thing that I also found made a difference to the look of the campaign was to get a graphic designer to design all my collateral. She is the designer I worked with for my branding, pattern envelopes etc. and then she just rolled it out onto illustrations of the rewards, as well as templates for me to use on social media when I hit certain targets (for example, 'We're halfway there').

REWARD FULFILLMENT

TOTE BAG.png

In terms of fulfilling rewards, I had said I would get all my rewards out to people in April and found that a huge struggle. I got all my Australian ones out in time, but the international rewards were a month late. No one seemed worried about it, but I did find it stressful. If I were to do it again, I'd definitely give myself a bit of extra time. I was expecting a certain number of people to pledge and then there were a lot more in the end (which was great), but it did mean it was a lot more work to pack and send the rewards than I had thought.

As for postage, make sure you have a really good idea of how much things are going to cost to send out. I thought I'd estimated well, but quite a surprise when I got to the post office (this especially applies to shipping things internationally)!

FINAL TIPS

When it comes to launching your campaign, keep in mind it needs to be approved. I was on a bit of a deadline and hadn't taken this into consideration. It didn't take long, but I think it could take up to a couple of days - so worth keeping in mind.

To promote the Kickstarter I started by emailing all my friends and family, before I let people on my business social media / email list know. I thought it looked good if a few people had already pledged before I spread the word further.

Also, I'd suggest being as organised as you can. You want to enjoy the campaign period, so be ready to respond to questions and have posts prepared for sharing on social media etc.

Best of luck with your campaign!

Happy sewing,

Emily


RESOURCES MENTIONED IN THIS ISSUE

  • In the Folds Kickstarter campaign can be found here.

  • The Kickstarter Creator Handbook can be found here.


P.S. Would you like to know what the Q & A series is all about? This page tells you a little bit more about the motive behind the series.

Don't have a question, but found this newsletter helpful? I'd love to hear from you! Get in touch and say hi.


More posts in the series

Issue 1 - Lengthening the Collins top (with a FBA)

ISSUE 1 - LENGTHENING-THE-COLLINS-TOP-WITH-FBA.jpg

Welcome the the Q & A series.

Over the last few years of running In the Folds, I have struggled with the idea of sending an email newsletter. At a time when we are constantly bombarded with information from all different directions, I kept wondering what I could create that would be truly valuable to the community that I serve.

I want to create something that you will look forward to receiving, something that will encourage you to sit down with a cup of tea and take it all in, not another piece of content that will interrupt your day, but something that will inspire and encourage you on your handmade journey.

The Q & A series - What it’s all about

The format I settled on is the Q & A series, an opportunity to share the questions I often receive in my inbox, with all of you. I realised that my answer to one person's question is a chance for us all to learn something new and an opportunity to continue the conversation about the many different parts of the process of making our own clothes.

It is my hope that this series takes us to interesting and unexpected places. I will be sending the newsletter weekly for the time-being (this is something I might adjust after seeing what the response to the newsletter is) and I hope you choose to continue on this journey with me.

If you have a question you would like to ask, please scroll to the bottom of this email to find the link to the question page. I look forward to hearing from you!

COLLINS-TOP-LENGTHEN-1.jpg

THE Q & A SERIES - LENGTHENING THE COLLINS TOP (WITH FULL BUS ADJUSTMENT)

I am in the midst of making your lovely Collins top pattern (which is so well drafted!) but I am stuck. I just went through all the steps of a FBA (full bust adjustment), finished truing and then realized I also wanted to lengthen it considerably.

Would it make sense to lengthen the front via your tutorial but true the side seams from below the new dart- maybe the bottom leg? It seems if I true again for lengthening from the top to the hem I’ll mess up the shape of the dart.

- Melissa


Hi Melissa,

Thank you for getting in touch, and for your lovely email. I am more than happy to help you with this! Always a good idea to get a second opinion when you can, and I agree the Collins top FBA does involve a bit of work, so you don't want that going to waste!

I just printed the front piece with the dart added from the FBA tutorial and had a look what happens for both options for lengthening.

OPTION 1

COLLINS-TOP-LENGTHEN-2.jpg

Add the desired length to the pattern using this tutorial. Fold out the dart (the way you would have done in the FBA tutorial to create the dart shaping) and then true the seam from the top of the seam. Cut the new seam line and then open up dart.

OPTION 2

Collins-1-01.png

Add the desired length to the pattern using this tutorial. True the seam from the lower dart arm.

THE VERDICT

COLLINS-TOP-LENGTHEN-4.png

As you will see in the above illustration, the difference between the two approaches is minimal (barely noticeable in fact). By trueing from the top of the seam the dart shaping wasn't impacted. I'd say you can choose whichever option you feel more comfortable with as the difference is only about 2-3 millimetres.

Happy sewing,

Emily


RESOURCES MENTIONED IN THIS ISSUE

  • Collins top FBA (Full bust adjustment) tutorial. Tutorial can be found here.

  • Lengthening the Collins top pattern. Tutorial can be found here.

  • How to check and true sewing patterns. Tutorial can be found here.

  • Collins top sewing pattern. Get the pattern here.


P.S. Don't have a question, but found this newsletter helpful? I'd love to hear from you! Get in touch and say hi.


More posts in the series