THE Q & A SERIES
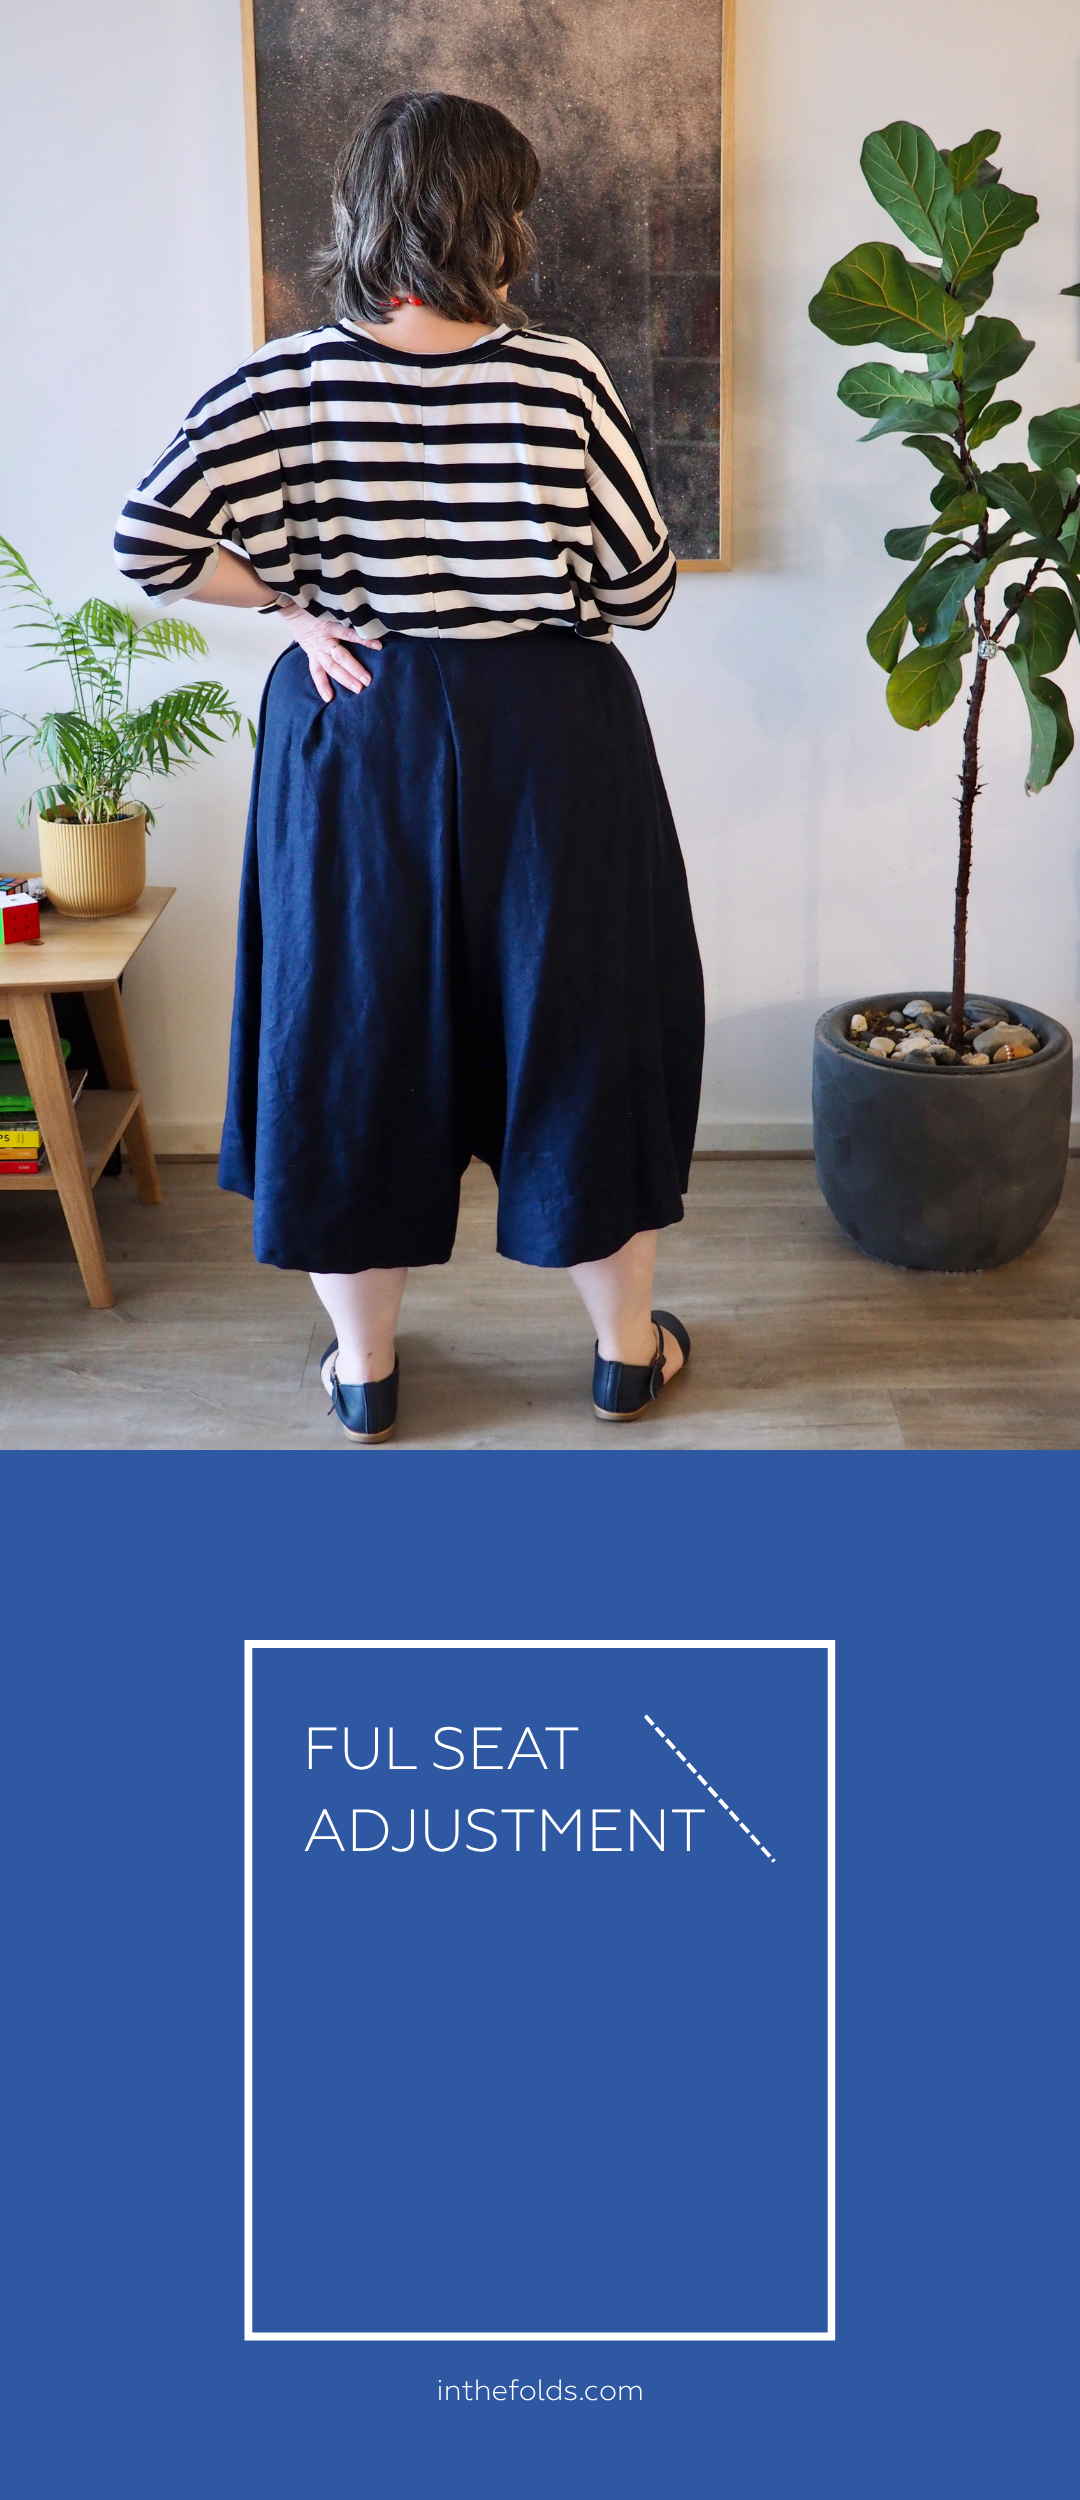
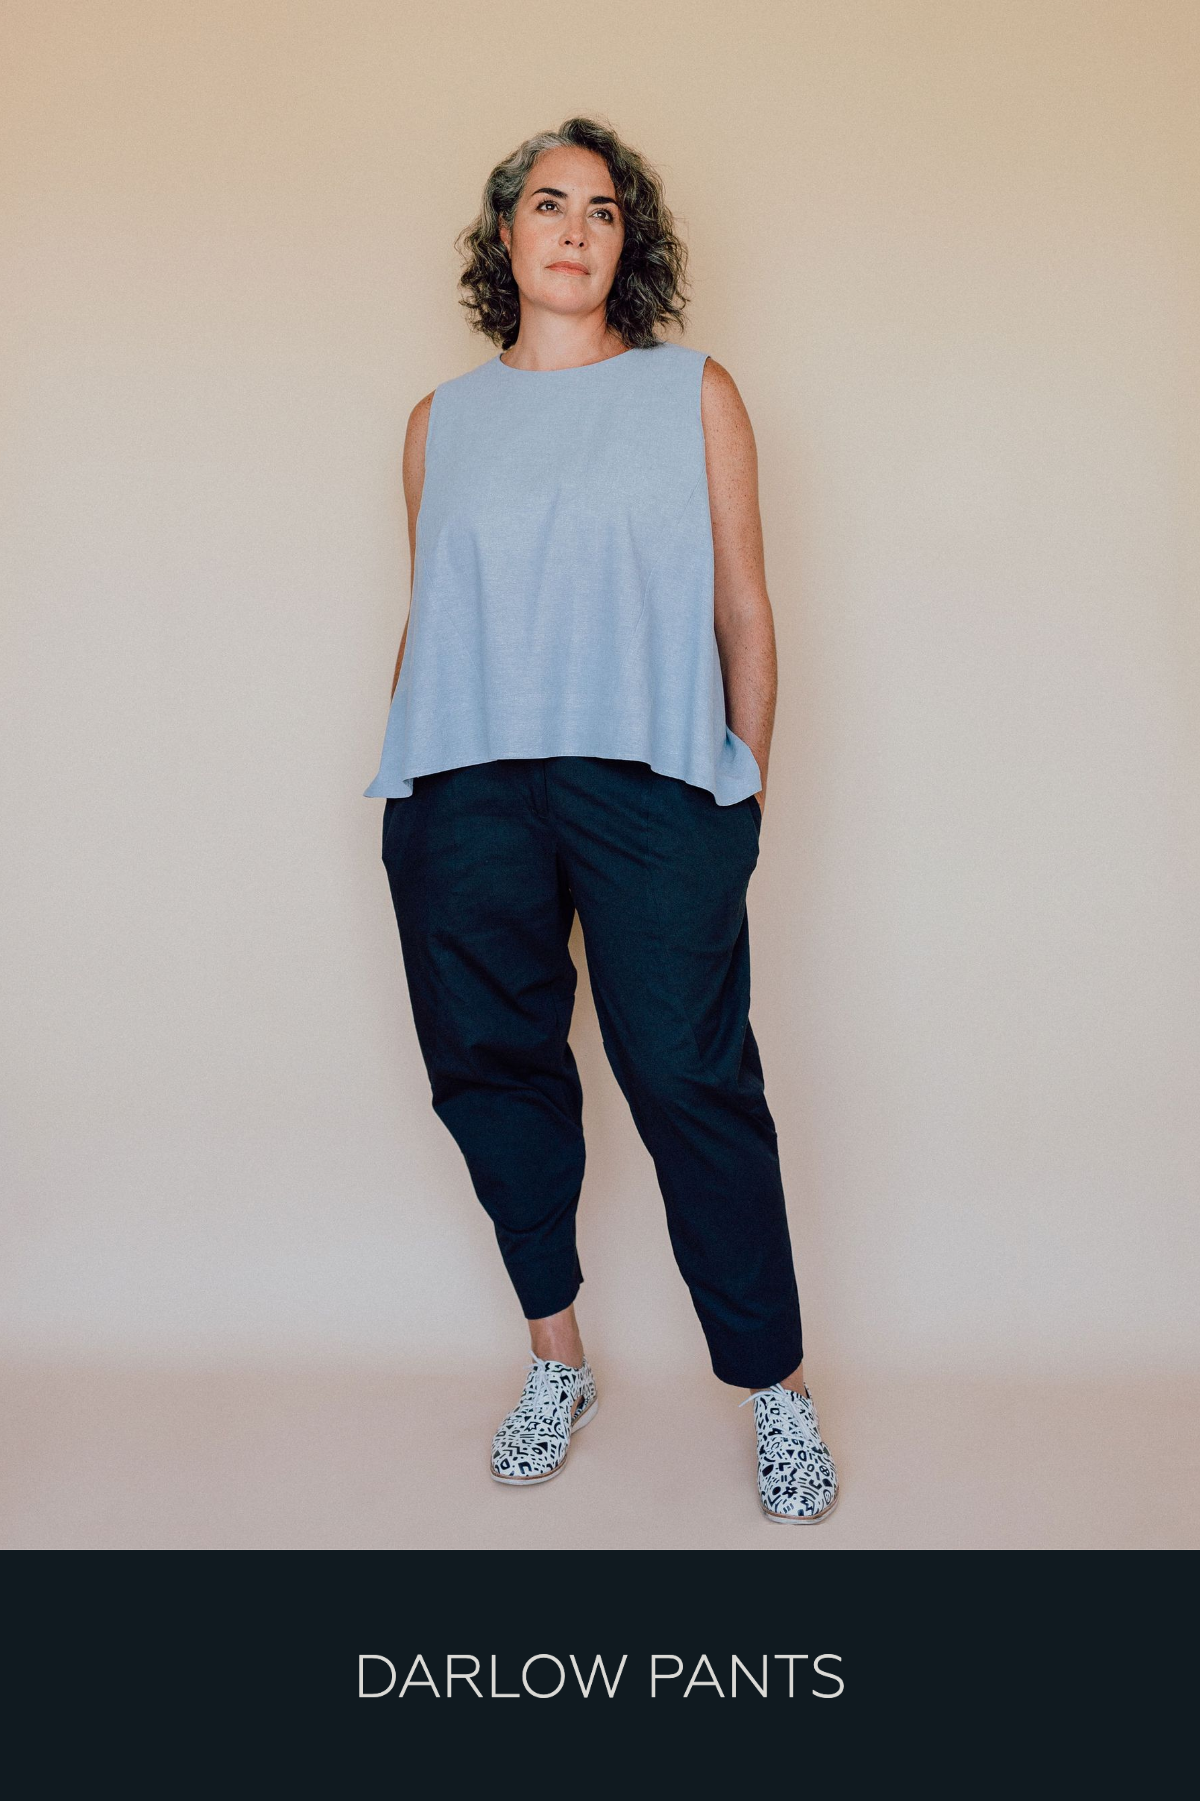
AN ALTERNATIVE SIDE SEAM FINISH FOR THE ATTWOOD PANTS
Hi Emily,
In the Attwood pants pattern a ‘faux’ fell seam is proposed as an alternative for the outer side seams. I am interested in an alternative seam finish but I have not found an ITF method. Some other tutorials show different methods that differ greatly from each other…
What would be the best for the Atwood pants? Wrong sides together to start or right sides together? Thanks for your help.
Amanda
Paris, France
Hi Amanda,
This is a good question and one we went back and forth on a lot when developing this pattern!


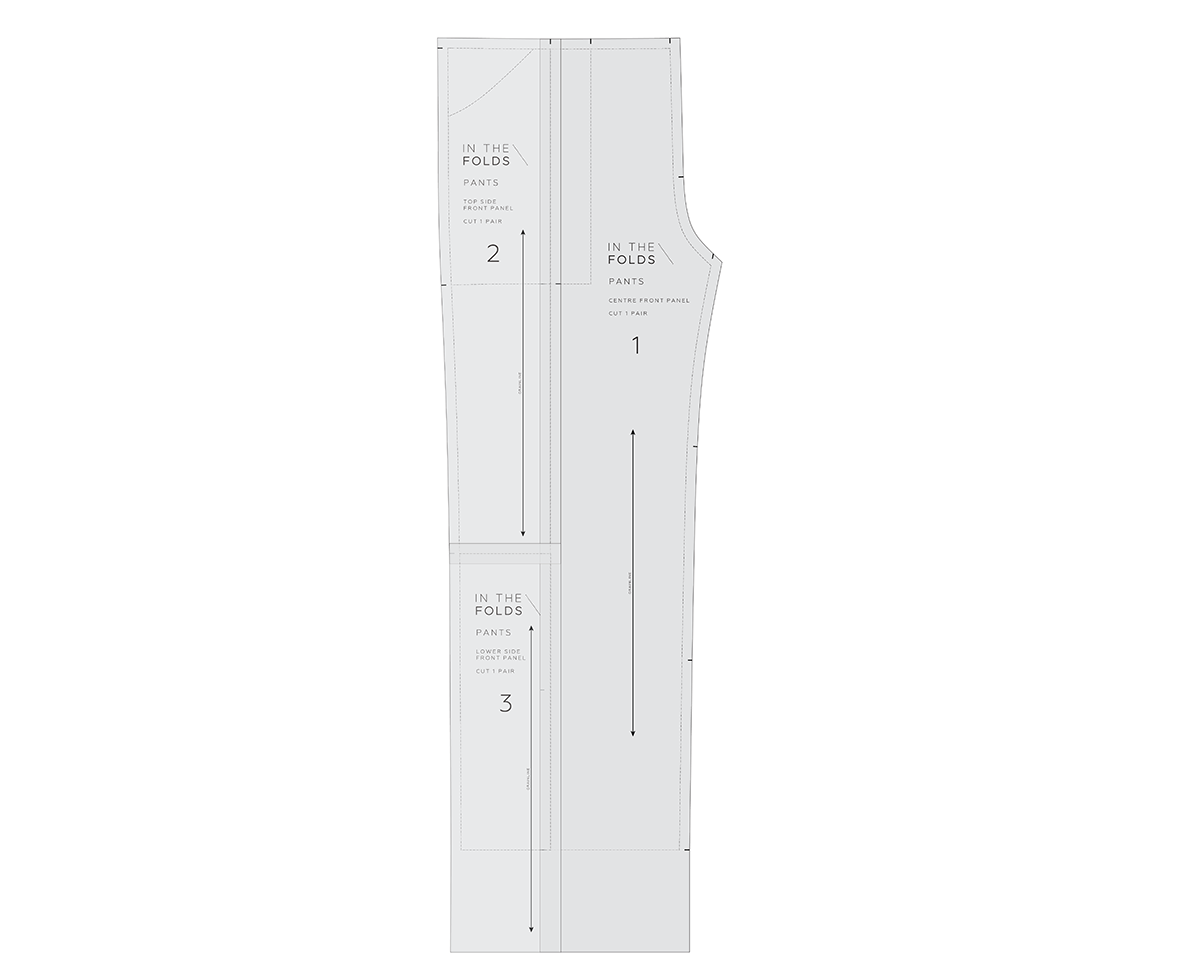
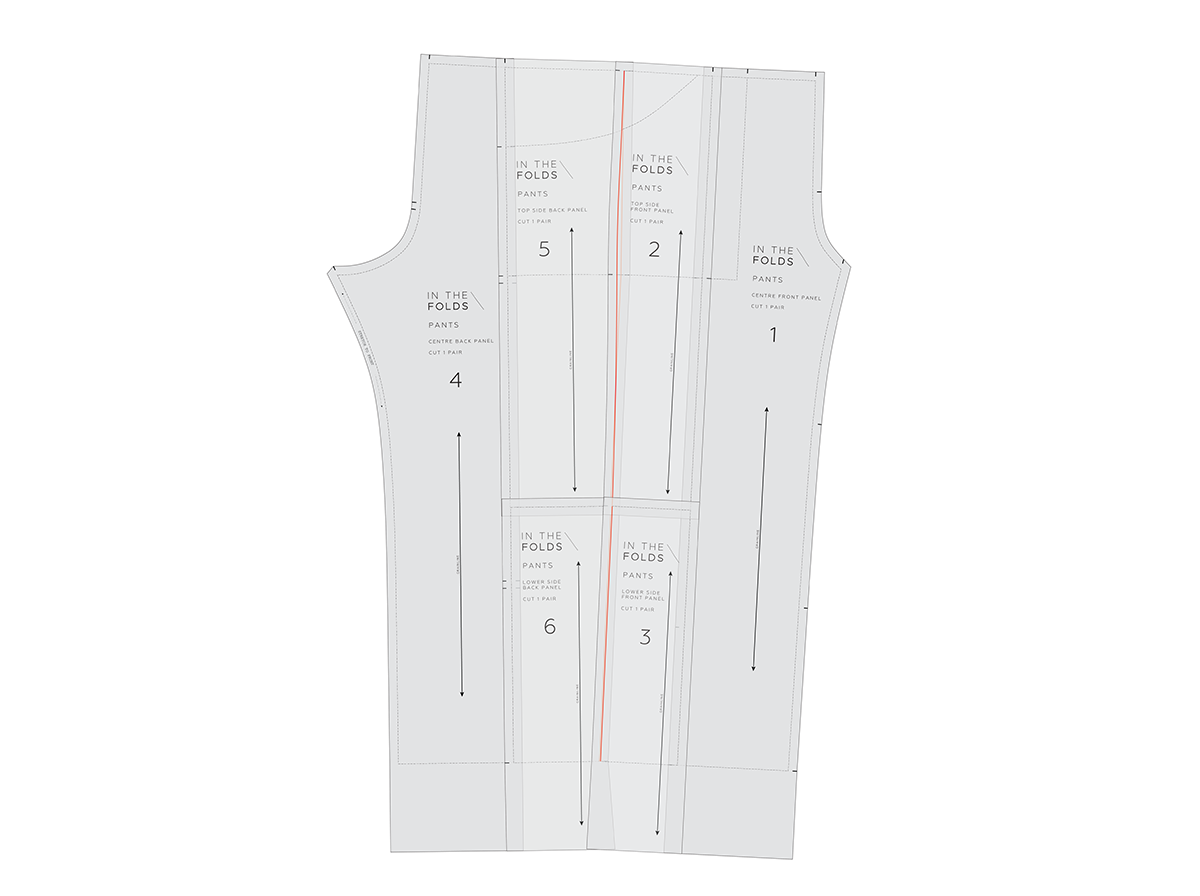
The Attwood pants are made similarly to jeans - the crotch seam is sewn first, rather than the method of constructing each leg separately and then joining the crotch seam in the round. This is because we wanted the crotch seams to be sewed as flat felled seams, as well as the crotch seam. This means that the final seam of assembling the pants is the side seam.
As we say in the instructions, this seam can be a little tricky to sew as a flat felled seam as the legs are already attached at the crotch and inner leg seam. It is not difficult, but it will take patience. If you would prefer an alternate finish, consider a faux flat felled seam, or, if you don’t want to use an overlocker/serger, a French seam is a good option.
When sewing a faux flat felled seam, you will still need to feed the pant leg through the machine, but it is more decorative so it’s not as hard to manage with the small folded edge of the flat felled seam. But if you have a few makes under your belt, give it a go to do the actual flat felled seam, just go nice and slow. If you choose this option, sew the seams with right sides together, rather than wrong sides.
Your question also mentions how many different techniques there are for sewing flat felled seam, and this is true! For the Attwood pants we chose a different approach in comparison to the one we went with for our upcoming jeans pattern as on jeans, traditionally the bulk of the seam is inside the pants, while for the Attwoods as it’s not a traditional pant style, we could do what we liked!
We included the instructions below in the pattern as we know our community love to know “the why” behind the decisions we make.


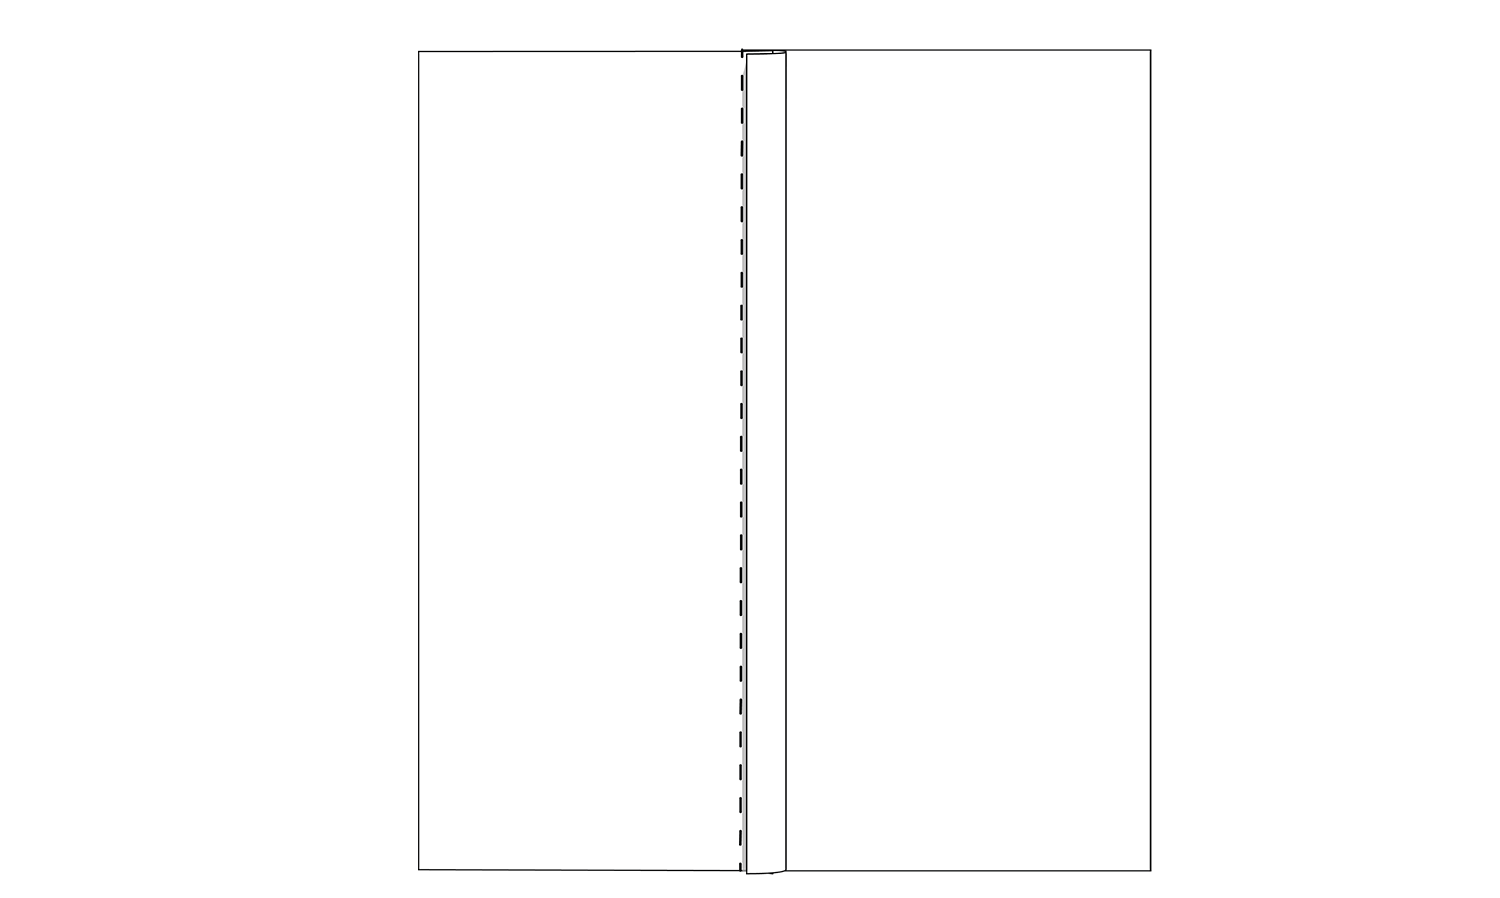
There are various ways to sew flat felled seams and we have chosen the method we find
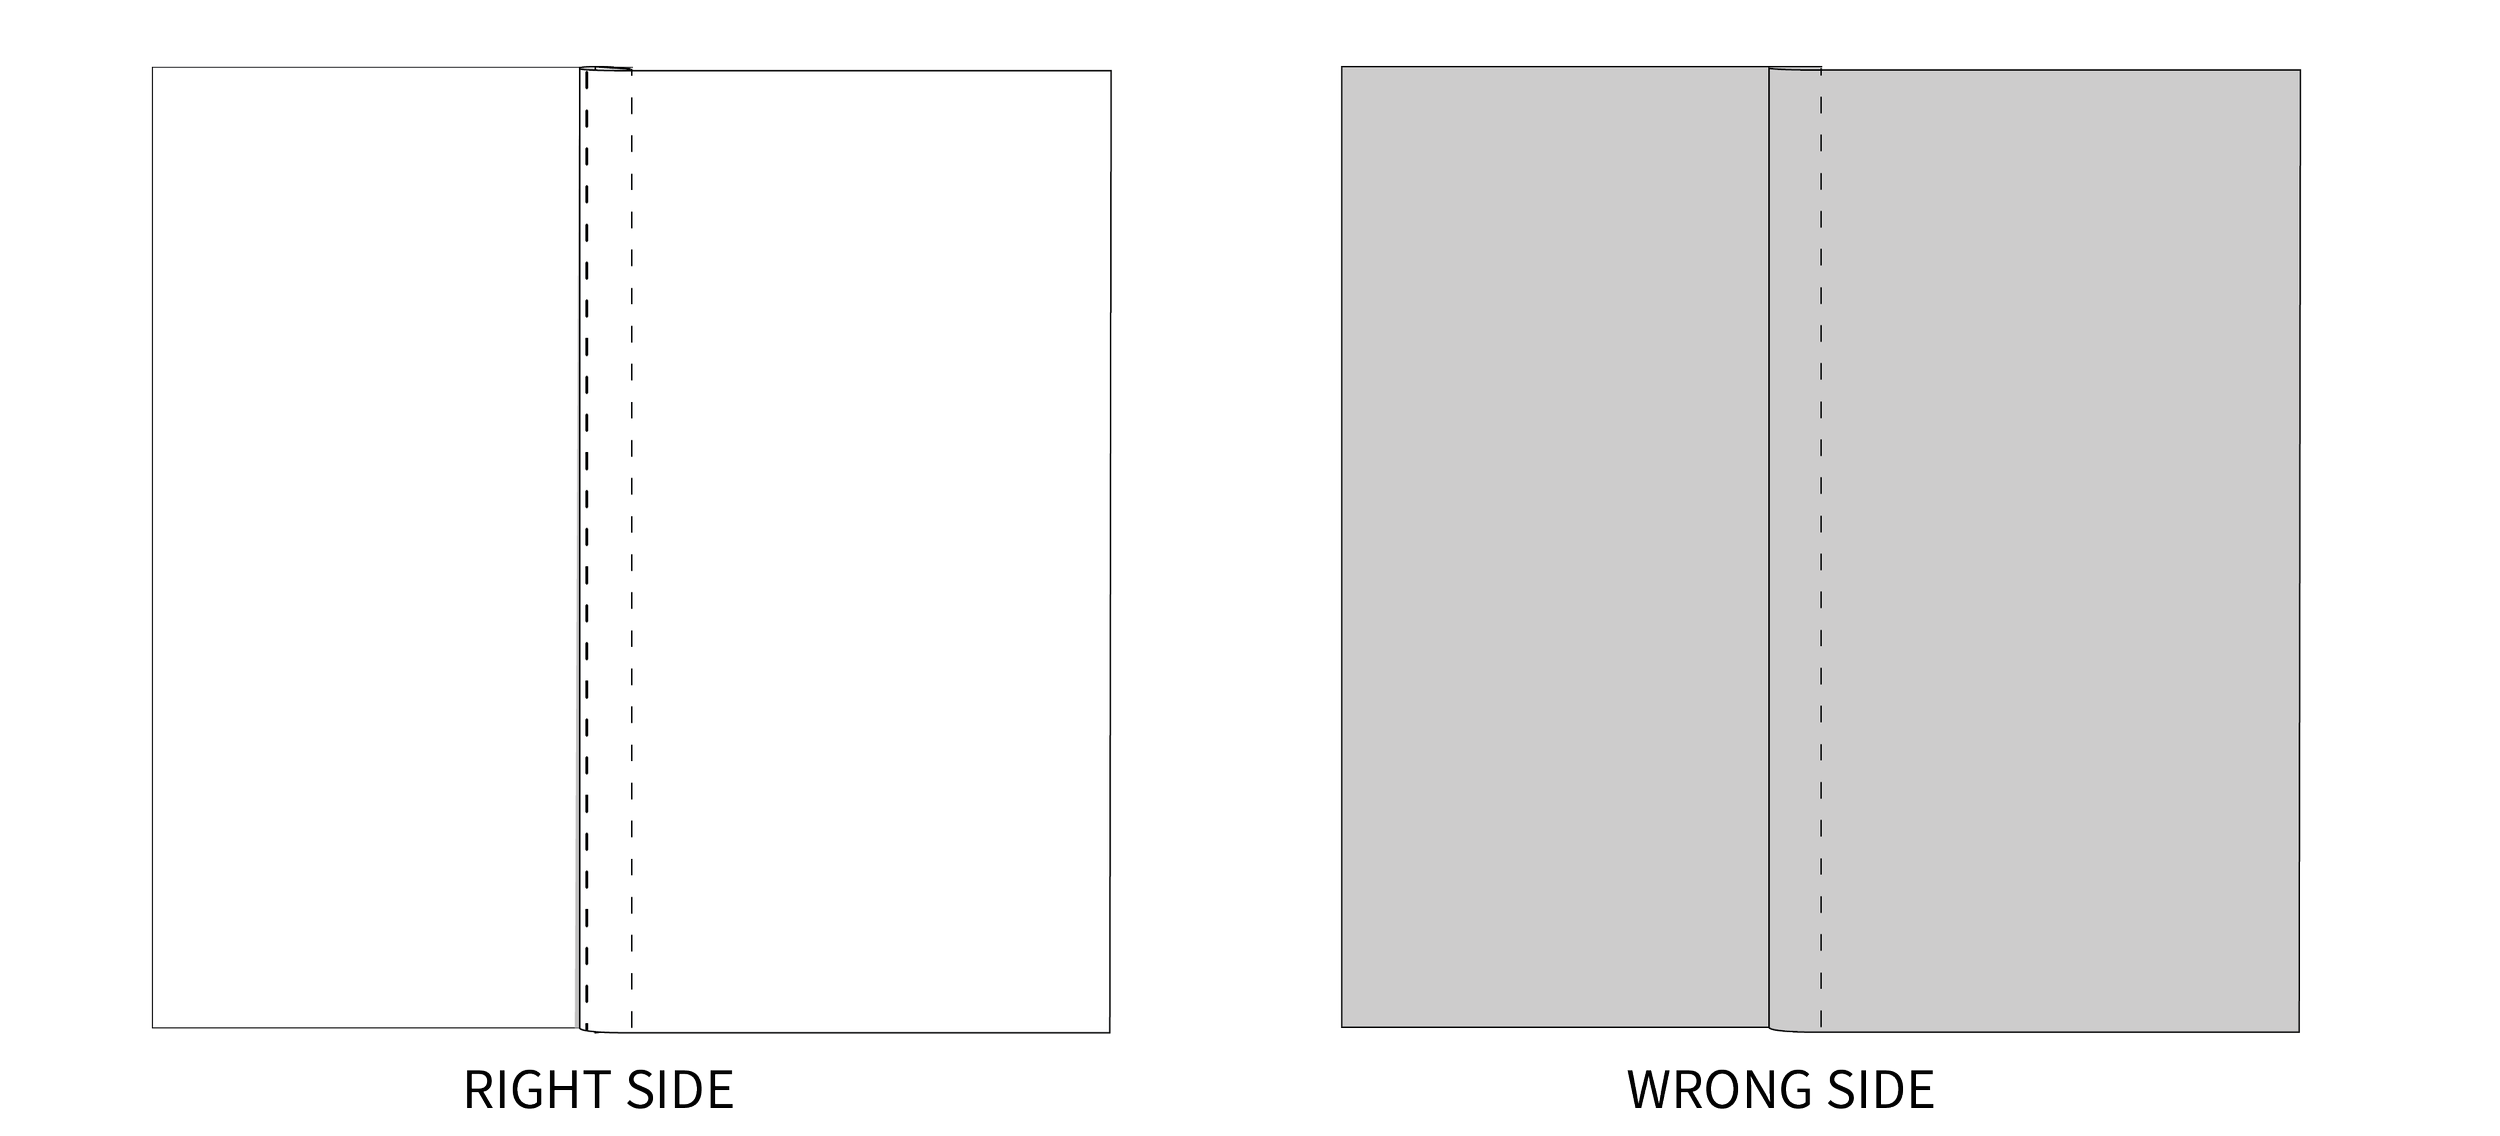
the most straightforward. Flat felled seams can be sewn so that the seam is enclosed on the right side of the garment (Option 1) or on the wrong side of the garment (Option 2).
For the Attwood pants, we used the method that has the enclosed seam on the right side of the pants to make a feature of the flat felled seams. If you would prefer the alternative (enclosed seam on the wrong side of the garment), you can construct them that way. We suggest sewing samples of both options to work out your preference.
As always, remember this is your garment which means you can do what you like! I like your approach though, I think working out all the different options to decide from is a really good start, and understanding why a finish works in one application and not in another will level up your sewing in the long run.
Happy sewing,
Emily
RESOURCES MENTIONED IN THIS ISSUE
The Attwood pants pattern - digital pattern available here.
For more issues of the Q & A series, you can check out the archive here.
WHAT YOU’VE BEEN MAKING

Attwood pants made by @tenderfoot.sewing