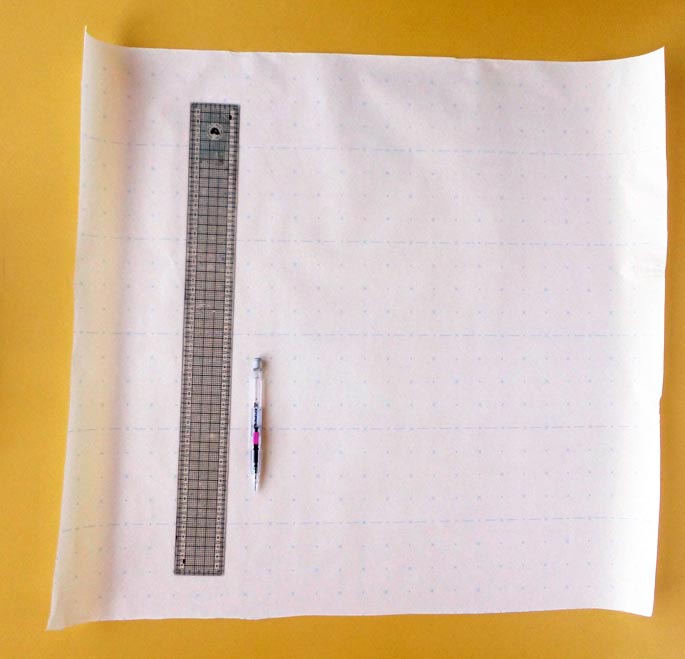
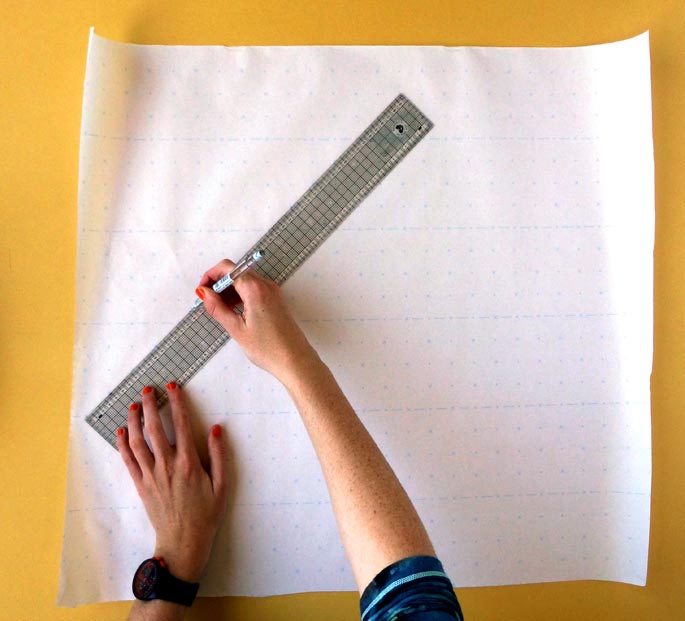
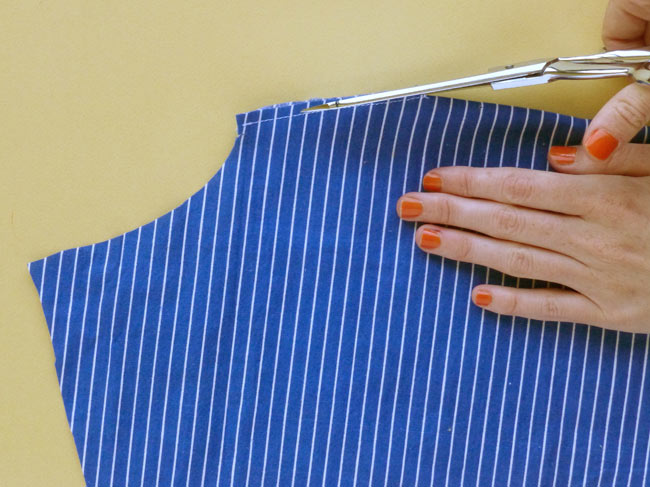
If you are using a blank sheet of paper, you can either use a set square to get the correct angle, or you can draw a large square / rectangle and match the diagonals. Either diagonal will work, so take your pick.
Now you need to consider the binding you would like to make.
Working out the width of your binding
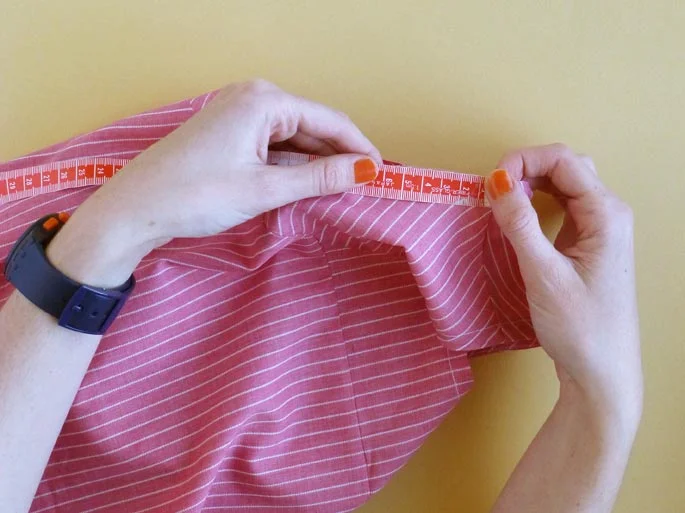
First of all, you need to think about how wide would you like your binding to be when it is finished. Binding comes in all kinds of widths, but for binding an armhole or a neckline, I would suggest you will want to make it between 6mm and 15mm. If you're not sure, go and look at your ready-to-wear clothing, and measure the width of the binding that has been used, and make a decision based on that.
Single or double fold
Do you want it to be single fold or double fold binding? What is the difference, you ask.
The difference between the two is that you will achieve a different finish. Single fold bias tape is the best choice if you are going for a clean finish and do not want the bias tape being visible on the outside of the garment. Double fold binding is good if you would like to make a feature of your binding (that is, it will be seen from the outside).
If you are making single fold binding, take the chosen width of your binding and multiply that number by three and add a couple of millimetres to account for the folds. This is how wide you will need to cut your bias strips.
If you are making double fold binding, take the chosen width of your binding and multiply that number by four and add a few millimetres to account for the folds. This is how wide you will need to cut your bias strips.