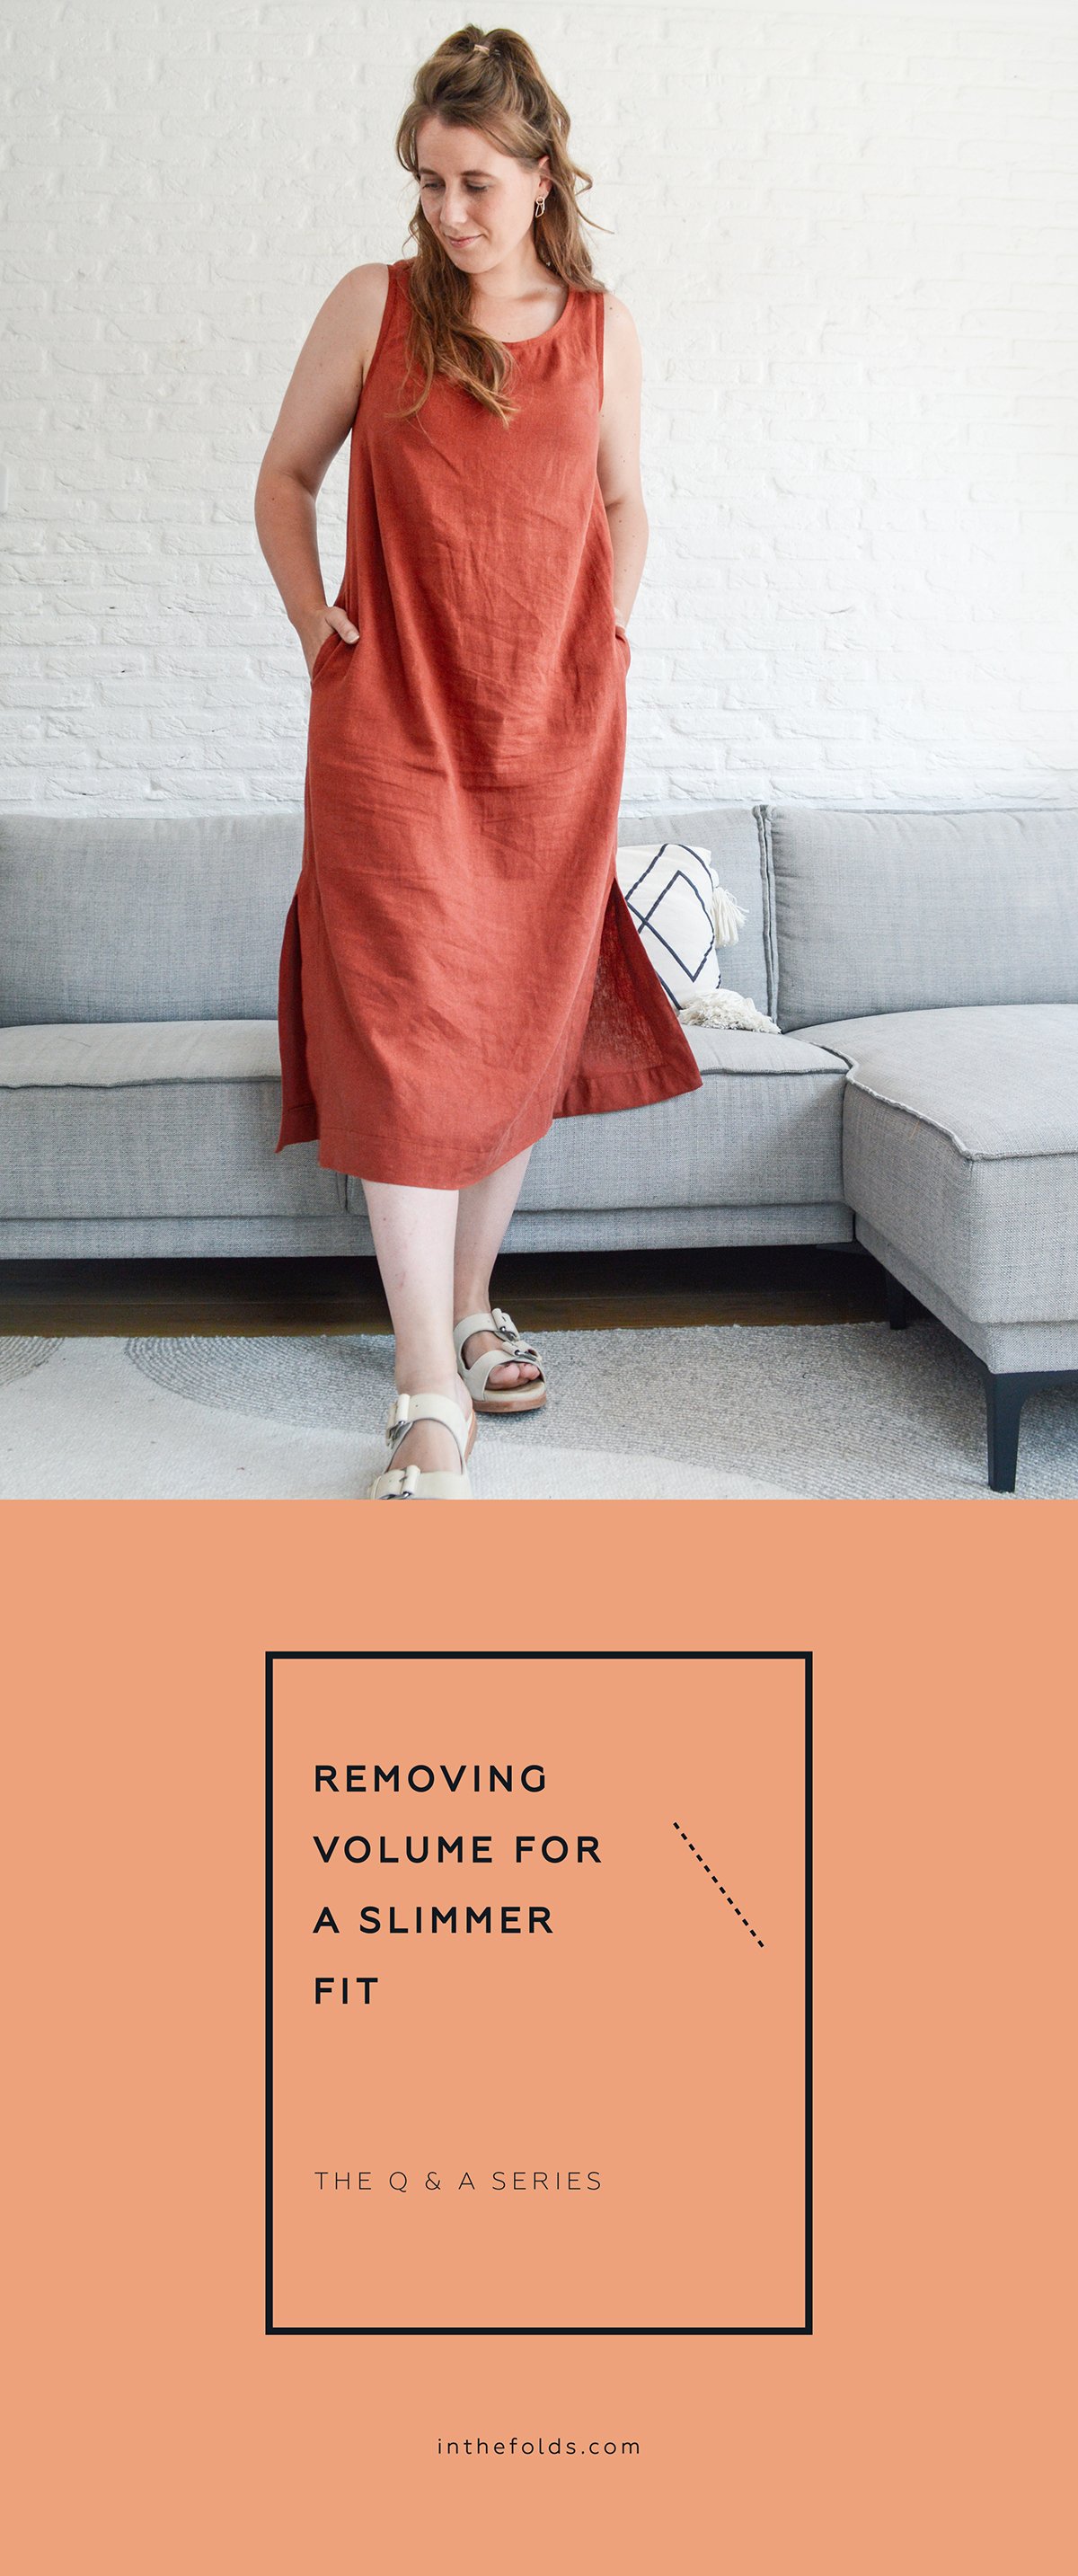
THE Q & A SERIES
Resources for plus size sewists
Hi again,
Could you talk more about your process of expanding your size range? It's really exciting to see your sizing expand!
A common challenge for plus size sewing is a huge lack of resources around how to draft patterns for larger sizes. It seems this is a problem on an industry level in fashion, schools, etc, as well as for home sewists and indie pattern companies.
Clearly knowledge exists, as clothing and patterns have been made in larger sizes. And more and more RTW and home sewing companies are putting out more sizes.
As far as I am aware, there is no book or central resource explaining how to draft larger sizes. As far as I can tell, it seems like indie sewing companies either have people who have figured out their own plus size block / drafting system and/or have access to industry biometric data. But this assumes they either have specialised knowledge already or access to professional resources that are not available to the average home sewist. Ie. it seems like there's a bit of an information desert.
Did you run into this challenge finding useful information in your size expansion process? Did you come across any useful resources? I am so curious about the process.
Thanks kindly,
Claire
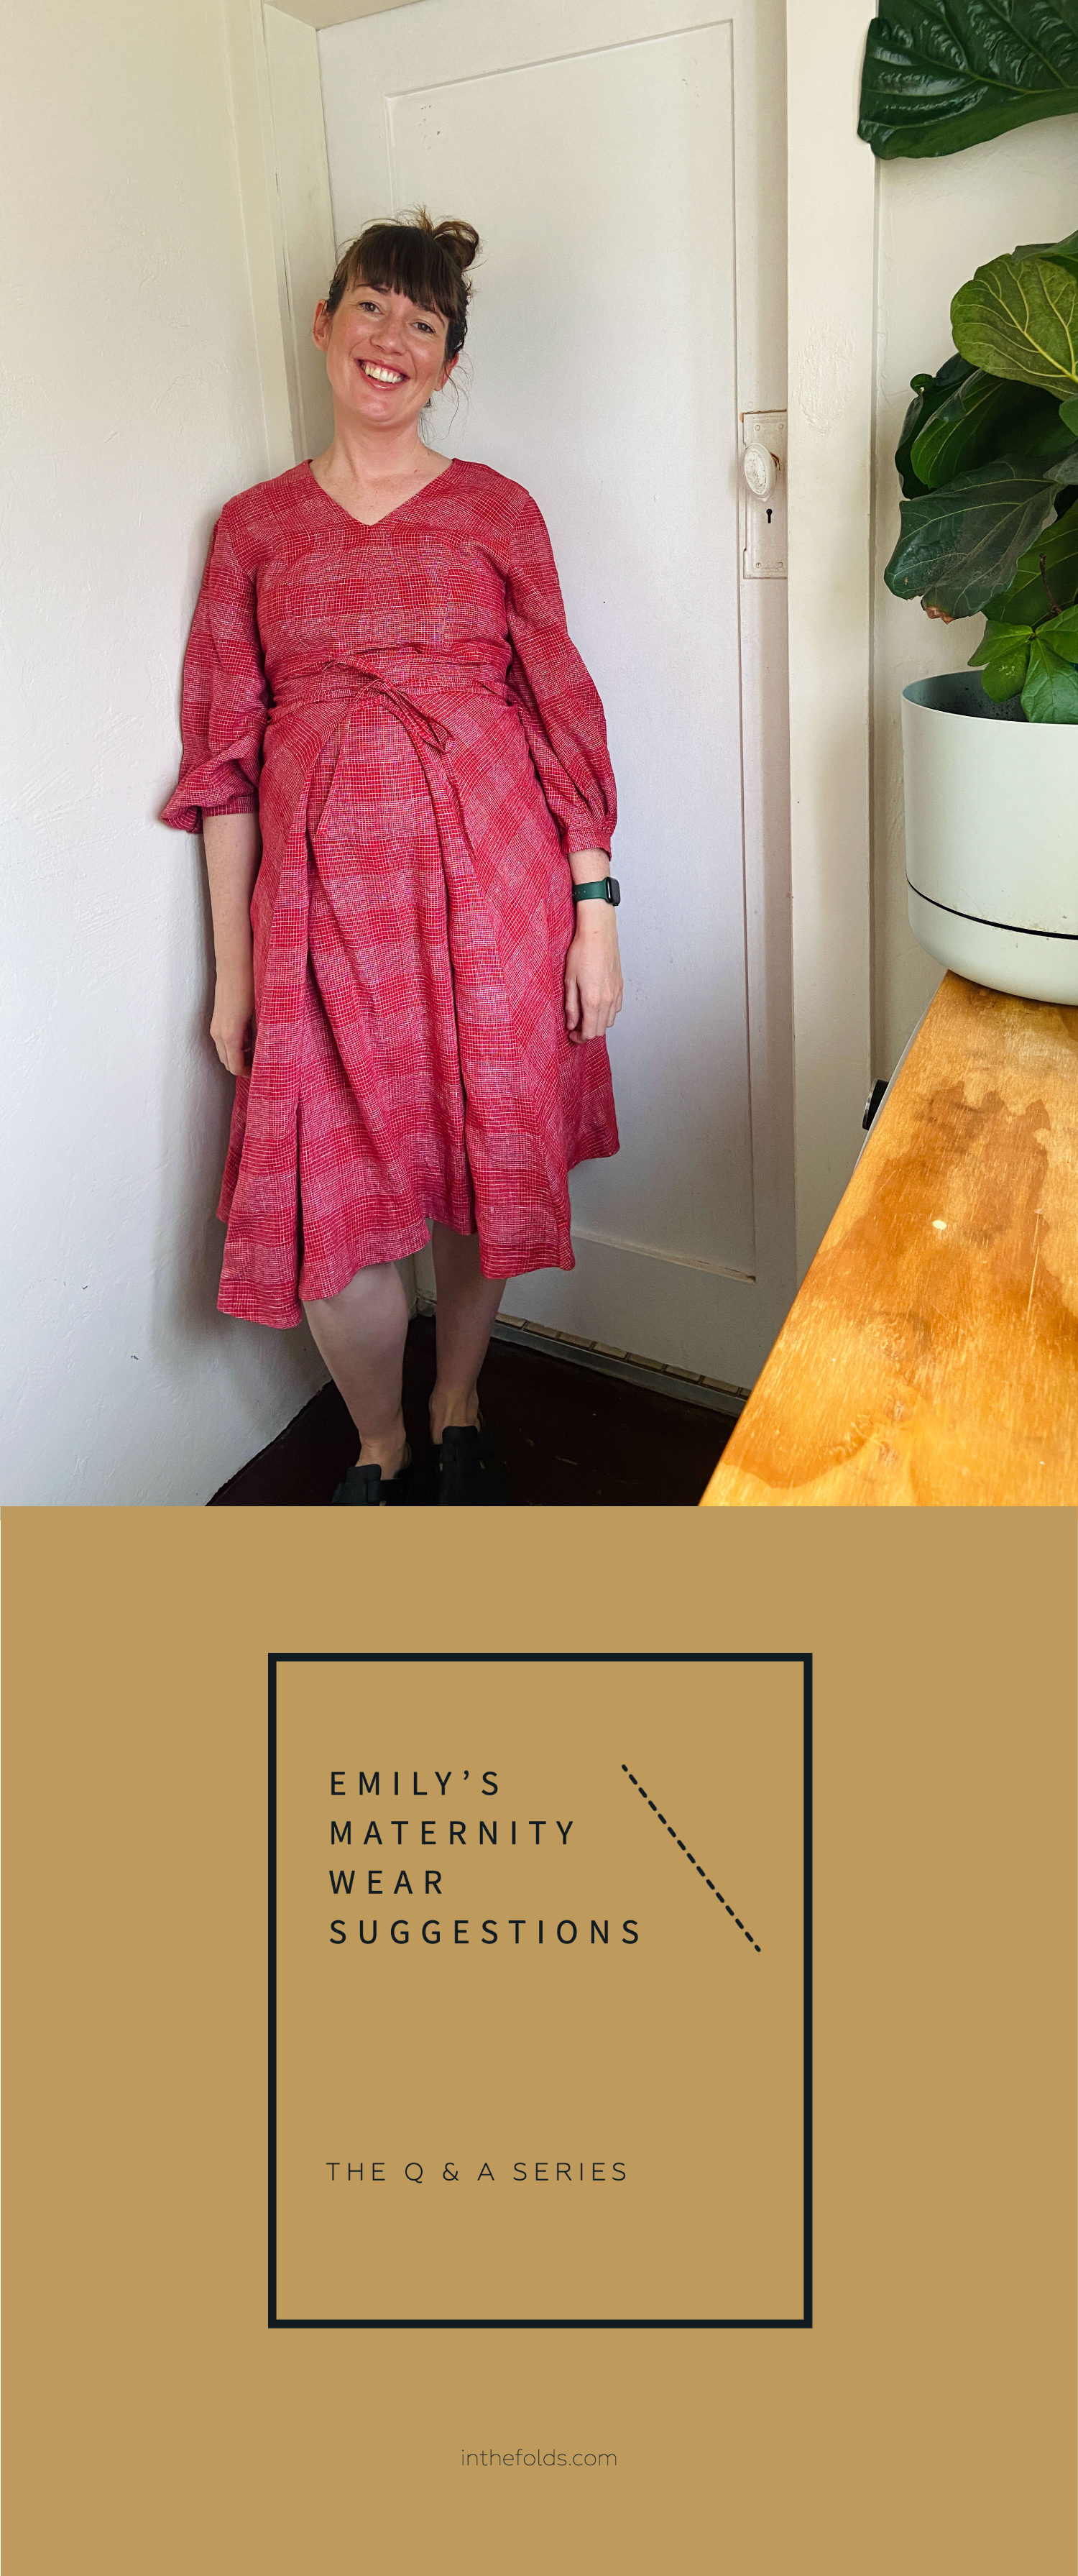
Note: This is the second part of my answer to Claire’s questions. You can read part one here.
Hi Claire,
Unfortunately, you’re right - there isn’t a lot of information about drafting patterns for larger sizes that’s easily accessible for the home sewist. As I mentioned in the part one of my answer, there’s not even much that’s easily accessible for pattern designers!
The indie pattern design industry has significantly contributed to expanding the available resources, so hopefully in time there will be more. In the meantime, here’s what I recommend.


CREATE A PATTERN CAPSULE
The concept of a pattern capsule is one that really excites us at In the Folds, and is part of the foundation of our monthly project subscription, Curated by ITF.
Similar to a capsule wardrobe, a pattern capsule is where you have a small number of base patterns that you fit to your specific body shape and measurements and then adapt to your taste and style to create new designs.
If you select a pattern from a company that has drafted their patterns specifically for plus sizes, there will be less work for you to do in creating your pattern block. The main thing to remember when looking for a pattern to use as a base is that the pattern must fit you. It may not fit you perfectly straight out of the packet or off the printer (which is the case for most humans), but you don’t want to be grading up or amending issues with the pattern that are unrelated to fit.
If you’re interested in finding base patterns to start with, this list will be helpful:
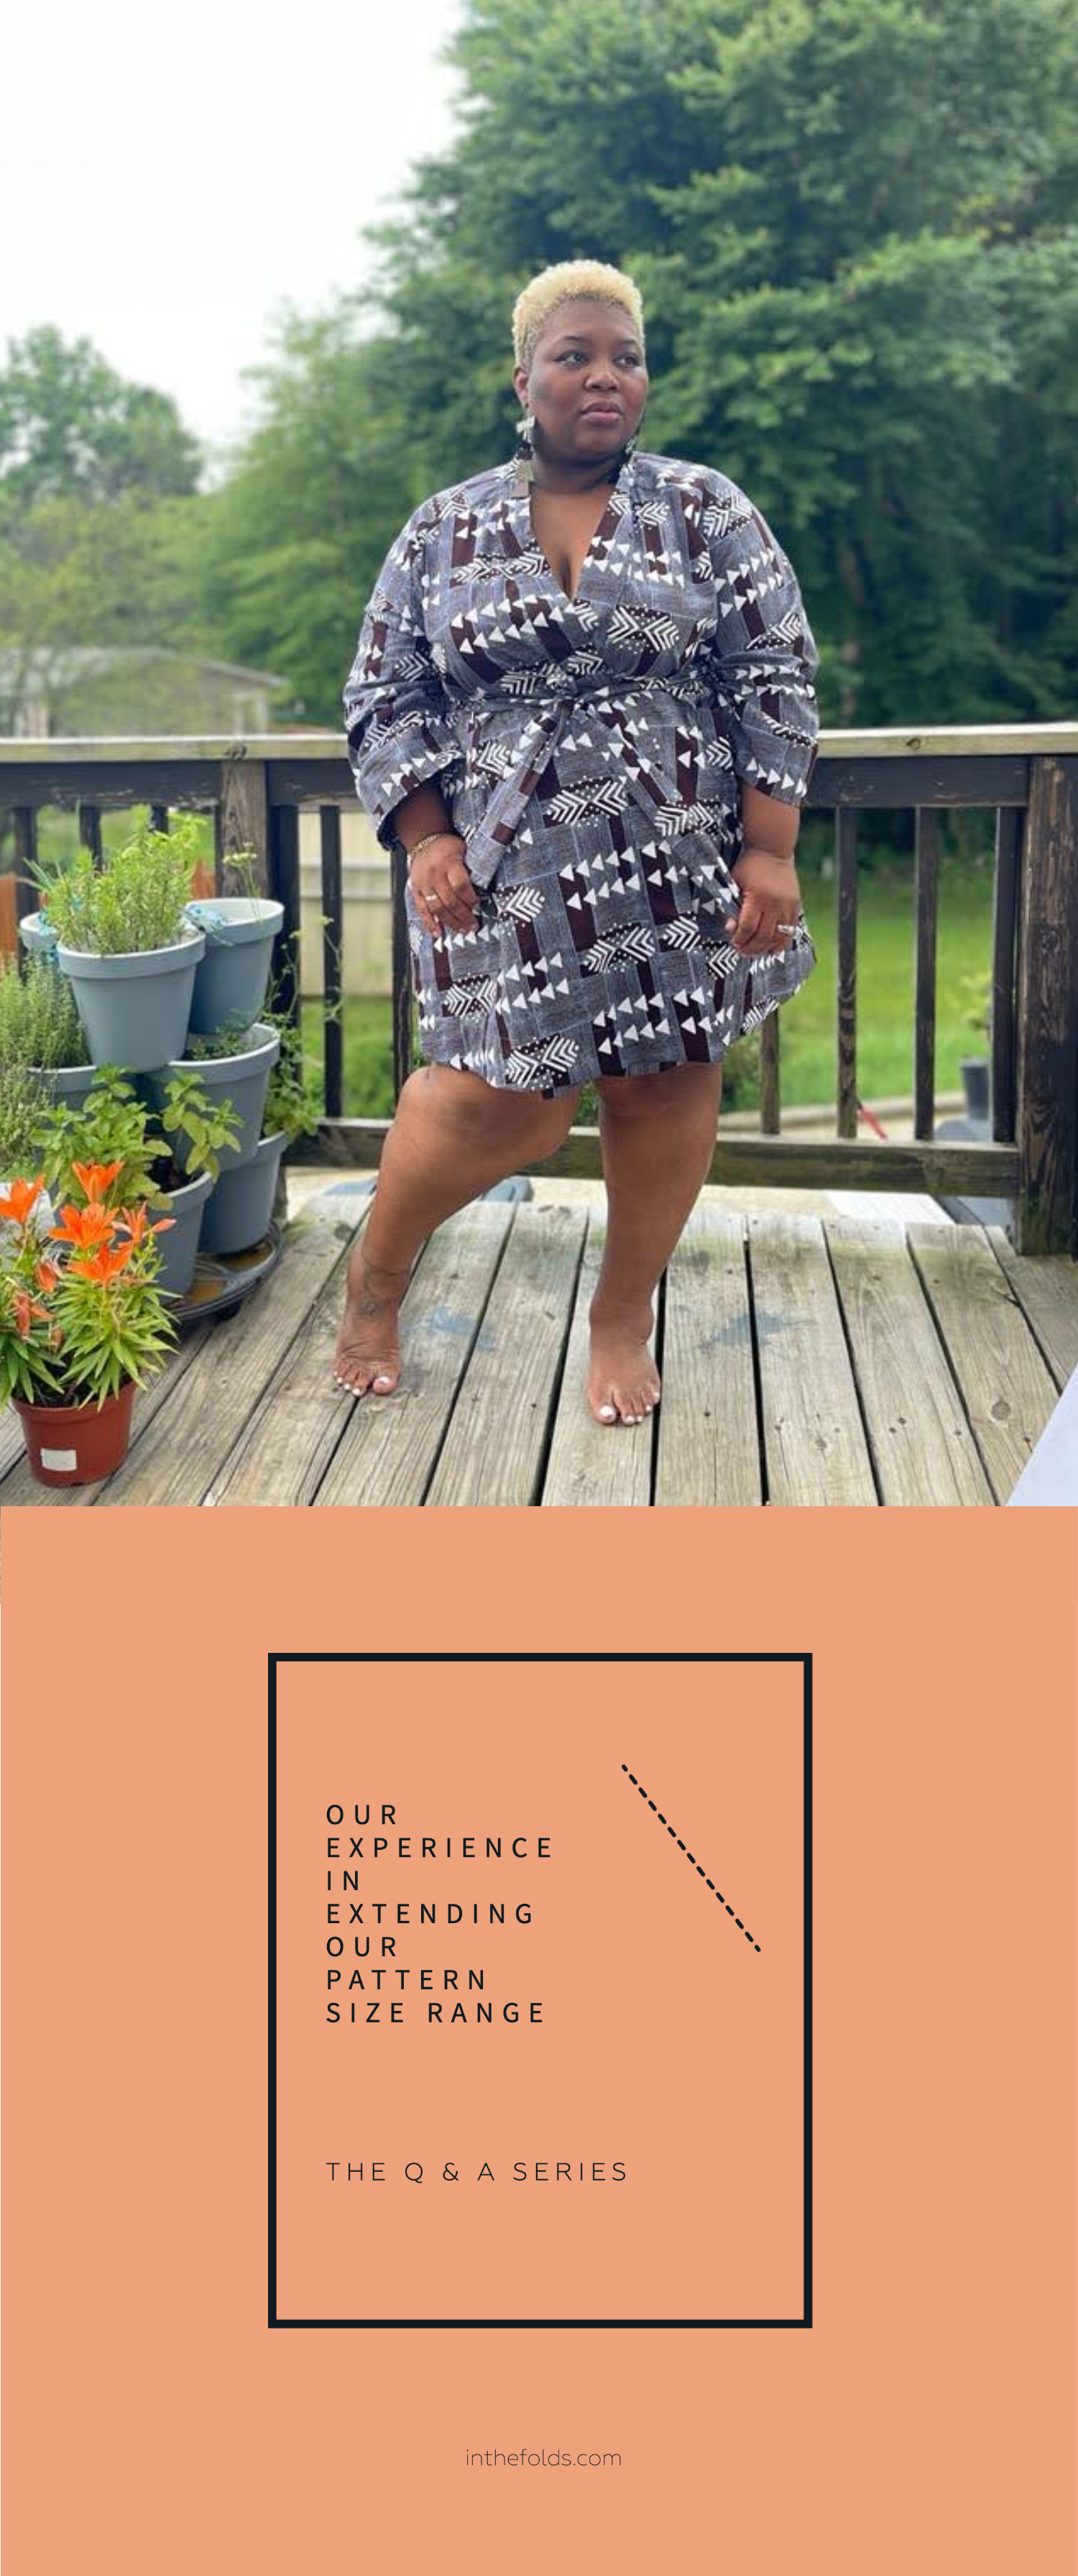
We recently extended our pattern sizes to a hip measurement of 184cm (72.5”) and are releasing all our new patterns in this extended size range. We are also working to update our whole portfolio to include the new size range, but you can view what’s available now here.
The Curvy Sewing Collective have collated a list of plus size pattern makers and also have a fantastic list of resources for pattern adjustments, fitting tips and pattern reviews.
Jess, from Broad in the Seams has a list of plus size patterns.
The Fat Friendly Pattern Club has a list of beginner friendly patterns.
Muna and Broad patterns are specifically drafted for plus size sewists.

LEARN HOW TO FIT GARMENTS
Learning to fit our own clothes might be daunting at first, but the great thing is that we often need the same adjustments with each garment we sew. So, once you’ve identified the alterations you need to make it gets easier!
For example, you may find for your body measurements and shape that you need to add length and do a full tummy adjustment, so each time you start on a new pattern you know to specifically check these areas first.
Learning how to fit the clothes you’re making doesn’t have to be an ordeal - there’s lots of resources that can help you do this.
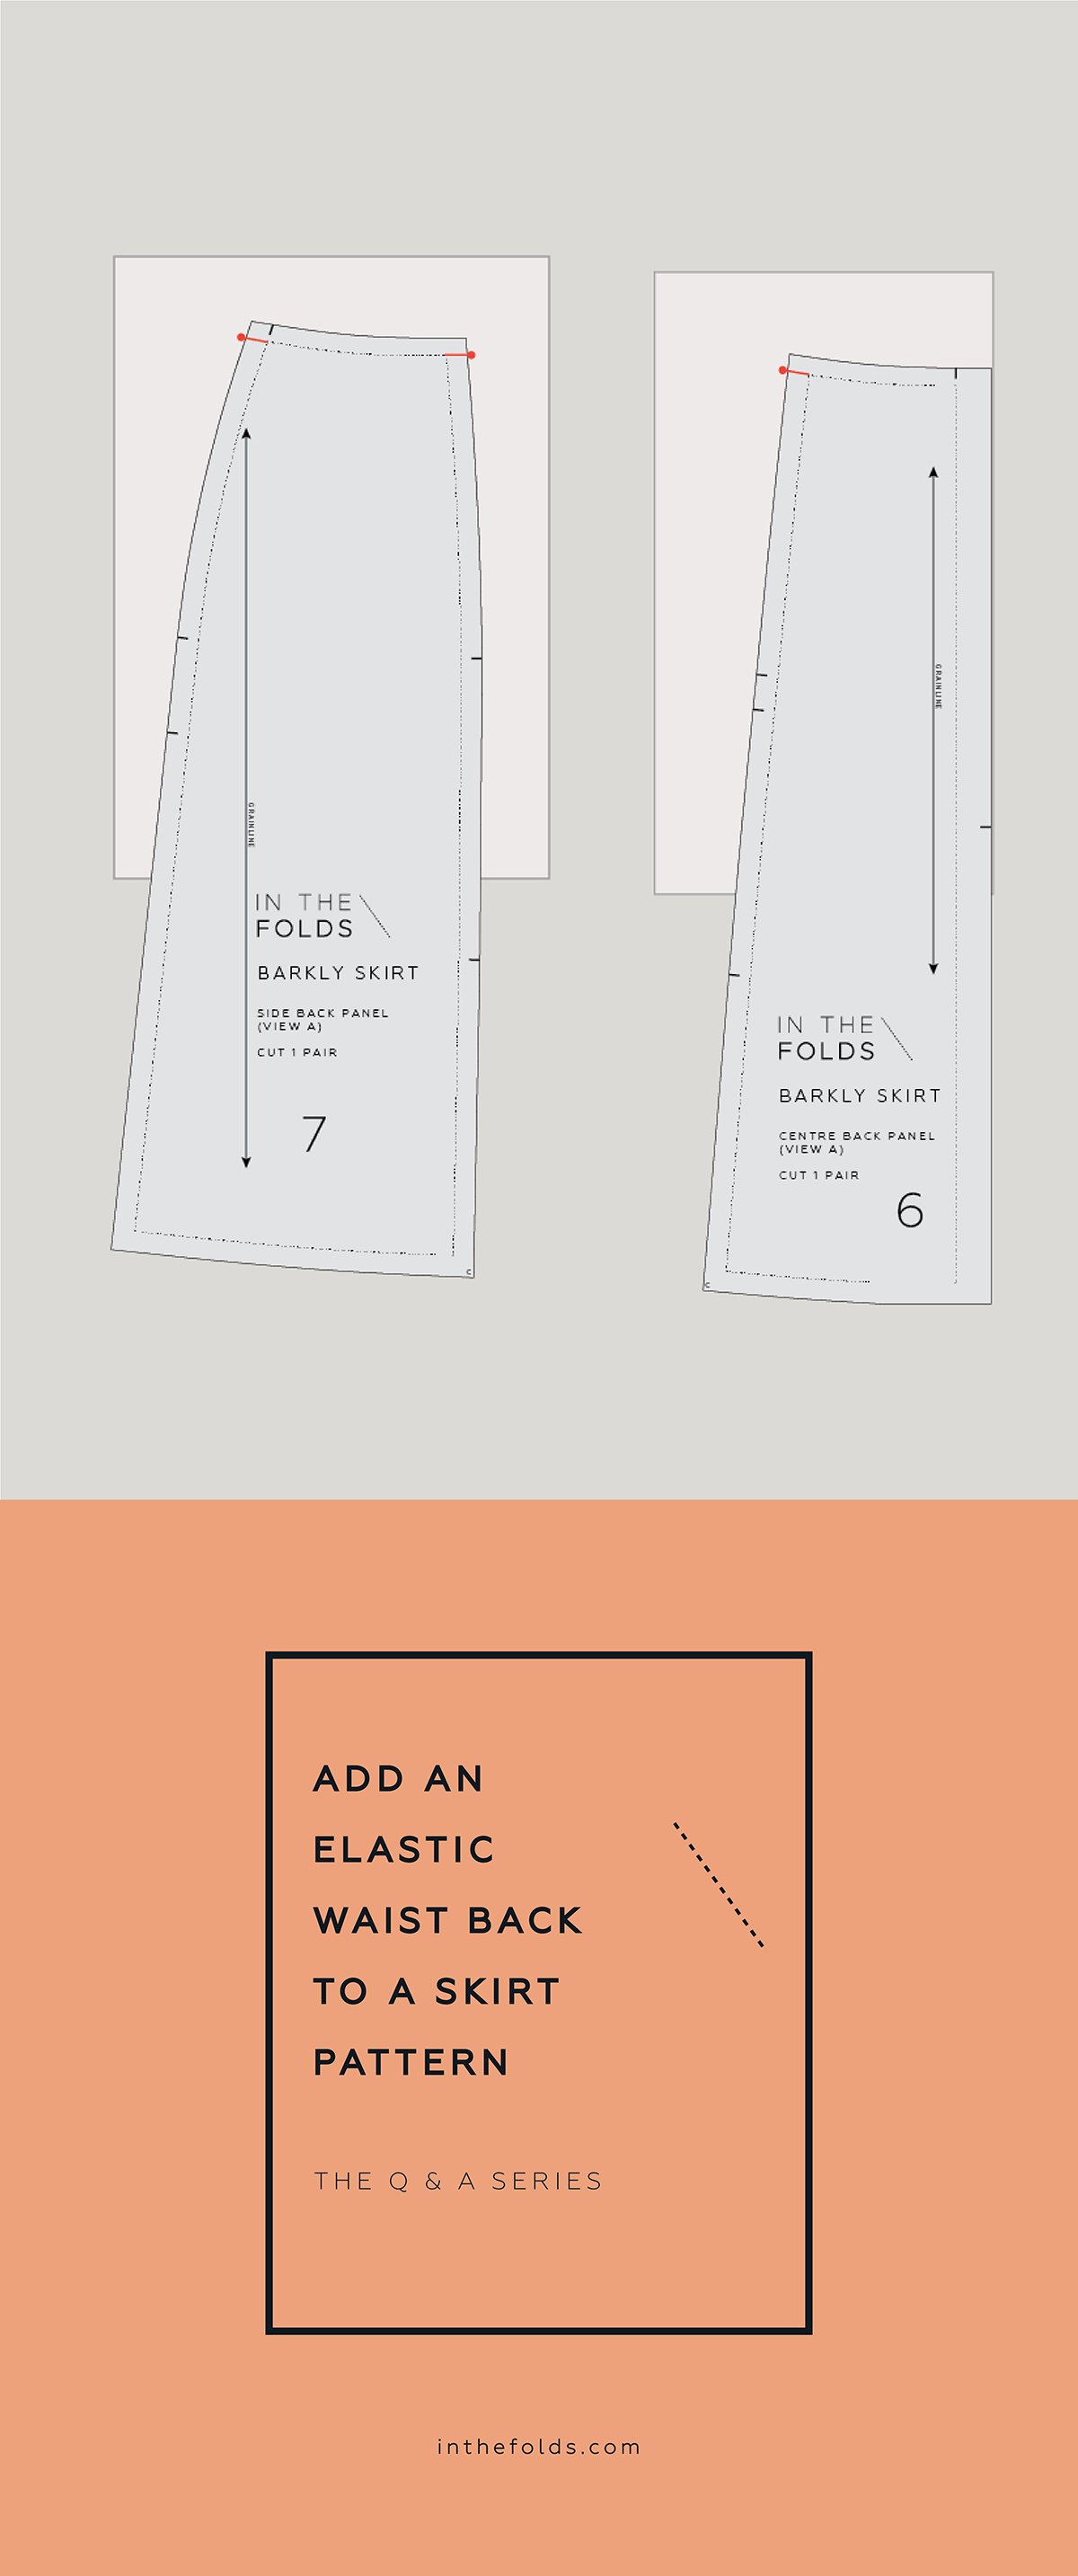
To start with, our Fit Kits help identify the adjustments you need to make to a garment, and then show you how to do each one through illustrated tutorials. For example, our Barkly skirt pattern is available in our full size range and has the Barkly skirt Fit Kit that runs through the most common fitting alterations required for skirts. (I should also mention that although it was created alongside the Barkly skirt pattern, the tutorials can be applied to most skirt patterns.)
Ahead of the Curve from Cashmerette is a fantastic book that is described as ‘the first sewing book to empower curvy and plus size sewists to feel body confident by sewing a wardrobe that fits.’ It includes lots of photos that help plus-size sewists identify which adjustments they might need to make to a pattern.
Now that you’ve made the fit alterations on the pattern blocks and you don’t have to worry about doing them over and over again each time you sew a new garment I recommend transferring your base patterns onto card for safekeeping, and then you can move on to the fun part - pattern hacking!

LEARN HOW TO PATTERN HACK
Learning how to sew is simply a matter of skill-building. You learn and practise one skill, and then once you’ve figured it out, you move onto the next skill. Pattern hacking is no different. Once you’ve learned how to fit clothes, learning how to hack patterns into something new is just the next step! It’s just a matter of finding the resources to support you as you learn the skill (which I realise is the problem we’re addressing, but hear me out!).
The methods for hacking patterns into new designs are basically the same, regardless of the size of the intended wearer. Because of this, plus size sewists can make use of the many free online tutorials related to pattern hacking, including those on the In the Folds website.
Because we want our customers and members to become confident sewists we have also created Hack Kits specifically for some of our patterns. In our Curated by ITF membership, we’ve seen how these pattern hacking resources empower sewists to experiment with a range of styles that they may not have considered before, because they’re supported by a resource they can refer to when they have questions.
For example, our Barkly skit Hack Kit includes a range of different skirt styles with lots of techniques relevant to drafting skirts. The added benefit for our Curated by ITF members is that if/when they hit a snag during this process or need clarification about something, they can ask as many questions as they need in our online community and we (or our very clever and supportive community!) will provide the answers.
Thanks for your questions, Claire. I know you’re not the only person who has been frustrated by the lack of size inclusivity in the sewing industries, so I hope this post helps you find some plus size pattern drafting and fitting resources to support you in your sewing journey. Of course, this support can most definitely be found in our Curated by ITF community.
And if you have any further questions, please leave them in the comments section and we’ll help as much as we can.
Happy sewing,
Emily
RESOURCES MENTIONED IN THIS ISSUE
More information about our monthly sewing subscription, Curated by ITF, can be found here.
Read Part One of this question here - Q&A 148: Our experience in extending our pattern size range.
The Barkly skirt pattern, Fit Kit and Hack Kit can be purchased as a bundle here.
How to transfer patterns onto card - read the tutorial here.
The Curvy Sewing Collective resources can be found here.
Broad in the Seams list of plus size patterns can be found here.
The Fat Friendly Pattern Club list of beginner friendly sewing patterns can be found here.
Muna & Broad plus size patterns can be found here.
Ahead of the Curve by Cashmerette can be found here.
View all In the Folds patterns currently in available in our extended size range in our new Skills Library here and view our sizing chart here.
For more issues of the Q & A series, you can check out the archive here.
WHAT YOU’VE BEEN MAKING

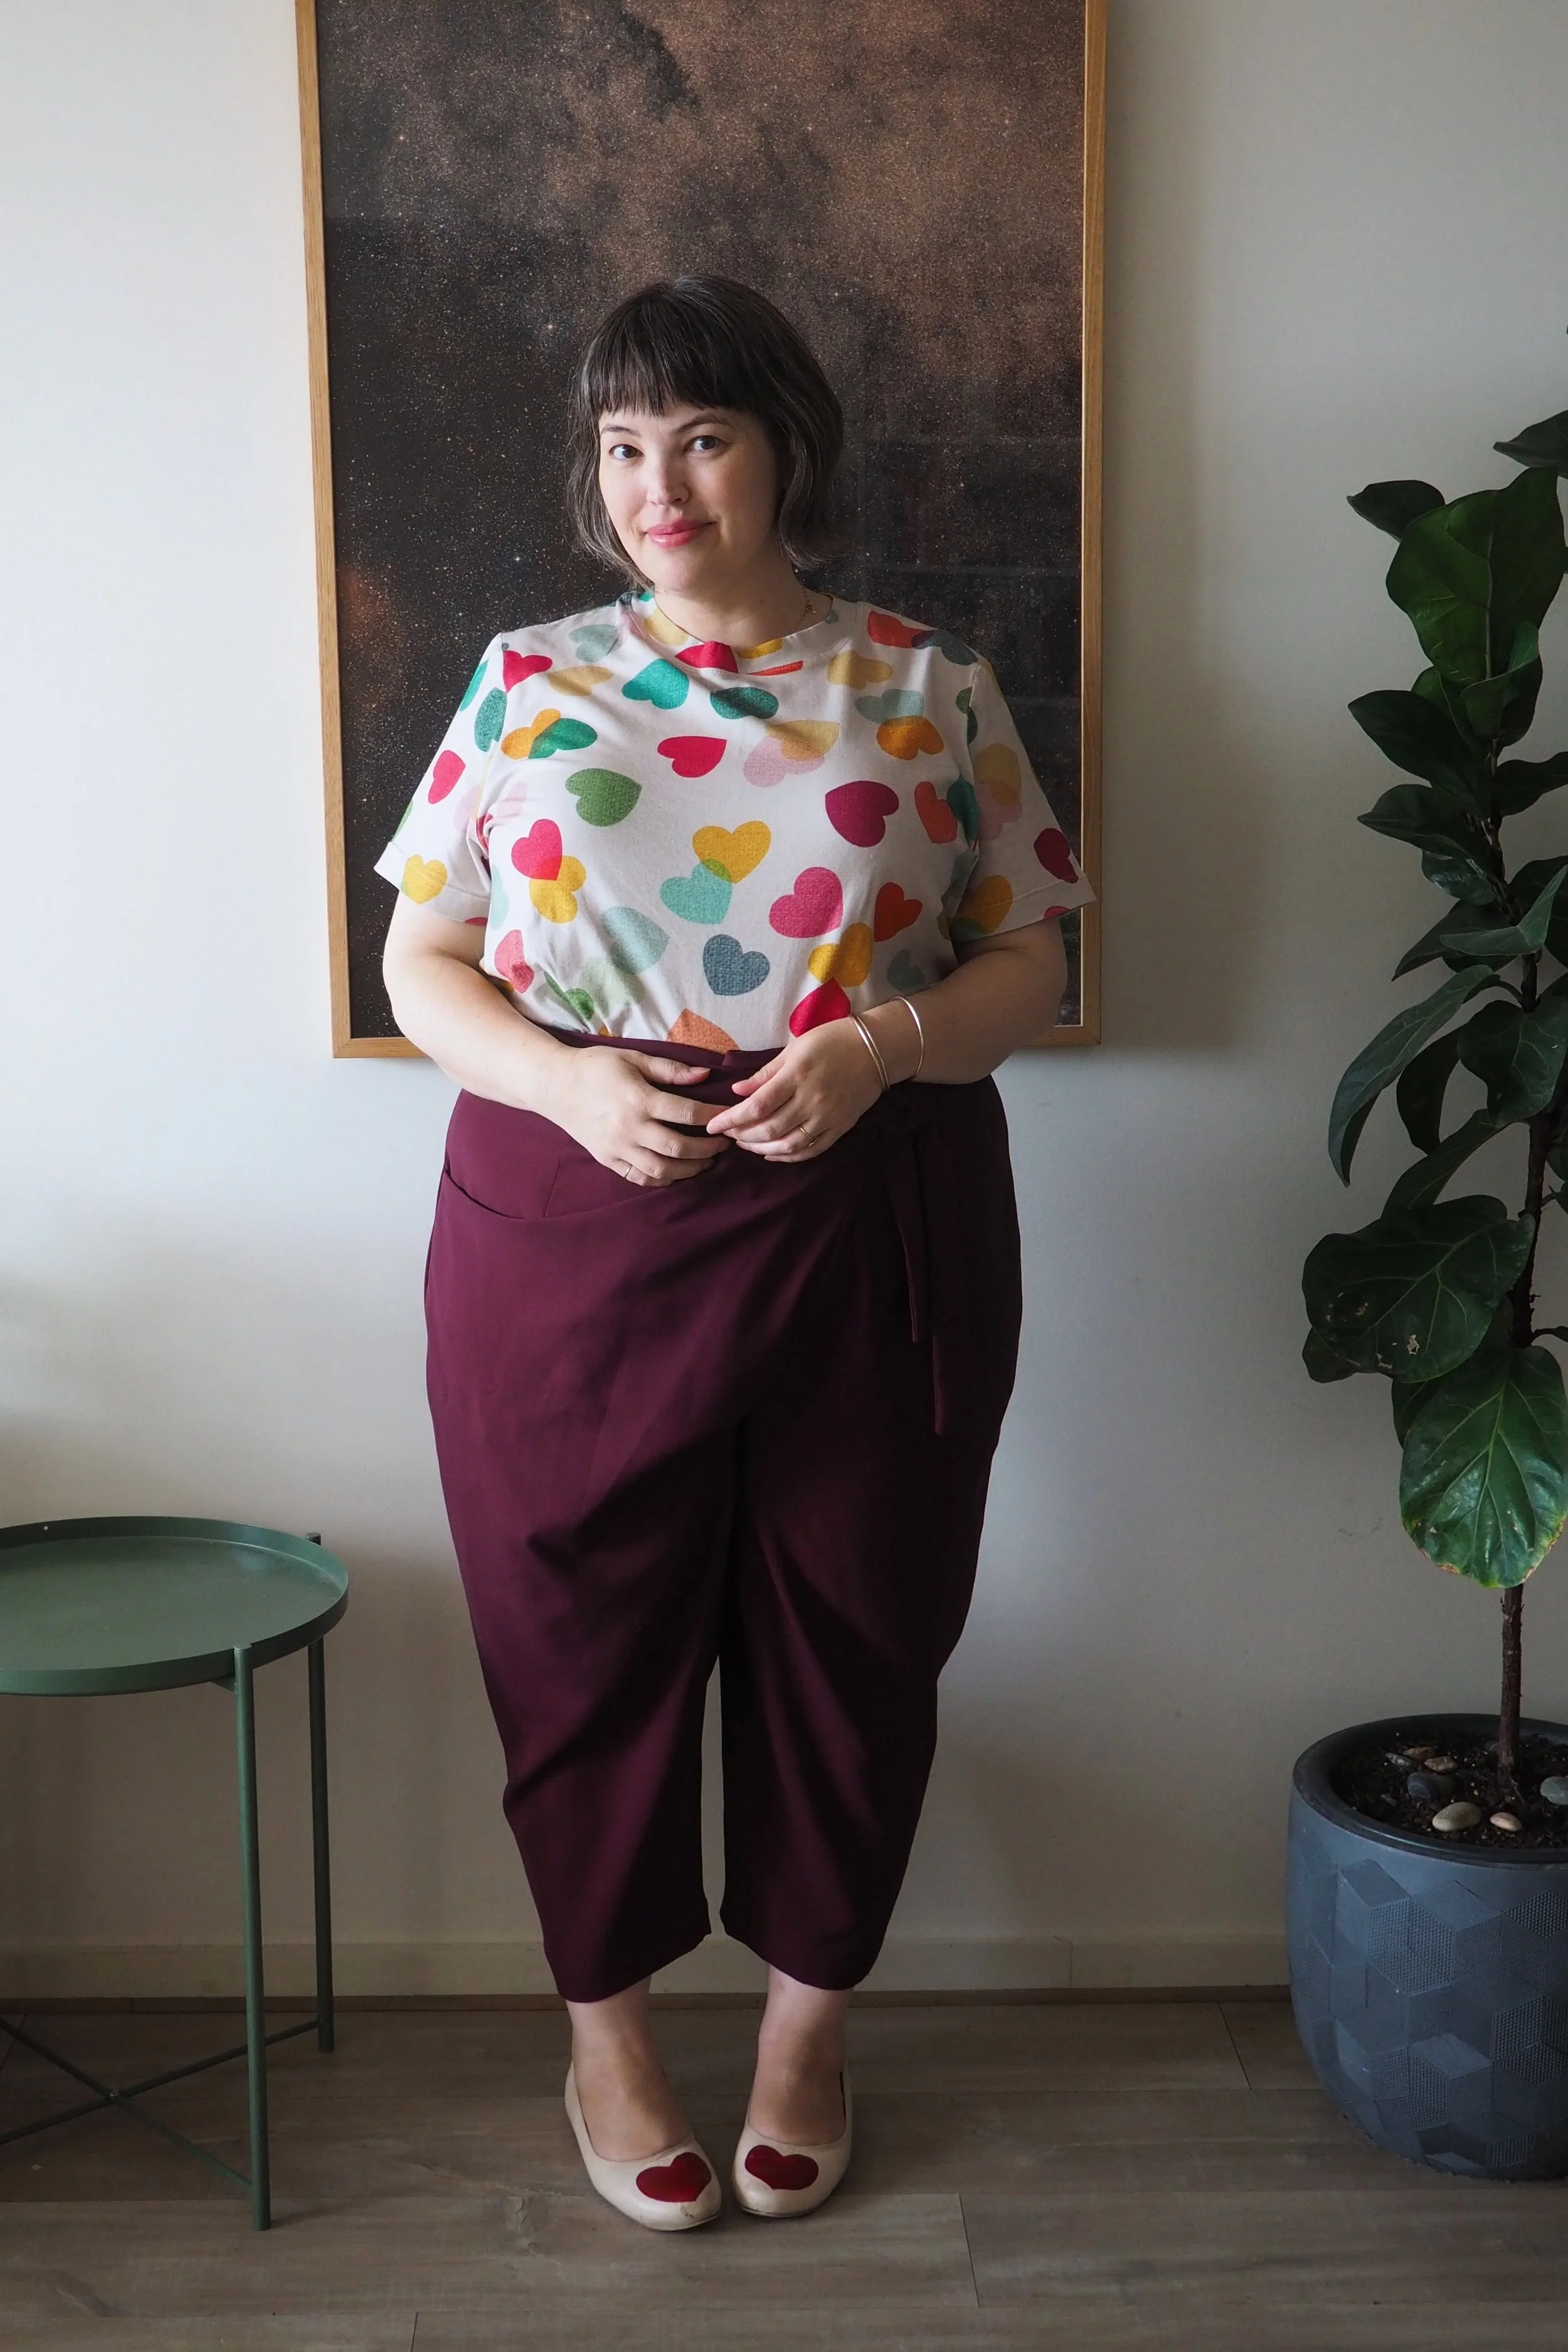
Peppermint Wide Leg pants made by @lucia_fl
Peppermint Everyday dress made by @sew.evie